Featured image for how to adhere outdoor led string lights
Image source: vproyalrentals.com
Secure outdoor LED string lights with durable, weather-resistant adhesive clips or hooks to ensure a safe, long-lasting glow. Choose installation methods—like rail mounts, gutter hooks, or UV-resistant zip ties—based on your surface type and desired aesthetic for a seamless, professional look. Always plan spacing and power access first to avoid mid-installation hiccups and maximize visual impact.
How to Adhere Outdoor LED String Lights for a Stunning Glow
Key Takeaways
- Choose the right adhesive: Use outdoor-rated clips or hooks for secure, weatherproof mounting.
- Plan your layout first: Measure and mark positions to avoid uneven spacing or overstretching.
- Prioritize safety: Turn off power before installation to prevent electrical hazards.
- Use tension tools: Keep wires taut with zip ties or turnbuckles to prevent sagging.
- Protect connections: Seal plugs with silicone to block moisture and extend lifespan.
- Test before finalizing: Check light functionality after partial installation to catch issues early.
Why This Matters / Understanding the Problem
Outdoor LED string lights can transform your backyard, patio, or porch into a magical evening retreat. But here’s the catch: if they’re not installed properly, they can sag, fall, or create uneven lighting—ruining the stunning glow you’re after.
Many homeowners try taping or tying lights to fences, trees, or eaves, only to wake up the next morning to a tangled mess. Wind, rain, and temperature changes all affect how well your lights stay put. That’s why knowing how to adhere outdoor LED string lights for a stunning glow is essential for both safety and style.
Whether you’re hosting a summer barbecue, creating a romantic dinner nook, or just want year-round ambiance, a secure, professional-looking setup makes all the difference. This guide walks you through every step—from choosing the right tools to troubleshooting common issues—so your lights stay bright, beautiful, and firmly in place.
You don’t need to be a handyman to do this. With a little planning and the right techniques, you can achieve a flawless, long-lasting installation that enhances your outdoor space for years.
Pro Tip: The key to success isn’t just sticking lights to surfaces—it’s understanding how and where to adhere them so they survive the elements while looking picture-perfect.
What You Need
Before you start, gather these tools and materials. Having everything ready saves time and prevents mid-project frustration. Here’s your checklist:
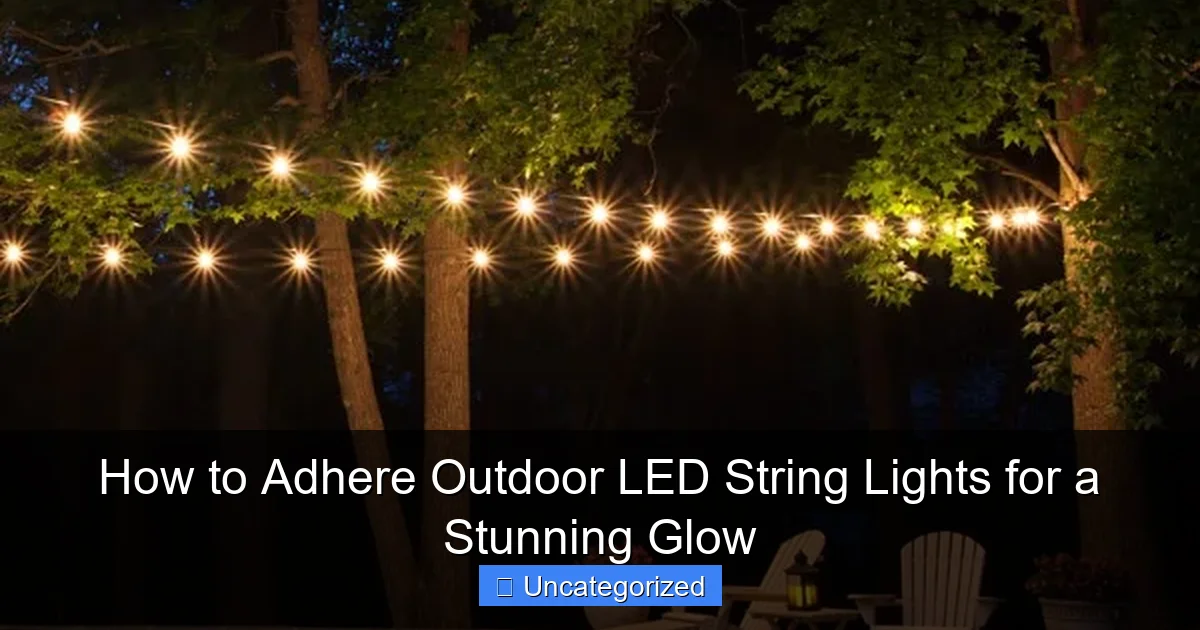
Visual guide about how to adhere outdoor led string lights
Image source: yardenvy.com
- Outdoor LED string lights (weatherproof, with a long enough cord)
- Adhesion method:
- Outdoor-rated silicone adhesive clips
- UV-resistant zip ties (for metal, wood, or PVC)
- Outdoor-rated mounting hooks or screw-in eyelets (for wood, stucco, or brick)
- Adhesive-backed cable clips (for smooth surfaces like glass or siding)
- Measuring tape (to map spacing)
- Level (optional, but helpful for straight lines)
- Drill and drill bits (if using screws)
- Stud finder (for wood surfaces)
- Wireless remote or timer (for convenience)
- Weatherproof extension cord (if needed)
- Gloves and safety glasses (especially when drilling)
- Ladder (for high installations)
Warning: Never use indoor-only lights or regular tape (like duct tape) outdoors. These degrade quickly and can become fire hazards. Always check the IP rating—look for IP65 or higher for full weather resistance.
Choosing the right adhesion method depends on your surface and how permanent you want the setup. For example, adhesive clips work great on smooth siding, while screws are best for wooden beams. The goal is to adhere outdoor LED string lights for a stunning glow without damaging your home or garden.
Step-by-Step Guide to How to Adhere Outdoor LED String Lights for a Stunning Glow
Step 1: Plan Your Layout and Measure the Space
Start by visualizing where you want the lights. Do you want a canopy over a patio? A zigzag across a fence? A gentle arch between trees?
Use painter’s tape to mark key points—like where lights will start, end, or turn corners. This “dry run” helps you avoid surprises later.
Measure the total length of your space. Then, check the length of your string lights. Most sets are 25–50 feet long. If you need more, don’t daisy-chain more than three sets unless the manufacturer says it’s safe. Overloading can cause flickering or overheating.
For a balanced look, space lights 6–12 inches apart. Use your measuring tape to mark intervals with tape or chalk. For example, if you’re hanging lights along a 20-foot fence, place a mark every 8 inches.
Pro Tip: Sketch a quick layout on paper. Note where outlets are, how many extension cords you’ll need, and where shadows or obstructions (like plants) might interfere with light.
This step ensures you’re not just slapping lights up—you’re designing a stunning glow that fits your space perfectly.
Step 2: Choose the Right Adhesion Method for Your Surface
Not all surfaces are created equal. The way you adhere lights depends on what you’re attaching them to:
- Wood (fences, pergolas, decks): Use outdoor-rated screw-in hooks or zip ties. Screws offer the strongest hold, while zip ties are faster and less invasive.
- Brick or stucco: Use plastic anchor screws with hooks. Avoid nails—they can crack the material.
- Metal (gutters, railings): Use magnetic clips or UV-resistant zip ties. Magnetic clips are great for gutters and easy to remove.
- Vinyl or aluminum siding: Use adhesive-backed cable clips or specialty gutter clips. Never drill into vinyl—it can warp.
- Trees: Use zip ties or soft fabric straps. Avoid wire or nails—they damage bark and can kill trees over time.
- Glass (patio doors, skylights): Use transparent adhesive clips designed for glass. They’re nearly invisible and won’t leave residue.
For a seamless look, match your clips to the color of your surface. White clips on white siding, black on black gutters, etc.
Warning: Never use nails, staples, or duct tape on outdoor lights. These can pierce wires, cause shorts, or leave permanent marks. Stick to methods designed for outdoor use.
Choosing the right method is the foundation of how to adhere outdoor LED string lights for a stunning glow—without damaging your property.
Step 3: Install Anchors or Clips (Not the Lights Yet!)
Now that you’ve planned your layout and chosen your method, it’s time to install the anchors or clips—but don’t hang the lights yet.
Why? Installing anchors first ensures even spacing and prevents you from pulling or stretching the lights during setup.
For screw-in hooks:
- Use a drill to pre-drill small pilot holes (especially in hard wood or stucco).
- Insert plastic anchors (for masonry), then screw in the hooks.
- Space hooks 8–12 inches apart, depending on light weight and wind exposure.
For adhesive clips:
- Clean the surface with rubbing alcohol and let it dry completely.
- Peel and press each clip firmly for 10–15 seconds.
- Wait at least 24 hours before hanging lights—this allows adhesive to fully bond.
For zip ties:
- Loop ties around beams, poles, or tree branches.
- Pull tight, but not so tight that they cut into bark or metal.
- Trim excess with scissors (leave a small tail to avoid sharp edges).
Pro Tip: For long runs, install a clip every 8–10 inches. For shorter spans or lightweight lights, 12–16 inches is fine. More clips = less sagging.
This step may feel tedious, but it’s the secret to a professional, long-lasting installation.
Step 4: Test the Lights Before Hanging
Before you commit, plug in your lights and test them.
Turn them on and check for:
- Flickering bulbs
- Dead sections
- Overheating (warm to the touch is normal; hot is not)
- Proper remote or timer function
If you find a problem, fix it now. It’s easier to replace a bulb or swap a set before it’s up than after.
Also, test the power source. Make sure your outlet is GFCI-protected (required for outdoor use) and that the cord reaches all the way. Use a weatherproof outlet cover to keep moisture out.
Warning: Never leave extension cords coiled or pinched under furniture. This can cause overheating. Run cords along edges or use cord covers.
Testing ensures your stunning glow isn’t dimmed by a simple electrical issue.
Step 5: Hang the Lights with Proper Tension
Now comes the fun part—hanging the lights!
Start at the power source and work outward. This prevents tangling and makes it easier to plug in at the end.
For clip systems:
- Snap each light bulb or socket into its clip.
- Keep tension even—don’t pull too tight or leave it too loose.
- For long runs, have a helper hold the end to avoid dragging.
For zip ties:
- Thread the wire through the tie loop.
- Adjust so bulbs face the direction you want light to fall (e.g., downward for ambient glow).
For magnetic or adhesive clips:
- Press each socket firmly into the clip.
- Double-check that clips are secure before moving on.
For trees:
- Use a soft strap or zip tie to secure the cord to a branch.
- Let the lights drape slightly—this creates a natural, starry effect.
Pro Tip: Use a light hanger tool (like a telescoping pole with a hook) to reach high areas safely. No ladder wobbling!
Proper tension prevents sagging and keeps your lights looking crisp and clean.
Step 6: Secure the Cord and Manage Excess Wire
Don’t let dangling cords ruin your beautiful setup. A messy wire looks unprofessional and is a tripping hazard.
Use these techniques:
- Zip ties: Bundle excess cord and secure it to a beam or post.
- Adhesive clips: Run the cord along the wall or fence to hide it.
- Cable raceways: For long runs, use a white or gray plastic channel to conceal wires.
- Under decking or behind trim: Tuck cords where they’re not visible.
Leave a small loop near the outlet to prevent strain on the plug. This also makes it easier to unplug without tugging.
If you have extra length, don’t coil it tightly. Instead, make a loose figure-eight and secure it with a zip tie. This prevents overheating.
Warning: Never bury cords under mulch or soil unless they’re rated for direct burial. Most outdoor cords aren’t.
Good cord management completes the look and keeps your space safe and tidy.
Step 7: Add Finishing Touches for a Stunning Glow
Now that the lights are up, fine-tune the ambiance:
- Adjust bulb direction: Tilt bulbs up for a canopy effect, down for ground lighting, or sideways for wall washes.
- Use dimmers or timers: Set lights to turn on at dusk and off at 10 PM. This saves energy and creates a consistent mood.
- Layer lighting: Combine string lights with solar path lights or lanterns for depth.
- Hide the power source: Use a planter, decorative box, or shrub to conceal the outlet.
- Trim excess zip ties: Use flush cutters for a clean finish.
Step back and admire your work. Walk around the space at night. Notice shadows, hot spots, or dark zones. Make small adjustments until the glow feels just right.
Pro Tip: Take a photo at night. This helps you spot issues (like uneven spacing) that aren’t obvious in person.
These small details are what turn a simple installation into a truly stunning glow.
Pro Tips & Common Mistakes to Avoid
Even with the best plan, things can go wrong. Here are expert tips and pitfalls to dodge:
- Don’t skip the dry run. Taping out your layout prevents overbuying lights or running out halfway.
- Use clips designed for LEDs. Some clips are made for incandescent bulbs and can damage LED sockets.
- Avoid overloading circuits. Check your home’s outdoor circuit capacity. Most can handle 1,440 watts (12 amps x 120V).
- Protect connections from rain. Use a weatherproof connector box or silicone sealant on plug joints.
- Don’t hang lights during storms. Wind can blow them into trees or power lines. Install on calm, dry days.
- Label your sets. If using multiple sets, label them with tape so you know which is which when troubleshooting.
- Check local regulations. Some HOAs or cities have rules about outdoor lighting brightness or placement.
Common Mistake: Using indoor extension cords. They aren’t weatherproof and can short out in rain. Always use outdoor-rated cords.
Pro Tip: For year-round use, choose cold-weather LEDs that work down to -20°F. Regular LEDs may fail in freezing temps.
By avoiding these errors, you’ll ensure your lights last longer and look better—making your how to adhere outdoor LED string lights for a stunning glow project a success.
FAQs About How to Adhere Outdoor LED String Lights for a Stunning Glow
Q1: Can I use regular tape or nails to hang outdoor LED lights?
No. Regular tape (like duct tape) degrades in sunlight and heat. Nails and staples can pierce wires, creating fire hazards. Always use outdoor-rated clips, hooks, or zip ties designed for the job. These are safer, more durable, and won’t damage your home.
Q2: How do I remove adhesive clips without damaging my siding?
Use a hairdryer to warm the adhesive for 30–60 seconds. Then, gently peel the clip away with a plastic scraper. If residue remains, clean it with rubbing alcohol or a citrus-based adhesive remover. Avoid metal tools—they can scratch surfaces.
Q3: Can I leave my outdoor LED lights up all year?
Yes, if they’re weatherproof (IP65 or higher) and your adhesion method is secure. However, extreme weather (ice, heavy snow, high winds) can loosen clips. Check them monthly and re-secure as needed. For harsh climates, consider removable magnetic or clip systems.
Q4: What’s the best way to hang lights on a tree?
Use soft fabric straps or UV-resistant zip ties. Wrap them around the trunk or branches, then thread the lights through. Avoid wire or metal ties—they can cut into the bark and harm the tree. For a natural look, let lights drape slightly instead of pulling tight.
Q5: How do I prevent lights from sagging between anchors?
Install anchors every 8–12 inches, especially on long runs. For extra support, run a thin, clear fishing line or monofilament wire between anchors and hang the lights from it. This distributes weight evenly and prevents drooping.
Q6: Can I connect multiple LED string light sets?
Yes, but follow the manufacturer’s guidelines. Most sets allow 3–5 connected, depending on wattage. Never exceed the total load of your outlet. Use a power strip with surge protection to avoid overloads.
Q7: How do I clean outdoor LED lights?
Turn off and unplug the lights. Wipe bulbs with a dry or slightly damp microfiber cloth. For stubborn dirt, use a mild soap solution and rinse with a damp cloth. Never use abrasive cleaners or high-pressure water—they can damage seals and circuits.
Final Thoughts
Creating a stunning glow with outdoor LED string lights isn’t just about plugging them in—it’s about smart planning, the right tools, and attention to detail.
By following this guide on how to adhere outdoor LED string lights for a stunning glow, you’ve learned how to:
- Choose the best adhesion method for your surface
- Install anchors and clips safely and securely
- Hang lights with proper tension and spacing
- Manage cords and add finishing touches
- Avoid common mistakes that ruin the look
Now, take action. Pick a weekend, gather your tools, and transform your outdoor space. Whether it’s a cozy balcony or a sprawling backyard, your lights will shine brighter and last longer.
Remember: the best installations are both beautiful and functional. So go ahead—turn on those lights, invite your friends, and enjoy the magic.
And when someone asks, “Wow, how did you get them to look so perfect?”—you’ll know exactly what to say.

