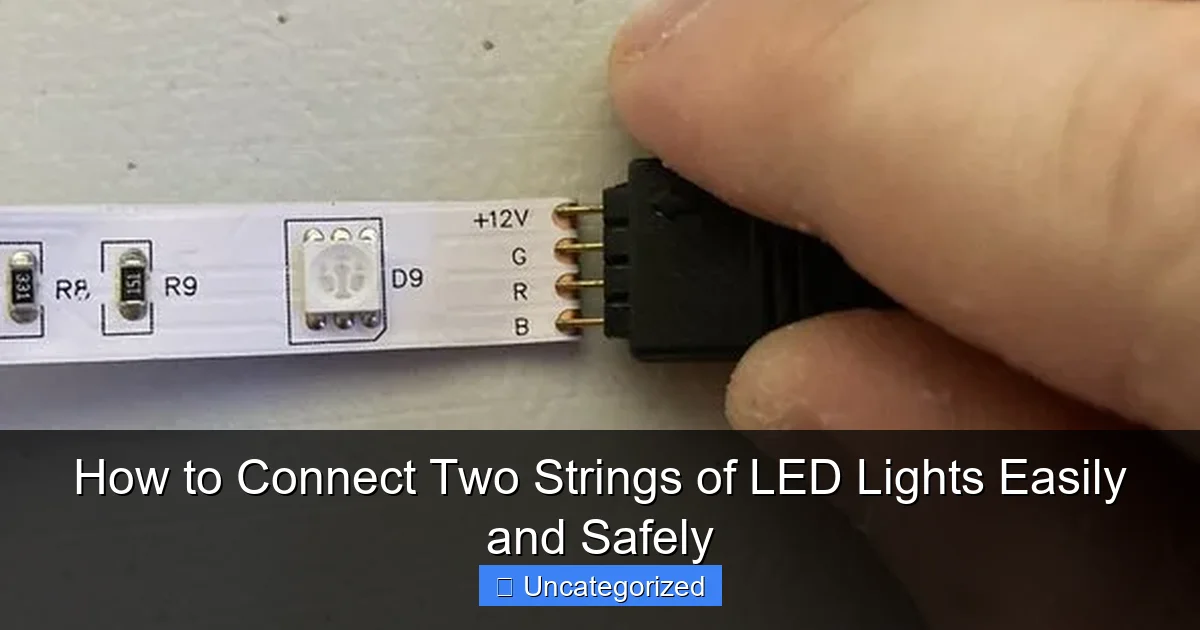
Featured image for how to connect two strings of led lights
Image source: guide-images.cdn.ifixit.com
Always check voltage and wattage compatibility before connecting two strings of LED lights to avoid damage or fire hazards. Use a compatible connector or solder wires securely, ensuring polarity matches—positive to positive, negative to negative—for a safe, seamless link. This simple method ensures a reliable, long-lasting connection without overloading your power source.
How to Connect Two Strings of LED Lights Easily and Safely
Key Takeaways
- Check wattage limits: Never exceed your lights’ maximum wattage when connecting strings.
- Use manufacturer connectors: Stick to brand-specific plugs for safe, secure connections.
- Inspect before connecting: Look for damage or frayed wires to prevent hazards.
- Link end-to-end: Plug the male end of one string into the female end of another.
- Test before hanging: Ensure both strings work properly before installation.
- Avoid overloading circuits: Spread connections across multiple outlets if needed.
- Seal outdoor connections: Use waterproof covers for exterior setups to prevent shorts.
Why This Matters / Understanding the Problem
Whether you’re decorating for the holidays, setting up mood lighting in your bedroom, or brightening a patio for a party, how to connect two strings of LED lights easily and safely is a question many people face.
LED lights are energy-efficient, long-lasting, and available in countless colors and styles. But when one string isn’t long enough, you need to link them together—without risking damage, overheating, or a tangled mess.
Many people assume you can just plug two strings together and call it a day. That works… until you blow a fuse, overload the circuit, or ruin your lights. The good news? With the right approach, you can extend your LED setup safely and beautifully.
This guide walks you through exactly how to connect two strings of LED lights easily and safely, whether they’re indoor, outdoor, battery-powered, or plug-in. We’ll cover the tools, techniques, and pro tricks to make your lighting project a success—no electrician required.
By the end, you’ll know how to avoid common pitfalls, choose the right connectors, and keep your lights shining bright for years.
What You Need
Before you start, gather the right tools and materials. Having everything on hand saves time and frustration. Here’s what you’ll need:
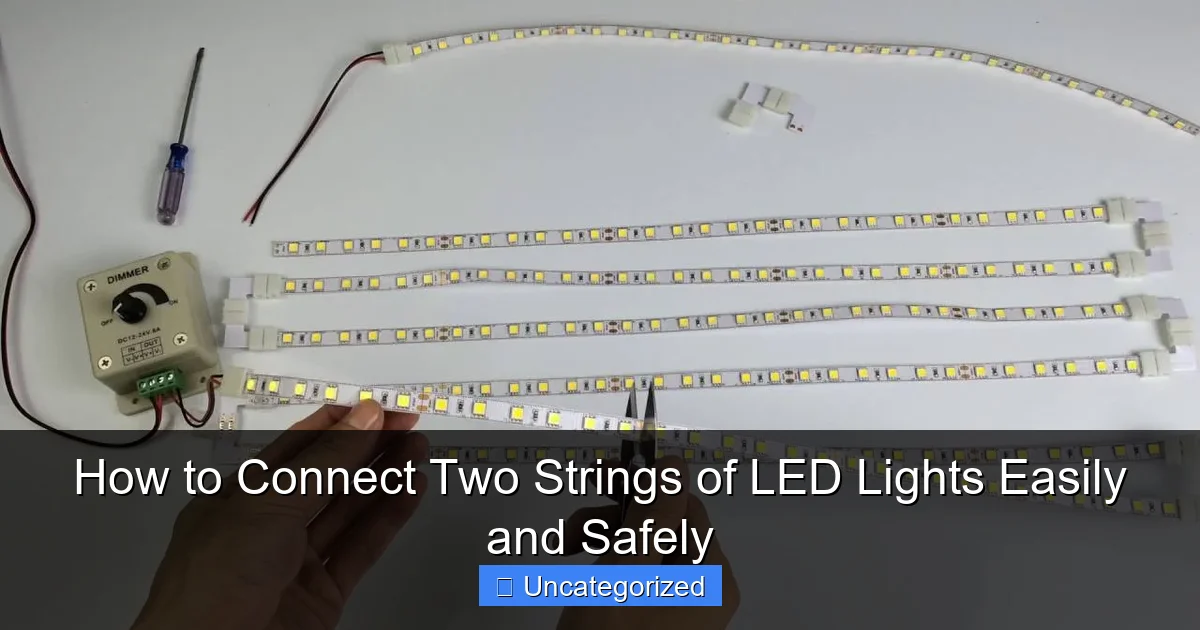
Visual guide about how to connect two strings of led lights
Image source: i.ytimg.com
- Two compatible LED light strings (same voltage, wattage, and connector type)
- LED light connectors or couplers (if not included)
- Extension cords (if needed) rated for indoor or outdoor use
- Electrical tape or heat-shrink tubing (for waterproofing outdoor connections)
- Zip ties or clips (to secure wires and prevent strain)
- Scissors or wire cutters (only if splicing—rarely needed)
- Multimeter (optional) to check voltage and continuity
- Outdoor-rated power strip (if using outside)
- Timer or smart plug (optional) for automatic control
Pro Tip: Always check the manufacturer’s label on your lights. Look for maximum run length (e.g., “Connect up to 5 sets”) and input/output voltage. This prevents overloading and keeps your setup safe.
Using the correct tools ensures that your how to connect two strings of LED lights easily and safely process is smooth and risk-free. Don’t skip the compatibility check—it’s the #1 reason people run into problems.
Step-by-Step Guide to How to Connect Two Strings of LED Lights Easily and Safely
Now that you’re prepared, let’s dive into the actual process. Whether your lights are plug-in, battery-powered, or have special connectors, we’ve got you covered.
Step 1: Check Compatibility and Maximum Run Length
Before connecting anything, verify that your two LED strings are compatible. Not all LEDs work together—even if they look the same.
Look at the label on each string. You’re checking for:
- Voltage (V): Must match (e.g., 120V AC for plug-in, 3V DC for battery)
- Wattage (W): Add up the total. Don’t exceed the max wattage your power source or outlet can handle
- Maximum number of connectable strings: Often printed as “Connect up to X sets”
- Connector type: Plug, socket, screw-on, or proprietary (like some smart lights)
For example, if your first string says “Connect up to 3 sets,” you can safely add two more—but not four.
If the specs don’t match, don’t force it. Use an extension cord instead, or choose a different set.
Warning: Overloading is a fire hazard. A 15-amp household circuit can handle about 1,800 watts. Two 50-watt LED strings are fine. Ten? Not so much.
Step 2: Inspect the Connectors and Cords
Unplug the lights and lay them out. Look closely at the end of the first string and the beginning of the second.
Most LED strings have one of these setups:
- Plug-and-socket: The first string ends in a socket, the second starts with a plug. Just plug them together.
- End-to-end couplers: Use a small plastic connector that links two male or female ends.
- Proprietary connectors: Found on smart lights (e.g., Philips Hue, Nanoleaf). You’ll need the brand-specific extension cable.
- Battery-powered: These often have a small DC plug or screw terminals.
Check for damage: frayed wires, bent prongs, or cracked plastic. If you see any, don’t use that string. It could spark or short out.
For outdoor lights, make sure the connectors are rated for wet or damp locations (look for “IP44” or higher).
Step 3: Connect the Strings Using the Right Method
Now comes the actual connection. The method depends on your light type.
For Standard Plug-and-Socket LEDs (Most Common)
- Plug the male end of the second string into the female socket at the end of the first string.
- Push firmly until it clicks or seats completely.
- Give a gentle tug to make sure it’s secure.
That’s it! No tools needed. These are designed for how to connect two strings of LED lights easily and safely with zero hassle.
For Strings with Couplers or Adapters
- Insert the male plug of the first string into one end of the coupler.
- Insert the male plug of the second string into the other end.
- Twist or snap the coupler to lock it in place (if applicable).
Some couplers have rubber gaskets—make sure they’re seated to keep out moisture.
For Smart or Proprietary LED Strings
- Use the brand-specific extension cable (e.g., Philips Hue extension kit).
- Follow the manufacturer’s instructions—some require app pairing or firmware updates.
- Connect the extension between the two strings.
Never use a generic adapter for smart lights. It can damage the circuit board or break the app connection.
For Battery-Powered LEDs
- Turn off the battery pack.
- Use a DC plug adapter or screw terminal block to link the positive and negative wires.
- Secure with electrical tape or heat-shrink tubing.
Only do this if both strings run on the same voltage (e.g., 3V or 6V). Mismatched voltages can fry the LEDs.
Step 4: Secure the Connection and Prevent Strain
A loose connection can wiggle, corrode, or short out—especially outdoors.
Here’s how to make it last:
- Use zip ties to anchor the connection point to a railing, tree, or wall. This prevents pulling on the plug.
- For outdoor use, wrap the connection with electrical tape or use a waterproof connector cover.
- If using heat-shrink tubing, slide it over the connection and use a heat gun or hair dryer to seal it.
- Elevate the connection off the ground (e.g., hang it on a hook) to avoid puddles.
Pro tip: Use a small plastic bag or waterproof junction box for extra protection in rainy areas.
Real-Life Example: A homeowner in Seattle wrapped her LED connection in tape and hung it from a gutter. After a month of rain, the lights still worked perfectly—no corrosion or flickering.
Step 5: Power Up and Test
Now it’s time to plug in and test.
- Plug the first string into a power source (wall outlet, battery pack, etc.).
- Turn on the lights.
- Check both strings: Are all bulbs lit? Is there flickering? Any buzzing?
If one string doesn’t light up, unplug and:
- Double-check the connection
- Inspect for bent prongs or loose wires
- Test each string separately
If both work alone but not together, you’ve exceeded the max run length. Use an extension cord instead.
For smart lights, open the app and verify both strings are recognized. Some may need re-pairing.
Step 6: Use a Timer or Smart Plug (Optional but Recommended)
Leaving lights on all night wastes energy and shortens bulb life. A timer or smart plug solves this.
- Plug your connected strings into a timer set to turn on at sunset and off at bedtime.
- Or use a smart plug to control them via phone or voice (Alexa, Google Assistant).
- Set a schedule or use motion sensors for outdoor lights.
This is a smart move for both safety and convenience. It’s part of how to connect two strings of LED lights easily and safely—because safety isn’t just about wiring, it’s about usage too.
Step 7: Maintain and Store Properly
After the season or event, take care of your lights.
- Unplug and disconnect the strings.
- Coil them loosely (no tight knots) to avoid wire damage.
- Store in a cool, dry place—away from sunlight and moisture.
- Use the original box or a labeled bin.
For outdoor lights, wipe down connectors with a dry cloth to remove dirt or salt (if near the ocean).
Proper storage extends life and makes next year’s setup easier.
Pro Tips & Common Mistakes to Avoid
Even with the right tools, small errors can cause big problems. Here’s what the pros do differently—and what you should skip.
Pro Tips
- Use a multimeter: If lights flicker or dim, test the voltage at the connection point. A drop over 10% means too many strings are connected.
- Label your strings: Use masking tape to mark “String 1,” “String 2,” etc. This helps during troubleshooting.
- Go modular: Use multiple shorter strings with individual timers instead of one long chain. It’s easier to fix if one fails.
- Choose low-voltage LEDs: 24V or 12V strings are safer and can connect more units without overloading.
- Elevate outdoor connections: Hang them on a hook or use a waterproof box. Ground-level connections are vulnerable to snow, rain, and pets.
Common Mistakes (And How to Avoid Them)
❌ Mistake 1: Ignoring the max run length
Just because you can plug in 10 strings doesn’t mean you should. Overloading causes overheating, flickering, and fire risk. Always check the label.
❌ Mistake 2: Using indoor lights outside
Indoor LEDs aren’t waterproof. Moisture gets in, corrodes wires, and creates shorts. Use only outdoor-rated lights and connectors for patios, trees, or eaves.
❌ Mistake 3: Forcing mismatched connectors
Don’t jam a square peg into a round hole. If connectors don’t fit, buy an adapter or use a separate power source. Forcing it breaks pins and voids warranties.
❌ Mistake 4: Skipping strain relief
Without zip ties or clips, the weight of the second string pulls on the plug. Over time, this loosens the connection and causes flickering or failure.
❌ Mistake 5: Overloading a single outlet
Two 100-watt strings on one outlet are fine. Five? Not if the outlet is on a circuit with a space heater. Use a power strip with surge protection, or split across outlets.
❌ Mistake 6: Not testing before hanging
It’s frustrating to climb a ladder, hang lights, then find out they don’t work. Test the full chain on the ground first.
By avoiding these pitfalls, your how to connect two strings of LED lights easily and safely project will go off without a hitch.
FAQs About How to Connect Two Strings of LED Lights Easily and Safely
Let’s tackle the most common questions—so you don’t have to search the web.
1. Can I connect different brands of LED lights?
It depends. If both are 120V, have matching connectors, and list similar max run lengths, it might work. But it’s risky. Different brands may have different circuitry, causing flickering or damage. For best results, stick to the same brand. If mixing, test with just two strings and monitor for overheating.
2. How many strings can I connect safely?
Check the label. Most plug-in LED strings allow 3–5 connections. For example, if it says “Connect up to 5 sets,” don’t go past that. Battery-powered strings often allow only 1–2. Never exceed the max—it’s a fire hazard.
3. Can I use a regular extension cord to connect two strings?
Yes, but only as a power extension, not a direct link. Plug the first string into the wall, then plug the extension cord into the wall (not the string), and plug the second string into the extension. This avoids overloading the first string’s socket.
Never plug one string’s socket into another string’s plug using a regular extension cord. That’s not how it’s designed.
4. What if my lights flicker after connecting?
Flickering usually means:
- You’ve exceeded the max run length
- The connection is loose or corroded
- The power source is weak (e.g., a dying battery)
- There’s a short in one string
Test each string alone. If one flickers by itself, replace it. If both work alone but flicker together, you’ve overloaded the circuit.
5. Are there waterproof connectors for outdoor use?
Yes! Look for:
- IP44 or IP65 rated connectors (dust and water resistant)
- Rubber-sealed couplers
- Waterproof junction boxes (great for under eaves)
You can also use heat-shrink tubing or self-fusing silicone tape to seal standard connectors.
6. Can I connect LED strips (like tape lights) end-to-end?
Yes, but use LED strip connectors (not regular string connectors). Cut only on the marked line, then clip the connector over the copper pads. Some require soldering, but clip-on types are beginner-friendly.
Never cut between pads—it breaks the circuit.
7. Is it safe to leave connected LED lights on overnight?
Yes, if they’re in good condition and not overloaded. LEDs run cool and use little power. But for safety, use a timer or smart plug to turn them off automatically. It also saves energy and extends bulb life.
Final Thoughts
Connecting two strings of LED lights doesn’t have to be confusing or risky. With the right prep and a few simple steps, you can create beautiful, long-lasting lighting displays—indoors or out.
Remember: how to connect two strings of LED lights easily and safely starts with checking compatibility, using the right connectors, and securing the connection to prevent strain and moisture damage.
Always respect the max run length, test before hanging, and use timers to save energy. Avoid the common mistakes—like overloading outlets or using indoor lights outside—and your setup will shine for years.
Next time you’re decorating for a holiday, party, or just everyday ambiance, you’ll know exactly what to do. No guesswork. No sparks. Just bright, reliable light.
So grab your lights, follow this guide, and light up your space—safely and beautifully.
Now go make it glow.

