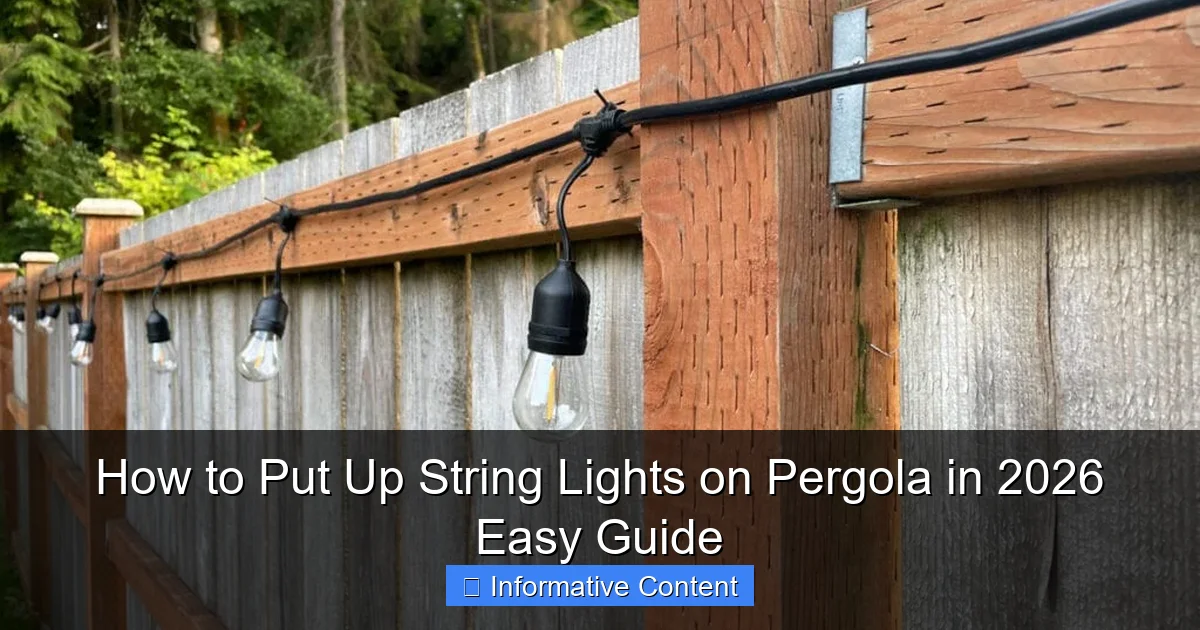
Featured image for how to put up string lights on pergola
Image source: jessicawellinginteriors.com
Transform your pergola into a stunning nighttime retreat in 2026 with simple, secure string light installation techniques that blend style and safety. Whether you’re using adhesive clips, zip ties, or guide wires, ensuring even spacing and weather-resistant hardware makes all the difference for a professional, long-lasting look. This easy guide walks you through every step—from planning your layout to plugging in the perfect glow—without damaging your structure.
Key Takeaways
- Plan your layout first: Measure and mark light placement for even, balanced coverage.
- Use weather-resistant lights: Choose commercial-grade or outdoor-rated string lights for durability.
- Secure with proper hardware: Use hooks, clips, or zip ties designed for outdoor use.
- Anchor at key points: Attach lights to pergola beams, posts, or rafters for stability.
- Test before finalizing: Power on lights after installation to check spacing and brightness.
- Hide cords safely: Tuck wires along beams or use conduit for a clean look.
- Follow local codes: Ensure outdoor electrical use complies with safety regulations.
📑 Table of Contents
- Why String Lights on a Pergola Transform Your Outdoor Space
- Choosing the Right String Lights for Your Pergola
- Planning Your String Light Layout: Measure, Sketch, and Strategize
- Tools and Materials You’ll Need (Plus Pro Tips)
- Step-by-Step Installation: From Hooks to Hanging
- Common Mistakes and How to Avoid Them (With Real Examples)
- Data Table: Recommended String Lights for Pergolas in 2026
- Enjoy Your Glowing Pergola—And Keep It That Way
Why String Lights on a Pergola Transform Your Outdoor Space
There’s something magical about stepping into your backyard at night and seeing soft, twinkling lights draped across your pergola. It’s not just about the glow—it’s about the feeling. That cozy, inviting atmosphere turns a simple outdoor structure into a personal retreat. I remember the first time I strung lights over my pergola. I was skeptical at first, worried it would look too flashy or take hours to set up. But within an hour, the space felt like a scene from a movie. The warm light bounced off the wooden beams, casting gentle shadows on the patio below. My kids begged to eat dinner outside, and my partner and I found ourselves lingering over wine long after dessert.
String lights on a pergola aren’t just for aesthetics. They extend your living space into the evening, making your backyard usable well past sunset. Whether you’re hosting a summer barbecue, enjoying a quiet night with a book, or celebrating a milestone, the right lighting sets the mood. In 2026, with more people investing in outdoor comfort, string lights have become a go-to upgrade. And the best part? You don’t need to be an electrician or a DIY expert to make it happen. With the right tools and a little know-how, you can create a stunning ambiance in just a few hours.
Choosing the Right String Lights for Your Pergola
Before you start drilling holes or tying knots, take a moment to pick the right lights. Not all string lights are created equal, and choosing wisely saves you time, money, and frustration later.
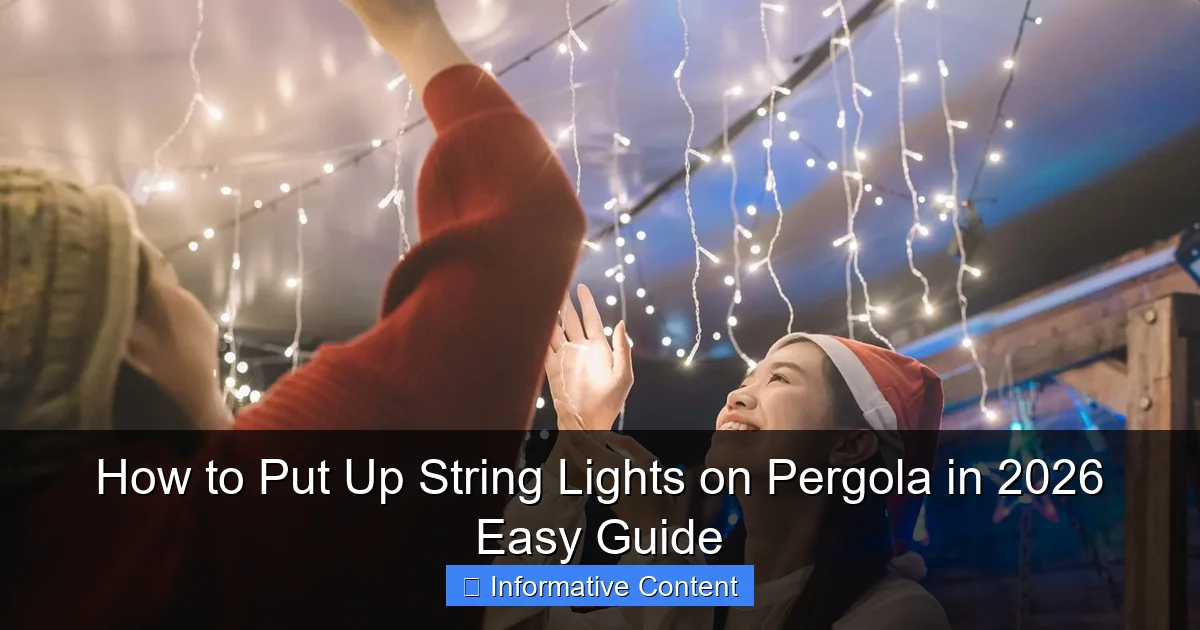
Visual guide about how to put up string lights on pergola
Image source: media.angi.com
LED vs. Incandescent: What’s the Difference?
LED string lights are the clear winner for most homeowners. They use up to 80% less energy than incandescent bulbs, last 25,000+ hours (that’s over 20 years if used 3 hours a night), and stay cool to the touch. Incandescent bulbs, while cheaper upfront, burn out faster, use more electricity, and can get hot enough to damage nearby plants or fabrics. I once used incandescent lights on a windy night—one bulb cracked and dripped hot glass onto my deck. Not a mistake I’ll make again.
LEDs also come in a wider range of colors and styles. From warm white (perfect for a cozy vibe) to color-changing RGB (great for parties), there’s an option for every taste.
Bulb Shape and Spacing Matter
Consider the bulb style:
- Edison bulbs: Vintage look with exposed filaments. Great for rustic or farmhouse pergolas.
- Mini lights: Tiny, subtle, and perfect for a soft glow. Ideal if you want a “starry night” effect.
- Globe lights: Round, diffused bulbs that cast a gentle, even light. Less glare, more elegance.
Spacing is equally important. Lights spaced 6–12 inches apart create a balanced look. Too close, and it feels cluttered. Too far, and it looks sparse. For a 10-foot pergola, 12–15 bulbs per strand usually works well.
Power Source: Plug-In, Battery, or Solar?
Plug-in: Most reliable. Just make sure you have an outdoor-rated outlet nearby. Use a GFCI-protected circuit for safety.
Battery-powered: Great for temporary setups or hard-to-reach pergolas. But batteries drain fast—especially with RGB or bright white LEDs. I once used battery lights for a party, and by midnight, half the bulbs had dimmed. Not ideal.
Solar: Eco-friendly and easy to install. Just place the solar panel in direct sunlight. But performance varies. Cloudy days or shaded pergolas can lead to dim or flickering lights. Test them during the day to ensure the panel gets enough sun.
Planning Your String Light Layout: Measure, Sketch, and Strategize
Jumping in without a plan often leads to tangled wires, uneven lighting, or a pergola that looks like a disco ball. A little prep goes a long way.
Measure Your Pergola
Grab a measuring tape and note:
- Length and width of the pergola
- Height of the beams
- Distance from the pergola to your power source
For a standard 10×12 ft pergola with 8 ft high beams, you’ll likely need 2–3 strands of 48 ft lights (or 1–2 strands of 100 ft). Always buy 10–20% more than your calculated length. You’ll need extra for draping, connecting strands, or unexpected gaps.
Sketch Your Design
Draw a simple diagram. Decide how you want the lights to hang:
- Straight lines: Parallel to the beams. Clean and modern.
- X-pattern: Crisscross between beams. Adds visual interest.
- Drape or swag: Let lights hang down in gentle curves. Creates a romantic, bistro-style feel.
- Canopy: Hang lights from the top of the pergola down to ground level. Best for larger spaces.
I once tried an X-pattern on my 8×8 ft pergola. It looked amazing—but the crossing wires tangled in the wind. Now I use straight lines with a slight drape for the best of both worlds.
Check for Obstacles
Look for:
- Nearby trees that could snag wires
- Roof overhangs that might block solar panels
- Outdoor fans or speakers that could interfere
Also, think about traffic flow. Avoid hanging lights where someone might bump their head or trip over a wire.
Tools and Materials You’ll Need (Plus Pro Tips)
You don’t need a full workshop, but having the right tools makes the job faster and safer.
Essential Tools
- Measuring tape: For accurate spacing.
- Drill and drill bits: For permanent mounts. Use a 1/8” bit for pilot holes to avoid splitting wood.
- Staple gun: For securing wires to beams. Use low-profile staples (¼” or ½”) to avoid piercing wires.
- Wire cutters: To trim excess zip ties or wire.
- Ladder: A sturdy, adjustable ladder. I prefer a step ladder with a platform for stability.
- Gloves: Protect your hands from splinters and sharp staples.
Mounting Hardware
- Screw-in hooks: For wooden pergolas. Use stainless steel or galvanized hooks to prevent rust.
- Adhesive hooks: For metal or vinyl pergolas. Look for outdoor-rated, weatherproof options.
- Zip ties: For temporary or flexible setups. Use UV-resistant ties for outdoor use.
- Eye hooks: Ideal for creating anchor points at the ends of each strand.
Pro tip: Pre-install hooks or eyelets every 12–16 inches along the beam. This gives you flexibility to adjust the light spacing later.
Extra Supplies
- Extension cords: Outdoor-rated, 16-gauge or thicker. Avoid daisy-chaining more than two cords.
- Timer or smart plug: Automatically turns lights on at dusk and off at bedtime. Saves energy and adds convenience.
- Weatherproof wire clips: Keep wires neat and protected from wind.
I keep a small kit with extra hooks, zip ties, and a spare bulb in a waterproof container near my pergola. It’s saved me more than once when a storm knocked out a connection.
Step-by-Step Installation: From Hooks to Hanging
Now for the fun part—putting up the lights! Follow these steps for a smooth, professional-looking install.
Step 1: Install Mounting Hooks
Start at one end of the pergola. Drill pilot holes and screw in hooks every 12–16 inches. For a drape effect, install hooks at varying heights (e.g., 8 ft at the ends, 6 ft in the center). Use a level to keep lines straight. If your pergola has metal beams, use adhesive hooks or drill through with a metal bit.
Tip: Don’t overtighten hooks. Leave a small gap so the light strand can slide easily.
Step 2: Test the Lights
Before hanging, plug in each strand to make sure all bulbs work. I once spent an hour hanging a 100 ft strand only to find a dead section. Now I test every strand on the ground first.
Step 3: Hang the Lights
Start at the power source. Attach the first hook, then gently drape the strand over each hook. For a swag effect, let the strand hang 6–12 inches below the beam. Use zip ties to secure loose wires to the beam every 2–3 feet. Avoid pulling too tight—this can damage the wires or hooks.
Pro tip: If using multiple strands, connect them with a waterproof coupler. Don’t exceed the manufacturer’s maximum strand limit (usually 3–5 strands).
Step 4: Manage the Power Cord
Run the extension cord along the beam or down a support post. Use wire clips or zip ties to keep it secure and out of the way. If running the cord across the yard, use a cord cover or bury it shallowly (check local codes). Never leave cords exposed where they can be tripped over or damaged by lawn equipment.
Step 5: Adjust and Tidy Up
Step back and look at the whole pergola. Adjust any sagging strands or uneven drapes. Trim excess zip ties with wire cutters. For a polished look, use black zip ties or paint hooks to match the pergola color.
Step 6: Set the Timer
Plug the lights into a timer or smart plug. Set it to turn on at sunset and off after 4–6 hours. I use a smart plug with an app so I can control the lights from my phone—perfect for when I forget to turn them off.
Common Mistakes and How to Avoid Them (With Real Examples)
Even seasoned DIYers make mistakes. Here’s how to avoid the most common pitfalls.
Overloading Circuits
Too many lights on one circuit can trip your breaker. Calculate your total wattage: multiply the number of strands by the watts per strand. Most outdoor outlets handle 15–20 amps (1,800–2,400 watts). If your lights use 200 watts, you can safely run 9–12 strands. I once plugged in 15 strands and blew the breaker—lesson learned.
Ignoring Weatherproofing
Outdoor lights need protection from rain, wind, and UV rays. Use:
- Weatherproof extension cords
- Outdoor-rated timers
- Sealant on any exposed wire connections
I lost a $50 strand of lights to a thunderstorm because the coupler wasn’t sealed. Now I use waterproof tape on every connection.
Using the Wrong Fasteners
Nails can pierce wires. Staples too close to the bulb can cause shorts. Always use hooks, clips, or UV-resistant zip ties. For wooden pergolas, pre-drill holes to avoid splitting.
Forgetting Accessibility
If you need to replace a bulb or adjust a strand, make sure you can reach it easily. I once installed lights too high and had to climb on a wobbly ladder with a flashlight to fix a dead bulb. Now I keep a small step stool nearby.
Neglecting Maintenance
Check your lights seasonally:
- Clean dust and debris from bulbs
- Inspect wires for fraying
- Replace dead bulbs promptly
A single dead bulb can cause the whole strand to dim. Keep spare bulbs and a bulb tester handy.
Data Table: Recommended String Lights for Pergolas in 2026
| Brand/Model | Length | Bulb Type | Power Source | Weather Rating | Best For | Price (approx.) |
|---|---|---|---|---|---|---|
| Brightown 100 ft LED | 100 ft | Warm white mini | Plug-in | IP65 | Large pergolas, year-round use | $45 |
| Sunnest Solar Globe | 40 ft | Warm white globe | Solar | IP67 | Eco-friendly setups, shaded areas | $60 |
| Twinkle Star Edison | 48 ft | Warm white Edison | Plug-in | IP44 | Rustic pergolas, bistro style | $35 |
| Enbrighten Color Changing | 24 ft | RGB mini | Plug-in | IP65 | Parties, mood lighting | $50 |
| GE Battery Mini | 30 ft | Warm white mini | Battery (AA) | IP44 | Temporary events, no outlet | $25 |
Note: IP ratings indicate water resistance (e.g., IP65 = dustproof and protected against water jets). Always check the manufacturer’s guidelines for outdoor use.
Enjoy Your Glowing Pergola—And Keep It That Way
There’s nothing quite like the pride of stepping back and seeing your pergola transformed by a simple string of lights. It’s not just about the installation—it’s about the moments you’ll create beneath them. Whether it’s a family movie night, a romantic dinner, or just a quiet moment with a book, those lights become part of your story.
Remember, the best lighting setup is one that works for your space and lifestyle. Don’t be afraid to experiment. Try different patterns, colors, or bulb styles. If something doesn’t work, adjust it. The beauty of string lights is their flexibility. And with the tips in this guide, you’re set up for success in 2026 and beyond.
Finally, enjoy the process. Invite a friend to help, play some music, and take breaks to admire your progress. By the time the sun sets, you’ll have more than just lights—you’ll have a space that feels like home. Now go ahead, flip that switch, and let the magic begin.
Frequently Asked Questions
How do I put up string lights on a pergola without drilling holes?
Use adhesive hooks, zip ties, or magnetic clips designed for outdoor use to secure lights without damaging the pergola. These methods work well for lightweight string lights and are easy to remove or adjust. Always check weight limits to avoid sagging.
What’s the best way to hang string lights on a pergola for even spacing?
Measure the pergola’s perimeter and mark hook or clip placements every 12–18 inches for uniform light distribution. Use a level or laser guide to ensure straight lines, especially for longer spans. Pre-plan the layout before installing hardware.
Can I install pergola string lights in 2026 with smart or solar options?
Yes! Solar-powered or smart string lights (Wi-Fi/Bluetooth) are ideal for 2026 setups—no outlets needed and customizable via apps. Ensure solar panels get direct sunlight and check smart features like timers or color changes before buying.
How do I hide string light cords on a pergola for a clean look?
Route cords behind pergola beams or under decorative trim using cord clips or raceways. For wooden pergolas, discreetly staple cords with low-profile staples, or use paintable cord covers to blend them with the structure.
What type of hardware is needed to put up string lights on a pergola?
Use outdoor-rated S-hooks, cup hooks, or eye screws for permanent setups, or adhesive hooks for renter-friendly options. Pair with zip ties or Velcro straps for extra support, especially for heavier LED or vintage-style bulbs.
How do I safely connect multiple string light strands on a pergola?
Check the manufacturer’s max connection limit (usually 3–5 strands) and use outdoor-rated extension cords. Avoid overloading circuits by distributing strands across multiple outlets or using a GFCI-protected power source.

