
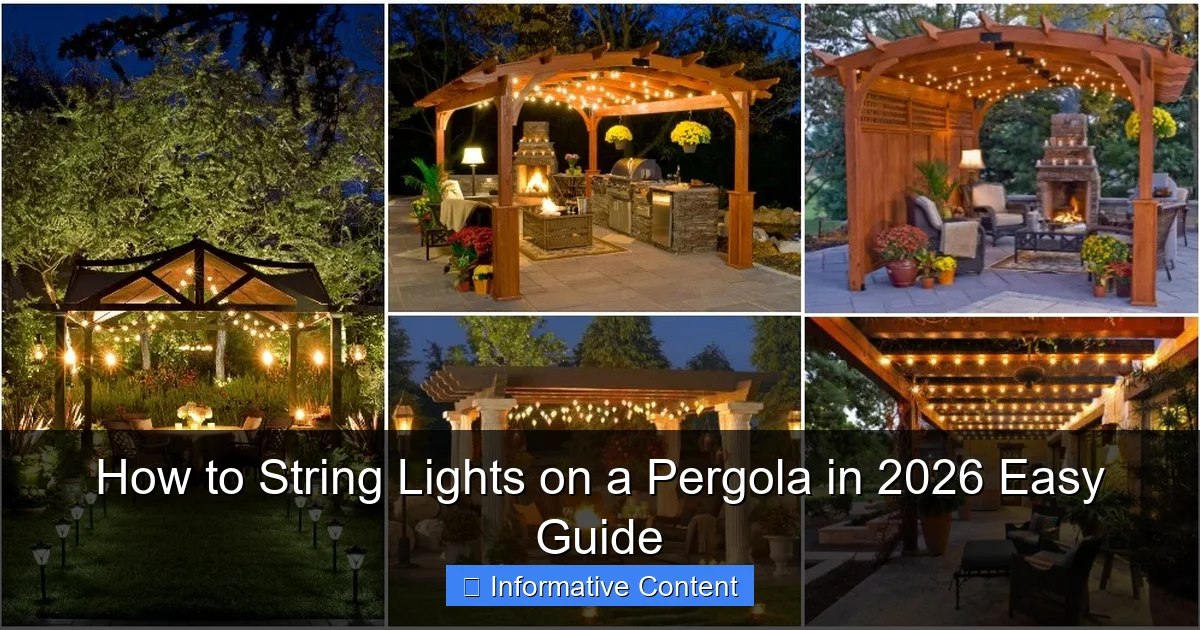
Featured image for how to string lights on a pergola
Image source: pergoladepot.com
Transform your pergola into a stunning nighttime retreat by choosing durable, weather-resistant LED string lights designed for outdoor use. Plan your layout strategically—using hooks, zip ties, or built-in clips—to ensure even spacing and a clean, professional look that enhances ambiance without sagging. Always prioritize safety by turning off power sources during installation and using a sturdy ladder or lift for hard-to-reach areas.
Key Takeaways
- Plan spacing first: Map light placement to avoid gaps or overcrowding.
- Choose weatherproof lights: Use UL-rated outdoor lights for durability.
- Anchor securely: Install hooks or clips rated for your pergola material.
- Hide wires neatly: Tuck cords along beams or use zip ties for safety.
- Test before finalizing: Check brightness and connections early to fix issues.
- Layer lighting: Combine string lights with spotlights for depth and ambiance.
- Use timers: Automate on/off times to save energy and enhance convenience.
📑 Table of Contents
- Why Stringing Lights on a Pergola Transforms Your Outdoor Space
- 1. Planning Your Pergola Lighting Setup
- 2. Choosing the Right String Lights for Your Pergola
- 3. Tools and Materials You’ll Need
- 4. Step-by-Step Installation Guide
- 5. Troubleshooting and Maintenance
- 6. Creative Ideas and Pro Tips
- Final Thoughts: Light Up Your Life (Literally)
Why Stringing Lights on a Pergola Transforms Your Outdoor Space
Picture this: a warm summer evening, the sun has dipped below the horizon, and the sky is painted in soft hues of orange and pink. You’re sitting under your pergola, sipping a cold drink, and suddenly—*click*—the space transforms into a magical oasis as warm, twinkling lights gently illuminate the wooden beams above. That’s the power of stringing lights on a pergola. It’s not just about lighting; it’s about creating a mood, a vibe, and a space where memories are made. Whether you’re hosting a dinner party, enjoying a quiet night with a book, or stargazing with your kids, the right lighting can turn your pergola from a simple structure into a backyard sanctuary.
But let’s be honest—getting those lights *just right* isn’t always easy. Maybe you’ve tried before and ended up with tangled cords, uneven spacing, or lights that flicker out after a week. Or perhaps you’re starting from scratch and wondering where to even begin. The good news? Stringing lights on a pergola in 2026 is easier than ever, thanks to better tools, smarter designs, and a wealth of real-world experience from homeowners just like you. In this guide, I’ll walk you through every step—from planning and choosing the right lights to installation, troubleshooting, and maintenance—so you can create a stunning, long-lasting display without the stress.
1. Planning Your Pergola Lighting Setup
Before you even touch a light bulb, take a step back and think about *why* you’re adding lights. Are you going for cozy ambiance? Functional lighting for nighttime use? Or maybe a festive touch for parties? Your goal will shape every decision, from bulb type to spacing and power source. I learned this the hard way when I once strung up bright, cool-white LED lights for a “relaxing evening”—and ended up with a space that felt more like a hospital waiting room than a retreat. Lesson learned: warm white (2700K–3000K) is almost always the best choice for outdoor ambiance.
Visual guide about how to string lights on a pergola
Image source: myamazingthings.com
Assess Your Pergola Layout
Grab a tape measure and note the dimensions: length, width, and height of your pergola beams. Sketch a simple diagram (even on a napkin!) showing the top structure. Most pergolas have parallel beams running lengthwise, with crossbeams underneath. Your lights will typically follow these lines. If your pergola has a sloped or arched roof, you’ll need to account for that in your spacing.
Pro tip: Use painter’s tape to mock up a light path. Stick it along the beams where you plan to hang lights. Step back and check the spacing from different angles. Does it feel balanced? Are there any awkward gaps? This low-tech trick saves hours of rework later.
Decide on Light Pattern and Style
There are a few classic ways to arrange pergola lights:
- Parallel Lines: String lights along the long beams, creating a clean, modern look. Ideal for rectangular pergolas.
- X-Pattern (or Crisscross): Weave lights diagonally across the top, like a lattice. Adds visual interest and works well for square pergolas.
- Grid Pattern: Create a checkerboard effect by running lights both lengthwise and widthwise. Best for larger pergolas with sturdy beams.
- Hanging Pendants: Suspend individual bulbs or lanterns from the beams for a bistro-style feel. Great for intimate spaces.
For example, my friend Sarah has a 12×16 ft pergola and chose a parallel setup with two rows of lights—one along each long beam. It’s simple but elegant, and the even spacing makes the space feel wider. Meanwhile, my neighbor Mike went with an X-pattern, which gives his square pergola a playful, dynamic vibe—perfect for his weekly taco Tuesdays.
Calculate How Many Lights You Need
Measure the total linear feet of the path you’ll be lighting. Most commercial string lights are sold in 25- or 50-foot strands. If you’re using parallel lines, multiply the length of your pergola by the number of rows (e.g., two rows on a 20-ft pergola = 40 ft total). Add 10% extra for slack or curves. For crisscross patterns, use the Pythagorean theorem: if your pergola is 12 ft wide and 16 ft long, each diagonal is about 20 ft (√(12² + 16²)). Multiply by the number of diagonals you plan.
Don’t forget: if you’re using multiple strands, check if they’re connectable. Some LED sets let you plug up to 10 strands together, while others require a separate power source for each. I once bought 15 strands of non-connectable lights and ended up with 15 extension cords—a tangled mess!
2. Choosing the Right String Lights for Your Pergola
Not all string lights are created equal. The market is flooded with options, but the key is matching the right type to your pergola’s structure, your climate, and your desired look. Let’s break down the pros and cons of each.
LED vs. Incandescent: The Great Debate
LED lights dominate the market in 2026 for good reasons: they’re energy-efficient (use up to 80% less power), last 10–25 times longer, and generate less heat. But incandescent bulbs still have fans for their warm, soft glow. Here’s a quick comparison:
| Feature | LED Lights | Incandescent Lights |
| Energy Use | 5–10 watts per 25-ft strand | 40–100 watts per 25-ft strand |
| Lifespan | 25,000–50,000 hours | 1,000–3,000 hours |
| Heat Output | Low (safe for wood) | High (can warp beams) |
| Color Options | Warm white, cool white, multicolor, RGB | Warm white, vintage amber |
| Cost (25-ft strand) | $15–$30 | $10–$20 |
For most pergolas, I recommend warm white LEDs. They give that classic “twinkle” without the energy drain. But if you love the vintage look (think: 1920s speakeasy), incandescents can work—just keep them on timers to reduce heat exposure.
Bulb Shape and Spacing
The bulb design affects both aesthetics and durability:
- Mini Lights: Tiny bulbs (¼ inch) spaced 2–6 inches apart. Perfect for a subtle, starry-night effect. Great for long runs.
- Globe Lights: Larger bulbs (1–2 inches) in round or oval shapes. Create a bold, modern look. Ideal for shorter spans or accent lighting.
- Candelabra Lights: Teardrop-shaped bulbs that mimic candles. Add elegance but are less bright.
- Shatterproof vs. Glass: Shatterproof bulbs (plastic or silicone) are safer for outdoor use, especially if kids or pets are around. Glass bulbs look prettier but can crack in extreme weather.
I once used glass globe lights on my pergola—they looked stunning until a hailstorm shattered three bulbs in one night. Now I stick to shatterproof LEDs with a similar aesthetic.
Smart Lights: The 2026 Upgrade
Smart string lights (Wi-Fi or Bluetooth-enabled) are a game-changer. With apps like Philips Hue or LIFX, you can:
- Adjust brightness and color temperature (e.g., warmer at night, brighter for parties)
- Set schedules (e.g., turn on at sunset, off at midnight)
- Sync with music or voice assistants (“Hey Google, dim the pergola lights”)
The downside? Higher cost ($50–$150 for a 50-ft strand) and the need for a strong Wi-Fi signal outdoors. But if you love tech, it’s worth it. My sister’s smart lights automatically shift from white to soft pink during her weekly book club—no manual switches needed!
3. Tools and Materials You’ll Need
You don’t need a full workshop, but having the right tools makes installation faster and safer. Here’s my go-to list:
Essential Tools
- Ladder: A sturdy 6- or 8-foot step ladder (or extension ladder if your pergola is tall). I prefer a fiberglass ladder for outdoor use—it’s non-conductive and weather-resistant.
- Measuring Tape: For precise spacing and length checks.
- Drill and Drill Bits: If you’re using screws or hooks (more on that below). A cordless drill with a ¼-inch bit is ideal.
- Stud Finder (optional): Helps locate wooden beams if you’re unsure where to anchor lights.
- Extension Cord(s): Outdoor-rated, GFCI-protected. I keep a 50-ft cord on hand for larger pergolas.
- Timer or Smart Plug: Automates when lights turn on/off. Saves energy and hassle.
Installation Hardware
How you attach the lights depends on your pergola’s material:
- Wood Pergolas: Use outdoor-rated screws, hooks, or eye bolts. I like 1-inch stainless steel hooks—they’re rust-proof and easy to install. Avoid nails; they can loosen over time.
- Metal Pergolas: Magnetic hooks or adhesive-backed clips work well. For permanent setups, use stainless steel zip ties or metal screws.
- Vinyl/PVC Pergolas: Use adhesive hooks or zip ties to avoid cracking the material.
Pro tip: For a no-drill option, try bungee cords with hooks. They stretch to fit beam thickness and are easy to adjust. My neighbor swears by them for his vinyl pergola.
Safety Gear
- Gloves: Protect your hands when handling lights or drilling.
- Safety Glasses: Essential when drilling or hammering.
- Non-Slip Shoes: Wet grass or a wobbly ladder can be dangerous.
I learned this last one the hard way when I slipped off my ladder while stringing lights—thankfully, I only bruised my pride (and my knee). Always work with a friend if possible, and never rush.
4. Step-by-Step Installation Guide
Now for the fun part—hanging the lights! Follow these steps for a professional-looking result.
Step 1: Test the Lights
Plug in each strand to make sure all bulbs work. Nothing’s worse than installing a string only to find a dead section. I once spent 45 minutes hanging a 50-ft strand before realizing one bulb was loose. Test *before* you climb the ladder!
Step 2: Mark Anchor Points
Using your sketch, mark where hooks or screws will go. For parallel lines, space anchors every 12–18 inches. For crisscross patterns, mark both ends of each diagonal. Use a pencil or painter’s tape.
Pro tip: For even spacing, measure the total length of your path and divide by the number of anchors. E.g., a 20-ft path with anchors every 15 inches = 16 anchors (20 x 12 / 15 = 16).
Step 3: Install Anchors
Drill pilot holes (¼-inch) into the wood, then screw in hooks or eye bolts. Don’t overtighten—you want them snug but not so tight they crack the wood. For metal or vinyl, attach adhesive clips or magnetic hooks.
Real-world example: On my cedar pergola, I used 1-inch stainless steel hooks spaced 16 inches apart. The cedar is soft, so I pre-drilled holes to prevent splitting. The hooks are barely noticeable but hold the lights securely.
Step 4: String the Lights
Start at the end farthest from your power source. Hook the first bulb (or a loop on the strand) onto the anchor, then work your way down, attaching each bulb or socket to the next anchor. For crisscross patterns, weave the strand over and under beams as needed.
Key tip: Leave a little slack (1–2 inches) between anchors. This lets the lights drape naturally and prevents tension on the sockets. Too tight = bulbs popping out.
Step 5: Manage the Cord
Route the power cord along a beam or down a post to your outlet. Use zip ties or cord clips to keep it tidy. If the cord is visible, consider painting it to match the pergola (outdoor paint works well).
Safety reminder: Never run cords across walkways or under furniture—trip hazard! Use a cord cover or bury it in mulch if necessary.
Step 6: Connect and Test
Plug in the lights and step back. Check for even spacing, proper drape, and full illumination. Adjust any bulbs or anchors as needed. Set your timer or smart plug to automate operation.
My “aha” moment: I once installed lights at sunset, thinking they’d look perfect at night. But when I checked later, one strand was dimmer than the others. Turns out, the socket was loose. Always test in full darkness!
5. Troubleshooting and Maintenance
Even the best installations need upkeep. Here’s how to keep your pergola lights shining year-round.
Common Issues and Fixes
- Bulb Not Lighting: Check the socket for debris or moisture. Tighten the bulb. If it still doesn’t work, replace it (LEDs are usually soldered in, so you may need a new strand).
- Flickering Lights: Loose connection? Check the plug and sockets. Also, ensure your extension cord isn’t overloaded.
- Uneven Drape: Adjust slack between anchors. If bulbs are too close, add a hook; if too far, remove one.
- Weather Damage: After storms, inspect for loose anchors, water in sockets, or frayed cords. Dry thoroughly before use.
I once had a strand flicker during a party—turned out, a bird had nested near the plug! Now I keep a mesh cover over my outlet box.
Seasonal Maintenance
At the start of each season:
- Inspect all bulbs and cords for damage.
- Tighten loose hooks or screws.
- Clean bulbs with a dry cloth (avoid water near sockets).
- Trim nearby branches that could snag the lights.
In winter, consider taking down lights if you get heavy snow or ice. Or, use weatherproof LED strands designed for cold climates.
Storage Tips
If you remove lights for winter:
- Coil strands loosely around a cardboard tube or plastic reel.
- Store in a cool, dry place (not a garage with extreme temps).
- Label each strand so you know which one goes where.
My storage hack: I use old gift wrap tubes and label them with masking tape. No tangles, no guesswork!
6. Creative Ideas and Pro Tips
Once you’ve mastered the basics, it’s time to get creative. Here are ways to elevate your pergola lighting.
Layer Your Lighting
Combine string lights with other sources:
- Fairy Lights in Jars: Hang mason jars with fairy lights from the beams.
- Floor Lamps or Lanterns: Place on the ground for ambient glow.
- Under-Beam Lights: Attach LED strips beneath the beams for a floating effect.
My friend Anna added solar-powered lanterns to her pergola floor. The mix of overhead and ground lighting creates depth.
Color and Themed Lighting
- Color-Changing LEDs: Use RGB lights for parties (red/green for Christmas, blue/white for winter).
- Edison Bulbs: Vintage-style bulbs add rustic charm.
- Projectors: Shine patterns (stars, snowflakes) onto the pergola ceiling.
For my daughter’s birthday, I used a star projector with warm white strings—it felt like we were under a real night sky!
Pro Tips for Longevity
- Use Surge Protectors: Protect lights from power spikes.
- Choose Weatherproof Strands: Look for IP65 or IP67 ratings.
- Angle Outlets Up: Install outdoor outlets facing downward to prevent water pooling.
- Go Solar: Solar string lights are perfect for pergolas far from outlets. Just ensure they get 6+ hours of sun.
Final thought: My pergola lights have survived 5 years of rain, wind, and curious raccoons—thanks to stainless steel hooks, LED bulbs, and a good timer. With the right setup, yours can too.
Final Thoughts: Light Up Your Life (Literally)
Stringing lights on a pergola isn’t just a DIY project—it’s an act of love for your outdoor space. It’s about crafting moments, not just installing bulbs. Whether you’re a first-timer or a seasoned pro, the key is to start simple, plan carefully, and embrace imperfections. Some of my favorite lighting “flaws” are the ones that make the space feel lived-in: a slightly crooked strand, a bulb that flickers just once in a while—like the pergola is winking at me.
Remember, the best lighting setup is the one that makes *you* smile. So grab those tools, gather your lights, and get to work. In a few hours, you’ll have a space that’s not just beautiful—it’s *alive*. And when the sun sets and those first lights twinkle on? That’s when the magic happens. Here’s to many more evenings under your glowing pergola, 2026 and beyond. Happy lighting!
Frequently Asked Questions
How do I string lights on a pergola without damaging it?
Use adhesive hooks, zip ties, or removable clips designed for outdoor use to avoid drilling or stapling. These methods securely hold string lights while protecting your pergola’s wood or metal structure.
What’s the best way to plan spacing for string lights on a pergola?
Measure your pergola’s perimeter and divide by the spacing you want (typically 12–24 inches). For even coverage, map out anchor points before hanging to ensure consistent gaps between lights.
Can I use solar-powered lights for a pergola, and how do I install them?
Yes! Solar string lights are ideal for pergolas—just ensure the solar panel gets direct sunlight. Attach the lights using clips or hooks, and place the panel on a sunlit beam or roof.
How to string lights on a pergola with a slatted roof?
Weave lights through the slats or run them along the beams, securing with zip ties or S-hooks. For a zigzag pattern, alternate sides of each slat to create visual interest.
What type of string lights work best for outdoor pergolas in 2026?
Weather-resistant LED string lights with shatterproof bulbs are top choices for 2026. Look for IP65-rated waterproof options and smart bulbs for color control and timers.
How do I hide the wires when installing string lights on a pergola?
Route cords along beams or under trim using cord clips or conduit channels. Match cord colors to your pergola or use decorative covers for a seamless look.

