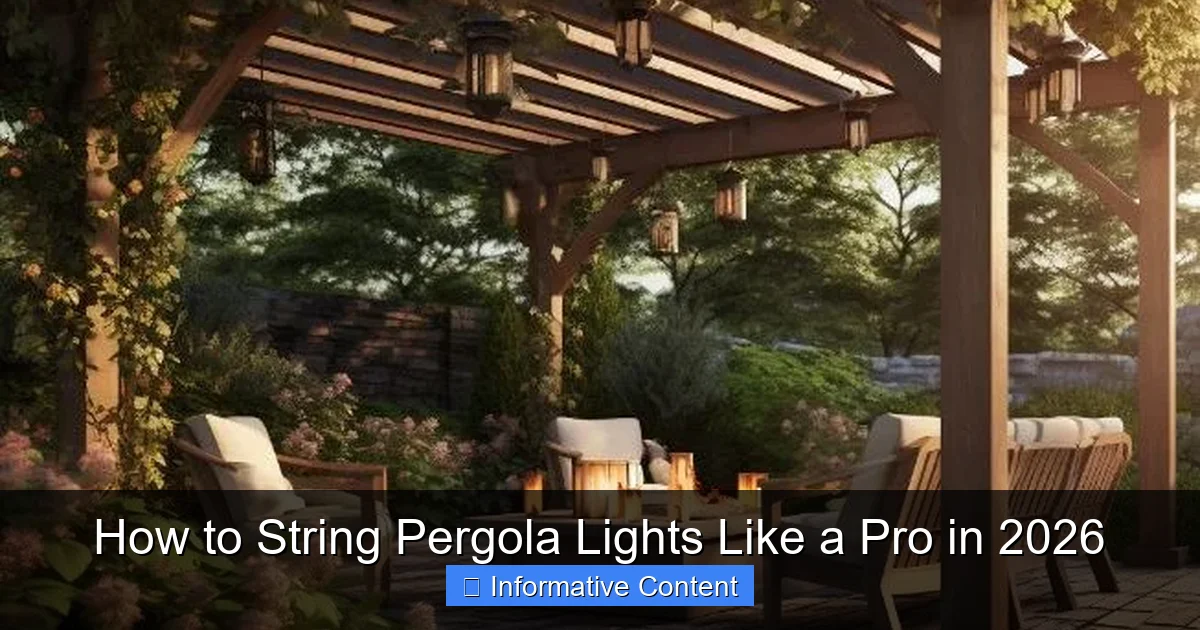
Featured image for how to string pergola lights
Image source: egygazebo.com
Transform your pergola into a stunning nighttime retreat by choosing weather-resistant, LED string lights and spacing them evenly for balanced illumination. Use durable mounting clips or stainless steel cables to secure lights without damaging wood or structure, ensuring a clean, professional look. With smart spacing, a plug-in timer, and a zigzag or linear pattern, you’ll achieve flawless ambiance in under an hour.
Key Takeaways
- Plan your layout first: Sketch light placement for balanced, professional results.
- Use weatherproof lights: Choose IP65-rated LEDs for year-round durability.
- Secure with adjustable hooks: Install stainless steel hooks for tension control.
- Test before finalizing: Check connections and spacing before permanent installation.
- Hide cords strategically: Use raceways or clips for a clean, seamless look.
- Layer lighting types: Combine string and spotlights for depth and ambiance.
📑 Table of Contents
- Why Stringing Pergola Lights Is Worth the Effort
- Planning Your Pergola Lighting Layout
- Selecting and Preparing Your Lights
- Step-by-Step Installation Guide
- Advanced Techniques for a Professional Look
- Maintenance and Long-Term Care
- Data Table: Recommended Pergola Light Specs (2026)
- Final Thoughts: Enjoy Your Glow
Why Stringing Pergola Lights Is Worth the Effort
There’s something magical about a pergola lit up at night. Maybe it’s the way the soft glow dances across the wood beams, or how the lights make your backyard feel like a private retreat. I remember the first time I strung lights across my own pergola. It was late summer, and I’d spent the afternoon wrestling with tangled cords and wondering if I’d ever get it right. But when I flipped that switch and the entire space lit up—my kids cheered, my partner smiled, and I felt like a backyard wizard. That moment made every frustrating knot worth it.
Stringing pergola lights isn’t just about aesthetics. It’s about creating an experience. Whether you’re hosting a dinner party, enjoying a quiet evening with a book, or simply wanting to extend your outdoor time after sunset, the right lighting transforms your space. But it’s not as simple as draping a string from one end to the other. Done poorly, lights can sag, tangle, or look haphazard. Done well, they elevate your entire outdoor area. In this guide, I’ll walk you through how to string pergola lights like a pro in 2026—with real-world tips, common pitfalls, and solutions that actually work.
Planning Your Pergola Lighting Layout
Assess Your Pergola Structure
Before you buy a single light strand, take a good look at your pergola. Is it a classic wooden structure with evenly spaced beams? A modern aluminum frame with minimal crossbars? Or a custom design with arches or curves? The structure determines your mounting options and how you’ll distribute the lights.
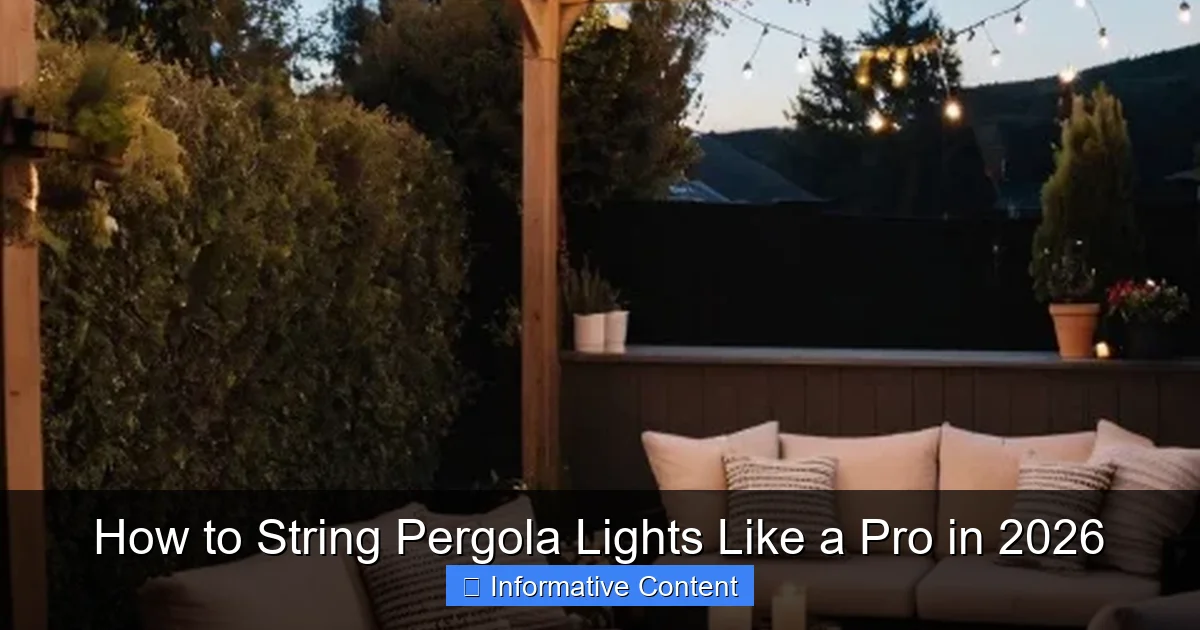
Visual guide about how to string pergola lights
Image source: publicdomainpictures.net
For example, my pergola has four support posts and three crossbeams. I knew I needed to anchor lights to both vertical and horizontal elements. If your pergola has open sides (like mine), you’ll likely want to run lights along the top beams and possibly down the posts. But if it’s enclosed with lattice or screens, you’ll need to work around those features.
Pro tip: Sketch a simple diagram of your pergola from above and the side. Mark beam positions, post locations, and any obstacles (like ceiling fans, plants, or outdoor speakers). This becomes your lighting blueprint.
Choose the Right Light Type for Your Space
Not all pergola lights are created equal. Here’s a quick breakdown of the most popular options in 2026:
- LED string lights: Energy-efficient, long-lasting, and available in warm white, cool white, or color. Most have weatherproof (IP44 or higher) ratings. Ideal for most pergolas.
- Edison bulb lights: Vintage-style bulbs with exposed filaments. Great for rustic or industrial looks, but often less bright and more fragile.
- Fairy lights (micro LEDs): Delicate and sparkly. Perfect for a soft, magical glow—but can be hard to see in bright moonlight.
- Net lights: Pre-woven grids that drape over beams. Super easy to install, but limited to straight, horizontal runs.
- Smart lights: App-controlled with color-changing, dimming, and scheduling features. A bit pricier, but worth it if you love tech.
I went with warm white LED string lights (2700K) with a dimmable controller. They’re bright enough for dining but soft enough for relaxing. Plus, they use only 12 watts for 20 feet—less than a single incandescent bulb.
Calculate the Right Length and Spacing
Here’s where most people go wrong: buying too few strands or spacing them too far apart. You want even, intentional coverage, not a few lonely bulbs floating in space.
Measure your pergola’s perimeter and top beams. A good rule of thumb: use one 20-foot strand per 4–5 feet of beam for a full, non-sparse look. If you want a more dramatic effect (like cascading lights), double the density.
Example: My pergola’s top beam is 16 feet long. I used four 20-foot strands (totaling 80 feet) to create a crisscross pattern with 4–6 inches between each run. This gave me a lush, layered glow without overwhelming the space.
Also, plan for extra length—about 10–15% more than your measured distance. You’ll need slack for mounting hardware, curves, and reaching the outlet. I once miscalculated and ended up with a 3-foot gap between my last light and the power source. Not fun.
Selecting and Preparing Your Lights
Buy Quality, Weather-Resistant Lights
Outdoor lights need to withstand rain, wind, UV rays, and temperature swings. In 2026, look for:
- IP rating of IP44 or higher: Protects against water splashes and dust. IP65 or IP67 is even better for areas with heavy rain.
- UL or ETL listing: Ensures safety standards are met.
- UV-resistant wire coating: Prevents yellowing and cracking.
- Connectable strands: Let you link multiple sets without overloading circuits.
I learned this the hard way. My first set of “outdoor” lights had a flimsy plastic coating that cracked after one winter. The second set (a premium brand with IP65 rating) is going strong after three years.
Check the wattage and amperage. Most outdoor outlets handle 15 amps (1,800 watts). A 20-foot LED strand typically uses 10–15 watts. So, you can safely run 100–150 feet of lights on one circuit. Use a circuit calculator (many are free online) to avoid tripping breakers.
Inspect and Test Before Installation
Unpack your lights and test them indoors. Plug in each strand and check for:
- Dead bulbs or sections
- Flickering
- Loose connections
- Damaged wires
I always do this on the kitchen table. It’s much easier to replace a faulty strand before it’s 8 feet in the air. One year, I found a strand with a short circuit—returned it, and the store replaced it with a newer model. Crisis averted.
Also, untangle the cords. Use a clothes hanger or your hands to gently loosen knots. I like to lay each strand flat on the ground in a figure-eight pattern to prevent future tangles.
Prepare Mounting Hardware and Tools
You’ll need more than just lights. Here’s my go-to toolkit:
- Weatherproof mounting clips: Plastic or metal clips designed for outdoor use. Avoid zip ties—they degrade in sunlight.
- Stainless steel screws or hooks: For permanent installations.
- Extension cords (outdoor-rated): With GFCI protection for safety.
- Ladder: A sturdy A-frame or extension ladder. I use a 6-foot A-frame for my pergola.
- Drill and drill bits: For pre-drilling holes if needed.
- Gloves and safety glasses: Protect your hands and eyes.
For my wooden pergola, I used clear plastic clips with adhesive backing on the beams and stainless steel eye hooks on the posts. The clips held the lights without damaging the wood, and the hooks let me anchor the ends securely.
Step-by-Step Installation Guide
Start at the Power Source
Always begin at the outlet. This ensures you have enough cord to reach every part of the pergola. Run your first strand from the outlet to the nearest beam or post. Leave a 2–3 foot loop near the plug—this gives you slack for future adjustments or repairs.
I plug my lights into a weatherproof outlet box mounted under the pergola. It has a cover to protect the connection from rain. If you don’t have one, use a GFCI outlet with a bubble cover.
Secure the First Anchor Point
Attach the first light’s end cap (or a clip) to the starting point. If using clips, press them firmly into the wood. For eye hooks, pre-drill a small hole and screw them in by hand to avoid splitting the wood.
Don’t pull the light taut yet. You’ll adjust tension later. Just make sure it’s secure enough to hold the weight.
Run the Lights Along the Beam
Now, drape the strand along the beam. Use clips every 12–18 inches to prevent sagging. For a crisscross pattern (my favorite), run one strand horizontally, then another diagonally from corner to corner. Overlap them at the center for a fuller look.
Tip: Work in sections. Don’t try to string all lights at once. Focus on one beam or side at a time. I start with the front beam, then move to the back, then the sides.
If your pergola has a sloped roof, run lights along the peak. For flat-top pergolas, you can create a “web” by connecting lights from the center to each corner.
Handle Corners and Transitions
Corners are tricky. Don’t force the lights to make sharp 90-degree turns—this can damage the wires. Instead:
- Use flexible corner clips that let the strand bend naturally.
- Or, install a small hook at the corner and loop the light around it.
When moving from a beam to a post, use a vertical run. Attach a clip at the top of the post, run the light down, and anchor it at the base. I like to stagger vertical runs so they’re not all aligned—it looks more organic.
Connect Multiple Strands Safely
If you’re linking strands, use the manufacturer’s connectors (usually a male-to-female plug). Don’t splice wires or use electrical tape—it’s unsafe and not weatherproof.
Connect strands before mounting them. This lets you test the full run and fix any issues on the ground. I once connected five strands in the air and found one was dead. Had to take the whole thing down. Lesson learned.
Keep connections off the ground and away from water. I use weatherproof connection boxes or tuck plugs into a beam’s underside.
Advanced Techniques for a Professional Look
Create Depth with Layered Lighting
One strand looks flat. Multiple layers add dimension. Try:
- Double-layered beams: Run two strands parallel to each other, 6–8 inches apart.
- Hanging pendant lights: Suspend a few larger bulbs from the center beam. I use three vintage-style bulbs with a 12-inch drop—they’re the focal point.
- Uplighting: Place small LED spotlights at the base of posts to cast upward shadows.
For my pergola, I combined horizontal string lights with a central chandelier. The result? A cozy, layered glow that works for everything from movie nights to cocktail parties.
Use Smart Controls for Flexibility
Smart lights are a game-changer in 2026. With a hub or app, you can:
- Dim lights to 20% for stargazing
- Set schedules (e.g., lights on at sunset, off at 11 PM)
- Change colors for holidays or moods
- Control with voice commands (Alexa, Google Home)
I use a smart dimmer switch with my LED strands. It’s connected to a Wi-Fi hub, so I can adjust brightness from my phone. No more climbing a ladder to reach a manual switch!
Add Decorative Elements
Lights don’t have to be plain. Enhance your design with:
- Fairy light “clouds”: Bundle micro LEDs into a loose ball and hang from a hook.
- Paper lanterns: Place over bulbs for a softer glow (use LED-only to avoid fire risk).
- Natural accents: Weave lights through hanging plants or ivy.
I love adding white paper lanterns over a few bulbs. They diffuse the light and create a dreamy, ethereal effect. Just make sure they’re at least 6 inches from any heat source.
Maintenance and Long-Term Care
Clean Lights Annually
Dust, pollen, and bird droppings dull your lights. Once a year (I do it in spring), wipe strands with a soft, damp cloth. For stubborn grime, use a mild soap solution. Never use abrasive cleaners—they can scratch the coating.
Check bulbs and wires while cleaning. Replace any that are cracked, flickering, or loose. I keep spare bulbs and clips in a labeled bin for quick fixes.
Winter Storage Tips
If you live in a cold climate, consider removing lights in winter. Heavy snow and ice can damage strands and mounting hardware. To store:
- Coil lights loosely (avoid tight knots).
- Store in a breathable bag (not plastic—it traps moisture).
- Keep in a dry, temperature-stable area (e.g., garage, basement).
I leave my lights up year-round because my pergola is covered and my climate is mild. But I do add extra clips before winter to prevent sagging from snow load.
Inspect and Repair Seasonally
Before each season, inspect your setup. Look for:
- Loosened clips or hooks
- Frayed wires
- Corroded connections
- Overgrown plants that might tangle the lights
I do a “light check” every spring and fall. Last year, I found a clip that had loosened after a storm. Tightened it in two minutes—no big deal. But if I’d ignored it, the strand might have fallen.
Data Table: Recommended Pergola Light Specs (2026)
| Light Type | Best For | Wattage (per 20 ft) | Lifespan (hours) | Weather Rating | Price Range (20 ft) |
|---|---|---|---|---|---|
| LED String Lights | General use, energy efficiency | 10–15W | 25,000–50,000 | IP44 to IP67 | $20–$40 |
| Edison Bulb Lights | Rustic, vintage aesthetics | 40–60W | 1,000–2,000 | IP44 | $30–$60 |
| Fairy Lights | Soft, magical ambiance | 5–8W | 20,000–30,000 | IP44 | $15–$25 |
| Net Lights | Quick installation, even coverage | 15–20W | 15,000–25,000 | IP44 | $25–$50 |
| Smart LED Lights | Tech lovers, color control | 12–18W | 30,000–40,000 | IP65 | $40–$80 |
This table reflects 2026 market trends. LED and smart lights dominate due to energy efficiency and versatility. While Edison bulbs are less practical, they remain popular for specific aesthetics.
Final Thoughts: Enjoy Your Glow
Stringing pergola lights isn’t just a DIY project—it’s an act of creation. When you take the time to plan, install, and maintain your lights, you’re not just adding illumination. You’re building memories. I’ll never forget the first night I lit up my pergola. The kids danced in the glow, my partner poured wine, and we stayed outside until the stars came out. That’s the magic of how to string pergola lights right.
Remember: start with a solid plan, choose quality lights, and don’t rush the installation. Use the right tools, test as you go, and embrace imperfections—sometimes a slightly crooked strand adds charm. And if you mess up? No problem. I’ve redone my lights three times. Each version got better.
As you stand under your pergola, lights twinkling above, I hope you feel that same sense of pride and peace. You’ve transformed a simple structure into a sanctuary. Now grab a drink, invite someone you love, and let the light do the rest. After all, that’s what pergola lights are for: not just to shine, but to connect.
Frequently Asked Questions
How do I choose the right pergola lights for my space?
Consider the size of your pergola, desired ambiance (warm white, RGB, etc.), and power source (solar, plug-in, or hardwired). For larger spaces, LED string lights with higher lumens or commercial-grade options work best for even illumination. Always measure your pergola’s dimensions to ensure adequate coverage.
What’s the best way to string pergola lights without damaging the structure?
Use removable hooks, zip ties, or adhesive clips designed for outdoor use to avoid drilling into wood or metal. For a clean look, run lights along the beams or rafters, securing them at regular intervals with non-marring fasteners. This method also simplifies removal for seasonal changes.
How far apart should I space the lights when stringing pergola lights?
Space bulbs or sockets 6–12 inches apart for optimal brightness and visual appeal, depending on the bulb size and spacing of your chosen lights. Closer spacing works well for intimate gatherings, while wider gaps suit ambient lighting. Test a section first to adjust spacing as needed.
Can I install pergola lights without hiring an electrician?
Yes, if using plug-in or solar-powered lights—just ensure outdoor-rated extension cords and GFCI outlets are used for safety. For hardwired installations, consult a licensed electrician to comply with local codes, especially for permanent setups.
How do I hide wires when stringing pergola lights for a polished look?
Use wire clips or raceways to tuck cords along beams, or choose lights with flat, low-profile wiring. For a seamless effect, run wires behind lattice panels or under decorative trim. Solar-powered lights eliminate cords entirely.
What are common mistakes to avoid when stringing pergola lights?
Overloading circuits, using indoor lights outdoors, or neglecting weatherproofing can lead to failures or hazards. Always check wattage limits and use UL-listed outdoor lights. Avoid excessive tension on wires to prevent sagging or damage over time.

