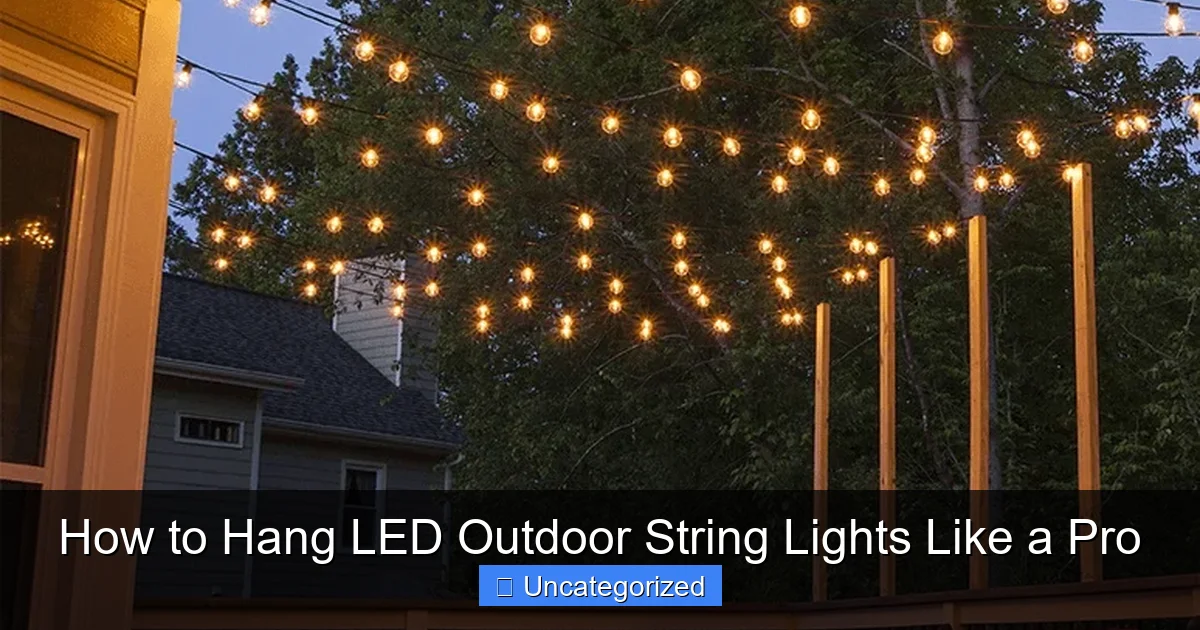
Featured image for how to hang led outdoor string lights
Image source: kanglight.com
Plan your layout and measure the space before hanging LED outdoor string lights to ensure even spacing and a polished look. Use durable mounting hardware like hooks or zip ties designed for outdoor use, securing lights along eaves, railings, or trees without overloading circuits. With attention to spacing, power sources, and weather resistance, you’ll create a professional, inviting ambiance that lasts.
“`html
How to Hang LED Outdoor String Lights Like a Pro
Key Takeaways
- Plan your layout first: Sketch the area to ensure proper spacing and avoid overhangs.
- Use sturdy anchors: Secure lights to walls, fences, or poles with heavy-duty hooks or screws.
- Measure twice, hang once: Confirm distances between anchor points to prevent sagging or tension issues.
- Weatherproof connections: Protect plugs and joints with silicone covers or electrical tape for durability.
- Test before finalizing: Check lights for function and brightness before securing all connections.
- Opt for dimmers: Install a dimmer to adjust ambiance and extend bulb lifespan effortlessly.
Why This Matters / Understanding the Problem
Imagine hosting a backyard dinner party under a soft, warm glow that makes your patio feel like a cozy oasis. That’s the magic of LED outdoor string lights. But if they sag, flicker, or fall down after a light breeze, the mood quickly fades. Learning how to hang LED outdoor string lights like a pro isn’t just about looks—it’s about safety, durability, and creating a lasting ambiance.
Many people struggle with uneven tension, poor anchoring, or tangled wires. Worse, some installations fail within weeks because they skip key steps. Whether you’re lighting up a pergola, fence line, or backyard trees, a pro-level installation ensures your lights stay up, shine bright, and survive the seasons. With the right approach, you’ll avoid headaches and enjoy a stunning outdoor space all year long.
From choosing the right hardware to managing power sources, this guide walks you through every detail. You’ll learn how to hang LED outdoor string lights like a pro without hiring an electrician or spending a fortune.
What You Need
Before you start, gather these tools and materials. Having everything ready saves time and prevents mid-project trips to the hardware store.
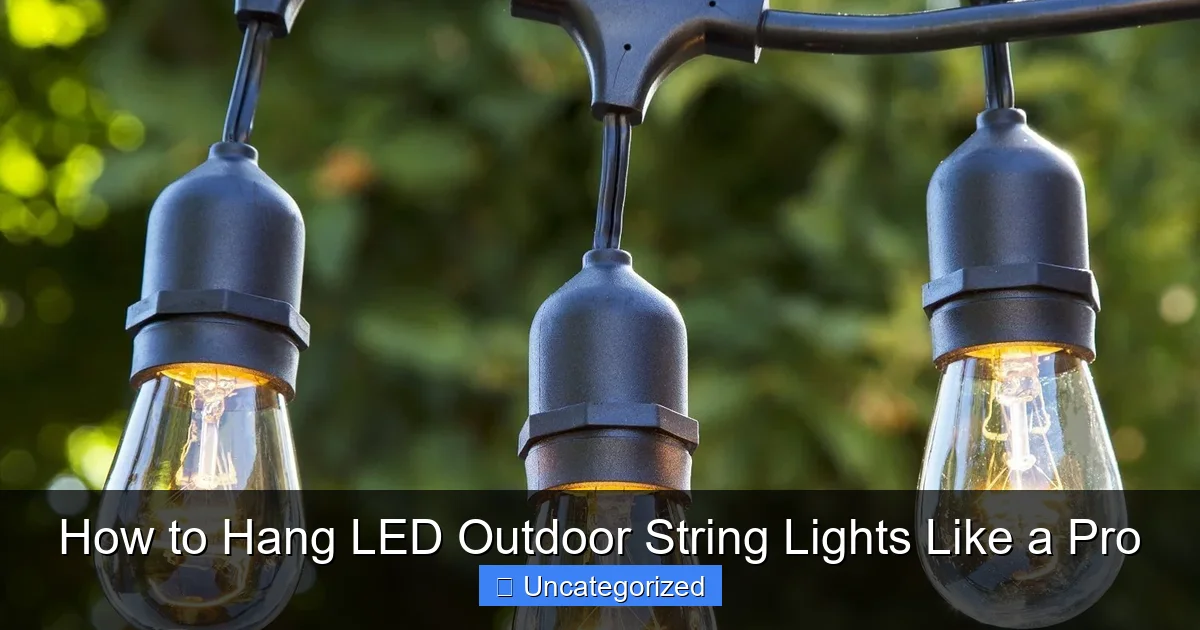
Visual guide about how to hang led outdoor string lights
Image source: cdn.shopify.com
- LED string lights (rated for outdoor use, preferably with shatterproof bulbs)
- Anchor points (hooks, eye screws, zip ties, or cable clips)
- Drill & screwdriver (with appropriate bits for wood, masonry, or vinyl)
- Measuring tape (to space lights evenly)
- Extension cords (outdoor-rated, with proper wattage capacity)
- Power timer or smart plug (optional, but highly recommended)
- Zip ties or stainless steel cable clips (for securing along fences or rails)
- Weatherproof sealant (for sealing screw holes on wood or siding)
- Gloves & safety goggles (safety first!)
- Step ladder (if hanging above 6 feet)
Pro Tip: Always check the wattage of your LED lights and extension cords. Most outdoor LED strings use 5–15 watts per strand. Make sure your power source can handle the total load—especially if daisy-chaining multiple strands.
Step-by-Step Guide to How to Hang LED Outdoor String Lights Like a Pro
Step 1: Plan Your Layout (Measure, Map, and Mark)
Start with a clear plan. Sketch your space on paper or use a free app like SketchUp or even Google Maps. Decide where you want the lights: over a dining area, along a walkway, or wrapped around tree trunks. The goal is even coverage without overcrowding.
Measure the total distance you need to cover. Most LED string lights come in 25- to 48-foot strands. If your space is longer, you’ll need to connect multiple strands. How to hang LED outdoor string lights like a pro means planning for power sources and avoiding overloading circuits.
Mark anchor points every 2–3 feet. For straight runs, use a chalk line or laser level to keep lines straight. For curves (like around a pergola), use flexible zip ties or clips that can bend with the shape.
Warning: Never stretch LED strings too tight. They’re not designed to bear weight. Over-tensioning can damage wires and shorten bulb life.
Step 2: Choose and Install Anchor Points
Anchor points are the backbone of your setup. They hold the lights in place and prevent sagging. The type you use depends on your surface:
- Wood (e.g., pergola, deck railing): Use stainless steel eye screws or cup hooks. They’re strong, weather-resistant, and easy to install with a drill.
- Masonry (e.g., brick, concrete): Use masonry screws with plastic anchors or toggle bolts. Drill pilot holes and insert anchors before screwing in hooks.
- Vinyl or aluminum siding: Use adhesive-backed cable clips or zip ties with UV protection. Avoid drilling into thin siding—it can crack.
- Fences: Use zip ties (rated for outdoor use) or S-hooks. For chain-link, wrap the string around and secure with ties.
- Trees: Use soft, wide tree straps (not zip ties) to avoid girdling. Wrap loosely and check yearly.
Install anchors at consistent intervals. For long runs, use a level to ensure they’re aligned. If you’re hanging lights between two trees, use a temporary string to test height and tension before installing hardware.
Pro Tip: Use a stud finder on wood surfaces to hit solid framing. This prevents hooks from pulling out under load.
Step 3: Test Your Lights Before Installing
Before hanging, plug in your LED string lights and test them. Look for flickering, dim bulbs, or broken sockets. Fix any issues now—it’s much harder to repair once they’re up.
If using multiple strands, test each one. Some LED sets allow daisy-chaining (connecting end-to-end), but check the manufacturer’s limit. Most recommend no more than 3–5 strands in a chain to avoid overloading.
Also, test your extension cord and timer. Make sure the timer works and the cord reaches your power source safely. Never run cords through water or under doors where they can be pinched.
Warning: Never leave extension cords coiled while powered. Heat builds up and can cause fires. Always unplug and uncoil after use.
Step 4: Hang the Lights (Start at the Power Source)
Always begin at the end closest to your power source. This reduces strain on the plug and keeps cords tidy. Unroll the string lights gently—don’t yank or twist.
For straight runs (e.g., along a pergola):
- Hook the first bulb or socket onto the anchor point.
- Move down the line, attaching every 2–3 feet.
- Use the light’s built-in hooks or add small S-hooks between bulbs for extra support.
For curved or irregular paths (e.g., around a tree):
- Wrap the string loosely around the trunk, using tree-safe straps or clips.
- Secure every 1–2 feet to prevent slipping.
- Use zip ties on branches, but never too tight—trees grow!
For overhead installations (e.g., between two poles):
- Use a temporary guide string to test height and sag.
- Attach the lights to anchors, adjusting tension so they’re snug but not tight.
- Use a catenary wire (a thin steel cable) for spans over 20 feet to prevent sagging.
Pro Tip: For a “floating” look, use clear fishing line to tie bulbs to anchors. It’s nearly invisible and adds elegance.
Step 5: Manage Cords and Power Sources
Messy cords ruin the look and create tripping hazards. Here’s how to keep them clean:
- Use outdoor-rated extension cords. Look for “SJTW” or “SJOW” ratings—they’re waterproof and UV-resistant.
- Run cords along walls or under deck boards. Use adhesive cable clips or zip ties every 12–18 inches.
- Elevate cords off the ground. Use stakes or clips to keep them dry and safe from pets or lawnmowers.
- Use a power timer or smart plug. Set lights to turn on at dusk and off at bedtime. This saves energy and protects bulbs.
- Seal outdoor outlets. Use a weatherproof cover or install a GFCI outlet to prevent shocks.
If your power source is far, use a heavy-duty extension cord (14- or 12-gauge) to avoid voltage drop. Long cords (over 50 feet) may need a thicker gauge.
Warning: Never use indoor extension cords outside. They’re not waterproof and can overheat.
Step 6: Secure and Weatherproof
Even the best lights can fail if exposed to rain, wind, or sun. Add these finishing touches:
- Seal screw holes. Use clear silicone caulk around eye screws on wood or siding to prevent water intrusion.
- Protect connections. Use waterproof wire nuts or electrical tape on splices. Better yet, use outdoor-rated connectors.
- Add strain relief. Tie a loose knot in the cord near the plug to reduce stress on the socket.
- Trim excess zip ties. Use a flush cutter to avoid sharp edges.
- Check for UV resistance. If your lights aren’t rated for direct sun, install them under eaves or awnings.
For winter, consider removable clips or hooks. This lets you take lights down before snow or ice hits.
Step 7: Test, Adjust, and Enjoy
Turn on the lights and walk around. Look for:
- Uneven spacing or sagging
- Flickering bulbs
- Cords that are too visible or in walkways
- Shadows or dark spots
Make small adjustments. Tighten loose hooks, add more clips, or reposition bulbs. Step back and admire your work. The goal is a soft, even glow that feels intentional—not random.
Set your timer and enjoy. Now you’ve mastered how to hang LED outdoor string lights like a pro.
Pro Tips & Common Mistakes to Avoid
Even seasoned DIYers make mistakes. Here’s how to avoid them:
- Mistake: Overloading circuits. Too many strands on one outlet can trip breakers or cause fires. Use a wattage calculator and spread loads across circuits.
- Mistake: Ignoring weather ratings. Not all LED lights are created equal. Look for “IP65” or “weatherproof” on the packaging.
- Mistake: Using weak anchors. Plastic hooks or flimsy zip ties won’t hold in wind. Use stainless steel or heavy-duty nylon.
- Mistake: Hanging lights too low. Bulbs should be at least 6 feet high to avoid head bumps. Use a ladder to test.
- Mistake: Skipping maintenance. Check lights seasonally. Clean bulbs with a damp cloth, tighten loose hooks, and replace damaged strands.
Pro Tip: Use a “light level” app (like Lux Light Meter) to measure brightness. Aim for 10–20 lux for ambient lighting—cozy but not blinding.
Bonus Tip: For a “starry sky” effect, hang lights in a zigzag pattern between trees. Use a grid of anchors for even spacing.
Pro Insight: Color temperature matters. Warm white (2700K–3000K) creates a cozy feel. Cool white (4000K) feels modern but less inviting. Stick with warm for most outdoor spaces.
FAQs About How to Hang LED Outdoor String Lights Like a Pro
Q: Can I hang LED string lights in winter?
A: Yes, but use lights rated for cold weather (look for “-20°C” or “-4°F” on the box). Avoid hanging them in snowy areas unless they’re removable. Cold can make wires brittle, so handle gently.
Q: How high should I hang the lights?
A: At least 6 feet above the ground for walkways, and 7–8 feet over dining areas. For overhead runs (e.g., between trees), aim for 10–12 feet to allow clearance for tall people or decorations.
Q: Can I connect multiple strands?
A: Yes, but check the manufacturer’s limit. Most LED sets allow 3–5 strands in a chain. Exceeding this can cause dimming or burnouts. Use a power strip with overload protection if connecting many.
Q: How do I prevent sagging in long runs?
A: Use a catenary wire (thin steel cable) as a support. Hang the lights from the wire with small hooks or zip ties. This distributes weight evenly and keeps lines taut.
Q: What’s the best way to power lights far from an outlet?
A: Use a heavy-duty extension cord (12- or 14-gauge) and a weatherproof outlet box. For very long distances, consider a solar-powered string light set or a portable battery pack (rated for outdoor use).
Q: Can I leave lights up year-round?
A: It’s possible, but not ideal. UV rays and moisture degrade wires and sockets over time. For longevity, remove them during harsh seasons. If leaving up, inspect monthly and replace damaged parts.
Q: How do I hide the cords?
A: Run cords along fence lines, under deck boards, or behind plants. Use cord covers (like raceways) or paint them to match walls. For a clean look, bury cords in shallow trenches (use outdoor-rated conduit).
Final Thoughts
Hanging LED outdoor string lights isn’t just a weekend project—it’s an investment in your home’s ambiance and enjoyment. By following this guide, you’ve learned how to hang LED outdoor string lights like a pro: from planning and hardware to weatherproofing and maintenance.
Remember, the key is preparation. A well-planned layout, quality anchors, and smart cord management make all the difference. Don’t rush—take your time, test as you go, and adjust until it feels just right.
Now, grab your tools, invite some friends, and light up your outdoor space. Whether it’s a quiet evening under the stars or a lively party, your pro-level installation will shine for years to come. Ready to start? Your dream backyard is just a few hooks away.
“`

