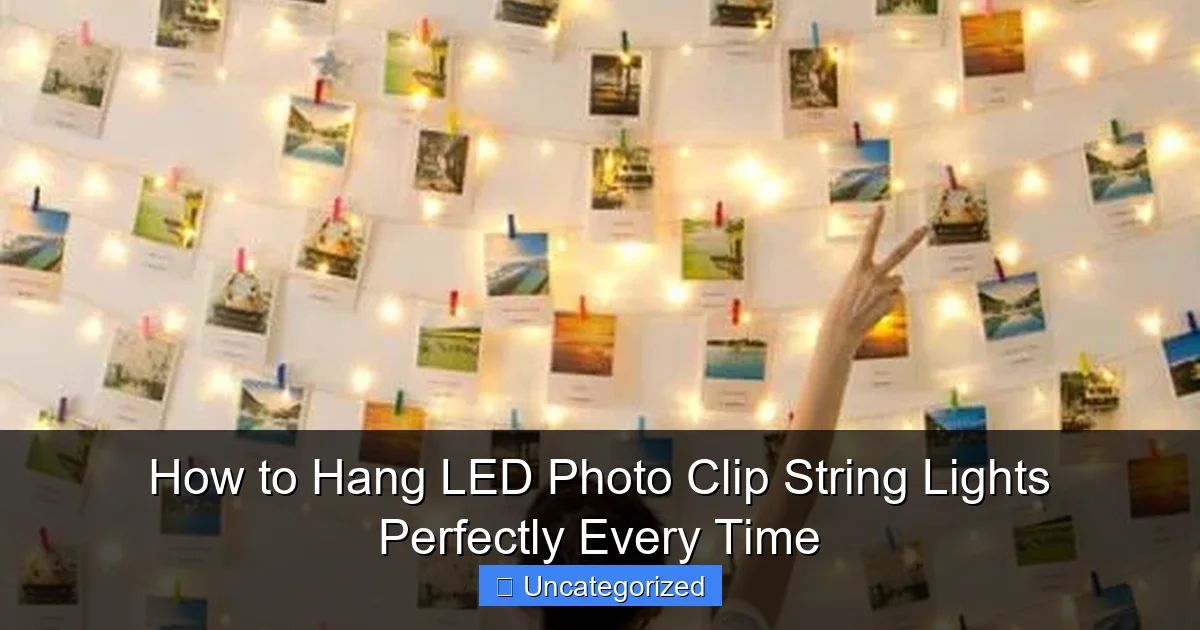
Featured image for how to hang led photo clip string lights
Image source: oillampman.com
Hang your LED photo clip string lights securely and evenly by starting with a clear plan and using the right mounting hardware for your wall type. Measure and mark clip positions in advance, then use removable adhesive hooks, nails, or screws—depending on surface and weight—for a clean, damage-free display. For a flawless look every time, keep the string taut and stagger clips to support both photos and light distribution.
“`html
How to Hang LED Photo Clip String Lights Perfectly Every Time
Key Takeaways
- Plan your layout first: Sketch the design to avoid uneven spacing or overhangs.
- Use adhesive hooks: Secure clips without damaging walls for easy adjustments.
- Measure string length: Ensure lights reach power source without straining connections.
- Clip photos evenly: Maintain 4-6 inches between clips for a balanced look.
- Test lights before hanging: Check for dead bulbs to save time later.
- Anchor the power end: Fix the plug side first to prevent sagging.
Why This Matters / Understanding the Problem
You’ve bought beautiful LED photo clip string lights—maybe for a bedroom, dorm, wedding, or cozy living space. But now you’re staring at a blank wall, wondering, “How do I hang these so they look amazing—not messy or crooked?” It’s a common frustration. Many people end up with sagging wires, uneven clips, or damage to walls from improper hanging methods.
The truth? How to hang LED photo clip string lights perfectly every time isn’t just about plugging them in and tossing them up. It’s about planning, precision, and using the right tools. Done right, these lights can transform a room into a warm, inviting space—perfect for displaying memories, creating ambiance, or adding a touch of magic to any occasion.
Whether you’re decorating for a party, sprucing up your workspace, or just want to show off your favorite photos, this guide walks you through every step—from choosing the right spot to ensuring your lights stay secure and look professional. No more guesswork. No more tape marks or failed Command hooks. Just clean, elegant results—every single time.
Pro Insight: The key to success isn’t just the lights—it’s the method. A well-planned layout and proper support prevent sagging, reduce wall damage, and make your display look intentional, not accidental.
What You Need
Before you start, gather everything. Having the right tools saves time, reduces frustration, and helps you achieve that flawless finish. Here’s your checklist:
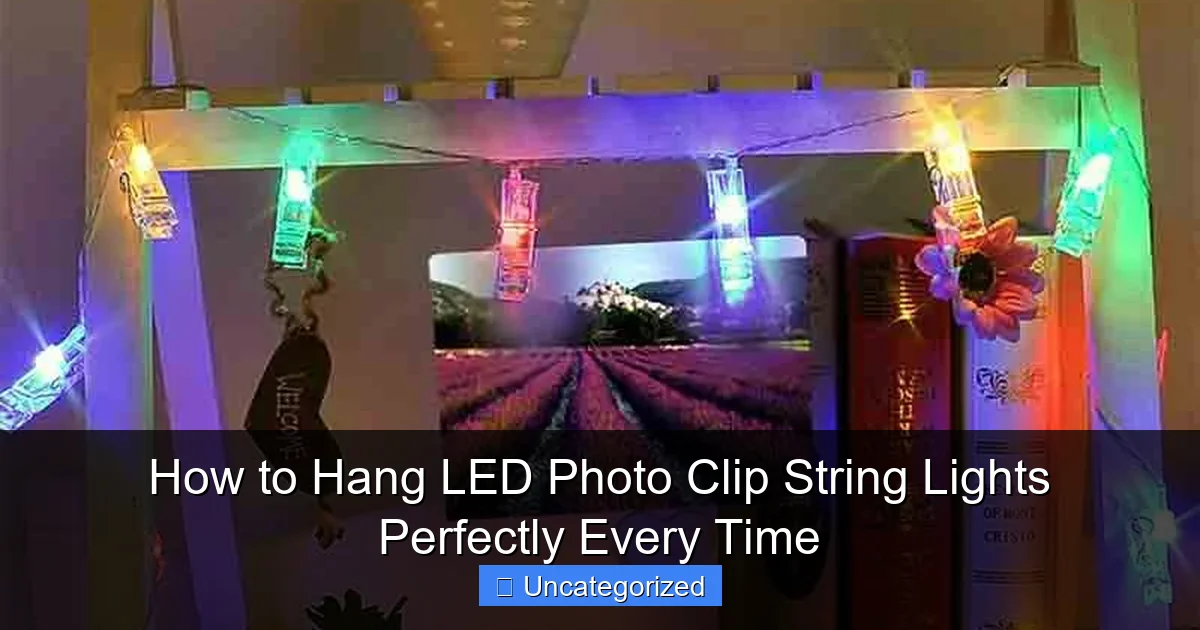
Visual guide about how to hang led photo clip string lights
Image source: ruperhat.com
- LED photo clip string lights (battery-powered or plug-in)
- Measuring tape (flexible or retractable)
- Pencil (for light, erasable markings)
- Level (a small bubble level or smartphone app)
- Removable wall hooks (e.g., Command™ Mini Hooks, 3M™ Picture Hangers, or adhesive clips)
- Thumbtacks or small nails (for non-paintable surfaces like wood or brick)
- Scissors or wire cutters (only if trimming excess wire or clips)
- Masking tape (optional, for temporary layout testing)
- Photos or small items to hang (cards, tickets, polaroids, etc.)
- Extension cord or power strip (if using plug-in lights)
For renters or those avoiding wall damage, adhesive hooks are your best friend. For permanent installations, small nails or screw-in hooks work great. Always check your surface type—drywall, plaster, wood, or brick—before choosing fasteners.
Bonus: If your lights come with built-in clips, test them first. Some are flimsy and may need reinforcement. Others have strong grips—use that to your advantage.
Warning: Avoid using duct tape, packing tape, or super glue. They damage walls, leave residue, and can’t be adjusted once applied. Stick to removable, damage-free solutions unless you own the space.
Step-by-Step Guide to How to Hang LED Photo Clip String Lights Perfectly Every Time
Step 1: Choose the Right Location and Layout
Start by deciding where you want the lights. Common spots include above a bed, along a bookshelf, around a mirror, or in a hallway. Think about visibility, access to power, and how the light will fall in the room.
Ask yourself: Do I want a straight line, a zigzag, a wave, or a grid? Each layout affects how you plan spacing and support. For example, a straight horizontal line is easiest. A wave or zigzag requires more hooks and careful measurement.
Use masking tape to mock up the general shape on the wall. This lets you visualize the final look without committing. Move it around until it feels balanced. Remember: symmetry isn’t always best—sometimes an asymmetrical layout feels more organic and artistic.
Pro tip: If you’re hanging near a window or door, avoid direct sunlight. UV rays can fade photos and degrade adhesive hooks over time.
Pro Insight: For a bedroom, aim for eye level when lying down. In a living room, place the lights slightly above seated eye level. This ensures the display is visible and inviting.
Step 2: Measure and Mark Hook Positions
Now it’s time to get precise. Use your measuring tape to determine spacing between hooks. Most LED photo clip string lights have clips every 6 to 12 inches. Match your hook spacing to this—don’t stretch the wire too tight or let it sag.
For a straight line: Measure the total length of the string. Divide by the number of clips (or desired spacing). For example, a 10-foot string with 20 clips = 6 inches between each.
Start at one end. Use your pencil to lightly mark each hook position. Use a level to ensure all marks are perfectly aligned. Even a 1/4-inch tilt becomes obvious once the lights are on.
If you’re doing a zigzag or wave: Mark the turning points first. Then use a flexible tape to follow the curve. You can even draw a light pencil path to guide your hook placement.
For vertical drops (like from a ceiling beam): Measure from the top down. Account for the weight of the wire—add extra support at the bottom if the string is long.
Warning: Never assume the wall is straight. Always double-check with a level. A crooked line will ruin the entire effect—even if the lights are beautiful.
Step 3: Install Support Hooks or Fasteners
Now attach your hooks. For adhesive hooks, clean the wall with a dry cloth. Press the hook firmly into place for 30 seconds. Let it sit for 1 hour before hanging anything heavy (follow manufacturer instructions).
For thumbtacks or nails, gently tap them in using a hammer or your finger. Use a level to keep them straight. For drywall, avoid pushing too hard—drywall anchors may be needed for longer strings or heavier loads.
Install one hook at a time, starting from the power end. This gives you room to adjust as you go. If using plug-in lights, place the first hook near an outlet. For battery-powered, place the battery pack in an accessible, hidden spot (like behind a shelf).
Tip: Use clear adhesive hooks if you want a nearly invisible support. They’re great for glass, tile, or painted walls.
For ceiling mounting: Use ceiling hooks or small eye screws. Ensure they’re rated for the weight. A 10-foot string of LED clips weighs only a few ounces—but add 10 photos, and it doubles. Plan accordingly.
Step 4: Hang the Lights and Attach Clips
Now the fun part—hanging the lights! Start at the power end. Hook the first clip or loop onto your first support. Gently pull the string to the next hook, making sure the wire isn’t twisted.
As you go, check tension. The string should be snug but not stretched. A little slack is okay—it prevents stress on the clips and wires. If a section sags, add an extra hook mid-span.
For photo clip string lights, the clips are usually pre-attached. Open each clip and slide in your photo. Start with the center photo, then work outward. This keeps the layout balanced.
If your photos are thick (like laminated cards), test the clip grip first. Some clips can’t hold heavier items. In that case, use small binder clips or mini clothespins as reinforcements—just make sure they match the aesthetic.
For a cascading effect (like from a shelf to the floor), let the string drape naturally. Use a final hook at the end to anchor it, preventing tripping hazards.
Pro Insight: If you’re hanging photos with dates or names, orient them the same way (e.g., all top-side up). It creates a clean, professional look—like a curated gallery.
Step 5: Power Up and Adjust
Once everything is hung, plug in the lights or insert batteries. Turn them on. Walk around the room. Look for:
- Sagging wires
- Uneven spacing
- Flickering bulbs
- Photos that are crooked or falling out
Make small adjustments. Loosen a hook here, tighten a wire there. Use your fingers to straighten photos. If a light is out, check the bulb or connection. Many LED strings have replaceable bulbs—check the manual.
For plug-in lights: Hide the cord behind furniture, use cord clips, or run it along the baseboard. Avoid dangling cords—they’re a tripping hazard and look messy.
For battery-powered: Tuck the battery pack into a drawer, behind a frame, or in a decorative box. Use a timer switch if available—so the lights turn off automatically.
Pro tip: If the lights are too bright, add a sheer curtain or hang a translucent fabric in front. This softens the glow and creates a cozy, diffused effect.
Step 6: Final Touches and Maintenance
Step back and admire your work. Take a photo—this is your baseline. Over time, dust will settle, and clips may loosen. Here’s how to keep your display looking fresh:
- Dust weekly with a microfiber cloth or soft duster.
- Check hook adhesion monthly—especially in humid areas (bathrooms, kitchens).
- Replace photos seasonally—swap in new memories, holiday cards, or seasonal themes.
- Inspect bulbs—replace any that flicker or go dark.
If you’re using adhesive hooks, they typically last 6–12 months. Replace them before they fail. For permanent hooks, a little touch-up paint can hide nail holes when you remove the lights.
For outdoor use (e.g., patio, porch): Use weatherproof LED photo clip string lights and outdoor-rated hooks. Bring them in during storms or extreme heat.
Warning: Never leave battery-powered lights on for months without use. Batteries can leak and damage the unit. Remove them when not in use for long periods.
Pro Tips & Common Mistakes to Avoid
Even with careful planning, things can go wrong. Here are the most common pitfalls—and how to avoid them:
- Over-tightening the string: Pulling too hard can damage the wire insulation or break internal connections. Keep it snug, not taut.
- Using the wrong hooks: Cheap adhesive hooks fail under heat or humidity. Invest in trusted brands like Command™ or 3M™.
- Ignoring weight distribution: Hanging 20 photos on one side and 2 on the other creates imbalance. Distribute weight evenly.
- Forgetting power access: A string that’s too far from an outlet forces you to use extension cords—which look messy and can overload circuits.
- Hanging in direct sunlight: UV rays fade photos and weaken adhesives. Choose shaded or interior walls.
- Skipping the layout test: Jumping straight to installation often leads to crooked lines. Always mock up first.
- Using tape or glue: These damage paint and leave residue. Stick to removable hooks.
Pro Tip: For a gallery wall effect, hang multiple strings in a grid. Use a laser level to keep rows perfectly aligned. Add a small gap (2–3 inches) between strings for visual breathing room.
Another pro move: Use colored LED photo clip string lights for themed decor—blue for a baby shower, red for Valentine’s, gold for holidays. But keep it simple—too many colors can look chaotic.
For renters: Always get landlord approval before using nails or screws. Most are okay with adhesive hooks—just remove them cleanly when you move out.
FAQs About How to Hang LED Photo Clip String Lights Perfectly Every Time
Q: Can I hang LED photo clip string lights on a textured wall?
A: Yes, but adhesive hooks may not stick as well. Use heavy-duty removable hooks designed for textured surfaces (e.g., Command™ Picture Hangers). Or, use small nails with drywall anchors for extra grip.
Q: How do I prevent my photos from falling out of the clips?
A: Test the clip strength first. For thick or heavy photos, use mini binder clips or reinforce the back with a small piece of cardstock. You can also add a tiny dab of museum putty to the clip edge.
Q: Are battery-powered lights better than plug-in?
A: It depends. Battery-powered offer flexibility and no cords—ideal for rooms without outlets. But they require frequent battery changes. Plug-in lights are more reliable for long-term use, but need access to power.
Q: Can I cut or shorten the string?
A: Only if the manufacturer allows it. Most LED photo clip string lights are sealed units. Cutting can damage the circuit. If needed, use wire connectors to splice in a shorter segment—but this is advanced and risky.
Q: How do I remove adhesive hooks without damaging the paint?
A: Pull the tab slowly and straight down—don’t yank. If it sticks, use a hairdryer to warm the adhesive for 30 seconds. Then pull gently. Never use sharp tools—they scratch the wall.
Q: Can I hang these lights outdoors?
A: Only if they’re rated for outdoor use. Look for an IP65 or higher rating. Use weatherproof hooks and bring them in during storms. Indoor lights can short-circuit in rain.
Q: What’s the best spacing between photos?
A: Aim for 4–8 inches between photos, depending on size. Small polaroids? 4 inches. Larger 4×6 prints? 6–8 inches. Use your measuring tape and adjust for visual balance.
Final Thoughts
Hanging LED photo clip string lights doesn’t have to be stressful. With the right tools, a little planning, and attention to detail, you can create a stunning display that showcases your memories and enhances your space.
Remember: How to hang LED photo clip string lights perfectly every time comes down to three things—preparation, precision, and patience. Mock up your layout. Measure twice, hang once. Use quality hooks. And don’t rush the adjustments.
Whether it’s for a bedroom, office, wedding, or holiday decor, your lights should feel intentional, not accidental. They should draw people in, not distract with crooked lines or dangling wires.
So go ahead—grab your measuring tape, pick your favorite photos, and start creating. And when you’re done? Step back, turn on the lights, and enjoy the warm, glowing result of your effort. You’ve earned it.
Now that you know how to do it right, you can do it perfectly—every single time.
“`

