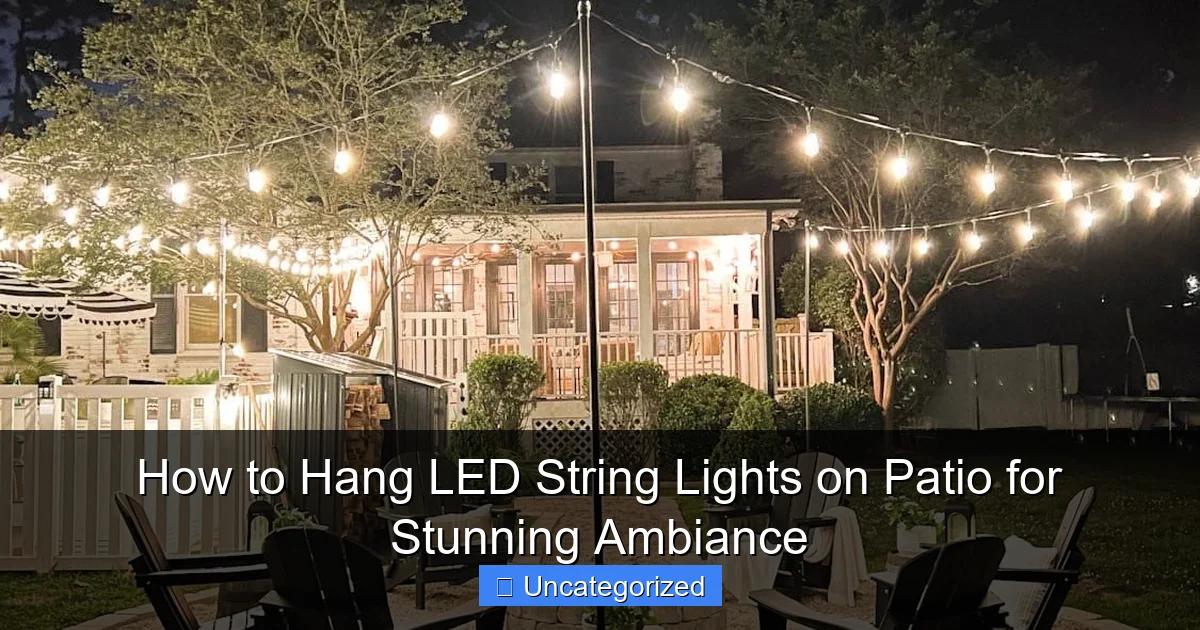
Featured image for how to hang led string lights on patio
Image source: blesserhouse.com
Transform your patio into a mesmerizing retreat by securely mounting LED string lights along railings, pergolas, or eaves using weather-resistant hooks or zip ties. Ensure even spacing and a safe power source for a seamless glow that enhances ambiance without overpowering the space. With the right tools and layout plan, you can achieve a professional, inviting look in under an hour.
How to Hang LED String Lights on Patio for Stunning Ambiance
Key Takeaways
- Plan your layout first: Sketch light placement to avoid gaps and ensure even coverage.
- Use weatherproof fixtures: Choose outdoor-rated hooks, clips, or wires for safety and durability.
- Secure with tension: Maintain taut lines to prevent sagging and create a clean, professional look.
- Hide cords strategically: Tuck wires along railings or under eaves for a clutter-free appearance.
- Layer lighting: Combine string lights with lanterns or spotlights for depth and dimension.
- Test before finalizing: Check brightness and connections before permanently mounting the lights.
Why This Matters / Understanding the Problem
Imagine this: It’s a warm summer evening. You’re sipping iced tea, laughing with friends, and suddenly notice the backyard feels… flat. No spark. No mood. That’s where learning how to hang LED string lights on patio for stunning ambiance comes in.
Outdoor lighting isn’t just about visibility—it’s about vibe. The right setup transforms your patio from a simple concrete slab into a cozy, inviting retreat. But many homeowners hesitate, thinking it’s too technical, too permanent, or too risky.
Here’s the truth: With the right tools and a clear plan, anyone can create a magical atmosphere. Whether you’re hosting a BBQ, having a romantic dinner, or just unwinding after work, how to hang LED string lights on patio for stunning ambiance is the secret sauce.
And the best part? LED string lights are energy-efficient, long-lasting, and come in countless styles—warm white, multicolor, dimmable, solar-powered—so you can match any mood or season.
Whether your patio is a rooftop balcony, a covered deck, or an open backyard, this guide walks you through the process step by step. No electrician required. No guesswork. Just beautiful, functional lighting that wows your guests and soothes your soul.
What You Need
Before you start, gather these tools and materials. Most are easy to find at hardware stores or online. Think of this as your “ambiance toolkit.”
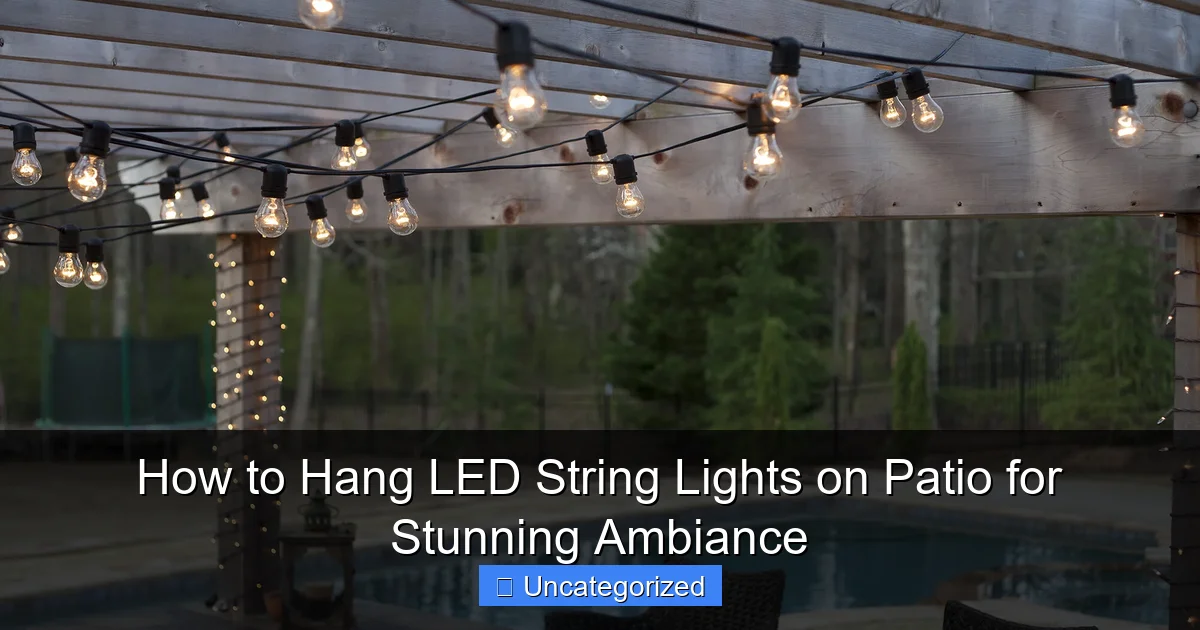
Visual guide about how to hang led string lights on patio
Image source: img.yardenvy.com
- LED string lights (100–200 ft, depending on space; choose weatherproof, outdoor-rated)
- Measuring tape (for accurate layout planning)
- Drill & drill bits (if attaching to wood, stucco, or brick)
- Eye hooks, cup hooks, or screw-in hooks (stainless steel or coated to resist rust)
- Zip ties or plastic clips (for temporary or non-damaging setups)
- Command hooks or outdoor adhesive clips (for renters or no-damage needs)
- Extension cords (outdoor-rated, GFCI-protected)
- Timer or smart plug (optional, but great for automation)
- Ladder (if working overhead or on high walls)
- Marker or chalk (for marking hook locations)
- Wire cutters (for trimming zip ties)
- Weatherproof sealant (silicone) (if drilling into exterior walls)
Pro tip: Buy 10–20% more lights than you think you’ll need. It’s better to have extra than to run short mid-project. And always check the IP rating of your lights—IP44 or higher means they’re safe for outdoor use.
Step-by-Step Guide to How to Hang LED String Lights on Patio for Stunning Ambiance
Step 1: Plan Your Layout (The Foundation of Ambiance)
Before touching a hook or light, sketch your patio. Use graph paper or a free app like SketchUp Free or RoomSketcher. Mark where you’ll hang lights: along the perimeter, across a pergola, in an “X” pattern, or in cascading rows.
Ask yourself: Where do people gather? Over the dining table? Around a fire pit? Near the grill? These are your “hot spots” for lighting.
For a classic “cafe-style” look, run lights from one side of the patio to the other in parallel lines (like strings on a guitar). For a whimsical feel, zigzag or create a canopy. Use your measuring tape to space lines 3–4 feet apart—close enough to feel cozy, far enough to avoid a tangled mess.
Example: A 12’ x 16’ patio might use 4 parallel lines, each 16 feet long, spaced 3 feet apart. That’s ~64 feet of lights. Add 10% for slack and connections: aim for 70+ feet.
Remember: How to hang LED string lights on patio for stunning ambiance starts with a plan. No plan = uneven lighting, dead zones, or a tangled disaster.
Step 2: Choose Your Mounting Method (Match It to Your Patio Type)
Your patio’s structure decides how you’ll hang the lights. Here are the most common setups:
- Wooden deck or pergola: Screw-in cup hooks or eye hooks are ideal. Drill pilot holes to avoid splitting wood.
- Masonry (brick, stone, stucco): Use masonry anchors and screws. A hammer drill makes this easier.
- Metal railing or fence: Zip ties or S-hooks work great. No drilling needed!
- Rooftop or balcony (renters or no-damage): Use outdoor adhesive clips or tension rods.
- Overhead beams or eaves: Combine hooks with zip ties for flexibility.
For a semi-permanent look with minimal damage, try outdoor-rated adhesive hooks (like Command Outdoor Hooks). They hold up to 3 lbs each—perfect for lightweight LED strings.
Warning: Avoid nails or staples. They can damage surfaces and create fire hazards if they pierce the light cord insulation.
Pro tip: If you’re using hooks, install them before hanging lights. Mark locations with a marker or chalk. Space hooks every 2–3 feet for even support.
Step 3: Install Hooks or Clips (Secure & Weatherproof)
Now it’s time to install your anchors. Here’s how to do it right:
- Drill pilot holes (if using screws). For wood, use a bit slightly smaller than the screw. For masonry, use a masonry bit and hammer drill.
- Screw in hooks by hand first, then use a screwdriver or drill (on low torque) to tighten. Don’t over-tighten—hooks should be snug, not stripped.
- Seal exterior holes (if drilling into brick or stucco). Apply a dab of silicone sealant around the hook base. This keeps water out and prevents rust.
- For adhesive clips, clean the surface with rubbing alcohol, wait 24 hours, then press firmly for 30 seconds. Wait 1 hour before hanging lights.
- For zip ties, loop them through railing or beam, tighten, and trim the excess. Use black or dark-colored ties—they’re less visible.
Example: On a wooden pergola, install 12 cup hooks—6 on each side—spaced 2 feet apart. Use a level to keep lines straight. For a stucco wall, drill 8 anchor points with a 1/4” masonry bit, insert anchors, then screw in hooks.
Remember: Safety first. If you’re working on a ladder, have someone spot you. And always check for hidden wires or pipes before drilling.
Step 4: Hang the LED String Lights (From One End to the Other)
Now the fun part: hanging the lights. But don’t just drape them randomly. Follow this method:
- Start at the power source. Plug the lights into an outdoor GFCI outlet. If using an extension cord, make sure it’s rated for outdoor use and buried or covered to avoid tripping.
- Work from one anchor to the next. Hook the first bulb socket (or a built-in loop) onto the first hook. Don’t pull tight—leave a slight sag (1–2 inches) for a “catenary” look. This prevents stress on the cord and creates a soft, natural drape.
- Secure every 2–3 feet. Use zip ties, clips, or hooks to support the cord. Never let it hang freely—wind can snap it.
- For multiple strands, connect them end-to-end (check manufacturer’s max connection limit—usually 3–5 strands). Use outdoor-rated connectors or waterproof tape.
- For corners or turns, use an extra hook or zip tie to guide the cord smoothly. Avoid sharp bends—they can damage wires.
Example: On a 16-foot pergola, hang lights from left to right, securing every 3 feet. At the far end, loop the last hook to create a “return” line, or use a second strand for a double-layer effect.
Pro tip: Test the lights as you go. Plug them in halfway through to check for dead bulbs or connection issues. Fix problems early!
Step 5: Manage Cords & Power (Keep It Safe and Tidy)
Exposed cords are a tripping hazard and look messy. Here’s how to hide them:
- Use cord clips or raceways to run extension cords along walls or under railings.
- Zip tie cords to hooks behind the lights—out of sight, out of mind.
- Bury cords in mulch or use cord covers if running across the ground.
- Use a timer or smart plug to automate on/off times. No more forgetting to turn them off!
- For solar lights, place the solar panel in direct sunlight (south-facing, no shade).
Example: If your outlet is on the left side, run the extension cord up the left post, behind the lights, and down the right side. Use black zip ties to blend in.
Warning: Never use indoor extension cords outside. They’re not weatherproof and can overheat. And always plug into a GFCI outlet—it cuts power if there’s a short.
This step is crucial for how to hang LED string lights on patio for stunning ambiance—because safety and aesthetics go hand in hand.
Step 6: Fine-Tune for Perfect Ambiance (The Final Touch)
Now that the lights are up, step back and assess. Look for:
- Even spacing: Adjust hooks or clips to eliminate sags or tight spots.
- Color temperature: Warm white (2700K–3000K) feels cozy. Cool white feels modern. Pick what fits your vibe.
- Brightness: Dim the lights if they’re too harsh. Many LEDs are dimmable—just check the specs.
- Shadows or dark zones: Add a small spotlight or lantern if needed.
- Weatherproofing: Wrap connections with electrical tape or use waterproof covers.
Example: If the lights are too bright over the dining table, add a sheer fabric canopy to diffuse the glow. Or use a dimmer switch for mood control.
Pro tip: Take a photo at dusk. It helps you see the lighting effect before guests arrive. Make adjustments as needed.
Pro Tips & Common Mistakes to Avoid
Even the best plans can go sideways. Here’s how to avoid rookie errors and get pro-level results.
Pro Tip 1: Use a “test run” with temporary clips before installing permanent hooks. This lets you tweak the layout without drilling holes.
Pro Tip 2: Go modular—use multiple shorter strands instead of one long one. It’s easier to manage, replace, and customize.
Pro Tip 3: Layer your lighting. Combine string lights with floor lanterns, candles, or uplights for depth. Ambiance is about layers, not just one source.
Pro Tip 4: Choose the right bulb shape. Edison bulbs add vintage charm. Globe lights feel modern. Pick based on your patio’s style.
Common Mistake 1: Overloading circuits. Check your outlet’s wattage limit. Most outdoor circuits handle 1,800 watts. A 100-light LED strand uses ~40 watts—but add other devices, and you risk tripping the breaker.
Common Mistake 2: Ignoring wind. Loose cords flap in the breeze, causing wear and noise. Secure every 2–3 feet. In windy areas, use heavier-duty hooks or tension wires.
Common Mistake 3: Using indoor lights outside. They’ll fail in rain or humidity. Always choose outdoor-rated, weatherproof LED strings.
Common Mistake 4: Poor power access. Don’t daisy-chain extension cords. Use one long, outdoor-rated cord from the outlet to the lights. Or install an outdoor outlet if needed (hire an electrician).
Common Mistake 5: Forgetting maintenance. Clean lights yearly with a dry cloth. Check for frayed cords or loose hooks. Replace bulbs or strands as needed.
Bonus: For renters, use non-permanent solutions like tension rods between walls, adhesive clips, or freestanding light poles. No landlord approval needed!
FAQs About How to Hang LED String Lights on Patio for Stunning Ambiance
Q: Can I hang LED string lights on a covered patio?
A: Absolutely! A covered patio is ideal—it protects lights from heavy rain and UV damage. Just make sure the area is dry and ventilated. Use hooks, clips, or zip ties as usual.
Q: How long do outdoor LED string lights last?
A: Quality outdoor LEDs last 15,000–50,000 hours (3–10 years with nightly use). Look for brands with good warranties (2+ years) and IP44 or higher ratings.
Q: Can I leave string lights up all year?
A: Yes, but take precautions. In snowy areas, remove lights or use a protective cover. In coastal zones, choose saltwater-resistant materials. Store lights indoors during extreme storms.
Q: What’s the best spacing between light strands?
A: For cozy ambiance, space strands 3–4 feet apart. For bright task lighting (like over a grill), go 2–3 feet. Use your eyes—adjust until the glow feels balanced.
Q: Can I connect multiple strands?
A: Yes, but check the manufacturer’s limit. Most allow 3–5 strands in series. Never exceed the max wattage or risk overheating. Use outdoor-rated connectors.
Q: How do I hang lights on a balcony with no roof?
A: Use tension rods between walls, adhesive clips, or a freestanding frame (like a light pole or umbrella stand). For railings, zip ties work great. Just ensure the setup is stable in wind.
Q: Are solar string lights worth it?
A: Yes, if you get 6+ hours of direct sun. They’re eco-friendly and save on electricity. But they’re dimmer than plug-in lights. Use them for soft glows, not bright task lighting.
Final Thoughts
Creating a magical patio doesn’t require a designer or a big budget. Learning how to hang LED string lights on patio for stunning ambiance is a simple, satisfying project that pays off every single night.
Start with a plan. Choose the right tools. Hang with care. And don’t forget the little details—cord management, dimmers, and layering—that turn good lighting into great ambiance.
Whether you’re hosting a party, enjoying a quiet evening, or just boosting your home’s curb appeal, LED string lights make a difference. They’re not just decor—they’re mood-makers.
So grab your hooks, pick your favorite lights, and get started. Your dream patio is just a few steps away. And when the sun sets and your lights twinkle to life? That’s when you’ll know it was all worth it.
Now go create some magic.

