Featured image for how to repair led christmas light strings
Image source: source.widen.net
Repairing LED Christmas light strings is fast and simple with basic tools and a few troubleshooting steps—most issues stem from loose bulbs, damaged sockets, or faulty wiring. Check connections, replace broken bulbs, and use electrical tape or a soldering iron for secure fixes to restore your lights in minutes without replacing the entire strand.
“`html
How to Repair LED Christmas Light Strings Easily and Quickly
Key Takeaways
- Inspect bulbs first: Check for loose or burnt-out bulbs before assuming wiring issues.
- Test with a multimeter: Quickly identify breaks or shorts in the circuit.
- Replace fuses proactively: Faulty fuses often cause entire string failures.
- Secure connections tightly: Loose plugs or splices disrupt power flow—reseat them.
- Use heat-shrink tubing: Seal repaired wires to prevent future corrosion or damage.
- Store properly post-season: Prevent tangles and breaks with organized storage.
Why This Matters / Understanding the Problem
It’s the most wonderful time of the year—until your LED Christmas lights go dark. One minute, your porch is glowing with festive cheer, and the next, a section is blacked out, leaving your holiday display looking like a sad disco.
Unlike old incandescent lights, LED strings are more energy-efficient and longer-lasting, but they come with their own quirks. When one bulb fails, it often takes down the entire string or a large section. This is frustrating, especially when you’re trying to repair LED Christmas light strings easily and quickly before the neighborhood light contest.
The good news? Most LED light issues aren’t due to broken bulbs—they’re often caused by loose connections, faulty sockets, or damaged wiring. With a little patience and the right tools, you can fix them yourself and save money on replacements.
Whether you’re troubleshooting a single dark section or a completely unresponsive string, learning how to repair LED Christmas light strings easily and quickly means less stress and more sparkle this holiday season.
What You Need
Before diving in, gather your supplies. You don’t need to be an electrician—just a few basic tools and a little know-how.
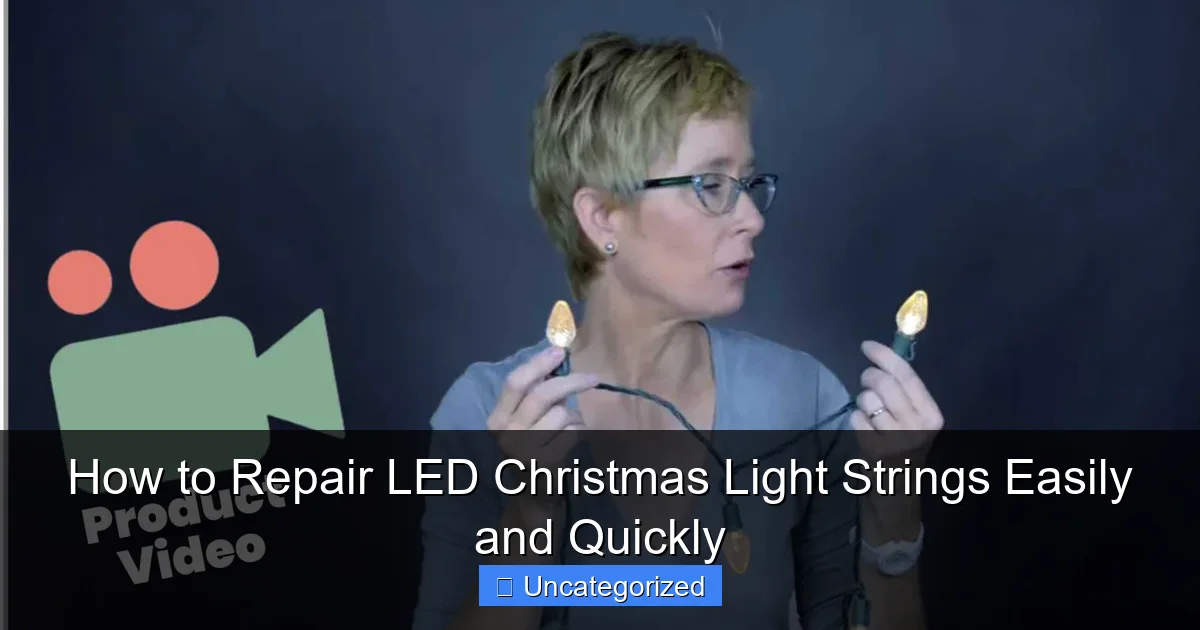
Visual guide about how to repair led christmas light strings
Image source: christmas-light-source.com
- Multimeter (digital or analog): Essential for checking voltage and continuity.
- Needle-nose pliers: For gripping tiny wires and bulbs.
- Wire strippers: Useful if you need to repair or splice wires.
- Replacement LED bulbs: Keep extras on hand—same model as your string.
- Electrical tape or heat-shrink tubing: For insulating repairs.
- Small flathead screwdriver: Helps open bulb sockets.
- Work gloves: Protects hands from sharp wire ends.
- Flashlight: Brightens dark work areas, especially under trees or eaves.
- Extension cord (if needed): To test lights safely indoors.
Pro Tip: Always unplug the lights before starting any repair. Even low-voltage LED strings can carry a small charge, and safety first!
Step-by-Step Guide to How to Repair LED Christmas Light Strings Easily and Quickly
Step 1: Identify the Problem Area
The first step in how to repair LED Christmas light strings easily and quickly is finding the source of the issue.
Start by plugging in the string. If the entire string is dark, the problem is likely at the plug, fuse, or a major break in the wire. If only a section is out, the issue is probably a bad bulb, socket, or wire connection.
To narrow it down, use the “halfway test”: unplug the string, then plug it back in halfway through (if it’s a long strand). If the lights turn on from that point forward, the fault is in the first half. This method helps isolate the problem zone fast.
For multi-string setups (like icicle or net lights), check if the issue is isolated to one string. Disconnect each string and test individually.
Step 2: Check the Plug and Fuse
Many people overlook the plug—but it’s a common culprit.
Open the plug cover (usually a small sliding door on the end). Inside, you’ll find one or two tiny fuses—typically 3A or 5A. Remove them and inspect. If the metal wire inside is broken or the glass is blackened, the fuse is blown.
Replace it with an identical fuse. Never use a higher-rated fuse—this can damage the lights or create a fire hazard.
While you’re there, check for loose wires or corrosion. Tighten any loose connections and clean with a cotton swab and rubbing alcohol if needed.
Warning: Never plug in a string with an open fuse compartment. Moisture can get in and cause shorts or shocks.
Step 3: Test the Bulbs and Sockets
LED bulbs rarely “burn out” like old lights—but they can fail due to overheating, water damage, or poor connections.
Start by visually inspecting each bulb in the dark section. Look for:
- Bulbs that are loose or wobbly
- Cracked or cloudy lenses
- Corrosion (white or green crust) on the metal base
- Bulbs that are pushed too far in or too far out
If you spot a loose bulb, gently twist it counterclockwise and pull it out. Clean the socket with a cotton swab and reinsert the bulb. If it still doesn’t light, try a known-working bulb in that socket.
Use your multimeter set to continuity (the “beep” mode). Insert the probes into the socket contacts—if it beeps, the socket has continuity. If not, the socket may be damaged.
For stubborn bulbs, use needle-nose pliers to grip the base and pull straight out—don’t twist, as this can break the base.
Step 4: Use a Multimeter to Check Voltage and Continuity
This is where the multimeter earns its keep. It helps you find invisible problems like broken wires or dead circuits.
First, set your multimeter to measure DC voltage (LEDs run on low-voltage DC). Plug in the string and touch the probes to the two metal contacts in a socket. You should see a reading of 3–6 volts (depending on your string).
If there’s no voltage, the issue is upstream—check the plug, fuse, or previous socket.
Next, test continuity. Unplug the string and set the meter to continuity mode. Test:
- Between the two wires in the plug (should beep)
- From one socket contact to the next (should beep if wired in series)
- Along the wire between bulbs (no beep = broken wire)
If you find a break, you’ll need to repair the wire (see Step 5).
Pro Tip: Mark the problem spot with a piece of tape so you don’t lose your place in the dark.
Step 5: Repair Damaged Wires or Splices
Wires can fray, break, or get chewed by rodents (yes, squirrels love holiday lights). When you find a break, here’s how to fix it.
Cut out the damaged section with wire strippers. Strip about ½ inch of insulation from both ends of the cut wire.
Twist the exposed copper strands together clockwise. For a permanent fix, use a solderless connector (like a lever nut or Wago connector) or solder the wires and cover with heat-shrink tubing.
If soldering, use a low-wattage iron (25–40W) and rosin-core solder. Heat the joint, apply solder until it flows, then slide heat-shrink tubing over the connection and warm it with a hair dryer.
For temporary fixes, twist the wires and wrap tightly with electrical tape. But replace it with a proper splice before next season.
After repairing, test the string again. If it works, seal the splice with waterproof tape or a silicone sleeve—especially if used outdoors.
Step 6: Address Water Damage and Corrosion
Outdoor LED strings are vulnerable to moisture. Rain, snow, or condensation can seep into sockets and cause shorts or corrosion.
If you see white, green, or blue crust on bulb bases or socket contacts, clean it gently with a cotton swab dipped in isopropyl alcohol. Use a soft brush (like an old toothbrush) for stubborn buildup.
For sockets that stay wet, consider replacing them. Cut out the old socket, strip the wires, and install a new waterproof socket (available at hardware stores). Solder or use a connector, then seal with silicone sealant.
Prevention is key: always use outdoor-rated lights, seal connections with electrical tape, and avoid running wires through standing water.
Warning: Never use regular tape or glue to seal electrical connections—it degrades over time and creates fire risks.
Step 7: Test the Entire String and Reassemble
Once you’ve fixed the issue, it’s time to test the whole string.
Plug it in and walk the entire length. Watch for flickering, dim sections, or intermittent lights—these can indicate loose bulbs or weak solder joints.
If everything glows steadily, reassemble any disassembled parts (like plug covers or bulb holders). Tuck wires neatly and secure with zip ties if needed.
For outdoor use, run a quick weatherproofing check: ensure all connections are sealed, bulbs are snug, and the plug is elevated off the ground.
Now, hang your lights with pride—you’ve just mastered how to repair LED Christmas light strings easily and quickly!
Pro Tips & Common Mistakes to Avoid
Pro Tips for Success
- Label your lights: Use colored tags or labels to identify each string. Saves time next year when troubleshooting.
- Keep a repair kit: Store fuses, bulbs, tape, and connectors in a labeled container. Makes future fixes faster.
- Use a light tester: A $10–15 LED light tester (like the Lightkeeper Pro) can zap dead bulbs and restore circuits with a trigger pull—great for quick fixes.
- Don’t over-tighten bulbs: LED bulbs are fragile. Hand-tighten only—no pliers!
- Test before hanging: Always check lights on the ground before climbing ladders. Saves time and risk.
Common Mistakes to Avoid
- Ignoring the fuse: A blown fuse is the #1 reason for dead strings. Always check it first.
- Using mismatched bulbs: Not all LEDs are the same. Mixing voltages or types can cause flickering or damage.
- Overlooking water damage: Damp sockets corrode fast. Clean and dry them immediately.
- Skipping continuity tests: A visual check isn’t enough. Use a multimeter to catch hidden wire breaks.
- Plugging in while repairing: Even low-voltage strings can shock. Always unplug!
- Using household glue or tape: These degrade and create fire hazards. Use only electrical-grade materials.
Pro Tip: If a string has more than 3–4 bad bulbs or multiple wire breaks, it may be cheaper and safer to replace it. But for minor issues, repair saves money and reduces waste.
FAQs About How to Repair LED Christmas Light Strings Easily and Quickly
1. Can I repair LED lights with a regular light bulb tester?
No. Regular testers are designed for incandescent bulbs. For LED strings, you need a multimeter or an LED-specific tester that can measure low voltage and check for continuity in series circuits. A standard tester might not detect issues in LED strings, leading to false assumptions.
2. Why do all the lights go out when just one bulb is loose?
Most LED strings are wired in series, meaning electricity flows through each bulb in a chain. If one bulb is loose, missing, or has a broken connection, the circuit breaks—and the whole string goes dark. This is why a single loose bulb can take down an entire section.
Some newer strings use “shunt technology,” which allows power to bypass a dead bulb. But older models don’t have this—so always check connections first.
3. How do I know if an LED bulb is bad?
First, swap it with a working bulb. If the new bulb lights up in that socket, the original was bad. If not, the issue is the socket or wiring.
You can also use a multimeter: set it to diode mode, touch the probes to the bulb’s metal base (one on each contact), and look for a small voltage drop (1.5–3V). No reading? The LED is dead.
Note: LEDs don’t “burn out” like incandescents—they fade or fail due to heat, moisture, or poor solder joints.
4. Is it safe to repair outdoor LED lights?
Yes—if you use waterproof materials and proper techniques. Always:
- Use outdoor-rated bulbs and sockets
- Seal splices with heat-shrink tubing or silicone
- Avoid running wires through puddles or snow
- Use GFCI outlets to prevent shocks
Never use indoor lights outdoors—they’re not designed for moisture or temperature changes.
5. Can I cut and splice LED light strings?
Only if the string is cuttable (check the packaging). Many LED strings have a “cut here” mark on the wire. Cut between bulbs, strip the wires, and connect with a waterproof connector.
Never cut through a bulb socket or splice in the middle of a non-cuttable string—it can damage the circuit and create hazards.
6. Why do my lights flicker after I repair them?
Flickering usually means a loose connection. Check:
- Bulbs that aren’t fully seated
- Loose wire splices
- Dry solder joints
- Corroded socket contacts
Tighten everything, clean contacts, and re-solder if needed. Flickering can also be caused by voltage drops—ensure your extension cord is heavy-duty and not too long.
7. How long do repaired LED strings last?
With proper care, a repaired string can last 3–5 more years. LEDs themselves can last 25,000–50,000 hours, but sockets, wires, and plugs degrade over time.
To extend life: store lights in a dry, cool place, avoid over-tightening, and inspect annually. A well-repaired string is as good as new—saving you money and reducing holiday waste.
Final Thoughts
Learning how to repair LED Christmas light strings easily and quickly isn’t just about fixing lights—it’s about keeping the holiday spirit alive.
With a few simple tools and these step-by-step tips, you can troubleshoot fuses, clean sockets, splice wires, and bring even the most stubborn strings back to life. No more last-minute trips to the store or staring at a half-lit roof.
Remember: start with the plug and fuse, test bulbs and sockets, use your multimeter to find breaks, and always seal repairs properly—especially outdoors.
And when in doubt, keep a repair kit handy. A few fuses, bulbs, and connectors can save you hours of frustration next year.
So go ahead—grab your tools, unplug the string, and give it a try. You’ve got this. And when your lights glow bright again, you’ll feel that holiday magic—not just in the air, but in your hands.
Happy fixing, and happy holidays!
“`

