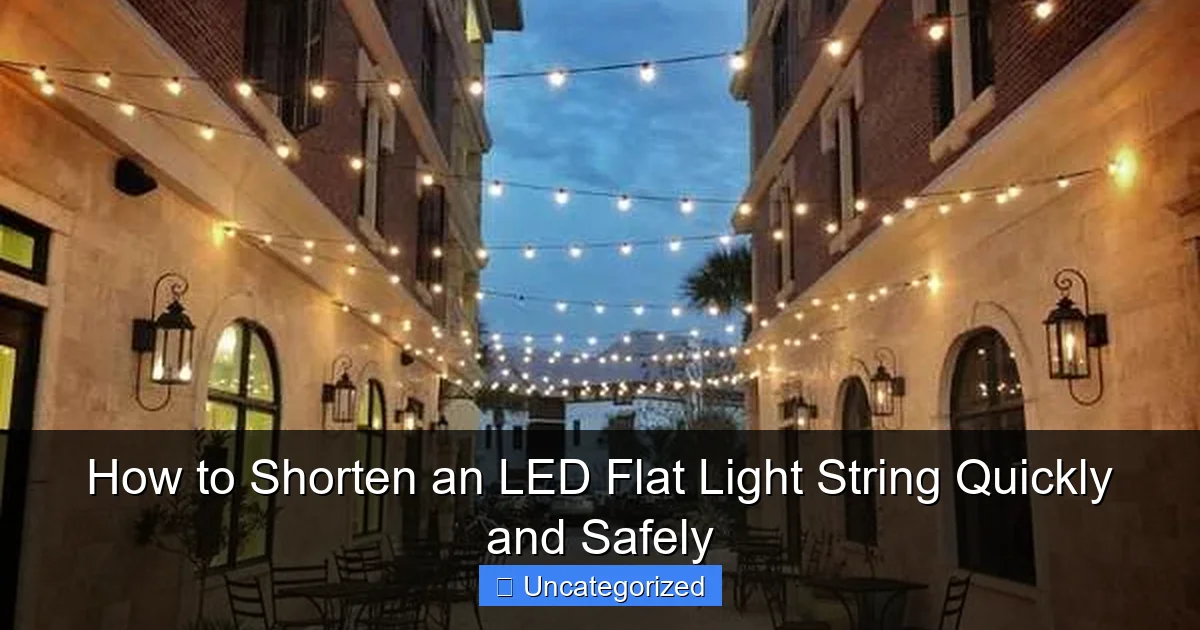
Featured image for how to shorten an led flat light string
Image source: justcreativelight.com
Always disconnect the power before shortening an LED flat light string to ensure safety. Identify the cut points—usually marked on the string—and use sharp scissors or wire cutters to trim between bulbs, avoiding damage to adjacent wires. Seal cut ends properly with silicone or electrical tape to prevent moisture exposure and extend the string’s lifespan.
“`html
How to Shorten an LED Flat Light String Quickly and Safely
Key Takeaways
- Measure first: Always plan your desired length before cutting.
- Cut at marked points: Only sever wires at manufacturer-indicated spots.
- Use proper tools: Sharp cutters prevent frayed wires and damage.
- Seal connections: Waterproof cut ends to ensure long-term safety.
- Test immediately: Verify functionality after shortening the string.
- Avoid overloading: Never exceed the manufacturer’s max connection limit.
- Insulate exposed wires: Cover all open ends to prevent shorts.
Why This Matters / Understanding the Problem
You’ve just unboxed a beautiful LED flat light string—perfect for your holiday décor, patio ambiance, or bedroom accent. But there’s one problem: it’s too long. Whether it’s draping too far down the wall or creating a tangled mess behind your furniture, an oversized string can ruin the look and even pose a tripping hazard.
Many people assume you need to buy a new, shorter string or live with the excess. But here’s the good news: you can shorten an LED flat light string quickly and safely without damaging the lights or risking a short circuit. This guide walks you through the process step by step, so you can customize your lighting to fit any space.
Knowing how to shorten an LED flat light string quickly and safely isn’t just about convenience—it’s about safety, aesthetics, and getting the most out of your investment. With a few basic tools and a little patience, you can transform a bulky string into a perfectly tailored light display.
What You Need
Before you start, gather these materials. Having everything ready makes the process smoother and reduces the chance of mistakes. You don’t need a full workshop—just a few essentials you likely already have.

Visual guide about how to shorten an led flat light string
Image source: sleekspacedesigns.com
- LED flat light string (the one you want to shorten)
- Wire cutters or sharp scissors (for clean cuts)
- Electrical tape (preferably black or clear)
- Heat shrink tubing (optional, but highly recommended for a professional finish)
- Lighter or heat gun (if using heat shrink tubing)
- Multimeter (optional, to test continuity)
- Needle-nose pliers (for handling small wires)
- Marker or masking tape (to mark cut points)
- Small zip ties or cable clips (to manage excess wire after shortening)
Most of these items are inexpensive and reusable for future DIY projects. The key is using the right tools to avoid fraying wires or creating a fire hazard. When learning how to shorten an LED flat light string quickly and safely, preparation is half the battle.
Step-by-Step Guide to How to Shorten an LED Flat Light String Quickly and Safely
Step 1: Unplug and Inspect the Light String
Start by unplugging the LED flat light string from any power source. Even if it’s battery-powered, remove the batteries. Safety first—you don’t want any live wires while working.
Now, lay the string flat on a clean surface. Look closely at the wiring. Most LED flat light strings have two parallel wires (sometimes called “ribbon cables”) with small LED bulbs spaced evenly. The lights are usually wired in parallel, meaning cutting one section won’t affect the rest—as long as you do it right.
Check for any visible damage, like frayed wires or loose bulbs. If you find any, fix those first. A damaged string is harder to shorten safely.
Pro Tip: Take a photo of the entire string before cutting. This helps you remember the original layout and ensures you don’t cut the wrong section.
Step 2: Identify the Power Source and Cut Location
Find the plug or battery pack—this is your power source. The lights closest to this end will stay connected. You’ll be cutting the opposite end (the “tail”).
Count how many bulbs you want to keep. For example, if you want to keep 10 out of 20 bulbs, measure from the plug end. Use a marker or masking tape to mark the wire between the last bulb you want to keep and the first bulb you’re removing.
Never cut through a bulb or socket. Always cut in the space between bulbs. This preserves the connection for the remaining lights.
Warning: Cutting through a bulb or socket can damage the entire string and void any warranty. Always cut between bulbs.
Step 3: Cut the Wires Cleanly and Evenly
Using sharp wire cutters or scissors, make a clean, straight cut through both wires in the ribbon cable at your marked spot. A jagged or uneven cut can lead to exposed wire and potential short circuits.
After cutting, gently pull the two wires apart to expose about 1 inch (2.5 cm) of bare wire on each side. Use needle-nose pliers if the wires are stiff. Be careful not to nick or damage the insulation—only strip the very end.
If your string uses individual wires (not a ribbon), you may need to strip each wire separately. Use a wire stripper or carefully score the insulation with scissors and pull it off.
Pro Tip: Cut slightly longer than needed. You can always trim more, but you can’t add wire back.
Step 4: Seal the Cut End (Crucial for Safety)
This is the most important step. If you leave the cut end exposed, moisture can seep in, causing corrosion or a short. You have two safe options:
- Electrical tape: Wrap the exposed wires tightly with electrical tape. Overlap each wrap by 50% and cover the entire bare section plus an extra half-inch of insulation. Wrap at least three full layers.
- Heat shrink tubing: Slide a piece of heat shrink tubing (3/16″ or 5mm diameter) over the wires before cutting. After cutting and stripping, slide it over the exposed wires and use a lighter or heat gun to shrink it. This creates a waterproof, professional seal.
Heat shrink is better for outdoor strings or high-moisture areas. Tape works fine for indoor use. Whichever you choose, make sure no metal is exposed.
Warning: Never leave bare wires uncovered. This is a fire hazard and violates basic electrical safety rules.
Step 5: Test the Lights Before Final Use
Plug in the string (or reinsert batteries) and turn it on. All the bulbs you kept should light up. If any are dim, flickering, or dead, there may be a loose connection or damage.
If the lights don’t work, unplug immediately. Check for:
- Exposed wire touching another wire (causing a short)
- Loose tape or heat shrink that shifted during testing
- Damaged insulation near the plug or battery pack
Use a multimeter on continuity mode to check if the circuit is complete. Place one probe on the plug’s positive and the other on the last bulb’s positive wire. Repeat for negative. A beep means the circuit is intact.
Pro Tip: Test in a dim room so you can spot flickering or weak bulbs more easily.
Step 6: Tidy Up and Secure the New End
Once the lights work, it’s time to clean up the tail. Use a zip tie or cable clip to bundle the sealed end and any excess wire. This keeps it neat and prevents accidental tugging.
For outdoor use, consider placing the sealed end in a small plastic bag or waterproof connector box. This adds an extra layer of protection against rain or humidity.
If the string is heavy (like with large bulbs or multiple strands), secure the new end to a wall, rail, or furniture leg using adhesive clips. Don’t let it dangle—this can strain the seal over time.
Pro Tip: Label the shortened string with the date and bulb count using a tag. This helps if you store it and reuse it later.
Step 7: Optional—Add a Decorative End Cap
For a polished look, especially in visible areas, add a small end cap. You can buy LED string end caps online or make your own with a small plastic bead, 3D-printed cap, or even a tiny piece of shrink tubing with a decorative knot.
This step is purely cosmetic but makes your shortened string look like it was designed that way—not hacked. It’s a small detail that elevates the final result when you’re learning how to shorten an LED flat light string quickly and safely.
Pro Tips & Common Mistakes to Avoid
Even simple tasks can go wrong. Here are the most common pitfalls—and how to dodge them.
Use the Right Cutting Tool
Dull scissors or kitchen knives can crush the wires instead of cutting cleanly. This damages the insulation and creates weak points. Always use sharp wire cutters or a utility knife. A clean cut = a safe connection.
Don’t Cut the Plug End
Never cut near the plug or battery pack. The wires here are often thicker or have internal fuses. Cutting here can disable the entire string. Always shorten from the tail end.
Watch for Parallel vs. Series Wiring
Most LED flat light strings are parallel wired, meaning each bulb has its own path to power. But some older or cheap strings use series wiring, where cutting one section breaks the whole circuit. How to tell? If removing one bulb turns off all the others, it’s series. In that case, shortening is riskier. Stick to parallel strings for this method.
Warning: If your string is series-wired, consult a professional or replace it with a parallel version. Modifying series strings can be dangerous.
Label Before You Cut
It’s easy to get confused about which end is which. Before cutting, use masking tape to label “Plug End” and “Tail End.” This prevents cutting the wrong section, especially if the string is long or tangled.
Don’t Rush the Sealing Step
It’s tempting to skip sealing or use regular tape. But moisture is the enemy of LED strings. Electrical tape or heat shrink creates a barrier that keeps water out. A few minutes of sealing can prevent months of headaches.
Store the Excess (If You Want)
If you think you might reuse the cut-off bulbs or wires, store them in a labeled bag. You can use them for crafts, repairs, or even make a mini light string for a small project. But don’t let them clutter your space—recycle or donate if unused.
Check for Dimming or Flickering After Use
After shortening, some strings may dim slightly if the power supply was already near its limit. If the lights flicker or get dimmer over time, the power source might be overloaded. Try using a higher-capacity power adapter or battery pack.
FAQs About How to Shorten an LED Flat Light String Quickly and Safely
Can I shorten any LED flat light string?
Most can, but only if they’re parallel wired and have a removable tail. Strings with sealed ends, built-in timers, or smart controls (like Bluetooth or app-based) may not be safe to cut. Check the manufacturer’s instructions. When in doubt, contact customer support. Learning how to shorten an LED flat light string quickly and safely means knowing when not to cut.
Is it safe to cut LED lights?
Yes, as long as you follow safety steps: cut between bulbs, seal the wires, and never leave exposed metal. LED strings run on low voltage (usually 5–24V), which is much safer than household outlets. But safety still matters—especially for outdoor use.
Can I reconnect the cut-off end to make two strings?
Technically yes, but it’s not recommended. Reconnecting requires soldering and proper insulation. Without the right skills, you risk short circuits or fire. It’s safer to buy a new string or use the cut-off for crafts. Focus on shortening one string safely instead of splitting it.
What if I cut too much?
Unfortunately, you can’t reattach cut wire. But you can buy a LED string extension cord or use a wire splice connector to add a few extra bulbs. These are available online and at hardware stores. Just make sure the voltage and bulb type match.
Can I shorten battery-powered LED strings?
Yes! The process is the same. Just remove the batteries first. Be extra careful with the wires near the battery pack—they’re often more fragile. Use heat shrink for a tighter seal, since battery strings are often used outdoors.
How do I know if my string is parallel or series?
Turn off the string and remove one bulb. If the rest stay on, it’s parallel. If they all turn off, it’s series. You can also look at the wiring: parallel strings have two continuous wires with bulbs branching off. Series strings have a single wire running through each bulb.
Can I shorten a string with a remote control?
It depends. If the remote receiver is near the plug, you’re usually safe to cut the tail. But if the receiver is at the end, cutting it will disable the remote. Check the manual or look for a small box or sensor along the wire. When learning how to shorten an LED flat light string quickly and safely, always preserve the control unit.
Final Thoughts
Shortening an LED flat light string doesn’t have to be intimidating. With the right tools and a little care, you can customize your lighting to fit any space—whether it’s a cozy reading nook, a festive mantel, or a backyard patio.
Remember: the key to knowing how to shorten an LED flat light string quickly and safely lies in preparation, precision, and sealing. Cut cleanly, seal thoroughly, and test before hanging. These steps protect your lights, your home, and your peace of mind.
Don’t throw away that long string just because it’s too big. With this guide, you can turn excess into elegance. And the next time you see a perfect light display that’s just a few bulbs too long? You’ll know exactly what to do.
Take action today: Grab your tools, pick a string, and try it out. Start with a simple indoor string—once you nail the first one, you’ll be ready for any lighting challenge. Safe, smart, and stylish lighting is within your reach.
“`

