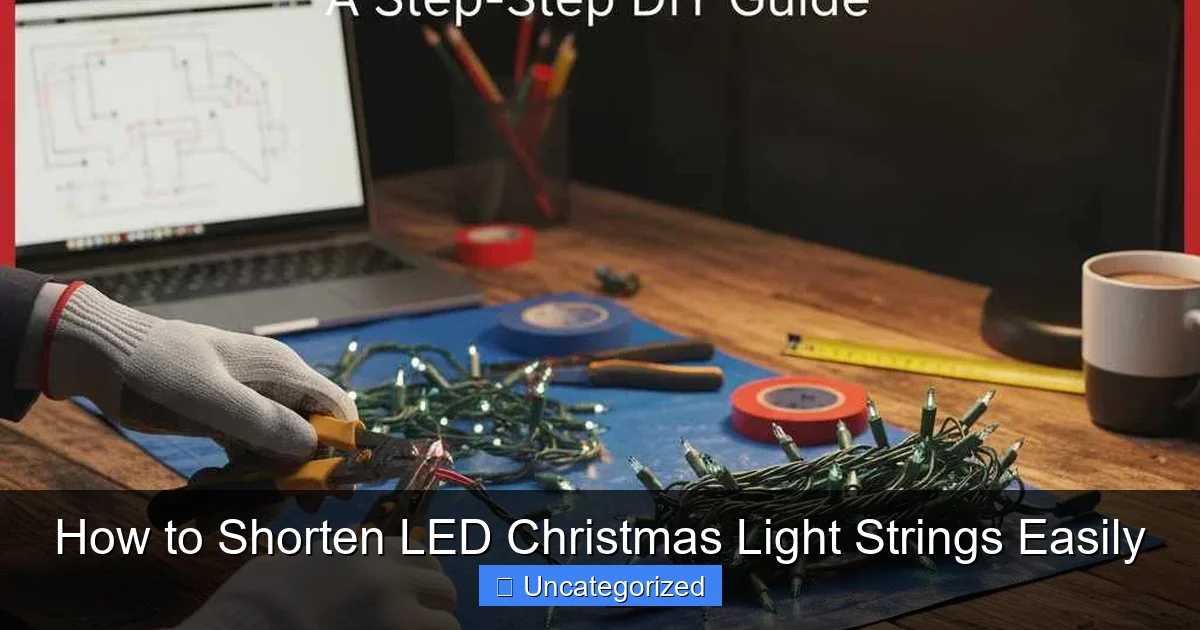
Featured image for how to shorten led christmas light strings
Image source: homeimprovementway.com
Shorten LED Christmas light strings safely by cutting only at designated cut points, usually marked every few inches, to avoid damaging the circuit. Always disconnect the lights and seal the cut end with waterproof caps or silicone to prevent moisture damage and ensure longevity. This simple method lets you customize strand length without replacing entire sets.
How to Shorten LED Christmas Light Strings Easily
Key Takeaways
- Measure twice, cut once: Plan your desired length carefully before trimming any wires.
- Use insulated wire cutters: Always cut wires cleanly to avoid fraying or short circuits.
- Seal cut ends properly: Apply waterproof heat-shrink tubing to prevent moisture damage.
- Test before reinstalling: Verify lights work after shortening to catch errors early.
- Preserve end connectors: Keep plugs/receivers intact for future reattachment or reuse.
- Label modified strings: Mark shortened lights to avoid confusion with full-length sets.
Why This Matters / Understanding the Problem
Every holiday season, you pull out your LED Christmas lights—only to find that they’re too long for your tree, mantel, or roofline. You end up with tangled, drooping strands or, worse, cut them and ruin the whole string. It’s frustrating and wasteful.
But here’s the good news: learning how to shorten LED Christmas light strings easily can save you time, money, and stress. Unlike old incandescent lights, modern LED strings are designed to be more flexible and safer to modify—when done right.
This guide walks you through a safe, effective method to customize your lights for any space. Whether you’re dressing up a small apartment balcony or trimming a 6-foot tree, how to shorten LED Christmas light strings easily is a skill every holiday decorator needs.
We’ll focus on non-destructive techniques that preserve the lights’ functionality and safety. No more guessing, no more wasted strands—just clean, custom-fit lighting that shines bright all season.
What You Need
Before you start, gather these tools and materials. Most are probably already in your toolbox or junk drawer.
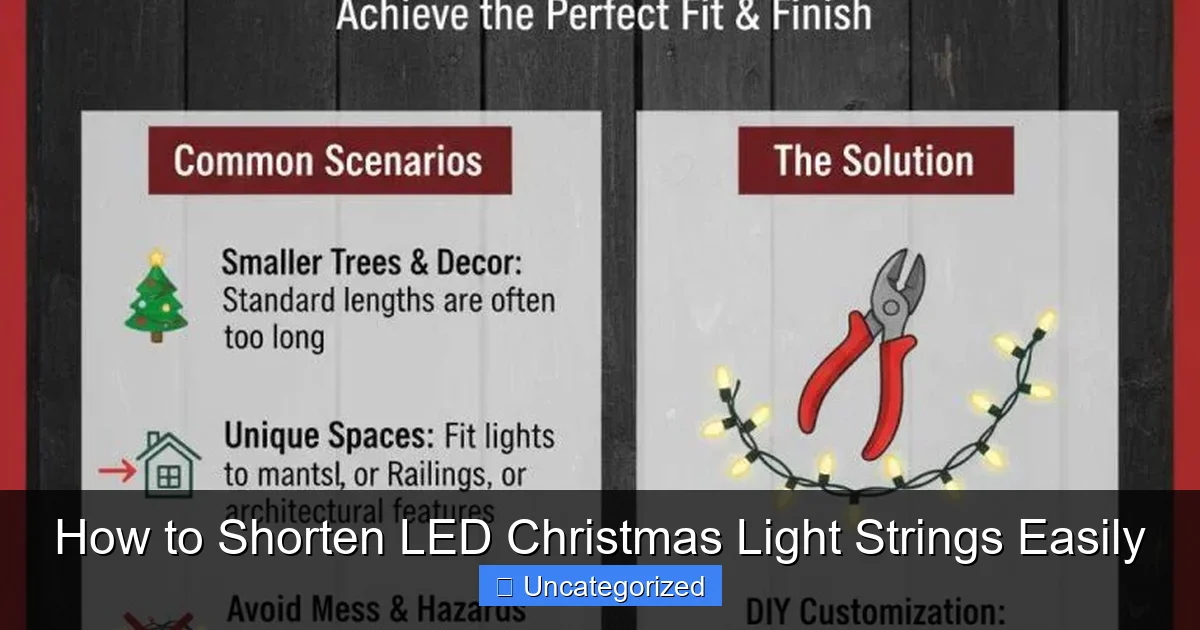
Visual guide about how to shorten led christmas light strings
Image source: homeimprovementway.com
- LED Christmas light string (preferably with a plug on one end and a socket on the other)
- Wire cutters or scissors (sharp, clean ones work best)
- Electrical tape (black or colored, but black blends better)
- Heat shrink tubing (optional but highly recommended for a clean, professional seal)
- Heat source (lighter, heat gun, or hair dryer—use carefully!)
- Marker or masking tape (to mark your cut point)
- Multimeter (optional, but helpful for testing continuity)
- Needle-nose pliers (for handling small wires and connectors)
- Zip ties or twist ties (to bundle excess if needed)
Pro Tip: Always work with unplugged lights. Even low-voltage LEDs can pose a risk if mishandled. Safety first!
Note: This method works best on end-to-end or series-connected LED strings—the kind where one bulb burns out and the rest stay on (common in newer sets). Avoid modifying battery-powered or remote-controlled strings unless you’re experienced.
Now, let’s dive into how to shorten LED Christmas light strings easily—safely and effectively.
Step-by-Step Guide to How to Shorten LED Christmas Light Strings Easily
Step 1: Choose the Right String and Identify the Cut Point
Not all LED strings are created equal. Start by checking the packaging or manufacturer label. Look for phrases like “end-to-end,” “series,” or “cuttable.” These are your best candidates for shortening.
Next, measure the area where you’ll hang the lights. Use a soft tape measure or string to get an accurate length. Then, lay out your LED string on a flat surface—floor or table—and stretch it out fully.
Mark your desired length with a small piece of masking tape or a marker. Remember: you’ll cut after a bulb socket, not in the middle of a wire. Why? Because each socket contains a tiny circuit that powers the bulb. Cutting in the middle breaks the circuit and ruins the string.
Warning: Never cut between two sockets. Always cut after the last socket you want to keep. This keeps the circuit intact and the remaining lights functional.
For example: If you have a 50-bulb string but only need 30 bulbs, count 30 from the plug end and place your mark just after the 30th socket. This is your cut point.
Bonus: Some premium LED strings have pre-marked cut points every 10–15 bulbs. Look for small labels or notches on the wire. These make how to shorten LED Christmas light strings easily even simpler.
Step 2: Unplug and Inspect the String
Before touching the wires, unplug the string from any power source. Even if it’s been off for hours, static or residual charge can damage sensitive LED components.
Now, inspect the area around your cut point. Check for:
- Frayed or damaged wires
- Corroded or loose sockets
- Kinks or bends in the wiring
If you spot any damage, consider using a different section of the string or replacing the entire strand. Safety is more important than saving a few bulbs.
Also, note the type of wire used. Most LED strings use two thin copper wires twisted together (like speaker wire). These are easier to work with than single-core wires.
Use a magnifying glass if needed. You want to see the individual wires clearly. This attention to detail makes all the difference when sealing the cut.
Once you’re sure the string is safe and undamaged, you’re ready for the next step in how to shorten LED Christmas light strings easily.
Step 3: Cut the Wire Cleanly
Grab your wire cutters or sharp scissors. Position them just after the last socket you’re keeping—about 1/2 inch from the base of the socket.
Cut straight across, clean and quick. A jagged or uneven cut makes sealing harder and increases the risk of short circuits.
After cutting, gently separate the two copper wires. Use your fingers or needle-nose pliers to pull them apart about 1 inch. This gives you room to work when sealing.
Pro Tip: If the wires are twisted tightly, use pliers to untwist them slightly. Don’t pull too hard—LED wires are delicate.
Now, strip the insulation from the end of each wire. Use a wire stripper or carefully score the insulation with a blade and peel it back. Expose about 1/4 inch of bare copper.
Be careful not to nick the copper itself. Damaged wire can lead to overheating or failure later.
At this point, you have two exposed wires sticking out from the last socket. These need to be sealed to prevent moisture, dust, and electrical issues. That’s where the next step comes in.
Remember: This is the core of how to shorten LED Christmas light strings easily—a clean cut and proper sealing.
Step 4: Seal the Wires (Two Methods)
There are two reliable ways to seal the cut end: electrical tape and heat shrink tubing. We’ll cover both so you can choose what works best for you.
Method 1: Electrical Tape (Quick & Accessible)
Start by wrapping each exposed wire individually with electrical tape. Wrap tightly, covering the bare copper and overlapping onto the insulated part by at least 1/2 inch.
Then, wrap the entire cut area—both wires and the socket base—with a second layer of tape. Use a figure-eight pattern to ensure full coverage.
Stretch the tape slightly as you wrap—this helps it stick better and form a tight seal.
Finish with a final layer, making sure no bare metal is visible. The goal is to create a moisture-proof barrier.
Pros: Easy, uses tools you likely already have, quick to apply.
Cons: Can loosen over time, especially in outdoor conditions.
Method 2: Heat Shrink Tubing (More Durable & Professional)
Heat shrink tubing is the gold standard for sealing cut wires. It shrinks when heated, creating a snug, waterproof seal.
Cut a 1-inch piece of heat shrink tubing (3/16 inch diameter works for most LED strings). Slide it over the cut end, covering the exposed wires and socket base.
Use a heat gun, hair dryer (on high heat), or lighter (carefully!) to apply heat evenly. Move the heat source in circles to avoid burning the tubing.
As it shrinks, the tubing will tighten around the wires, sealing them completely. You’ll see it contract and become smooth.
Let it cool for 30 seconds. The result? A clean, durable seal that looks professional and lasts for years.
Pro Tip: For extra protection, use dual-wall heat shrink—it has an inner adhesive layer that melts and bonds to the wires.
Heat shrink is ideal for outdoor lights, garlands, or any setup exposed to rain or snow. It’s the best way to ensure your shortened string survives the winter.
Whichever method you choose, sealing is crucial for how to shorten LED Christmas light strings easily—and safely.
Step 5: Test the Lights
Before hanging your lights, test them. Plug the string into a power outlet or extension cord.
If all the bulbs light up, great! Your cut and seal worked perfectly.
If some bulbs are out or the string doesn’t turn on:
- Unplug immediately.
- Check for short circuits—are the two exposed wires touching? If so, re-tape or re-shrink.
- Inspect the cut: did you accidentally cut through a wire inside the socket? If yes, you may need to shorten again or use a different section.
- Use a multimeter to test continuity between the plug and the last socket.
Don’t skip this step. Testing ensures your modification didn’t create a fire hazard or damage the lights.
Once the lights are working, unplug them and let them cool before moving to the next step.
Testing is a small but vital part of how to shorten LED Christmas light strings easily without risk.
Step 6: Bundle and Store the Excess (Optional)
You now have a perfectly shortened string—and a leftover piece with the plug and extra bulbs.
Instead of throwing it away, consider repurposing it:
- Use it for a smaller decoration (wreath, centerpiece, window sill).
- Cut it again to make a mini string for a tabletop tree.
- Store it in a labeled bag for next year’s DIY projects.
To store safely:
- Coil the excess neatly with zip ties or twist ties.
- Seal the cut end of the leftover piece (same method as above).
- Store in a dry, cool place—avoid attics or damp basements.
This reduces waste and gives you spare lights for future use. Plus, it makes your holiday prep more sustainable.
Bonus: Label each shortened string with its length and purpose (“Tree – 30 bulbs”) for easy setup next year.
Smart storage is a key part of how to shorten LED Christmas light strings easily and efficiently.
Step 7: Hang and Enjoy!
Now it’s time to hang your custom-fit lights. Use hooks, clips, or adhesive mounts to secure them in place.
Because you shortened the string to the right length, you won’t have sagging, tangled, or overhanging lights. Your display will look neat, professional, and tailored to your space.
For trees: Start at the top and work down, weaving lights through branches. Use zip ties to secure the plug end to the trunk.
For mantels or windows: Use adhesive light clips to avoid damaging surfaces.
For outdoor use: Make sure all connections and the sealed end are protected from rain. Use gutter clips or outdoor-rated adhesive hooks.
Step back and admire your work. You’ve just mastered how to shorten LED Christmas light strings easily—and created a beautiful, custom holiday display.
Pro Tips & Common Mistakes to Avoid
Even with clear steps, things can go wrong. Here are pro tips and pitfalls to avoid:
- Don’t cut in the middle of a run. Always cut after a socket. Cutting between sockets breaks the circuit and kills the whole string.
- Avoid cutting too close to the socket. Leave at least 1/2 inch of wire. This gives you room to strip and seal without damaging the socket.
- Use the right heat shrink size. Too small won’t fit; too large won’t seal tightly. 3/16 inch is usually perfect for standard LED strings.
- Don’t skip the seal. An unsealed cut invites moisture, leading to corrosion, flickering, or total failure.
- Test before hanging. It’s easier to fix a problem on the floor than on a ladder or roof.
- Label your shortened strings. Use masking tape or tags to note the length. Saves time next year!
- Work in a well-lit area. Good lighting helps you see the tiny wires and avoid mistakes.
Warning: Never modify LED strings with built-in controllers, timers, or Bluetooth. These have complex circuitry that can be damaged by cutting. Use pre-shortened or plug-and-play options instead.
Also, be aware of parallel vs. series strings. Most LED strings are in series (one path for electricity), but some high-end sets use parallel wiring (each bulb has its own circuit). Parallel strings are harder to shorten safely—consult the manual or avoid cutting.
Finally, if you’re unsure, practice on a cheap or old string first. This builds confidence and reduces the risk of ruining your favorite set.
With these tips, how to shorten LED Christmas light strings easily becomes a stress-free, rewarding task.
FAQs About How to Shorten LED Christmas Light Strings Easily
Q1: Can I cut any LED light string?
Not all LED strings are cuttable. Check the packaging or manufacturer label. Look for “cuttable,” “end-to-end,” or “series” strings. Avoid battery-powered, remote-controlled, or pre-programmed sets unless specified as modifiable. When in doubt, stick to basic plug-in strings for how to shorten LED Christmas light strings easily.
Q2: Will shortening the string make the remaining lights brighter?
No. LED brightness is determined by the power supply and circuit design, not length. However, removing excess bulbs reduces voltage drop, so lights may appear slightly more even across the string—especially on longer runs.
Q3: Can I shorten a string and then reconnect it later?
Technically, yes—but it’s not recommended. Reconnecting cut wires requires soldering and insulation, which is complex and risky. It’s safer to store the shortened string as-is. If you need a longer run, use a plug-in extension or a separate string.
Q4: What if I accidentally cut in the wrong place?
If you cut between sockets, the string won’t work. But you can sometimes salvage it by cutting again after the next socket and sealing both ends. You’ll lose a few bulbs, but the rest can still be used. Always test before hanging.
Q5: Is it safe to use shortened lights outdoors?
Yes—if sealed properly. Use heat shrink tubing for outdoor applications. Make sure the sealed end is protected from direct rain (e.g., under an eave or in a gutter). Avoid burying or submerging the cut end.
Q6: How many times can I shorten one string?
Only once. After the first cut, the string is permanently modified. Cutting it again risks damaging the circuit or creating unsafe conditions. Use the leftover piece for smaller projects instead.
Q7: Can I use this method on mini LED lights?
Yes, but be extra careful. Mini lights have thinner wires and smaller sockets. Use precision tools and work slowly. Heat shrink tubing is highly recommended for a secure seal.
Final Thoughts
Shortening LED Christmas light strings doesn’t have to be scary or complicated. With the right tools and a little patience, how to shorten LED Christmas light strings easily is a skill anyone can master.
By following this guide, you’ll create custom-fit lights that look great, last longer, and reduce waste. No more tangled messes or wasted strands—just clean, professional results every time.
Remember: always cut after a socket, seal the end properly, and test before hanging. These steps keep your lights safe and functional all season.
So next time you unbox your holiday lights, measure first, cut smart, and shine bright. Your perfect holiday display is just a few snips away.
Ready to get started? Grab your tools, pick a string, and try it today. You’ve got this!

