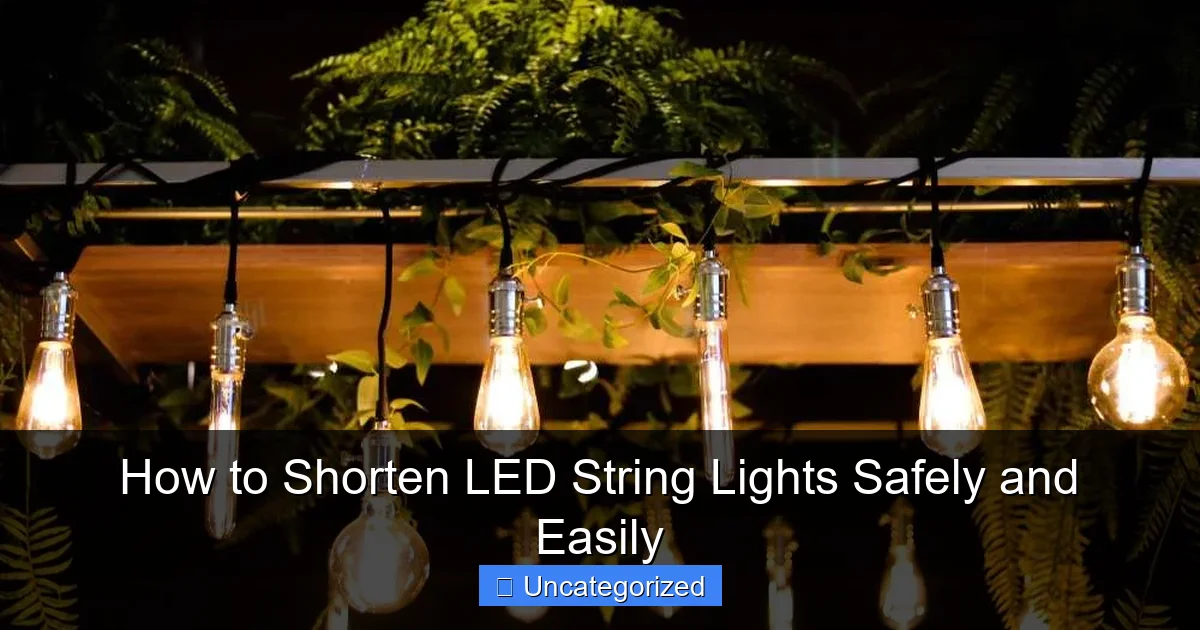
Featured image for how to shorten led string lights
Image source: housebrighten.com
Always cut LED string lights between bulbs, never through a socket or wiring, to maintain safety and prevent damage. Use the manufacturer’s designated cut points and seal exposed ends with silicone to ensure weather resistance and continued functionality. This simple method lets you customize length without sacrificing performance or safety.
How to Shorten LED String Lights Safely and Easily
Key Takeaways
- Measure carefully: Plan cuts to avoid removing too many bulbs.
- Use sharp tools: Clean cuts prevent damage to wires and bulbs.
- Check connections: Test lights after shortening to ensure functionality.
- Seal ends properly: Use heat shrink tubing to prevent shorts.
- Avoid cutting mid-bulb: Always cut at designated cut points.
- Follow manufacturer guidelines: Some LED sets require specific methods.
- Prioritize safety: Unplug lights before starting any modifications.
Why This Matters / Understanding the Problem
LED string lights are a go-to for cozy patios, festive holidays, and creative home decor. But what happens when you have too many lights? Excess length can lead to tangled messes, tripping hazards, or an unprofessional look—especially if you’re trying to fit them around a small balcony, bookshelf, or window frame.
Many people assume you can just cut LED string lights like regular rope. That’s a big mistake. Cutting them incorrectly can damage the circuit, cause shorts, or even create fire risks. That’s why learning how to shorten LED string lights safely and easily isn’t just about convenience—it’s about safety, durability, and getting the perfect fit for your space.
Whether you’re a DIY newbie or a seasoned decorator, this guide will walk you through every step. You’ll avoid common pitfalls, save money on new lights, and customize your setup without risking damage. And yes, it’s easier than you think—if you know the right method.
We’ll cover everything from identifying cuttable sections to sealing connections so your shortened lights last for years. By the end, you’ll feel confident tackling this project, even if you’ve never handled a soldering iron before.
Quick Note: Not all LED string lights can be shortened. Always check the manufacturer’s instructions first. Some are designed as one continuous circuit and cutting them will ruin the entire strand.
What You Need
Before we dive into the steps, gather these tools and materials. Having everything ready makes the process smoother and safer. Most of these items are common household or craft store staples.
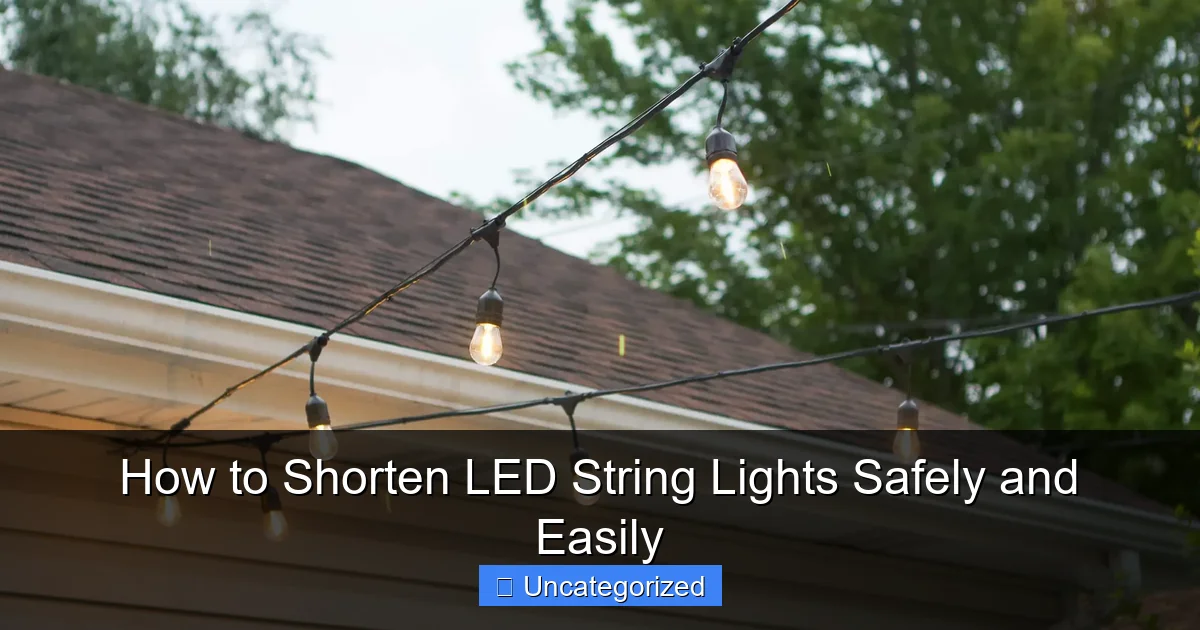
Visual guide about how to shorten led string lights
Image source: storables.com
- LED string lights (with cuttable sections—more on this later)
- Scissors or wire cutters (clean, sharp blades)
- Wire strippers (optional but helpful)
- Electrical tape or heat-shrink tubing
- Soldering iron and solder (if you want a permanent, waterproof seal)
- Heat gun or lighter (for heat-shrink tubing)
- Marker or pen (to mark cut points)
- Multimeter (optional, to test continuity)
- Small container (to hold loose bulbs or connectors)
For how to shorten LED string lights safely and easily, the key is using the right tools. Don’t rush this step. Using dull scissors or skipping insulation can lead to exposed wires, shorts, or even electric shock.
Pro tip: If you’re not comfortable soldering, use high-quality electrical tape and silicone sealant. It’s not as durable long-term, but it’s a great option for indoor or temporary use.
Step-by-Step Guide to How to Shorten LED String Lights Safely and Easily
Step 1: Identify If Your LED String Lights Can Be Shortened
Not all LED string lights are created equal. Some are designed to be cut; others are not. Cutting the wrong kind will break the circuit and ruin the entire strand.
Look for one of these signs that your lights are cuttable:
- Cut marks or labels on the wire every 1–3 feet (e.g., “Cut Here” or a dotted line).
- Modular design with small connectors between sections (like Christmas light sets).
- Manufacturer’s instructions that say “cuttable” or “expandable.”
For example, many modern LED fairy lights from brands like Twinkly or GE have cut points every 2–3 bulbs. These are ideal for customization.
Warning: If your lights are one solid strand with no markings or connectors, do not cut them. These are typically wired in series, and cutting them will break the entire circuit.
You can also test by plugging in the lights and observing how they behave. If turning one bulb off affects others, it’s likely a series circuit and not cuttable.
Step 2: Unplug and Lay Out the Lights
Always start with the lights unplugged. This is a non-negotiable safety rule. Even low-voltage LED lights (like 12V or 24V) can cause shocks or shorts if mishandled.
Unroll the entire strand and lay it flat on a clean surface. A table or large sheet of cardboard works well. This helps you:
- See the full layout
- Identify cut points
- Measure accurately
Use your hands to gently straighten any kinks or twists. Avoid stretching the wire—this can damage internal conductors.
Now, plug in the lights and test them. Make sure every bulb lights up. This confirms the strand is working before you modify it.
Unplug again before moving to the next step. Safety first—every time.
Step 3: Measure and Mark Your Desired Length
Now it’s time to decide where to shorten the lights. Think about where you’ll hang them: around a mirror, along a headboard, or across a window.
Use a measuring tape to determine the exact length you need. For example:
- For a 4-foot window: measure 4 feet from the plug
- For a circular wreath: measure the circumference (about 1.5x the diameter)
- For a bookshelf: measure the perimeter of the shelves
Once you have the measurement, find the nearest cut point that’s equal to or slightly longer than your target. Why slightly longer? You’ll need extra wire to make a secure connection.
Use a marker to draw a small “X” or dot on the wire at the cut point. Make it visible but not so large it covers the cut marks.
Example: If your cut point is every 2 feet and you need 5 feet, cut at the 6-foot mark. This gives you 1 foot of extra wire for sealing and connecting.
Pro Tip: Always cut after a bulb or connector, never in the middle of a section. This keeps the remaining lights functional and makes sealing easier.
Step 4: Cut the Wire at the Marked Point
Now comes the actual cutting. Use sharp scissors or wire cutters for a clean cut. Dull tools can fray the wires and make sealing harder.
Place the cut point on a hard, flat surface. Hold the wire steady with one hand and cut straight across with the other. Don’t twist or pull.
After cutting, examine the wires inside. You should see:
- Two or more thin copper wires (usually red and black, or white and black)
- A plastic insulation layer
- Possibly a third wire (for RGB or smart lights)
For single-color lights, there are typically two wires: positive (+) and negative (−). For color-changing or app-controlled lights, there may be three or more.
Don’t cut too close to a bulb or connector. Leave at least 1–2 inches of wire on both sides of the cut. This gives you room to strip, solder, or tape.
If your lights have a connector (like a small plastic plug), cut just before the connector, not through it. This preserves the plug for reuse.
Step 5: Strip and Prepare the Wires
Now, strip about 1/2 inch (1.3 cm) of insulation from each wire end. Use wire strippers for precision, or carefully use a sharp knife (but be gentle).
Twist the exposed copper strands together gently. This prevents fraying and makes soldering easier.
If you’re not soldering, you can skip twisting, but it helps keep the wires tidy under tape.
For RGB or multi-wire lights, label each wire with tape or a marker (e.g., “Red,” “Green,” “Blue,” “Common”). This prevents confusion later.
Warning: Never strip more than 1/2 inch. Exposed wires can short if they touch each other or metal surfaces.
If you’re reattaching a plug or connector, check its wiring diagram. Some have specific wire-to-pin assignments. A multimeter can help test continuity if you’re unsure.
Step 6: Seal the Cut End (Critical for Safety)
This step is where many people fail. Leaving the cut end open is a major hazard—it can cause shorts, shocks, or even fire.
You have two main options for sealing:
- Electrical tape: Wrap tightly over the exposed wires, covering at least 1 inch on either side of the cut. Overlap each wrap by 50% for a tight seal. Use 2–3 layers.
- Heat-shrink tubing: Slide a piece of tubing (slightly larger than the wire) over the cut before cutting. After cutting and stripping, slide it back and shrink it with a heat gun or lighter. This creates a waterproof, professional seal.
For outdoor or high-humidity areas (like bathrooms), use heat-shrink tubing or add a dab of silicone sealant over the tape. This prevents moisture from entering.
If you’re soldering (recommended for permanent installations), solder the wires together or to a new plug, then seal with heat-shrink tubing. This is the most durable method.
Never leave bare wires exposed—even indoors. Pets, kids, or dust can cause problems.
Step 7: Test the Lights
Before you hang or store the lights, test them again. Plug them in and check that:
- All bulbs light up
- No flickering or dimming
- The sealed end stays cool (not hot)
If the lights don’t work, unplug immediately. Check for:
- Loose wires
- Incorrect wire connections (if using a plug)
- Damaged insulation
Use a multimeter to test continuity if needed. Set it to the ohms (Ω) setting and touch the probes to the positive and negative wires. A reading means the circuit is complete.
If the lights work, unplug and let them cool. Then, you’re ready to install!
Step 8: Reattach or Replace the Plug (Optional)
If you cut off the original plug, you’ll need to add a new one. This is common if you shortened the lights from the end.
You can:
- Use a replacement plug: Available at hardware stores. Match the voltage (e.g., 12V, 24V) and plug type (e.g., barrel, USB, wall adapter).
- Splice to an extension cord: Cut the male end off an extension cord and connect it to the lights (only if voltage matches).
To attach a plug:
- Strip the wires on both the light and plug
- Twist matching wires together (positive to positive, negative to negative)
- Solder for a secure connection
- Seal with heat-shrink tubing or tape
- Secure the wires inside the plug housing
Never leave spliced wires loose. Use the plug’s strain relief (the clamp that holds the cord) to prevent pulling on the solder joints.
Pro Tip: For USB-powered lights, you can cut the plug and connect to a USB extension cable. Just match the wires (red to red, black to black).
Pro Tips & Common Mistakes to Avoid
Shortening LED string lights seems simple, but small errors can lead to big problems. Here are the top tips and pitfalls to watch for.
Pro Tip #1: Always cut at marked points. Cutting between sections can break the circuit or damage bulbs.
Pro Tip #2: Use heat-shrink tubing for outdoor or wet areas. It’s more durable than tape and resists moisture.
Pro Tip #3: Label wires if you’re reattaching a plug. A small piece of colored tape saves time and avoids mix-ups.
Pro Tip #4: Keep spare bulbs and connectors. If a bulb burns out, you can replace it without cutting the whole strand.
Pro Tip #5: Store shortened lights loosely coiled, not tightly wrapped. This prevents kinks and extends lifespan.
Now, the common mistakes:
- Cutting non-cuttable lights: Always check the manual. If unsure, assume it’s not cuttable.
- Skipping insulation: Bare wires are dangerous. Always seal the cut end.
- Using low-quality tape: Cheap electrical tape dries out and falls off. Use name-brand tape (e.g., 3M).
- Overheating with a soldering iron: Too much heat can melt insulation or damage LEDs. Use a low-wattage iron (15–30W).
- Ignoring voltage: Don’t connect 12V lights to a 120V plug. This can cause overheating or fire.
One real-life example: A homeowner cut their LED lights but didn’t seal the end. A month later, a pet chewed the exposed wire, causing a short and damaging the power adapter. A simple tape job would’ve prevented this.
Another common issue: cutting too close to a bulb. This makes it hard to strip the wire and can damage the bulb’s base. Always leave at least 1 inch of wire.
Remember: how to shorten LED string lights safely and easily isn’t just about cutting—it’s about doing it right the first time.
FAQs About How to Shorten LED String Lights Safely and Easily
Got questions? You’re not alone. Here are the most common queries—answered clearly and practically.
Q: Can I shorten any LED string lights?
No. Only lights with cut points or modular connectors can be shortened. Look for “cuttable” in the product description or markings on the wire. If there’s no indication, assume it’s not safe to cut.
Q: What happens if I cut the wrong place?
It depends. If you cut a non-cuttable strand, the entire circuit may break—and the lights won’t work. If you cut at a bulb, you might damage it. Always cut at marked points, and never in the middle of a section.
Q: Is soldering necessary?
No, but it’s best for permanent, outdoor, or high-use setups. For indoor or temporary use, high-quality electrical tape is fine. Just make sure it’s fully sealed and won’t come loose.
Q: Can I shorten battery-powered LED lights?
Yes, if they have cut points. But be extra careful—battery packs have low voltage, but shorting the wires can drain the battery fast or damage the circuit. Always seal the cut end.
Q: How do I shorten smart or app-controlled LED lights?
Same process, but be careful with extra wires (for color, brightness, data). Label them clearly. Some smart lights (like Philips Hue) have specific cut points—check the manual. Never cut near the controller or Bluetooth module.
Q: What if my lights flicker after shortening?
Unplug immediately. Check for loose wires, poor solder joints, or damaged insulation. Use a multimeter to test continuity. Re-secure any connections and reseal the cut end.
Q: Can I shorten lights that are already hung?
It’s possible, but not recommended. You risk damaging the lights or your decor. Always unroll and lay them flat on a clean surface. If you must cut while hung, use extra caution and support the wire.
Final Thoughts
Shortening LED string lights doesn’t have to be scary. With the right tools and a little care, you can customize your lights to fit any space—without risking safety or performance.
Remember: how to shorten LED string lights safely and easily starts with checking if they’re cuttable, ends with sealing the wires, and includes testing every step of the way. It’s not just about saving length—it’s about creating a clean, professional look that lasts.
Start small. Try shortening one strand for a bookshelf or photo wall. Once you’re confident, tackle bigger projects like outdoor patios or holiday displays.
And don’t forget to label your shortened lights. A small tag like “Shortened – 5 ft” helps you remember the length for future use.
Now go ahead—take control of your lighting. With this guide, you’ve got everything you need to do it right. Happy decorating!

