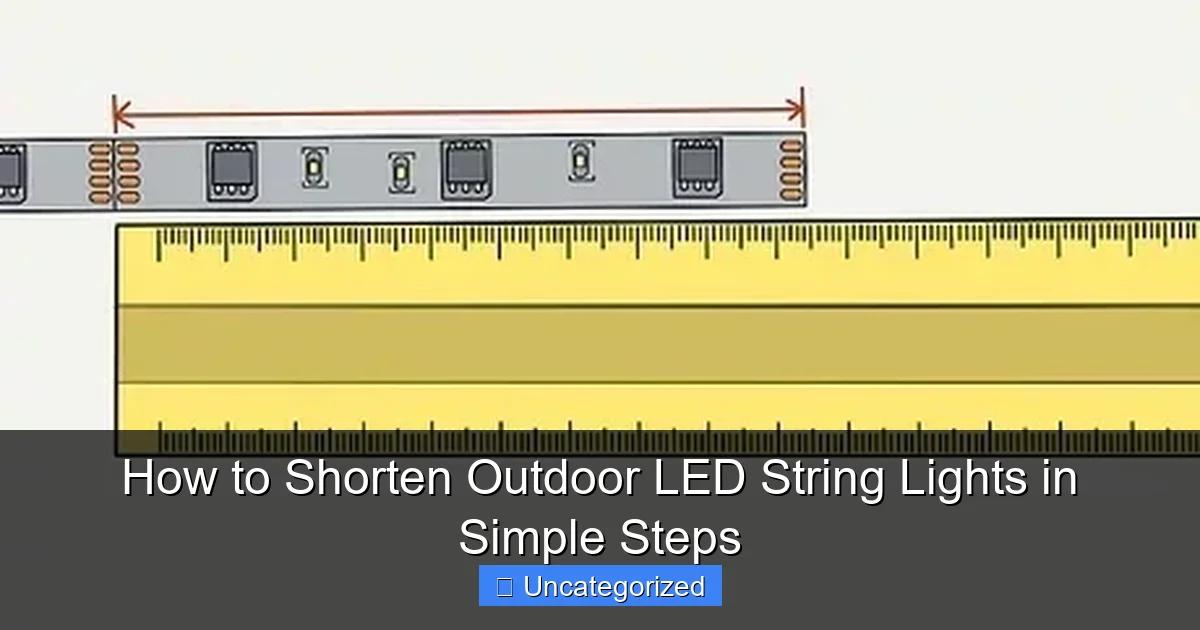
Featured image for how to shorten outdoor led string lights
Image source: i2.wp.com
Shorten outdoor LED string lights safely by first unplugging them and measuring the desired length before cutting. Always cut only at designated points—usually marked by a scissor icon or connector—to avoid damaging the circuit and ensure continued functionality. With basic tools and careful planning, you can customize your lighting for a perfect fit.
How to Shorten Outdoor LED String Lights in Simple Steps
Key Takeaways
- Measure carefully: Determine exact length needed before cutting to avoid mistakes.
- Use waterproof connectors: Ensure safe, weatherproof splices when shortening LED wires.
- Cut only at marked points: Follow manufacturer guidelines to prevent damage.
- Seal cut ends properly: Apply silicone sealant to protect against moisture and corrosion.
- Test before finalizing: Verify lights work post-modification to catch errors early.
- Preserve extra bulbs: Save removed sections for repairs or future use.
Why This Matters / Understanding the Problem
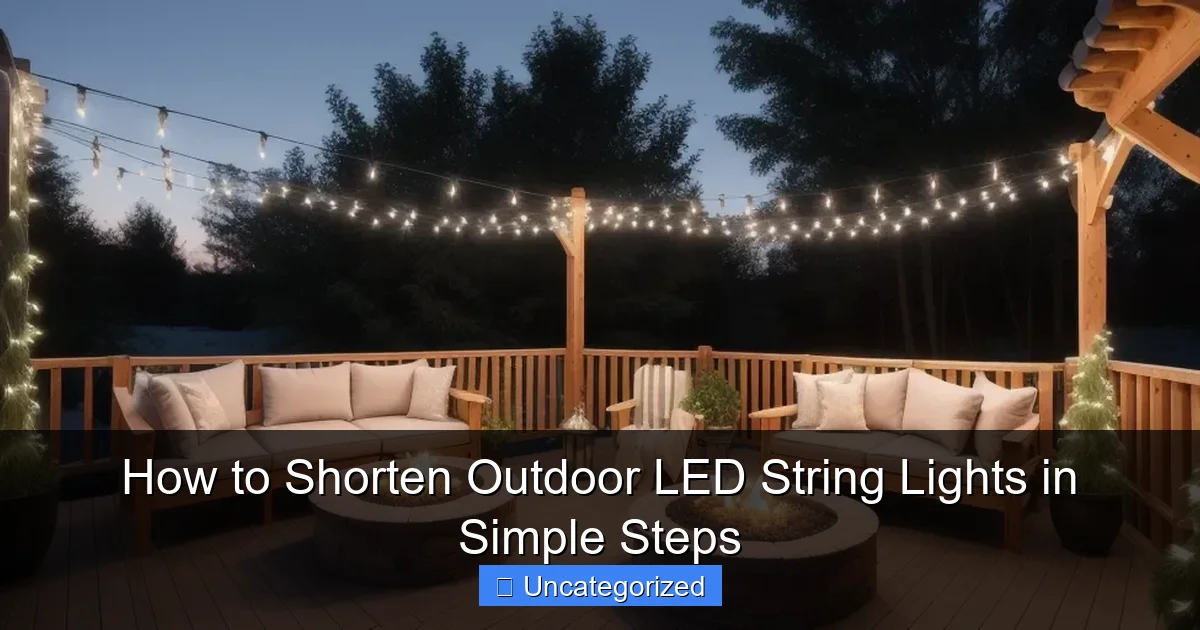
Outdoor LED string lights are a game-changer for backyards, patios, and porches. They add warmth, ambiance, and a touch of magic to any space. But what happens when you buy a 50-foot strand, only to realize your patio is just 20 feet wide?
That’s where knowing how to shorten outdoor LED string lights in simple steps comes in. Trimming them the right way keeps them working, safe, and looking great—without damaging the wiring or risking electrical hazards.
Many people try cutting the lights and taping them up, only to end up with flickering bulbs, dead sections, or even a fire hazard. That’s because LED strings are wired in circuits. Cut them wrong, and you break the circuit. Cut them right, and you keep the magic alive.
Whether you’re decorating a small balcony, a gazebo, or a cozy garden nook, learning how to shorten outdoor LED string lights in simple steps helps you customize your lighting without buying new strands. You save money, reduce waste, and get a clean, professional look.
And don’t worry—this isn’t rocket science. With a few tools and a little patience, anyone can do it. No electrical degree required.
What You Need
Before diving in, gather the right tools. Using the wrong supplies can damage your lights or create safety risks. Here’s what you’ll need:
Visual guide about how to shorten outdoor led string lights
Image source: lastinglights.com
- Measuring tape – To mark the exact length you want.
- Scissors or wire cutters – Sharp, clean blades for a smooth cut.
- Electrical tape – Waterproof, high-quality tape to seal the cut end.
- Heat-shrink tubing (optional but recommended) – For extra protection and a neater finish.
- Heat gun or lighter (if using heat-shrink tubing) – To seal the tubing.
- Multimeter (optional) – To test continuity and ensure the circuit is still working.
- Wire strippers (only if modifying plug or socket end) – Not always needed, but helpful for advanced fixes.
- Marker or colored tape – To mark where to cut.
You’ll also need a flat, dry workspace—like a table or the ground under a covered area. Avoid cutting in rain or on wet surfaces.
Most importantly: unplug the lights before you start. Even if they’re low-voltage, safety first.
Step-by-Step Guide to How to Shorten Outdoor LED String Lights in Simple Steps
Step 1: Measure and Plan Your Cut
Start by measuring the space where you plan to hang the lights. Use your measuring tape to mark the exact length you need—say, 18 feet instead of 40.
Now, lay the string out straight on a flat surface. Don’t coil it or twist it. You need to see every bulb and wire clearly.
Here’s the key: you can only cut between bulbs, not in the middle of a bulb socket. Most LED string lights are wired in series, with bulbs spaced every 6–12 inches. Look for the small gap between the last bulb you want to keep and the next one.
Use a marker or a small piece of colored tape to mark the wire right before the next bulb. That’s your cut point.
Pro Tip: Always leave at least one extra bulb beyond your measured length. This gives you room for error and makes hanging easier. You can always hide an extra bulb behind a post or railing.
For example, if your space is 18 feet, cut at 19 feet. That extra foot helps with mounting and avoids stress on the last bulb.
Step 2: Identify the Wiring Type
Not all LED strings are the same. Knowing your wiring type helps you cut safely and avoid dead sections.
There are two common setups:
- Series wiring: One continuous wire runs through all bulbs. Cutting it breaks the circuit unless you cap it properly.
- Parallel or “end-to-end” wiring: Each bulb has its own connection. These are safer to cut, but still need sealing.
To check, look at the wire between bulbs. If it’s a single strand with two thin wires inside (like a lamp cord), it’s likely series. If you see multiple tiny wires or a flat ribbon cable, it might be parallel.
You can also plug in the string and remove one bulb. If all the others go out, it’s series. If only that section goes dark, it’s parallel.
Most outdoor LED strings are series-wired. That means you must seal the cut end to prevent short circuits. Leaving it open can cause flickering or burn out the driver (the small box near the plug).
Warning: Never cut the wire near the plug or the socket end unless you’re experienced. That’s where the voltage converter and safety components are located. Stick to cutting between bulbs.
Step 3: Cut the Wire Cleanly
Now it’s time to cut. Use sharp wire cutters or scissors. Dull tools can fray the wire or crush the insulation.
Snip the wire at your marked point. Make a clean, straight cut. Avoid twisting or sawing—this can damage the internal wires.
After cutting, inspect the ends. You should see two thin wires (positive and negative) inside a plastic coating. Make sure they’re not touching each other.
If you see frayed wires or insulation damage, trim a tiny bit more. Better to cut a little extra than risk a short.
Pro Tip: Cut at a slight angle (like a diagonal) to reduce the chance of moisture seeping in. It also makes taping easier.
Step 4: Seal the Cut End (The Most Important Step)
This is where most DIYers go wrong. They cut the wire and leave it exposed—big mistake.
An open cut end can let in moisture, dirt, and bugs. That leads to corrosion, flickering, and eventual failure. In wet conditions, it can even cause a short circuit.
To seal it properly, use waterproof electrical tape. Wrap it tightly around the cut, covering at least 1–2 inches on either side of the cut point.
Here’s how:
- Start wrapping 1 inch before the cut.
- Overlap each wrap by half the tape width.
- Stretch the tape slightly as you go—this helps it seal better.
- Wrap at least 1.5 to 2 inches past the cut.
- Press down firmly to remove air bubbles.
For extra protection, use heat-shrink tubing. Slide a piece (about 2–3 inches long) over the wire before cutting. After cutting, slide it over the cut end and use a heat gun or lighter to shrink it.
Heat-shrink creates a watertight, professional seal. It’s ideal for lights that stay up year-round.
Warning: Don’t use regular duct tape or masking tape. It degrades in sunlight and won’t last outdoors.
Step 5: Test the Lights
Before hanging, plug in the shortened string and test it.
Turn it on. All the bulbs should light up. No flickering. No dim sections.
If one bulb is out or the whole strand doesn’t work, don’t panic. Here’s what to check:
- Did you cut in the right spot? (Between bulbs, not through a socket)
- Are the internal wires touching? (Separate them with tape)
- Is the seal too tight, pinching the wires? (Loosen the tape a bit)
- Is the driver (the box near the plug) warm or making noise? (Unplug and check for damage)
Use a multimeter to test continuity if you have one. Set it to “ohms” and touch the probes to the two wires inside the cut end. If it beeps or shows a low number, the circuit is still intact.
If the lights don’t work, the issue might be deeper—like a damaged driver or a broken bulb. In that case, you may need to replace the plug end (advanced) or use the shortened strand as a “tail” connected to a new plug.
Step 6: Hang and Enjoy
Once the lights work, it’s time to hang them.
Use outdoor-rated hooks, clips, or zip ties. Avoid nails or screws that can pierce the wire.
Start from the plug end and work toward the cut end. This keeps the plug accessible for unplugging and reduces strain on the shortened section.
Make sure the cut end is positioned so it won’t collect water. Point it downward, or tuck it under a ledge or railing.
For a clean look, use wire clips every 12–18 inches. This prevents sagging and keeps the lights straight.
And remember: never cover the cut end with fabric, leaves, or decorations. It needs airflow to stay dry.
Step 7: Maintain for Longevity
Shortening your lights doesn’t end with installation. A little maintenance keeps them shining for years.
Check the seal every few months. Look for cracks, peeling tape, or moisture inside the heat-shrink.
If you see damage, reseal it immediately. Use fresh tape or replace the heat-shrink.
During storms or heavy rain, unplug the lights if possible. This protects the driver and the seal.
At the end of the season, take them down and store them indoors. Wrap them loosely (not tightly) to avoid kinking the wire.
When you reinstall next year, inspect the cut end again. A quick touch-up can add another season of life.
Pro Tips & Common Mistakes to Avoid
Even simple projects have pitfalls. Here are expert-backed tips and mistakes to watch out for when learning how to shorten outdoor LED string lights in simple steps.
Pro Tip 1: Label your shortened strands. Use a tag or colored tape to mark the length. Next year, you’ll know which one fits your patio—no guesswork.
Pro Tip 2: Use silicone sealant for ultra-durable seals. After taping, add a dab of outdoor silicone (like GE Silicone II) over the cut. Let it cure for 24 hours. It’s waterproof and UV-resistant.
Pro Tip 3: If you’re cutting multiple strands, cut them all at the same point. That way, they match in length when hung together. Great for symmetry on pergolas or fences.
Now, the common mistakes:
- Cutting through a bulb socket: This destroys the bulb and can break the circuit. Always cut between bulbs.
- Using low-quality tape: Cheap tape peels in sun and rain. Invest in 3M Super 33+ or equivalent for long-term use.
- Ignoring the driver: The small box near the plug is the brain of the system. If it’s hot, buzzing, or damaged, don’t use the lights. Replace it or the whole strand.
- Over-tightening the seal: Too much tape or heat-shrink can pinch the wires. This causes flickering or dead spots. Wrap snugly, not tightly.
- Forgetting to test: Always test before hanging. Fixing a problem on the ground is easier than 10 feet up on a ladder.
- Cutting too short: Leave a buffer. An extra bulb or two gives you flexibility in hanging and reduces stress on the last connection.
One real-life example: A homeowner in Arizona cut her lights to fit her patio, but left the end open. After a monsoon, the lights flickered and died. The moisture corroded the wires. A simple tape seal would’ve saved $60 in replacement costs.
Another tip: If you have extra wire after cutting, save it! You can use it for small DIY projects—like under-cabinet lighting or a custom garland.
FAQs About How to Shorten Outdoor LED String Lights in Simple Steps
You’ve got questions? We’ve got answers. Here are the most common queries about how to shorten outdoor LED string lights in simple steps.
Can I shorten any LED string lights?
Most yes—but not all. Check the manufacturer’s instructions. Some brands (like Philips Hue) have smart systems that can’t be cut. Others have sealed sockets that make cutting risky.
Stick to basic, non-smart, plug-in LED strings. If the packaging says “cuttable” or “customizable,” you’re good to go.
What if I cut the wrong spot and the lights don’t work?
Don’t panic. If you cut too close to a bulb or damaged the socket, you can sometimes fix it.
Try splicing the wires together. Strip 1/2 inch of insulation from both ends. Twist the matching wires (usually red to red, black to black), then seal with electrical tape or a wire nut. Wrap the whole joint in tape.
This only works if the cut was near the end. If you damaged the middle, it’s usually easier to replace the strand.
Can I shorten the plug end instead of the socket end?
Technically yes, but it’s riskier. The plug end has the driver and safety components. Cutting it can expose high-voltage parts or void the warranty.
Instead, cut the socket end (the far end) and keep the plug intact. That way, you preserve the driver and can still use the original plug.
If you must shorten the plug end (e.g., to fit a tight space), consider using an extension cord or relocating the outlet.
Do I need to use heat-shrink tubing, or is tape enough?
Tape works for short-term use (a few months). But for long-term outdoor use, heat-shrink is better.
Heat-shrink is waterproof, UV-resistant, and doesn’t degrade like tape. It’s the best choice for lights that stay up year-round.
If you don’t have heat-shrink, use high-quality tape and reapply every 6–12 months.
Can I shorten battery-powered LED string lights?
Yes, but with extra caution. Battery-powered strings often have thin, delicate wires. Use tiny cutters and seal carefully.
Also, check if the battery box has a built-in timer or controller. Cutting too close to it can damage the electronics.
And never cut the wire inside the battery box—only between bulbs.
How long will a shortened string last?
With proper sealing, a shortened LED string can last 3–5 years outdoors—or longer.
The seal is the weakest point. If it stays dry and intact, the lights will keep working. But if moisture gets in, corrosion can shorten the lifespan.
Regular maintenance (checking the seal, unplugging during storms) helps it last longer.
Can I reconnect a cut string to make it longer?
Yes! Use a waterproof wire connector or a splice kit. Strip the wires, twist them together, and seal with heat-shrink or heavy-duty tape.
Just make sure the total length doesn’t exceed the manufacturer’s limit. Overloading the driver can cause overheating or failure.
Final Thoughts
Learning how to shorten outdoor LED string lights in simple steps is a small skill with big rewards. You save money, customize your space, and avoid the frustration of too-long lights.
Remember the key steps: measure carefully, cut between bulbs, seal the end, and test before hanging. Use quality materials, and don’t skip the seal—it’s the difference between a quick fix and a lasting solution.
And don’t be afraid to try it. Even if you make a mistake, you’ll learn something. Most issues are fixable, and the process gets easier with practice.
So grab your tools, unplug your lights, and give it a go. In less than an hour, you’ll have perfectly sized string lights that look like they were made for your space.
For best results, keep your cut ends dry, check them regularly, and store your lights properly. With a little care, your shortened LED string lights will shine bright for seasons to come.
Now go enjoy your cozy, well-lit outdoor oasis—no wasted wire, no hassle, just pure ambiance.

