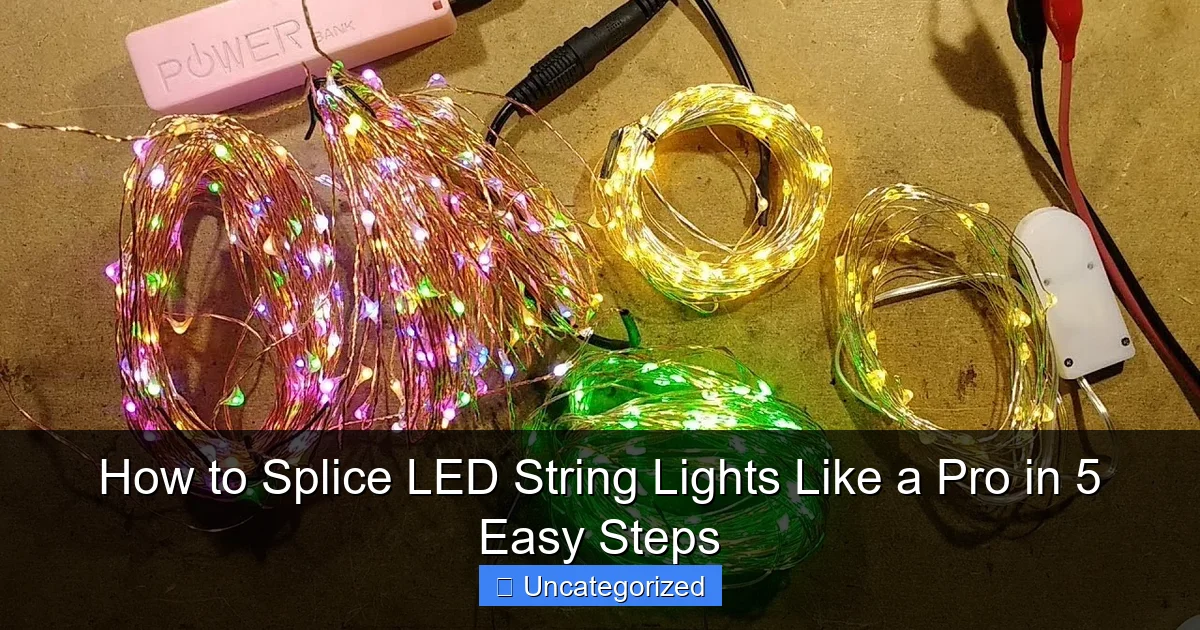
Featured image for how to splice led string lights
Image source: i.ytimg.com
Master the art of splicing LED string lights in just 5 simple steps to repair breaks, customize lengths, or connect multiple strands seamlessly. With the right tools—wire strippers, connectors, and waterproof heat shrink tubing—you can ensure a safe, durable, and professional-grade connection that keeps your lights shining bright season after season.
“`html
How to Splice LED String Lights Like a Pro in 5 Easy Steps
Key Takeaways
- Turn off power first: Always disconnect lights before splicing to avoid electrical hazards.
- Strip wires carefully: Use wire strippers to expose clean copper for secure connections.
- Match wire colors: Connect same-colored wires to maintain circuit integrity and brightness.
- Use waterproof connectors: Protect splices with heat-shrink tubing or silicone-filled caps for longevity.
- Test before sealing: Check connections with a multimeter or by briefly powering the circuit.
- Insulate thoroughly: Cover all exposed wires with electrical tape to prevent short circuits.
Why This Matters / Understanding the Problem
Imagine this: You’re setting up a cozy patio, a wedding arch, or holiday lights, and suddenly—half your LED string lights go dark. A single damaged wire or loose connection can ruin the whole display. Instead of tossing the entire strand, learning how to splice LED string lights like a pro in 5 easy steps saves money, reduces waste, and keeps your ambiance intact.
LED string lights are delicate. They’re not like old incandescent bulbs you can just twist back together. A bad splice can lead to flickering, short circuits, or even fire hazards. But don’t worry—this guide walks you through a safe, reliable method using basic tools and a little patience.
Whether you’re fixing a holiday garland, repairing garden lighting, or extending a short strand, knowing how to splice LED string lights properly ensures your lights shine bright, last longer, and stay safe. This isn’t just about fixing wires—it’s about mastering a skill that makes your home, event, or outdoor space look professionally lit.
Pro Insight: LED lights run on low voltage, but improper splicing can still damage the circuit board or cause overheating. Always work on unplugged strands!
What You Need
Before you dive into how to splice LED string lights like a pro in 5 easy steps, gather the right tools. Using the wrong materials can ruin your lights or create a hazard. Here’s your quick checklist:
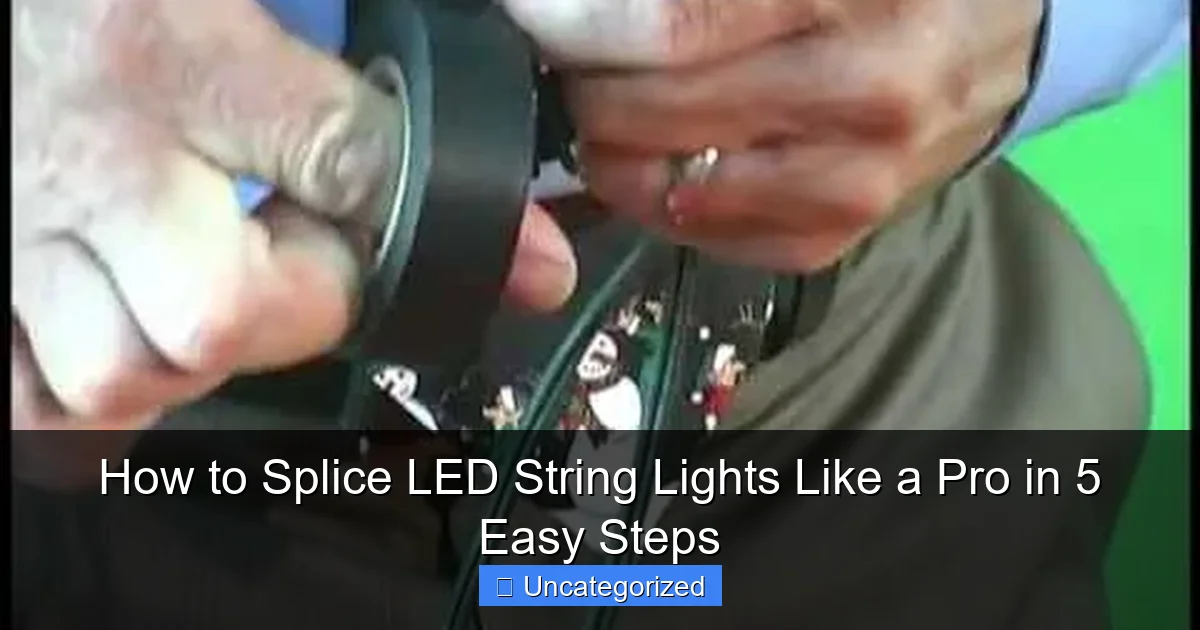
Visual guide about how to splice led string lights
Image source: i.ytimg.com
- Wire strippers (precision type for thin LED wires)
- Heat-shrink tubing (3/16″ diameter, 1″ long per splice)
- Lighter or heat gun (to seal the tubing)
- Electrical tape (high-quality, 3M or equivalent)
- Wire cutters (clean, sharp blades)
- Needle-nose pliers (for twisting wires)
- Multimeter (optional, but great for testing continuity)
- Small zip ties (to secure the splice and reduce strain)
- Marker or tape (to label wires if needed)
Most LED string lights have two thin copper wires inside a clear or colored plastic jacket. Some higher-end models have three (for color-changing LEDs), so check your strand first. You’ll also want a clean, dry workspace—no water, pets, or kids nearby.
Warning: Avoid using twist-on wire nuts or cheap plastic connectors. They’re bulky, unreliable, and can loosen over time. Heat-shrink is the gold standard for durability.
Step-by-Step Guide to How to Splice LED String Lights Like a Pro in 5 Easy Steps
Step 1: Cut and Strip the Damaged Section Cleanly
Start by unplugging the lights—safety first. Locate the damaged area. Look for frayed wires, melted insulation, or a spot where the lights stop working. Use your wire cutters to remove a clean section (about 1–2 inches) around the damage. Cut straight, not at an angle.
Now, strip about 1/2 inch (12–13 mm) of insulation from both ends of the cut wires. Use wire strippers with a setting for thin gauge wire (usually 20–24 AWG). Gently clamp and pull—don’t yank. You want to expose the copper without nicking or breaking it.
If the wires are twisted, untwist them carefully. Keep the strands separate so you can match them correctly in the next step. Label each end (e.g., “A” and “B”) with tape if needed—especially if you’re splicing multiple strands or color-changing LEDs.
Pro Tip: If the damage is near a bulb or connector, cut farther away to ensure clean, undamaged wire. It’s better to lose a few inches than risk a weak splice.
Step 2: Match and Twist the Wires Together
Now, align the wires from each end. Match the colors (usually black to black, white to white, or red to red). If your lights are color-changing, check the manual or use a multimeter to identify the positive (V+), negative (V–), and data (D) lines.
Hold the matching wires together. Use needle-nose pliers to twist them clockwise for 5–7 turns. The twist should be tight, secure, and cover the entire exposed copper. No loose strands! This creates a strong mechanical connection before soldering (if you choose to solder).
For non-soldered splices (recommended for beginners), the twist is your main connection. Make sure it’s firm—wiggle it gently. If it moves or slips, re-twist. A loose twist is the #1 cause of flickering lights after splicing.
Note: If you’re using solder (advanced), apply a small amount of rosin-core solder to the twisted joint. But for most DIYers, a well-twisted, heat-shrink-protected splice is just as reliable and safer.
Step 3: Slide and Seal Heat-Shrink Tubing
Before you twist, slide a 1-inch piece of heat-shrink tubing over one end of the wire. Do this before connecting the wires—otherwise, you can’t slide it over the splice later!
Once the wires are twisted, center the heat-shrink over the splice. Use a lighter or heat gun to shrink it evenly. Hold the flame 4–6 inches away. Move it back and forth—don’t focus on one spot. The tubing will shrink, snug around the wires, sealing out moisture and preventing fraying.
For extra security, add a second layer of heat-shrink or wrap with electrical tape. This is especially important if the splice is outdoors or in a high-moisture area (like under eaves or in a garden).
Warning: Don’t overheat! If the tubing turns dark or bubbles, you’ve applied too much heat. It’s still usable, but inspect for weak spots.
Step 4: Reinforce and Strain-Relieve the Splice
A strong splice isn’t just about the wires—it’s also about protecting against pulling and bending. Use a small zip tie to secure the splice. Wrap it around the insulated part of the wire, about 1 inch away from the heat-shrink on each side. Tighten gently—don’t crush the insulation.
This “strain relief” prevents the splice from becoming the weakest point. When you hang lights, they’re often pulled or tugged. Without strain relief, the wires can pull apart over time, even if the splice is perfect.
For added durability, wrap the entire splice area with electrical tape. Overlap the heat-shrink and extend 1/2 inch beyond on each side. Use a crisscross pattern for full coverage. This creates a weatherproof, flexible barrier.
Pro Tip: For outdoor use, consider using marine-grade heat-shrink with adhesive lining. It seals completely and resists UV and moisture—ideal for year-round lighting.
Step 5: Test, Inspect, and Hang with Confidence
Before hanging, test your work. Plug in the lights and check the entire strand. The repaired section should light up evenly—no flickering, dim spots, or dead zones. If a section stays dark, unplug immediately and recheck your splice.
Use a multimeter to test continuity if you have one. Set it to continuity mode (beep symbol). Touch one probe to the exposed copper on one end, the other to the matching wire on the other end. A beep means the connection is solid.
Once confirmed, hang your lights. Avoid sharp bends or pinching near the splice. Use clips or hooks designed for string lights—not nails or staples. This keeps the splice safe and the lights looking professional.
Real-Life Example: Sarah from Oregon used this method to fix her wedding arch lights. After a windstorm, one section went dark. She followed these 5 steps, tested it, and the lights glowed perfectly all night—no one noticed the repair!
Pro Tips & Common Mistakes to Avoid
Mastering how to splice LED string lights like a pro in 5 easy steps isn’t just about following instructions—it’s about avoiding pitfalls. Here are expert insights from electricians and lighting pros:
- Don’t skip heat-shrink. Tape alone can loosen over time. Heat-shrink creates a permanent, waterproof seal.
- Match wire colors carefully. Swapping positive and negative can short the circuit or damage the LED controller.
- Keep splices away from bulbs. Heat from bulbs can weaken the splice. Cut at least 6 inches from any bulb base.
- Label color-changing LEDs. RGB strands have three wires. Mixing them up turns your lights into a disco nightmare.
- Work in dry conditions. Moisture inside the splice causes corrosion. Repair indoors or under cover.
- Don’t overtighten zip ties. They can cut into the insulation. Use just enough to prevent pulling.
- Test before storage. If you’re fixing holiday lights, test them now—don’t wait until December 24th!
Common Mistake: Using household tape or duct tape instead of electrical tape. It degrades, peels, and can create fire hazards. Always use UL-listed electrical tape.
Another pro move: Keep a “repair kit” with extra heat-shrink, tape, and wire strippers. Store it with your lights so you’re ready for next time. Prevention is part of the pro approach!
And remember: Not all LED strands are worth fixing. If the damage is near the plug, the controller, or if more than 20% of the strand is broken, replacement might be smarter. But for a single cut or frayed section, splicing saves money and reduces waste.
FAQs About How to Splice LED String Lights Like a Pro in 5 Easy Steps
Q1: Can I splice LED lights without soldering?
Yes! A well-twisted, heat-shrink-protected splice is reliable for most home uses. Soldering adds strength but requires skill and a soldering iron. For beginners, the 5-step method here works great without solder.
Q2: What if my LED strand has three wires (for color changing)?
Carefully identify each wire. Use a multimeter or check the manual. Label them (e.g., Red, Green, Blue, or V+, V–, Data). Match each color exactly. A wrong connection can fry the controller.
Q3: Can I extend a short LED strand by splicing in another?
Absolutely! Use the same method to join two strands. Just ensure they’re the same voltage (usually 12V or 24V) and type (constant current vs. constant voltage). Mismatched strands can overload the circuit.
Q4: Why do my spliced lights flicker?
Flickering usually means a loose wire, poor twist, or damaged insulation. Recheck your splice. Make sure the wires are tightly twisted, heat-shrink is sealed, and there’s no moisture inside. Also, avoid splicing near the end of a long strand—voltage drop can cause flickering.
Q5: Is it safe to splice outdoor LED lights?
Yes, if done properly. Use adhesive-lined heat-shrink, wrap with electrical tape, and add strain relief. Avoid splicing in wet areas. For permanent outdoor use, consider using waterproof connectors or silicone sealant over the splice.
Q6: How long will a spliced LED strand last?
With proper technique, a splice can last 3–5 years or more. Heat-shrink and strain relief are key. Avoid bending the splice frequently. Store lights loosely coiled to prevent stress.
Q7: Can I splice a cut in the middle of the strand, or only at the ends?
You can splice anywhere—middle, end, or near a bulb (as long as it’s at least 6 inches away). The process is the same. Just make sure you remove enough damaged wire and leave clean ends to work with.
Final Thoughts
Learning how to splice LED string lights like a pro in 5 easy steps is a game-changer. You’ll save money, reduce waste, and gain the confidence to handle any lighting mishap—from holiday disasters to backyard parties.
This method isn’t just quick and reliable; it’s also safe and durable when done right. With the right tools and a little practice, you’ll turn a frustrating repair into a satisfying DIY win.
Remember: Always unplug before working, use heat-shrink and strain relief, and test your work. Don’t rush—take your time. A clean splice today means years of bright, beautiful lighting.
Next time a strand goes dark, don’t toss it. Grab your tools, follow these steps, and splice like a pro. Your lights—and your wallet—will thank you.
Now go shine!
“`

