
Featured image for how to string mini led lights into a jar
Image source: img.drz.lazcdn.com
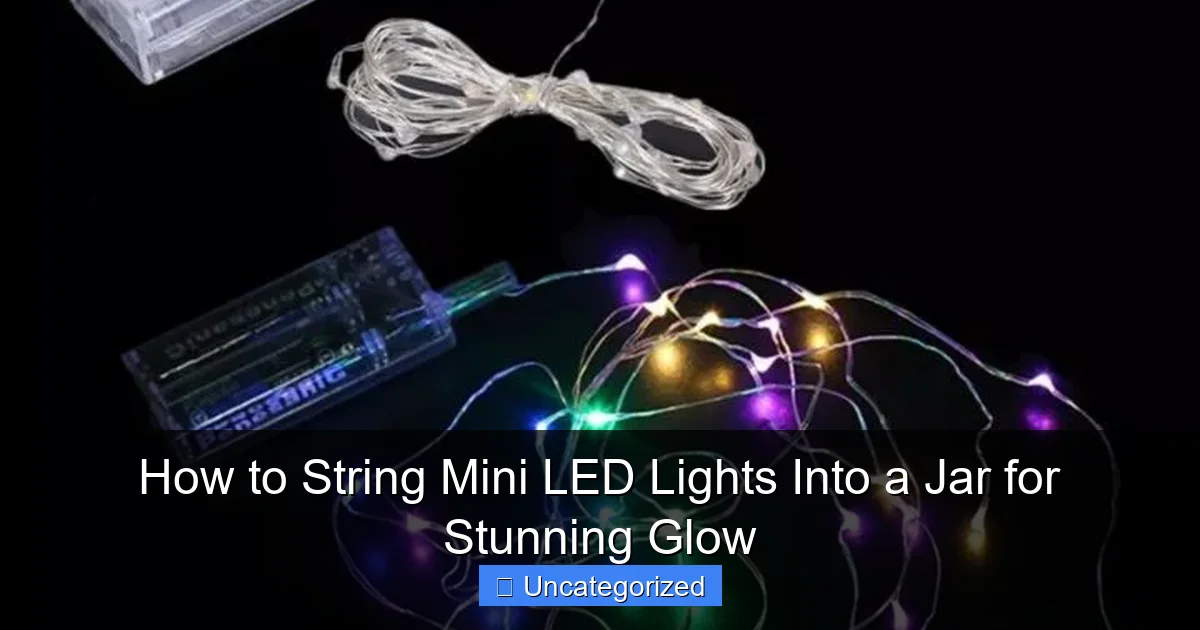
Transform any ordinary jar into a mesmerizing light display by carefully threading mini LED lights through the opening and coiling them inside for a magical, floating glow. Use battery-powered, flexible string lights for easy placement and a clean, cordless look that enhances centerpieces, nightlights, or holiday décor.
“`html
How to String Mini LED Lights Into a Jar for Stunning Glow
Key Takeaways
- Choose battery-powered LEDs: Ensures safety and easy placement inside jars.
- Clean jars thoroughly: Prevents dust from dulling the light’s glow.
- Use clear tape: Secure wires discreetly to the jar’s inner rim.
- Twist lights tightly: Prevents tangling and ensures even light distribution.
- Add filler decor: Enhance glow with moss, beads, or faux snow.
- Test before sealing: Confirm brightness and battery life first.
Why This Matters / Understanding the Problem
Ever walked into a room lit with soft, twinkling lights inside a mason jar and instantly felt cozy? That’s the magic of how to string mini LED lights into a jar for stunning glow. Whether it’s for a wedding centerpiece, a kid’s nightlight, or just to jazz up your coffee table, this DIY trick turns ordinary glass jars into glowing works of art.
But here’s the catch: it’s not as simple as tossing in a string of lights and calling it a day. If you don’t do it right, you’ll end up with tangled wires, dim spots, or lights that fall out the second you move the jar. That’s why mastering the right method matters—so you get that perfect, evenly lit, magical effect every time.
With the right approach, anyone can turn a $2 jar and a string of battery-powered LEDs into a conversation starter. And the best part? No wiring, no electricity, and no fire hazard. Just simple, safe, and stunning results.
What You Need
Before you dive in, gather these supplies. Most are already in your home or cost less than $10 total. The key is picking the right tools to make how to string mini LED lights into a jar for stunning glow easy and frustration-free.
Visual guide about how to string mini led lights into a jar
Image source: img.drz.lazcdn.com
- Clear glass jar (mason jar, jam jar, or any wide-mouth container)
- Battery-powered mini LED string lights (50–100 LEDs, warm white or color)
- Scissors (to trim excess wire)
- Double-sided tape or hot glue gun (for securing battery pack)
- Pencil or chopstick (to help guide lights)
- Optional: decorative elements (glitter, fake snow, dried flowers, or colored tissue paper)
- Optional: lid liner or cork (to hide the battery pack)
Pro Tip: Always use battery-powered LED lights, not plug-in ones. They’re safer, portable, and won’t overheat in a sealed jar.
Step-by-Step Guide to How to String Mini LED Lights Into a Jar for Stunning Glow
Step 1: Choose the Right Jar and Lights
Not all jars are created equal. For the best how to string mini LED lights into a jar for stunning glow effect, pick a jar with a wide mouth (at least 2 inches) so you can easily insert the lights without bending them.
Look for jars made of clear glass—amber or colored glass can mute the glow. Mason jars, old pickle jars, or even repurposed pasta sauce jars work great.
For the lights, choose mini LED string lights with 50–100 bulbs. Fewer than 50 may look sparse; more than 100 can overcrowd the jar and create hot spots. Warm white gives a cozy, candle-like glow, while cool white or colors work for parties or holidays.
Warning: Avoid lights with thick, stiff wires. They’re harder to shape and can break if bent too much.
Step 2: Test the Lights and Battery Pack
Before you start, turn on the lights and let them run for a few minutes. This does two things: confirms they work and helps you see how bright they are.
Check the battery pack. Is it small enough to fit inside the jar? If it’s too big, you’ll need to secure it outside—but that can ruin the aesthetic. Most mini LED sets have compact battery boxes (AA or AAA), but test it first.
If the battery pack is too large, consider using a jumbo-sized jar (like a half-gallon) or hiding the pack under the lid with a decorative liner.
Step 3: Prepare the Jar (Clean and Decorate)
Wash the jar with warm, soapy water and dry it completely. Any moisture inside can fog up the glass or damage the lights over time.
Now, decide if you want to add decor. For a snow globe effect, sprinkle fake snow or glitter at the bottom. For a romantic vibe, add dried rose petals or lace. You can even wrap the outside with colored tissue paper for a stained-glass glow.
Pro Tip: Use double-sided tape to stick tissue paper or fabric to the outside of the jar—never inside, where it could touch hot LEDs (though LEDs stay cool, it’s still safer).
Step 4: Insert the Lights (The Key to Even Glow)
This is where most people mess up. Just dropping the lights in? You’ll get a clump at the bottom and dim sides. Instead, use the “spiral method” for even light distribution.
Start by turning on the lights. Then, gently guide the first bulb into the jar. Use a pencil or chopstick to push the wire down along the inner wall, making a loose spiral from the bottom to the top. Think of it like wrapping yarn around a ball—just inside the jar.
Keep the wire taut but not stretched. Every few inches, gently nudge a bulb to face outward so light shines through the glass, not into the center.
Common Mistake: Overcrowding. If you stuff too many lights at the top, the bottom stays dark. Aim for a balanced spread—about 60% in the lower half, 40% in the upper.
Step 5: Position the Battery Pack
The battery pack is the eyesore. Hide it without blocking the switch.
If it fits inside: place it at the very bottom, under the spiral of lights. Use a small piece of double-sided tape to stick it to the jar floor so it doesn’t rattle.
If it doesn’t fit: place it on top of the lid. Cut a small slit in the lid liner (or use a cork with a hole) so the switch is accessible. Then, cover it with a decorative ribbon, fabric, or a tiny wooden disc. No one will ever know it’s there.
Pro Tip: For a seamless look, use a lid with a built-in hole (common on mason jars) or drill a 1/4-inch hole in the center.
Step 6: Seal the Jar (Without Trapping Air)
Now, close the jar. But don’t just screw on the lid—you need to keep the lights’ wire from getting pinched.
If the battery pack is inside: make sure the wire exits the jar through the center of the lid. Tighten the ring gently so it holds the wire but doesn’t cut it.
If the battery pack is outside: feed the wire through the hole in the lid, then screw the lid on tight. The wire should run smoothly through the hole without kinking.
For extra security, add a dab of hot glue around the wire where it exits the lid. This prevents it from slipping and keeps moisture out.
Step 7: Final Touches and Testing
Turn on the lights and step back. Is the glow even? Do the lights twinkle or flicker (a nice touch for ambiance)? If not, open the jar and adjust the spiral.
Trim any excess wire with scissors. If the battery pack is inside, make sure the switch is easy to reach through the lid (you might need to leave a tiny gap).
Add final decor: a ribbon around the neck, a handwritten tag, or a sprig of greenery. These small details elevate your jar from “craft project” to “showpiece.”
Step 8: Use and Maintain Your Glow Jar
Your jar is ready! Place it on a nightstand, bookshelf, or dining table. For outdoor use, keep it under a covered area—moisture can damage the battery pack.
To maintain the glow: check batteries every few weeks. Most mini LEDs run 40–60 hours on fresh batteries. If the lights dim, swap them out.
Clean the jar occasionally with a dry cloth. Avoid water near the lid or battery area.
Pro Tips & Common Mistakes to Avoid
Even small mistakes can ruin your how to string mini LED lights into a jar for stunning glow project. Here’s how to avoid them:
- Don’t use hot glue near the LEDs. It can melt the plastic or make the lights brittle. Use it only on the wire or battery pack.
- Never use incandescent or plug-in lights. They get hot and can crack the glass or start a fire.
- Don’t overcrowd the jar. More lights ≠ better glow. A well-spaced 50-bulb string often looks better than 100 crammed in.
- Test the switch before sealing. You don’t want to open the jar every time you want to turn it on/off.
- Use rechargeable batteries. They last longer and save money. Look for LED sets with USB charging.
- For extra sparkle, add a mirror base. Glue a small mirror to the inside bottom—it reflects light and doubles the brightness.
- Try a “floating” effect. Use fishing line to suspend the battery pack in the center, so it looks like the lights are magically glowing.
Real-Life Scenario: A bride used this method for 20 centerpieces. She added dried lavender and wrapped the jars in burlap. The result? A rustic, romantic glow that lasted all night—and guests kept asking where she bought them!
FAQs About How to String Mini LED Lights Into a Jar for Stunning Glow
Q: Can I use regular Christmas lights instead of mini LEDs?
A: Not recommended. Standard Christmas lights are too bulky and generate heat. Mini LEDs are safer, smaller, and designed for crafts like this.
Q: How long do the batteries last?
A: Most mini LED sets run 40–60 hours on fresh AA/AAA batteries. Rechargeable ones last 20–30 hours but can be charged repeatedly.
Q: What if my jar is narrow?
A: Use a long, flexible LED string with a thin wire. Or, choose a jar with a wider mouth. A narrow jar can make the lights look cramped.
Q: Can I leave the jar on overnight?
A: Yes, but only with battery-powered LEDs. They stay cool and are safe for continuous use. Just check the batteries every few days.
Q: How do I hide the wire completely?
A: Use a frosted jar or wrap the outside with lace, fabric, or paper. The wire will blend in, and the glow will look seamless.
Q: Can I add water or liquid for a snow globe effect?
A: Only if you use waterproof LED lights and a sealed battery pack. Otherwise, moisture can short-circuit the lights. Fake snow or glitter is safer.
Q: What’s the best way to store the jar?
A: Keep it in a cool, dry place. Remove the batteries if storing for weeks. Wrap the jar in tissue paper to prevent scratches.
Final Thoughts
Mastering how to string mini LED lights into a jar for stunning glow is easier than you think—and the results are always worth it. From cozy nights in to dazzling party decor, these glowing jars add instant charm to any space.
Remember: it’s all about the details. A clean jar, a well-spaced spiral of lights, and a cleverly hidden battery pack make all the difference. Don’t rush it—take your time to get that perfect, even glow.
Now, grab a jar and some lights, and start creating. Whether you’re making one for yourself or 10 for a gift, you’ll love how simple it is to turn everyday items into magical light sources. And when someone asks, “Where did you get that?” just smile and say, “I made it.”
Happy crafting—and may your jars glow bright!
“`

