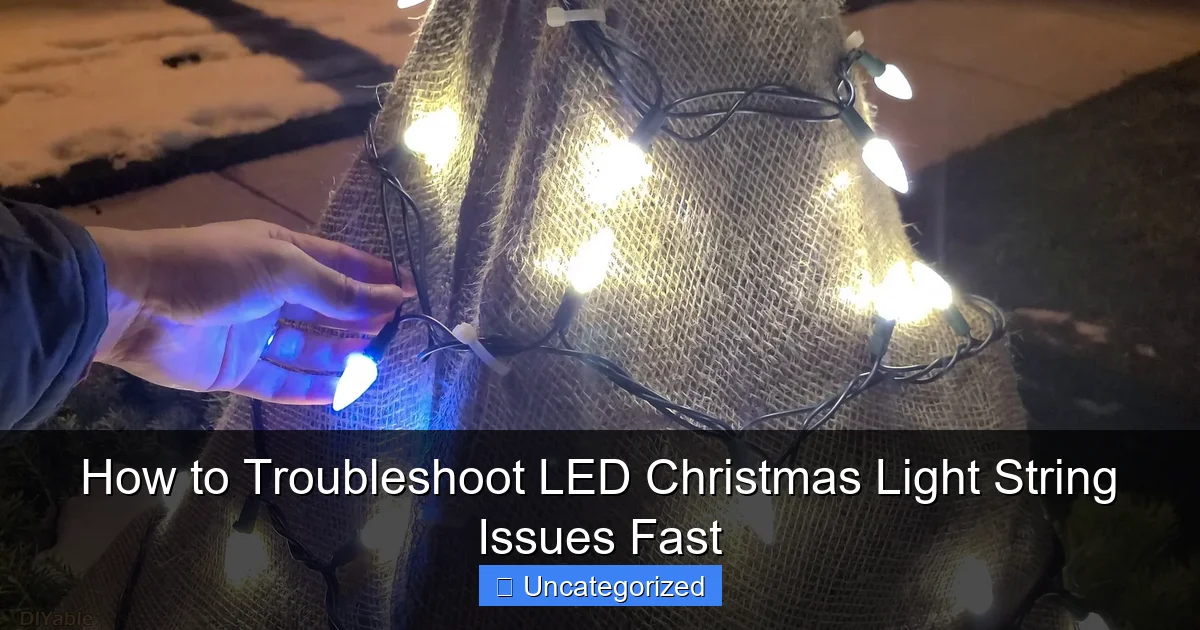
Featured image for how to troubleshoot led christmas light string
Image source: diyable.com
Always start by checking the fuse in the plug—this is the #1 cause of sudden LED string failure. Next, inspect for loose bulbs, damaged wires, or a faulty power connection, as even one bad bulb can disrupt the entire circuit. Use a LED light tester or multimeter to quickly identify and replace defective bulbs or sections.
How to Troubleshoot LED Christmas Light String Issues Fast
Key Takeaways
- Inspect bulbs first: Check for loose, damaged, or burnt-out bulbs.
- Test with a multimeter: Verify voltage and continuity in the string.
- Replace fuses promptly: Locate and swap blown fuses to restore power.
- Check for faulty wiring: Exposed or frayed wires disrupt connectivity.
- Use a light tester: Quickly identify dead bulbs without manual checks.
- Store properly post-holiday: Prevent future issues with careful storage.
Why This Matters / Understanding the Problem
Picture this: You’ve just hung your favorite LED Christmas lights, ready to impress the neighborhood with a dazzling display. You plug them in… and nothing happens. Or worse—half the string is lit, the other half flickers, or a single bulb ruins the entire chain. It’s frustrating, especially when you’re short on time and the holiday spirit is on the line.
LED Christmas lights are energy-efficient and long-lasting, but they’re not immune to issues. Unlike old incandescent strings, LED problems aren’t always fixed by swapping a bulb. That’s why knowing how to troubleshoot LED Christmas light string issues fast can save your holiday decor—and your sanity.
Whether your lights are dim, blinking erratically, or completely dead, this guide walks you through the most common causes and solutions. From faulty connections to voltage drops, we’ll help you diagnose and fix the problem quickly—without needing an engineering degree.
By the end, you’ll be able to spot issues, test components, and get your lights glowing again in under 30 minutes. No more wasted time, no more tangled messes. Just bright, beautiful holiday cheer.
What You Need
Before diving in, gather these essential tools. Most are likely already in your home, and the few specialty items are inexpensive and reusable for future holiday seasons.
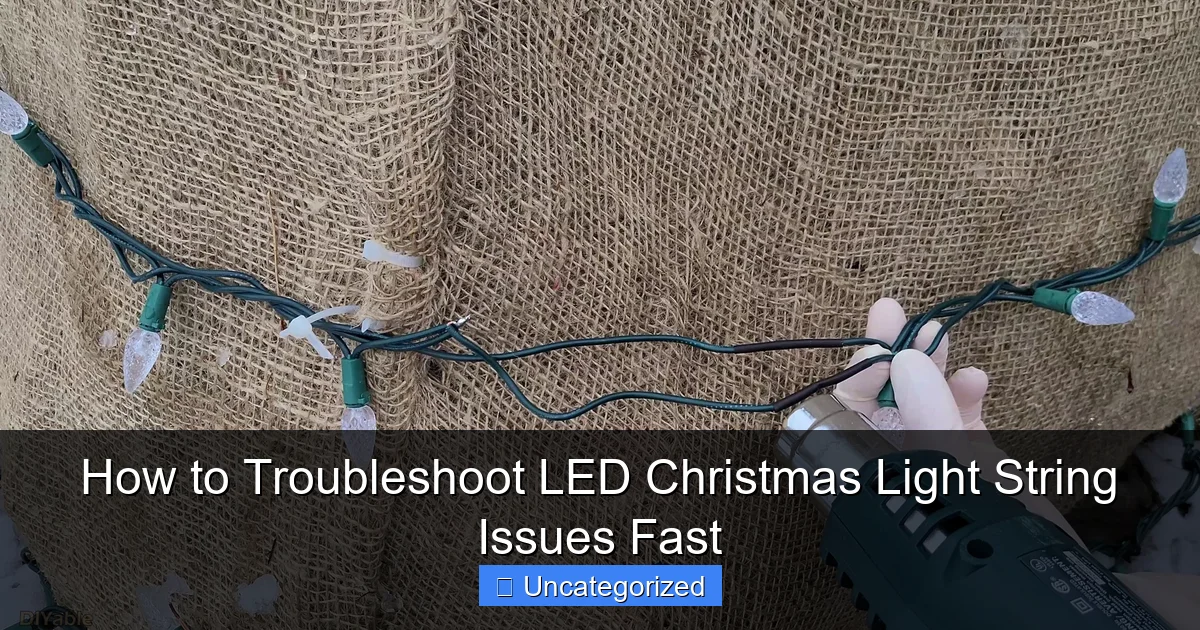
Visual guide about how to troubleshoot led christmas light string
Image source: diyable.com
- LED-compatible light tester (e.g., Light Keeper Pro or similar) – crucial for pinpointing bulb and circuit faults
- Replacement LED bulbs (match voltage and base type—usually 3mm or 5mm)
- Needle-nose pliers – for gently removing and installing bulbs
- Small flathead screwdriver – for prying open sockets or fuse covers
- Electrical tape – for temporary wire repairs
- Multimeter (optional but helpful) – for advanced voltage and continuity checks
- Work gloves (optional) – protects hands from sharp wire ends
- Bright flashlight – helps inspect dark sockets and connections
- Extension cord (if testing indoors) – ensures you can plug in safely
Having these tools ready means you can start how to troubleshoot LED Christmas light string issues fast the moment you spot a problem—no last-minute hardware store runs.
Pro Tip: Always unplug the light string before working on it. Even low-voltage LED systems can cause a shock or damage components if mishandled.
Step-by-Step Guide to How to Troubleshoot LED Christmas Light String Issues Fast
Step 1: Unplug and Inspect the Entire String
Start by unplugging the lights from the outlet. Safety first! Then, lay the entire string out on a clean, dry surface—like a table or garage floor. This gives you a clear view of the entire length.
Look for obvious signs of damage: frayed wires, cracked sockets, melted plastic, or loose bulbs. Pay close attention to the plug ends, where stress from tugging or bending often causes internal wire breaks.
If you see a damaged section, you may need to cut and splice it (more on that later). But if everything looks intact, move to the next step. This visual check is a critical first step in how to troubleshoot LED Christmas light string issues fast—many problems are visible to the naked eye.
Warning: Never work on a plugged-in string. Even if the lights aren’t glowing, the plug could still be live.
Step 2: Check the Power Source and Outlet
It sounds basic, but many people skip it: test the outlet. Plug a working lamp or phone charger into the same outlet to confirm it has power.
If the outlet works, try plugging the LED string into a different outlet—preferably on a different circuit. Sometimes a tripped breaker or GFCI outlet (common on outdoor circuits) cuts power silently.
Also, check if the string is connected to a timer or smart plug. These can fail and appear like light issues. Bypass them temporarily by plugging directly into the wall.
This step rules out external power problems. If the outlet and connections are fine but the lights still don’t work, the issue is likely internal. That’s where our LED Christmas light troubleshooting process gets more hands-on.
Real-Life Example: Sarah in Ohio thought her 200-light string was dead. Turns out, her outdoor GFCI outlet had tripped after a rainstorm. A simple reset fixed everything.
Step 3: Test the Fuses (Yes, LED Strings Have Fuses!)
Most LED light strings have two tiny fuses hidden inside the plug housing—usually in a small plastic compartment near the prongs. These fuses protect the circuit from power surges.
Use a small flathead screwdriver to gently pry open the fuse cover. Remove the two fuses (they’re usually 3A or 5A). Inspect them: if the metal wire inside is broken or blackened, the fuse is blown.
Replace them with identical fuses (check the rating printed on the old ones). You can buy replacement fuse kits online or at hardware stores for under $5.
If the fuses look fine, test them with a multimeter set to continuity mode. A good fuse will beep; a bad one won’t. Replacing fuses is a quick fix and often overlooked in how to troubleshoot LED Christmas light string issues fast.
Pro Tip: Keep spare fuses in your holiday storage bin. They’re cheap, tiny, and prevent hours of frustration.
Step 4: Use a Light Tester to Find Faulty Bulbs
This is where the magic happens. An LED-compatible light tester (like the Light Keeper Pro) is a game-changer. It sends a small pulse through the string to locate the first faulty bulb in the circuit.
Plug the string into the tester. Point the tool at each bulb, starting from the plug end. When you hit the first bad bulb, the tester will beep or flash—indicating a short or open circuit.
Remove the faulty bulb with needle-nose pliers. Look inside the socket: is there corrosion, a loose wire, or a broken filament? Sometimes, the bulb just needs to be pushed in tighter. Other times, it’s cracked or burned out.
Replace it with a new bulb of the same type. Re-test the string. If it lights up, great! If not, the tester will now point to the next issue. This method makes LED string troubleshooting far faster than testing each bulb manually.
Common Mistake: Using a regular incandescent tester on LED strings. It won’t work—LEDs need a specific pulse to trigger the tester. Always use an LED-specific model.
Step 5: Check for Loose or Corroded Sockets
Even if bulbs look fine, the sockets might not be. Over time, moisture, dust, and temperature changes can corrode the metal contacts inside the socket.
Inspect each socket—especially those near the plug or at bends. Look for green or white crust (corrosion), bent pins, or loose connections. Use a cotton swab dipped in isopropyl alcohol to clean the contacts gently.
If a socket is cracked or the wires are frayed, you’ll need to replace it. Cut out the damaged section, strip the wires, and splice in a new socket (use a waterproof wire nut or solder and heat-shrink tubing).
This step is crucial for older strings or those stored in damp garages. Corrosion is a silent killer in how to troubleshoot LED Christmas light string issues fast.
Pro Tip: After cleaning, apply a tiny dab of dielectric grease to the socket contacts. It prevents future corrosion and improves conductivity.
Step 6: Look for Wire Breaks or Shorts
LED strings often fail due to internal wire breaks—especially near the plug, where the cord bends frequently. These breaks aren’t always visible.
Use your multimeter set to continuity mode. Test each wire along the string. Place one probe on the plug’s neutral prong and the other on the far end’s neutral wire. Repeat for the hot side.
If there’s no continuity, the wire is broken. Cut out the damaged section and splice the wires with a waterproof connector. For short circuits (when the wires touch), look for melted insulation or exposed copper.
Another sign: lights flicker when you wiggle the cord. This is a classic sign of a broken wire. Fixing it ensures long-term reliability.
Warning: Never use regular tape for outdoor repairs. Use waterproof heat-shrink tubing or silicone-filled wire nuts.
Step 7: Test Voltage and Circuit Design
LED strings are often wired in series or parallel. In a series circuit, one bad bulb can kill the whole string. In parallel, only the affected branch goes out.
Check your string’s manual or packaging to see which type it uses. If it’s series, a single faulty bulb will shut down everything. That’s why Step 4 (using a tester) is so important.
Use a multimeter to measure voltage across the first few bulbs. Compare it to the string’s rated voltage (e.g., 3V per bulb). If the voltage drops suddenly, there’s likely a short or overload.
Also, note if the string has multiple sections (e.g., 50 lights per section). A break in one section may not affect others. This helps narrow down the problem zone.
Real-Life Scenario: Mark’s string had 100 lights in two 50-light series. Only one section lit. The tester found a bad bulb in the dead section—fixing it restored both.
Step 8: Reassemble and Test Outdoors
Once repairs are done, reassemble the string. Double-check all connections, replace fuses, and ensure bulbs are snug.
Plug the string into an outdoor outlet (or use a weatherproof extension cord). Test it in real conditions—cold, wind, or damp air can reveal issues not seen indoors.
If it works, great! If not, go back to Step 4 and repeat the process. Sometimes multiple issues exist—like a bad bulb and a corroded socket.
This final test confirms your fix is reliable. It’s the last step in how to troubleshoot LED Christmas light string issues fast—and the most satisfying.
Pro Tips & Common Mistakes to Avoid
- Don’t ignore the plug. Over 30% of LED failures start at the plug end. Inspect it closely.
- Use the right replacement bulbs. Mixing voltages (e.g., 3V and 5V) can overload the circuit and burn out LEDs.
- Store lights properly. Coil them loosely in a dry container—never leave them tangled or outdoors.
- Test lights before hanging. Fix issues on the ground, not on a ladder in the dark.
- Avoid overloading circuits. Don’t plug too many strings into one outlet. Check the manufacturer’s “max connect” rating (usually 3–5 strings).
- Don’t cut wires unless necessary. If you must, mark the polarity (positive/negative) to avoid reverse wiring.
- Use outdoor-rated lights outdoors. Indoor strings lack weatherproofing and will fail in rain or snow.
Common Mistake: Assuming all LED issues are bulb-related. In reality, 40% are due to fuses, sockets, or wires. Always check the full system.
Another tip: Label your repaired strings with the date and issue (e.g., “2023 – replaced fuse”). This helps you track longevity and avoid repeat repairs.
And if a string is more than 5 years old and has multiple issues, consider replacing it. Newer models are brighter, more efficient, and often cheaper than constant repairs.
Remember, how to troubleshoot LED Christmas light string issues fast isn’t just about fixing—it’s about preventing future headaches.
FAQs About How to Troubleshoot LED Christmas Light String Issues Fast
Q: Why do LED Christmas lights go out when one bulb fails?
A: It depends on the wiring. If the string uses a series circuit, one bad bulb breaks the entire circuit. However, many modern LED strings use a shunt system—a small bypass wire that lets current flow around the dead bulb. If your string goes out completely, the shunt may be damaged or the bulb is causing a short.
Q: Can I use a regular light tester on LED strings?
A: No. Standard testers (like those for incandescent bulbs) won’t work. They lack the pulse needed to activate LED circuits. Always use an LED-specific light tester. These tools are affordable (under $20) and save hours of guesswork.
Q: What if my lights flicker or dim?
A: Flickering often means a loose bulb, corroded socket, or voltage drop. Check connections first. Dimming could be due to overloading (too many strings on one circuit) or a failing power supply. Test with fewer connected strings to isolate the issue.
Q: How do I know if the problem is the string or the outlet?
A: Plug a known-working device (like a lamp) into the same outlet. If it works, the outlet is fine. If not, check the breaker or GFCI. Also, try the light string in a different outlet. This simple test rules out external power issues—a key step in LED string troubleshooting.
Q: Can I splice LED light strings together?
A: Only if they’re the same voltage, wattage, and type. Mismatched strings can cause overheating or failure. Use waterproof wire nuts or solder with heat-shrink tubing. Never splice outdoor and indoor-rated strings.
Q: Why do my lights work indoors but not outdoors?
A: Temperature, moisture, and voltage drop are likely culprits. Outdoor circuits often have longer extension cords, reducing voltage. Also, cold weather can stiffen wires and crack sockets. Use outdoor-rated lights and keep connections dry.
Q: How long do LED Christmas lights last?
A: High-quality LED strings last 25,000–50,000 hours (roughly 10–20 holiday seasons). But poor storage, moisture, or electrical surges can shorten that. Proper care and timely repairs extend their life—making how to troubleshoot LED Christmas light string issues fast a valuable skill.
Final Thoughts
Dealing with dead or flickering LED Christmas lights doesn’t have to be a holiday disaster. With the right tools and a systematic approach, you can diagnose and fix most issues in under 30 minutes.
Start with the basics: check the outlet, fuses, and connections. Then, use an LED light tester to find faulty bulbs. Don’t forget to inspect sockets, wires, and circuit design. Every step brings you closer to a glowing, reliable display.
Remember, how to troubleshoot LED Christmas light string issues fast is about patience, observation, and smart tools. Keep your repair kit ready, store lights properly, and test early.
And when in doubt? Replace the string. Sometimes, a new, energy-efficient set is cheaper than constant repairs—and gives you brighter, safer holiday magic.
Now go light up the night—your neighbors will be jealous, and your tree will shine like never before.

