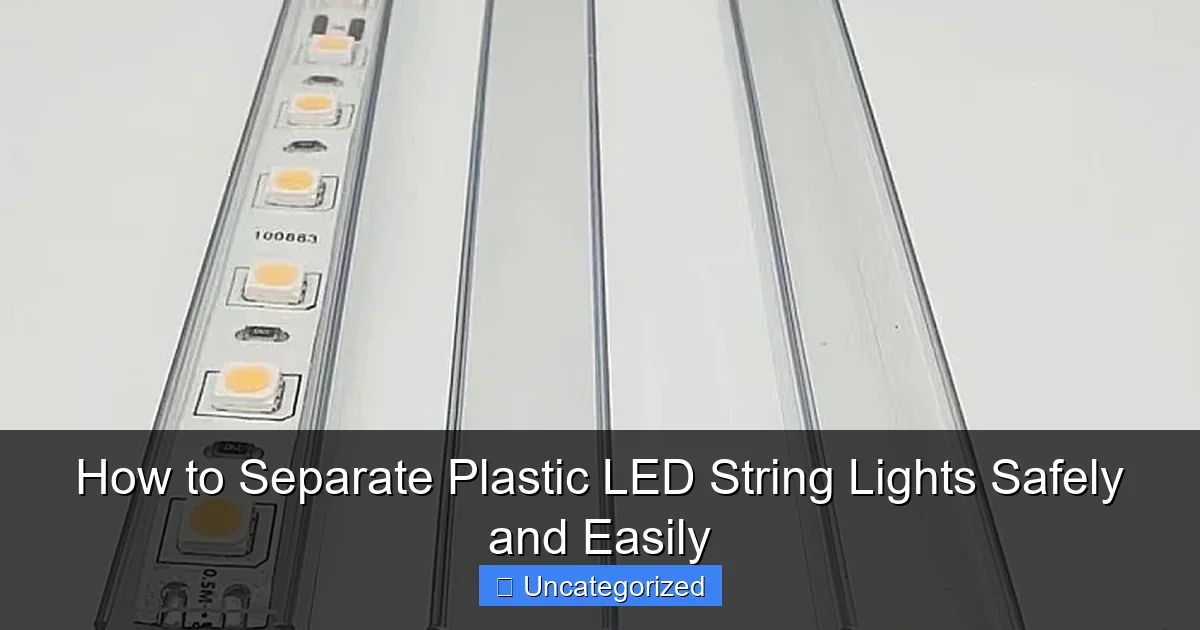
Featured image for how to how tpo separate plastic led string lights
Image source: cdn.ledbe.com
Always unplug and cool down plastic LED string lights before starting to avoid electrical hazards and burns. Use a utility knife to carefully slice the plastic sleeve lengthwise, exposing the wires for safe, easy separation without damaging internal components.
“`html
How to Separate Plastic LED String Lights Safely and Easily
Key Takeaways
- Power off first: Always unplug lights before starting to prevent electrical hazards.
- Inspect connections: Check for knots or damage before attempting separation.
- Use gentle tension: Pull connectors apart slowly to avoid wire damage.
- Twist, don’t yank: Rotate stubborn plugs counterclockwise for easier release.
- Label sections: Tag separated strands to simplify future setup and storage.
- Store properly: Wrap lights around a reel to prevent tangling post-separation.
Why This Matters / Understanding the Problem
You’ve just pulled out your holiday lights after months in storage, and they’re a tangled mess. Plastic LED string lights, while durable and energy-efficient, often get knotted, fused, or stuck together—especially if stored improperly. Trying to force them apart can crack bulbs, snap wires, or ruin the entire strand.
Knowing how to separate plastic LED string lights safely and easily saves time, prevents damage, and keeps your lights working for years. Whether you’re prepping for Christmas, a wedding backdrop, or a cozy patio glow, untangling these lights doesn’t have to be a nightmare.
Unlike older incandescent strings, modern plastic LED lights are more fragile due to thinner wiring and delicate bulb housings. That’s why gentle, methodical techniques matter. This guide walks you through the best practices—no special skills required.
What You Need
Before you start, gather these simple tools and materials. Most are already in your home.
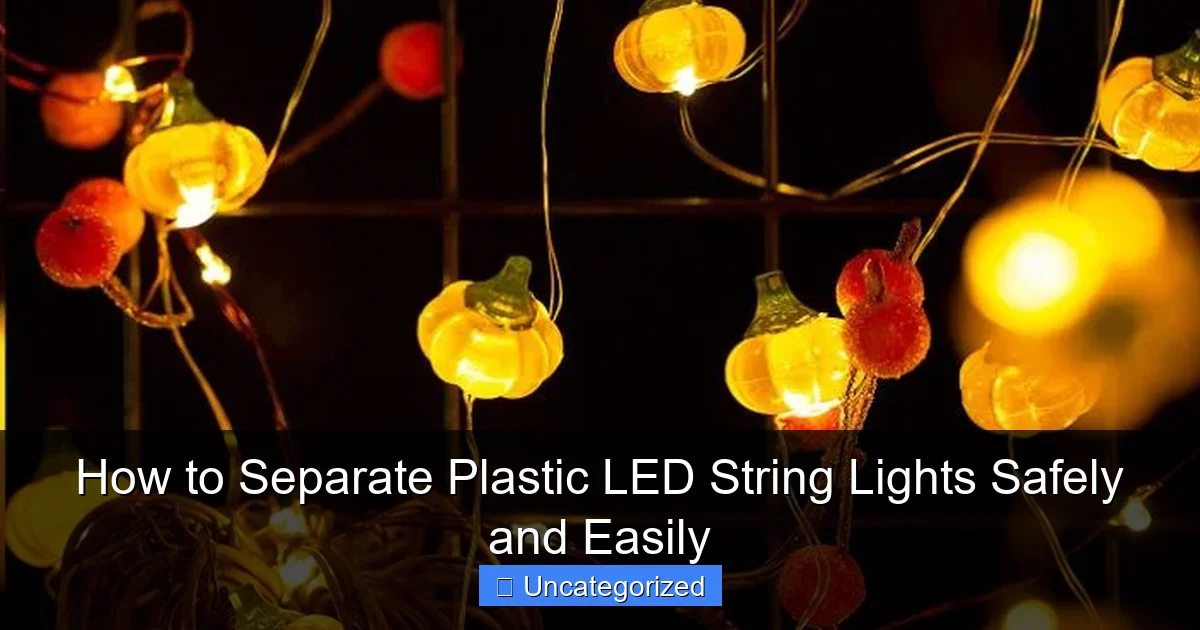
Visual guide about how to how tpo separate plastic led string lights
Image source: nerdtechy.com
- Flat workspace: A table, floor, or large tray to spread out the lights.
- Soft gloves: Optional, but helpful for grip and protecting your hands from sharp plastic edges.
- Scissors (small, sharp): Only for cutting stubborn fused plastic—use sparingly.
- Hair conditioner or silicone lubricant: Helps loosen stuck bulbs without damaging plastic.
- Plastic wrap or a large trash bag: To contain small parts and prevent rolling bulbs.
- Patience: Rushing leads to mistakes. Take your time.
Pro tip: If you’re working with outdoor-rated lights, check for moisture damage first. Water trapped in sockets can cause corrosion or short circuits. Let them dry completely before handling.
Step-by-Step Guide to How to Separate Plastic LED String Lights Safely and Easily
Step 1: Lay Out the Lights on a Clean, Flat Surface
Find a large, flat area—your dining table, garage floor, or a clean rug. Spread the entire string out in a loose circle or figure-eight pattern. Avoid folding or bunching.
This step helps you see the full scope of tangles and identify problem areas, like fused bulbs or knotted sections. Think of it like laying out a puzzle before solving it.
Why it works: Visualizing the entire string reduces the risk of missing fused spots or accidentally pulling too hard on a hidden knot.
For longer strings (50+ feet), work in sections. Start with one 10–15 foot segment at a time. Use the plastic wrap to cover unused parts and keep them clean and untangled.
Step 2: Identify and Isolate Problem Areas
Walk around the layout and scan for:
- Fused bulbs: Two or more bulbs stuck together at the base.
- Twisted sockets: Bulbs rotated so tightly they won’t budge.
- Knots in the wire: Tight loops or figure-eights in the cord.
- Bulbs with cracked plastic: These may need replacement.
Mark these spots with a small piece of masking tape or a sticky note. This helps you focus on the tough parts first—without wasting time on easy sections.
When learning how to separate plastic LED string lights safely and easily, identifying trouble zones early is half the battle.
Step 3: Loosen Fused Bulbs with Gentle Heat (Optional but Effective)
Fused bulbs happen when plastic melts slightly due to heat (like being stored near a heater) or pressure over time. Don’t yank them apart—heat can help soften the plastic.
Use a hairdryer on low heat (not high—you don’t want to melt more!). Hold it 6–8 inches from the fused area for 15–20 seconds. The goal is to warm, not cook, the plastic.
Warning: Never use a heat gun, stove, or open flame. Plastic LED housings can warp or catch fire at high temps.
After warming, gently twist the bulbs in opposite directions. Use your thumbs and forefingers—no pliers. If it moves even slightly, keep twisting slowly. Most fused bulbs separate after 30–60 seconds of gentle rotation.
If heat doesn’t work, move to the next step—lubrication.
Step 4: Apply Lubricant to Stuck or Stiff Bulbs
For bulbs that won’t twist or pop out, a tiny amount of lubricant works wonders. Use hair conditioner, hand lotion, or silicone-based lubricant (like WD-40 Specialist Silicone).
Dab a pea-sized amount onto a cotton swab or fingertip. Apply it around the base where the bulb meets the socket. Avoid getting it on the LED chip or contacts inside.
Let it sit for 1–2 minutes. The lubricant softens dried plastic and reduces friction. Then, gently twist the bulb counterclockwise while holding the socket steady.
Pro tip: Silicone lubricant is best for long-term protection. It won’t attract dust or degrade plastic like oil-based products.
Never use water, vinegar, or alcohol—they can damage internal electronics or cause corrosion over time.
Step 5: Twist, Don’t Pull—Use the “Twist and Wiggle” Method
When separating bulbs, twisting is safer than pulling. LED bulbs have a small plastic tab (called a “latch”) that locks into the socket. Pulling straight out can break it.
Here’s how to do the twist and wiggle:
- Hold the socket firmly with one hand.
- Use the other hand to grip the bulb (not the wire).
- Turn the bulb counterclockwise (lefty loosey) about 15–30 degrees.
- Wiggle it gently side-to-side while continuing to twist.
- Once loose, slide it straight out.
This method prevents wire strain and protects the socket. It’s especially important for older strings where plastic is brittle.
For stubborn bulbs, repeat with more lubricant and heat if needed. If it still won’t budge, see Step 6.
Step 6: Cut Fused Plastic (Last Resort)
Some bulbs are so fused you can’t twist or lubricate them loose. In these cases, a tiny cut may be necessary—but only as a last resort.
Use small, sharp scissors or a craft knife. Carefully slice only the plastic where two bulbs are stuck together. Make a vertical cut about 1/4 inch long—just enough to break the bond.
Warning: Cut only plastic. Avoid nicking the wire inside. A damaged wire means the whole strand may stop working.
After cutting, twist the bulbs apart. Then, inspect the wire. If it’s intact, the light should still work. If the cut is near a bulb, consider replacing that bulb (see FAQs).
This step is rare, but knowing how to handle it is part of how to separate plastic LED string lights safely and easily—without panic.
Step 7: Untangle Knots in the Cord
Once bulbs are separated, check the cord. Knots can stress the wires and cause shorts. To untangle:
- Start from the middle of the knot, not the ends. Pushing from the center loosens it faster.
- Use your fingers to gently tease apart loops. Don’t pull hard.
- For tight knots, use a toothpick or paperclip to lift strands.
- Work slowly—like solving a Rubik’s cube, not a tug-of-war.
If a knot is too tight, try the “reverse knot” trick:
- Push the knot together to make it smaller.
- Then, pull one end through the center to open it.
Never use pliers or force. Plastic-coated wires can kink or break, creating a dead spot in the string.
Step 8: Test the Lights Before Re-Stringing
Before putting the lights away or hanging them, test the entire string. Plug it in (or use batteries) and check that all bulbs light up.
If some don’t work:
- Check for loose bulbs—re-insert and twist.
- Look for bent or broken pins inside sockets.
- Inspect for wire damage (especially near cut areas).
Testing now saves you from climbing ladders or redoing decorations later. It’s a key part of how to separate plastic LED string lights safely and easily—and ensure they work when you need them.
Step 9: Store Properly to Prevent Future Tangles
How you store lights determines how easy they’ll be to separate next time. Here’s the best method:
- Use a figure-eight wrap on a cardboard rectangle (cut from a box). This prevents knots.
- Or, wrap around a reusable light reel (sold at hardware stores).
- Store bulbs in a plastic bag or container to keep them clean and dry.
- Keep the string in a cool, dry place—not the attic or garage in extreme temps.
Pro tip: Label each string with its length and color. Use masking tape and a marker. Saves time next year!
Never coil tightly or use rubber bands—they can deform plastic and stress wires.
Pro Tips & Common Mistakes to Avoid
Even with the right steps, small errors can ruin your lights. Here’s what to watch for.
1. Don’t pull on the wires
LED strings have thin copper wires. Pulling the cord to separate bulbs can break internal connections. Always grip the bulb or socket—never the wire.
2. Avoid metal tools
Pliers, screwdrivers, or wire cutters can scratch plastic, damage sockets, or cut wires. Use fingers, cotton swabs, and soft tools only.
3. Don’t store while damp
Moisture causes corrosion inside sockets. Always dry lights after outdoor use before storing. Use a towel or let them air-dry for 24 hours.
4. Skip the “yank and pray” method
We’ve all done it. But yanking fused bulbs often breaks them or damages the socket. Slow, steady wins the race.
5. Use lubricant wisely
Too much lotion or oil can attract dust and gunk, making future separation harder. Use a dab, not a dollop.
6. Don’t ignore damaged bulbs
If a bulb is cracked or the base is broken, replace it. A single dead bulb can cause the whole string to flicker or fail (especially in series-wired sets).
7. Work in good lighting
Poor visibility leads to mistakes. Use a bright lamp or natural light. Magnifying glasses help for tiny sockets.
Following these tips makes how to separate plastic LED string lights safely and easily a breeze—not a chore.
FAQs About How to Separate Plastic LED String Lights Safely and Easily
Q: Can I use WD-40 to loosen stuck bulbs?
A: No. Regular WD-40 is oil-based and can attract dust, degrade plastic over time, and damage electronics. Use WD-40 Specialist Silicone instead—it’s safe for plastic and electronics. Or stick to hair conditioner or lotion.
Q: What if a bulb won’t come out after twisting?
A: Try the lubricant again with more wait time. If still stuck, use gentle heat (hairdryer on low) for 20 seconds, then twist. If it won’t budge, a small cut may be needed—but only if you’re confident in your cutting skills. Otherwise, consider replacing the bulb or the string.
Q: Are all LED string lights the same?
A: No. Some have removable bulbs (like C7/C9 styles), while others are permanently sealed (common in mini lights). This guide works best for removable bulbs. Sealed lights can’t be separated—if one fails, the whole section may go dark. Always check the manufacturer’s label.
Q: Can I fix a string with a broken wire?
A: Possibly. If the break is near the end, you can cut off the damaged section and splice the wires (use a wire nut and electrical tape). But for long strings with internal breaks, replacement is safer and cheaper. Damaged wires can cause shorts or fire hazards.
Q: How often should I check stored lights?
A: Once a year. Before storing, test them. After 6 months, inspect for moisture, pests, or tangles. This prevents surprises next season. It’s part of maintaining how to separate plastic LED string lights safely and easily year after year.
Q: Why do some bulbs get hotter than others?
A: Older or low-quality LEDs may have poor heat dissipation. But plastic LED bulbs should never feel hot to the touch. If they do, unplug immediately. It could indicate a short circuit or defective bulb. Replace the string.
Q: Can I use this method on glass LED bulbs?
A: Yes—but be extra gentle. Glass is more fragile than plastic. Use less force when twisting, and avoid heat (glass can crack). Lubricants work well, but test on one bulb first.
Final Thoughts
Separating plastic LED string lights doesn’t have to be a holiday horror story. With the right tools, a calm mindset, and the steps in this guide, you can untangle, separate, and restore your lights safely and easily—without breaking a single bulb.
Remember: slow is fast. Rushing leads to mistakes. Take your time, use lubricant and heat wisely, and always test before hanging.
And don’t forget to store them properly this year. A little effort now means next year’s setup will be quick and stress-free.
Whether you’re decorating a tree, lighting a wedding arch, or adding ambiance to your patio, knowing how to separate plastic LED string lights safely and easily gives you peace of mind and beautiful results.
So grab your lights, spread them out, and tackle those tangles—with confidence and care.
“`

