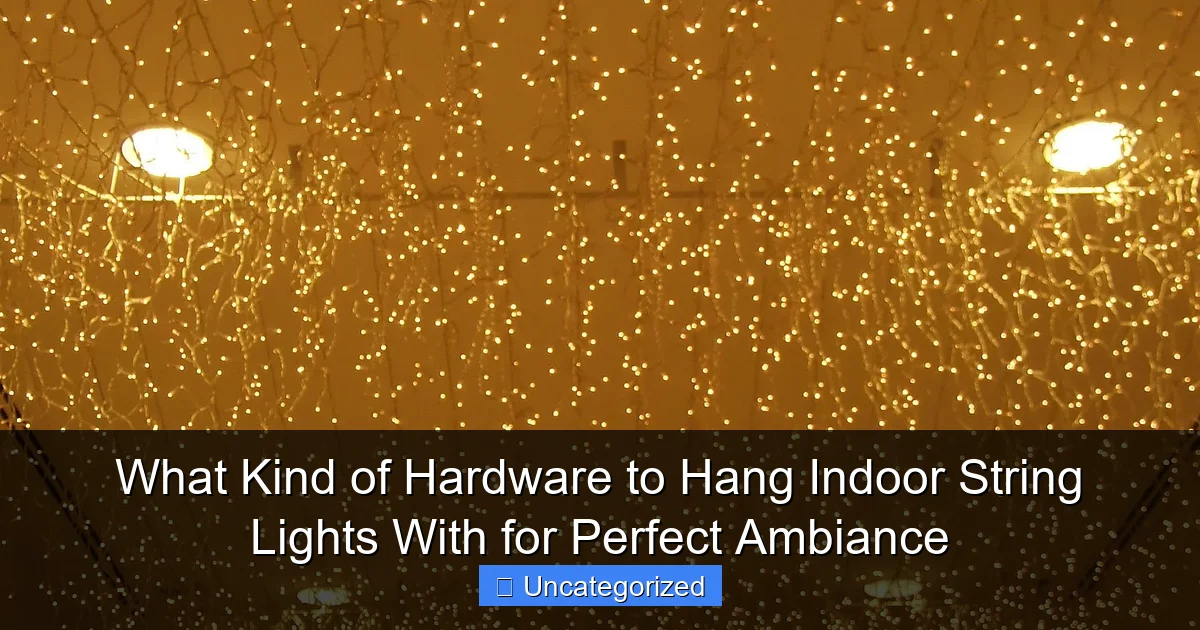
Featured image for what kind of hardware to hang indoor string lights with
Image source: i.pinimg.com
Choose the right hardware—like adhesive hooks, screw-in eyelets, or tension rods—based on your wall type and desired permanence to securely hang indoor string lights without damage. For renters, damage-free options like removable adhesive strips or freestanding floor stands offer flexibility, while homeowners can opt for more durable solutions like ceiling-mounted hooks or tracks for a seamless, custom look.
Key Takeaways
- Choose adhesive hooks: Ideal for lightweight lights on smooth, clean surfaces.
- Use nails or screws: Best for heavy-duty hanging on drywall or wood.
- Opt for tension rods: No damage; perfect for curtains or room dividers.
- Install ceiling anchors: Secure long runs of lights safely overhead.
- Try removable clips: Damage-free solution for renters or temporary setups.
📑 Table of Contents
- Choosing the Right Hardware for Indoor String Lights: A Complete Guide
- Understanding Your Wall and Ceiling Surfaces
- Adhesive-Based Hardware Solutions
- Mechanical Fastening Hardware
- Innovative and Decorative Hanging Solutions
- Special Considerations for Different Room Types
- Hardware Comparison and Selection Guide
- Final Thoughts on Creating Perfect Ambiance with String Lights
Choosing the Right Hardware for Indoor String Lights: A Complete Guide
There’s something undeniably magical about the warm, inviting glow of indoor string lights. Whether you’re draping them across a bedroom wall, outlining a kitchen window, or creating a cozy reading nook, these twinkling lights can instantly transform any space into a haven of comfort and style. But while the aesthetic appeal is clear, the practical question remains: what kind of hardware to hang indoor string lights with to achieve that perfect ambiance without compromising safety or aesthetics?
Selecting the appropriate hanging hardware isn’t just about functionality—it’s an art. The wrong choice can lead to drooping lights, damaged walls, or even electrical hazards. On the other hand, the right hardware ensures your lights stay securely in place, look intentional, and enhance your decor rather than detract from it. From tension rods and adhesive hooks to picture rails and specialized ceiling clips, the options are vast. This guide will walk you through the most effective hardware choices for different surfaces, lighting styles, and room types, ensuring your indoor string lights create the perfect mood every time.
Understanding Your Wall and Ceiling Surfaces
Before selecting any hardware, it’s essential to understand the surface you’re working with. Different materials require different attachment methods to ensure both security and surface preservation. A one-size-fits-all approach simply won’t work when hanging indoor string lights.
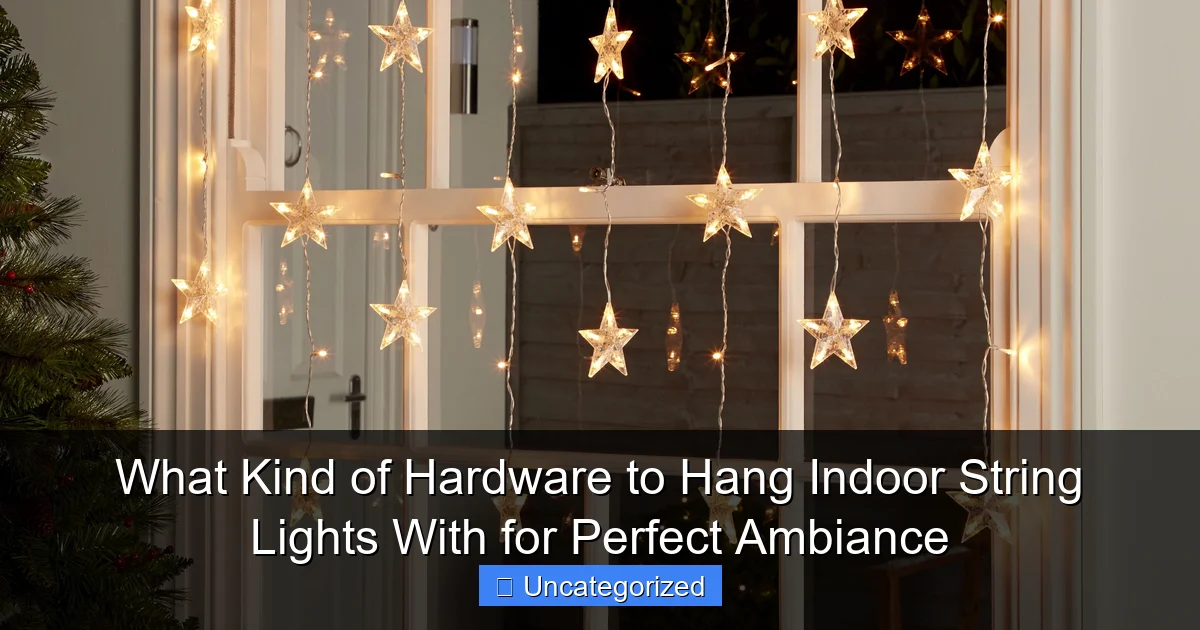
Visual guide about what kind of hardware to hang indoor string lights with
Image source: i.pinimg.com
Identifying Common Indoor Surfaces
Most interior walls and ceilings fall into a few key categories, each with its own characteristics:
- Drywall/Plaster: The most common interior surface, typically found in modern and older homes respectively. Both are relatively soft and require hardware that won’t cause cracking or crumbling.
- Wood: Found in paneling, wainscoting, or as ceiling beams. Wood can handle most hardware types but requires consideration of grain direction and finish preservation.
- Tile/Stone: Common in bathrooms and kitchens. These hard, non-porous surfaces require specialized hardware for secure attachment.
- Glass: Often found on windows or glass partitions. Requires adhesive or suction-based solutions.
- Concrete/Brick: Found in basements, lofts, or industrial-style homes. Extremely durable but requires heavy-duty hardware.
Surface Assessment and Preparation
Before installing any hardware, conduct a thorough surface assessment:
- Check for existing damage: Fill any holes or cracks before installing new hardware to ensure a solid base.
- Locate studs and joists: Use a stud finder to identify these structural supports, which can bear significantly more weight than drywall alone.
- Test surface integrity: For older homes, gently press the wall to check for soft spots or crumbling plaster.
- Clean the area: Remove dust, grease, or residue to ensure adhesives stick properly.
Pro Tip: For valuable or delicate surfaces like wallpaper, consider using removable adhesive products or creating a “floating” installation that doesn’t require permanent attachment to the wall itself.
Adhesive-Based Hardware Solutions
For renters, minimalists, or those who want to avoid putting holes in their walls, adhesive-based hardware offers an excellent solution. Modern adhesive technology has advanced significantly, providing options that are both secure and removable when used correctly.
Command Strips and Hooks
Command products by 3M are the gold standard in removable adhesive hardware. For indoor string lights, consider these options:
- Command Picture Hanging Strips: These interlocking strips can support up to 16 pounds when used in pairs. Ideal for creating a “picture rail” effect for your lights.
- Command Wire Hooks: Specifically designed for cords and wires, these hooks can hold up to 5 pounds each. The rubberized interior grips cords securely.
- Command Ceiling Hooks: For overhead installations, these hooks can support up to 3 pounds each and remove cleanly when you’re ready to take down your lights.
Application Tip: Clean the surface with rubbing alcohol before application, press firmly for 30 seconds, and wait one hour before hanging your lights to ensure maximum adhesion.
Specialty Adhesive Clips
Beyond standard Command products, several specialty adhesive clips work exceptionally well for string lights:
- Cable raceway clips: These plastic channels stick to walls and hold multiple cords in a neat, organized line. Great for straight runs of lights.
- Silicone adhesive clips: Flexible, transparent clips that conform to your wall and grip cords securely. Available in various sizes to accommodate different string light thicknesses.
- Magnetic clips: For metal surfaces like refrigerators or filing cabinets, these provide strong, repositionable attachment.
Adhesive Performance Factors
To ensure your adhesive hardware performs optimally:
- Weight distribution: Use more clips than you think you need—adhesive strength decreases with time and temperature fluctuations.
- Temperature and humidity: Most adhesives perform best in temperatures between 50-85°F (10-29°C) and humidity below 80%.
- Surface type: Adhesives stick best to clean, smooth, non-porous surfaces. Textured walls may require additional adhesive or alternative solutions.
- Removal technique: To remove adhesive hooks without damage, slowly stretch the adhesive strip downward (for Command products) or use dental floss to cut through the adhesive.
Mechanical Fastening Hardware
For permanent installations, heavy-duty setups, or areas with high humidity, mechanical fastening hardware provides unmatched security. These solutions involve physically attaching hardware to the wall or ceiling using screws, nails, or anchors.
Screw-In Hooks and Eyelets
Traditional screw-in hardware remains one of the most reliable methods for hanging string lights:
- Cup hooks: Small, curved hooks that screw into wood or drywall. Available in brass, nickel, or plastic finishes to match your decor.
- Eye hooks: Straight or angled hooks that provide a secure anchor point. Choose brass or stainless steel for moisture-prone areas.
- Ceiling hooks: Designed to screw into ceiling joists, these can support significant weight for overhead installations.
Installation Tip: For drywall without stud support, use wall anchors (plastic, metal, or toggle bolts) to distribute the load and prevent the screws from pulling out.
Picture Rails and Tracks
For a professional, gallery-like installation, consider installing picture rail molding or track systems:
- Traditional picture rail: Install molding 6-8 inches below the ceiling, then hang lights from small hooks that clip onto the rail. This method allows easy rearrangement.
- Track lighting systems: Originally designed for spotlights, these tracks can also hold string lights. Look for models with adjustable hangers for maximum flexibility.
- Curtain rods as light tracks: Install a tension or mounted curtain rod near the ceiling, then clip lights to the rod using S-hooks or specialized light clips.
Specialty Mechanical Hardware
For unique installations or heavy loads, consider these specialty options:
- Ceiling grid clips: For drop ceilings, these clips attach to the metal grid without tools or damage.
- Beam clamps: For exposed beams, these clamps grip without drilling into the wood.
- Wall-mounted cable raceways: These metal or plastic channels screw to walls and contain cords neatly while providing attachment points.
Safety Note: When installing mechanical hardware near electrical outlets or in kitchens/bathrooms, maintain at least 12 inches (30 cm) distance from water sources and ensure cords aren’t pinched or compressed by the hardware.
Innovative and Decorative Hanging Solutions
Why settle for purely functional hardware when you can choose options that enhance your decor? These innovative solutions combine practicality with aesthetic appeal.
Decorative Hooks and Hangers
Hardware doesn’t have to be invisible. These stylish options make a design statement:
- Brass or copper hooks: Warm metallic finishes add elegance and complement many decor styles.
- Geometric wall hangers: Modern shapes like hexagons or diamonds provide attachment points while serving as wall art.
- Branch hooks: Wooden or metal hooks shaped like branches create a natural, organic look.
- Chalkboard hooks: Useful for labeling different light zones or adding notes to your display.
Multi-Functional Furniture Solutions
Integrate your string lights with existing furniture:
- Headboard lighting: Attach lights directly to a wooden headboard using small nails or adhesive clips.
- Shelf edge lighting: Clip lights to the front edge of bookshelves or floating shelves for ambient glow.
- Mirror frame lighting: Use small adhesive clips to outline mirrors, creating a Hollywood dressing room effect.
- Stair rail lighting: Clip lights to banisters or railings for a magical effect.
Creative Tension and Free-Standing Systems
For rooms without suitable wall or ceiling attachment points:
- Tension rods: Place between walls to create a “ceiling” for lights in the middle of a room.
- Room divider with lighting: Use a folding screen or bookshelf as a light-hanging structure.
- Floor-to-ceiling poles: Decorative poles with hooks at various heights can support elaborate light installations.
- Hanging planters as light holders: Suspend planters from the ceiling and run lights through them for a botanical effect.
Pro Tip: For renters or temporary installations, consider using removable putty or museum gel to attach lightweight decorative hooks without damaging surfaces.
Special Considerations for Different Room Types
Each room in your home presents unique challenges and opportunities for string light installations. The hardware you choose should account for room function, moisture levels, and existing decor.
Bedroom and Living Room Lighting
These primary living spaces benefit from cozy, ambient lighting:
- Headboard installation: Use adhesive strips or small nails to attach lights behind or above the headboard.
- Canopy effect: Install a tension rod or ceiling hooks to create a “canopy” of lights above the bed.
- Media wall lighting: Outline TVs or entertainment centers with small adhesive clips or picture rail systems.
- Window frame lighting: Use adhesive clips or small nails to outline windows with lights.
Weight Consideration: For bedrooms with high ceilings, use ceiling hooks anchored into joists to prevent sagging over long spans.
Kitchen and Dining Area Lighting
These functional spaces require hardware that can withstand moisture and grease:
- Under-cabinet lighting: Use adhesive clips or small screws to attach lights under cabinets.
- Island lighting: Install hooks on the sides of kitchen islands or use a hanging pot rack as a light structure.
- Backsplash lighting: For tile backsplashes, use specialty tile clips or silicone adhesive products.
- Dining table canopy: Suspend lights from ceiling hooks or a decorative chandelier-style frame above the table.
Safety First: In kitchens, keep cords away from stovetops and sinks, and use waterproof string lights near food prep areas.
Bathroom Lighting
Bathrooms require moisture-resistant solutions:
- Mirror lighting: Use waterproof adhesive clips or silicone gel to attach lights to mirrors.
- Shower curtain rod: Clip lights to a tension rod above the shower curtain.
- Vanity lighting: Install small hooks or adhesive strips on the wall above the vanity.
- Ceiling installation: Use waterproof ceiling hooks anchored into joists for overhead lighting.
Children’s Rooms and Play Areas
These rooms need hardware that’s secure and child-safe:
- Low-hanging installations: Use adhesive clips or small nails to hang lights at child height.
- Bed frame lighting: Attach lights to bed frames using zip ties or adhesive clips.
- Closet lighting: Use adhesive hooks to outline closet doors for a “fairy tale” effect.
- Themed installations: Incorporate light hardware into existing decor, like star-shaped hooks for a space theme.
Child Safety Tip: Avoid hardware with sharp edges or small parts that could become choking hazards. Ensure cords are secured out of reach of small children.
Hardware Comparison and Selection Guide
With so many options available, choosing the right hardware for your specific needs can be overwhelming. This comprehensive comparison will help you make an informed decision based on your priorities.
| Hardware Type | Best For | Weight Capacity | Installation Difficulty | Removability | Surface Compatibility | Aesthetic Impact |
|---|---|---|---|---|---|---|
| Adhesive Hooks | Lightweight lights, renters | 1-5 lbs per hook | Very Easy | Excellent (with proper removal) | Smooth, clean surfaces | Minimal (can be transparent) |
| Command Strips | Medium-weight lights, temporary | Up to 16 lbs (paired) | Easy | Excellent | Most surfaces except textured | Minimal |
| Screw-in Hooks | Permanent, heavy installations | 10+ lbs (with anchors) | Moderate | Poor (leaves holes) | Wood, drywall, plaster | Moderate (visible hardware) |
| Ceiling Hooks | Overhead installations | 15+ lbs (into joists) | Moderate | Poor | Ceiling joists, beams | Moderate |
| Picture Rail | Gallery-style, flexible layouts | Depends on rail type | Difficult (requires installation) | Poor | Most walls | High (decorative element) |
| Tension Rods | Free-standing installations | 5-10 lbs | Easy | Excellent | Between walls | Moderate |
| Decorative Hooks | Style-focused installations | 3-8 lbs | Easy to Moderate | Depends on type | Most surfaces | High (design feature) |
| Beam Clamps | Exposed beam ceilings | 20+ lbs | Easy | Good | Wooden beams | Minimal |
Selection Checklist: When choosing your hardware, ask yourself:
- How permanent do I want this installation to be?
- What weight of lights am I hanging (including multiple strands)?
- What is the surface type I’m working with?
- Do I need to maintain the integrity of the surface (e.g., for renting)?
- How important is the aesthetic of the hardware itself?
- Will the lights be in a high-moisture or high-traffic area?
Remember, you’re not limited to just one type of hardware. Many successful installations use a combination of methods—adhesive hooks for lightweight areas, screw-in hooks for heavy loads, and decorative elements for visual interest.
Final Thoughts on Creating Perfect Ambiance with String Lights
Hanging indoor string lights is about much more than just illumination—it’s about creating an atmosphere, defining spaces, and expressing your personal style. The hardware you choose plays a crucial role in both the functionality and aesthetics of your installation. Whether you opt for the clean simplicity of adhesive hooks, the reliability of mechanical fasteners, or the decorative flair of stylish hardware, the right choice will ensure your lights stay securely in place while enhancing your decor.
As you plan your installation, remember that flexibility is key. Start with a test run using temporary adhesive solutions before committing to permanent installations. This allows you to experiment with different layouts, hardware types, and spacing until you achieve the perfect effect. Consider the weight of your lights, the conditions of your space (especially humidity and temperature), and your long-term plans for the room.
Ultimately, the best hardware for your indoor string lights is the one that meets your practical needs while complementing your design vision. With the wide range of options available today—from nearly invisible adhesive clips to statement-making decorative hooks—there’s a solution for every space, surface, and style. So gather your lights, assess your space, select your hardware, and get ready to create that perfect ambiance you’ve been dreaming of. Your beautifully illuminated space awaits!
Frequently Asked Questions
What kind of hardware do I need to hang indoor string lights safely?
To hang indoor string lights securely, use adhesive hooks, screw-in hooks, or tension rods depending on your surface. For heavier lights or longer drops, opt for wall anchors and screws to ensure stability.
Can I use nails or tacks to hang indoor string lights?
While small nails or tacks can work for lightweight string lights, they may damage walls or loosen over time. Adhesive hooks or removable mounting strips are safer, damage-free alternatives for most indoor setups.
What hardware works best for hanging string lights on textured walls?
For textured walls, screw-in hooks or toggle bolts provide better grip than adhesive hooks. Ensure the hardware is compatible with uneven surfaces to prevent slipping or detachment.
Are there special hooks for hanging indoor string lights on curtains or windows?
Yes, curtain rod clips or suction cup hooks are ideal for windows and fabric. These allow you to drape lights without drilling or damaging surfaces, perfect for renters or temporary setups.
How do I choose the right hardware for hanging string lights on ceilings?
For ceilings, use adhesive ceiling hooks for light loads or screw-in ceiling hooks for heavier strings. Always check the weight limit of the hardware and ensure it matches your string lights’ requirements.
What kind of hardware to hang indoor string lights with for a permanent setup?
For a permanent installation, use screw-in hooks, eye bolts, or cable raceways to secure lights along walls or ceilings. Pair with wall anchors for added strength, especially in drywall or plaster.

