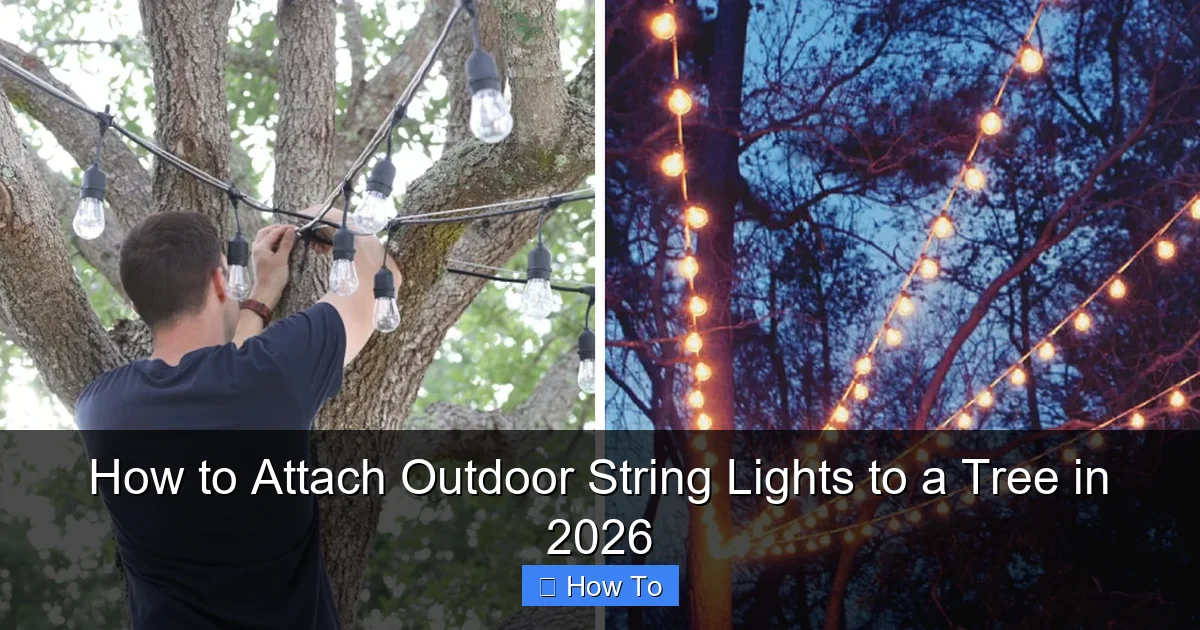
Featured image for how to attach outdoor string lights to a tree
Image source: brightlighthub.com
Secure outdoor string lights to trees safely and stylishly in 2026 using durable, tree-friendly mounting methods like adjustable zip ties, stainless steel hooks, or specialized light clips. Always assess tree health and use flexible attachment points to prevent damage while ensuring a stable, weather-resistant setup. For a polished look, plan spacing, avoid over-tightening, and consider battery-powered or solar options for effortless installation and energy efficiency.
“`html
How to Attach Outdoor String Lights to a Tree in 2026
Key Takeaways
- Choose durable materials: Opt for weather-resistant lights and UV-safe clips for long-term use.
- Wrap lights evenly: Maintain consistent spacing to avoid tangles and ensure a professional look.
- Use non-invasive methods: Avoid nails; use hooks or zip ties to protect tree bark.
- Plan your layout first: Map the path before hanging to prevent mid-installation adjustments.
- Test lights early: Check functionality after each section to catch faults quickly.
- Secure connections safely: Elevate plugs and use waterproof covers to prevent electrical hazards.
Why This Matters / Understanding the Problem
Picture this: It’s a warm summer evening. You’re outside, sipping lemonade, and you look up at your trees—majestic, yes, but a little… plain. You’ve seen those magical photos of backyard oases draped in twinkling lights, and you think, “I want that.” But how do you actually attach outdoor string lights to a tree in 2026 without damaging the bark, creating a tangled mess, or spending a fortune?
You’re not alone. Every year, thousands of homeowners face this exact dilemma. Trees are living things. They grow, they expand, they need care. And while string lights can transform your space into a fairytale, the wrong installation can lead to broken branches, girdling (that’s when something wraps too tightly around the trunk), or lights that fall after one windstorm.
The good news? With the right approach, you can create a stunning, safe, and long-lasting display. This guide walks you through how to attach outdoor string lights to a tree in 2026—safely, sustainably, and with style. No guesswork. No damage. Just beautiful, glowing trees.
What You Need
Before you start, gather your tools and materials. Think of this like prepping for a small outdoor project—nothing too heavy, but having everything ready saves time and frustration.
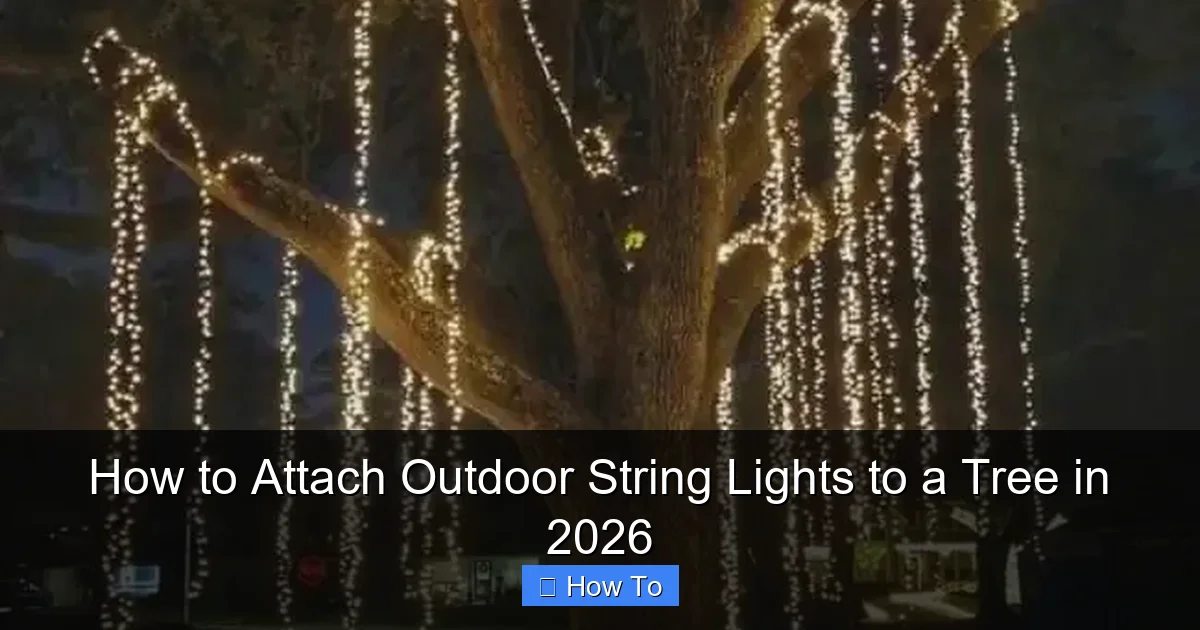
Visual guide about how to attach outdoor string lights to a tree
Image source: i1.wp.com
- Outdoor-rated LED string lights (weatherproof, low-heat, energy-efficient)
- Tree-friendly fasteners (e.g., soft rubber tree straps, UV-resistant zip ties, or adjustable cord clips)
- Measuring tape (to plan your layout)
- Extension cord (outdoor-rated, with GFCI protection)
- Step ladder or extension pole (for reaching higher branches)
- Scissors or utility knife (for cutting zip ties or adjusting straps)
- Timer or smart plug (optional, but great for automation)
- Gloves (to protect your hands from rough bark or sharp tools)
Pro tip: Avoid metal nails, screws, or tight wire. These can cut into the bark and harm the tree. In 2026, the best methods prioritize tree health and longevity—just like the best gardeners do.
Warning: Never use staples, duct tape, or anything that digs into the tree. Trees expand as they grow, and tight materials can strangle them over time.
Step-by-Step Guide to How to Attach Outdoor String Lights to a Tree in 2026
Step 1: Choose the Right String Lights
Not all lights are created equal. For how to attach outdoor string lights to a tree in 2026, you’ll want lights that are built for the outdoors—rain, wind, and temperature swings.
- Look for IP65 or higher waterproof rating.
- LEDs are cooler, last longer, and use less power than incandescent.
- Opt for warm white or soft amber for a cozy, natural glow (avoid harsh blue tones).
- Consider solar-powered or battery-operated options if you’re far from an outlet.
I once used cheap indoor-style lights—big mistake. After one storm, half the bulbs died, and the wire insulation cracked. Spend a little more upfront. It pays off.
Step 2: Plan Your Layout
Before you hang a single light, take 10 minutes to plan. Stand back and visualize how the lights will look.
- Do you want a spiral around the trunk? Draped from branch to branch? Or a starburst pattern from the canopy?
- Measure the height and circumference of the tree. This helps you buy the right length of lights.
- Mark anchor points with small pieces of tape or biodegradable string—don’t leave anything behind.
For a single large tree, a spiral from the base to the first major branches creates drama without clutter. For multiple trees, consider linking them with a “canopy web” of lights.
Pro tip: Use a photo editing app to overlay a light pattern on a picture of your yard. It’s a game-changer for visualizing the final look.
Step 3: Install Tree-Friendly Fasteners
This is where most people go wrong. They use zip ties too tight or nails that damage the bark. In 2026, we know better.
- Use rubber tree straps (like the ones from TreeWrap or ArborStrap)—they’re soft, adjustable, and won’t cut in.
- For smaller branches, use UV-resistant zip ties—but only snug, not tight. Leave a finger-width of space so the tree can grow.
- For higher branches, use adjustable cord clips (plastic or rubber-coated) that attach to the light string itself.
Here’s how I do it: I loop the strap around the branch, pull it snug (but not tight), and use the built-in clip to secure the light wire. No tools needed. No damage.
Remember: Trees grow outward. A tight fastener today can become a girdling hazard in a year. Loose and flexible is the way to go.
Step 4: Hang the Lights (Start from the Bottom)
Start at the base of the tree and work your way up. This keeps the string from tangling and gives you better control.
- Plug in the lights (or turn on solar mode) to test them before hanging.
- Attach the first fastener at the base, just above ground level.
- Wrap the lights in a spiral, spacing each turn 6–12 inches apart. Don’t pull too tight—let the string drape naturally.
- Use a fastener every 12–18 inches to keep the lights secure.
I like to use a lightweight extension pole with a hook to place fasteners high up. It’s safer than balancing on a ladder.
If you’re draping between trees, run the lights along a paracord or weather-resistant twine first, then attach the lights to that line. This reduces stress on the branches and makes future adjustments easier.
Step 5: Secure the Power Source
Nothing ruins the vibe like a dangling cord or exposed plug. Keep your power setup clean and safe.
- Use an outdoor-rated extension cord with a GFCI (ground fault circuit interrupter)—this shuts off power if it detects moisture or a short.
- Run the cord along the ground, tucking it under mulch or using cord covers to prevent tripping.
- Plug into a weatherproof outlet cover (like the Bell Weatherproof Box).
- For a cleaner look, bury the cord in a flexible conduit (PVC or rubber).
I once skipped the GFCI. Big mistake. A sudden downpour tripped the breaker, but the GFCI saved my lights and my deck. Always use one.
Step 6: Add Automation (Optional but Awesome)
In 2026, smart lighting is the norm. Why not use it?
- Plug your lights into a smart plug (like TP-Link Kasa or Meross).
- Set a schedule—lights on at sunset, off at 11 PM.
- Use an app to control brightness or color (if you have RGB lights).
- Some systems integrate with voice assistants—“Hey Google, turn on the tree lights.”
I set mine to turn on 30 minutes before sunset. It’s magical to walk outside and see the lights already glowing.
Step 7: Test and Adjust
Once everything’s up, step back and look.
- Are the lights even? Any sags or tight spots?
- Do any fasteners feel too tight? Loosen them now.
- Check for exposed wires or loose connections.
- Walk around the tree—make sure the pattern looks balanced from all angles.
Make small tweaks. A half-turn of a zip tie or a slight reposition of a clip can make a big difference.
Pro tip: Take a photo at night. It’s easier to spot uneven lighting or dark spots when you’re not standing right under it.
Pro Tips & Common Mistakes to Avoid
After hanging lights on over 30 trees (yes, I’ve done this a lot), here’s what I’ve learned the hard way:
- Don’t wrap lights too tightly. Trees grow. A tight spiral today can cut into the bark in a year. Always leave room.
- Use the right fasteners. Metal clips, nails, or wire = bad. Rubber, plastic, or fabric = good.
- Check your lights seasonally. Wind, rain, and squirrels can loosen fasteners. Do a quick inspection every few months.
- Remove lights after 6–9 months. Even tree-friendly systems should be taken down and rehung. This prevents long-term stress and lets the tree “breathe.”
- Use a light meter app. Apps like Light Meter (iOS/Android) help you avoid over-lighting—too many lights can look tacky, not magical.
- Think about wildlife. Birds and squirrels love nesting in light strands. If you see activity, consider relocating or using motion-sensor lights.
One summer, I left my lights up for 18 months. The zip ties had started to embed into the bark. It wasn’t pretty. Now I take them down every fall, store them in a dry bin, and rehang in spring.
Warning: Never leave string lights on 24/7. Heat buildup can damage bulbs and create a fire hazard. Use a timer or smart plug to limit runtime.
FAQs About How to Attach Outdoor String Lights to a Tree in 2026
Can I leave string lights on a tree year-round?
You can, but you shouldn’t. Trees need to expand, and constant pressure from fasteners can cause girdling. Plus, UV exposure degrades plastic and rubber. I recommend removing lights after 6–9 months. Store them clean and dry, then rehang when you want the magic back.
What’s the best way to hang lights on a very tall tree?
For trees over 25 feet, use a telescoping pole with a hook (like the Unger Pro). Or, run a paracord guide line from the ground to the top branch. Attach your lights to that line, not directly to the tree. This reduces stress and makes adjustments easier.
Can I use zip ties on young trees?
Yes, but very carefully. Use wide, UV-resistant zip ties and leave plenty of slack. Check them every 3 months. If the tree has grown, loosen or replace the tie. Young trees grow fast—what fits today may be too tight in weeks.
How do I avoid tangles when storing lights?
After removing them, wrap the string around a cardboard rectangle (like a DIY light reel). Or use a light storage reel (available at hardware stores). Label the plug end so you know which way to unroll next time. No more “knot monsters.”
Are solar string lights worth it?
Absolutely—if you have good sun exposure. Solar lights charge during the day and turn on automatically at dusk. No cords, no outlets. But in shady areas, they may not stay lit long. I use them on trees near the edge of the yard, where sunlight hits. For deep shade, stick with plug-in or battery-powered.
What if a branch breaks when I’m hanging lights?
It happens. If a small branch snaps, it’s usually fine—trees heal. But if it’s a major limb, stop and assess. Never hang heavy lights on weak or dead branches. If you’re unsure, consult an arborist. Better safe than sorry.
How many lights do I need for one tree?
For a 15–20 ft tree, 100–200 bulbs (10–20 ft of string lights) is plenty. More isn’t always better. I use 150 warm LEDs on my maple—it’s bright enough to glow, but not so bright it looks like a billboard. Less is more, especially in 2026’s eco-conscious world.
Final Thoughts
Hanging outdoor string lights on a tree in 2026 isn’t just about aesthetics—it’s about doing it right. The goal isn’t just to impress your neighbors. It’s to create a space that feels warm, safe, and alive—without harming the trees that give us shade, oxygen, and beauty.
Remember: gentle fasteners, smart planning, and seasonal maintenance are the keys to success. Use tree-friendly materials. Respect the tree’s growth. And don’t be afraid to take it down when it’s time.
When you get it right, the result is pure magic. Imagine sitting under a softly glowing oak, stars above, fireflies below. That’s the power of well-placed lights.
So grab your straps, your lights, and your ladder. Go make your backyard a little more enchanted. And when you do, take a photo, tag it #TreeLights2026, and share the glow.
You’ve got this.
“`

