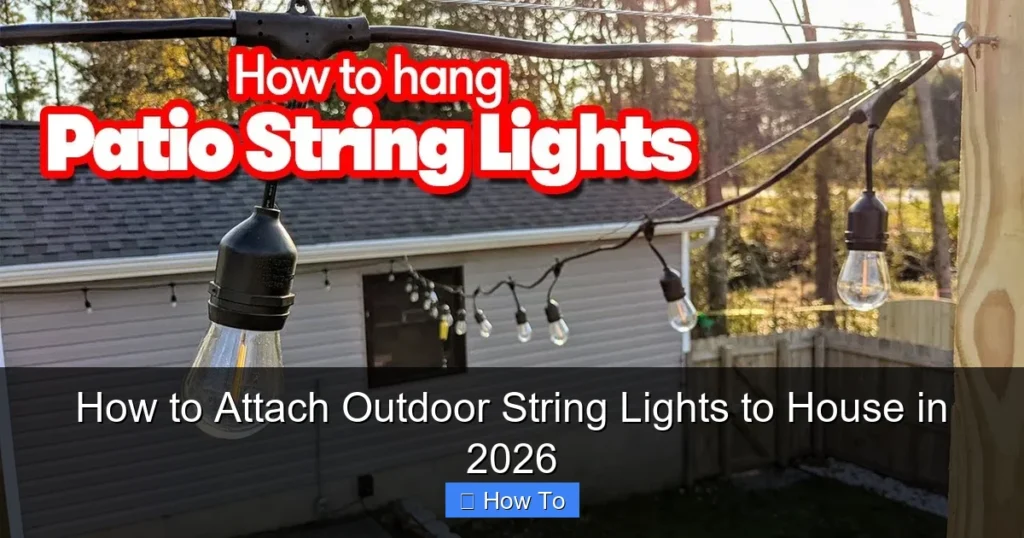
Featured image for how to attach outdoor string lights to fence
Image source: img.yardenvy.com
Securely attach outdoor string lights to your fence in 2026 using weather-resistant mounting clips or adhesive hooks designed for long-term durability. Ensure even spacing and proper tension by measuring the distance between anchor points and using a level for alignment. Always opt for outdoor-rated lights and connectors to withstand the elements and enhance safety.
“`html
How to Attach Outdoor String Lights to Fence in 2026
Key Takeaways
- Plan spacing first: Measure and mark light placement for even, balanced coverage.
- Use weatherproof clips: Secure lights with durable, UV-resistant clips to prevent sagging.
- Anchor at corners: Reinforce connections at fence edges to handle tension and wind.
- Check bulb height: Ensure lights hang safely above ground to avoid damage or tripping.
- Test before finalizing: Power lights early to spot issues and adjust placement.
- Opt for dimmers: Add controls for ambiance and energy efficiency in 2026 setups.
Why This Matters / Understanding the Problem
Let’s be honest—nothing sets the mood for a summer evening like twinkling outdoor string lights. Whether you’re hosting a BBQ, unwinding with a book, or just enjoying the sunset, the right lighting can transform your backyard into a cozy retreat.
But here’s the catch: how to attach outdoor string lights to fence in 2026 isn’t as simple as just hanging them up and hoping for the best. I learned this the hard way when my first attempt ended with lights sagging, clips snapping, and a tangled mess after a light breeze. Not exactly the fairy-tale glow I was going for.
Over the years, I’ve tried nearly every method—from nails and tape to zip ties and adhesive hooks. Some worked. Most didn’t. The truth? The way we hang outdoor lights has evolved. Newer materials, weather-resistant designs, and smarter mounting tools mean 2026 is the perfect time to do it right.
Whether you’ve got a wooden, vinyl, or metal fence, this guide will walk you through a reliable, long-lasting setup. No more drooping strands, rusty hardware, or last-minute fixes. We’re building a lighting system that lasts—rain or shine.
By the end, you’ll know exactly how to attach outdoor string lights to fence in 2026, with options that suit your fence type, climate, and style. Let’s get started.
What You Need
Before you start, let’s gather your tools and materials. The good news? Most of these are easy to find and won’t break the bank.
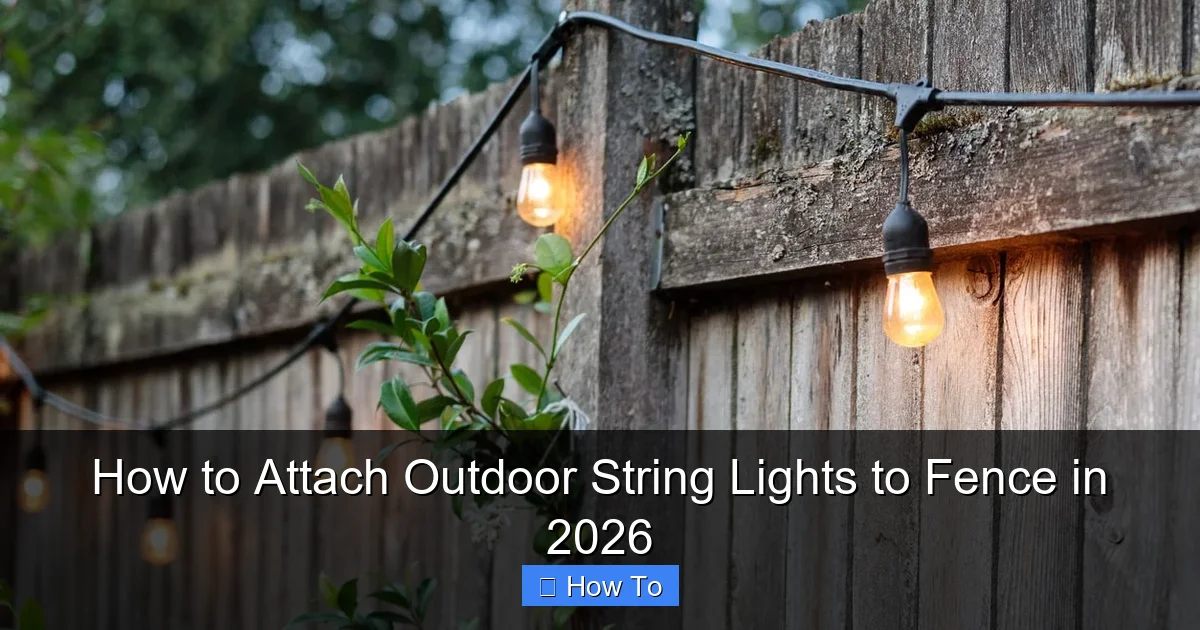
Visual guide about how to attach outdoor string lights to fence
Image source: cdn.homedit.com
- Outdoor-rated string lights (LED, weatherproof, preferably with a 5-year lifespan)
- Mounting hardware (varies by fence type—see below)
- Measuring tape (to space lights evenly)
- Level (optional, but helps prevent crooked lines)
- Pencil or chalk (for marking spots)
- Drill with small drill bit (if using screws or anchors)
- Hammer (for nail-based options)
- Sturdy ladder (if your fence is tall)
- Zip ties or cord clips (for temporary or backup support)
- Weatherproof sealant (for wooden fences—prevents rot)
Hardware options by fence type:
- Wooden fence: Stainless steel screw hooks, cup hooks, or fence clips
- Vinyl/PVC fence: Adhesive-backed hooks (rated for outdoor use), vinyl fence clips, or no-drill tension rods
- Metal fence: Magnetic hooks, metal clips, or self-tapping screws
- Composite fence: Use low-profile screws or outdoor-rated adhesive mounts
Pro Tip: Always test your lights before installing them. Nothing’s worse than hanging 50 feet of lights only to find one bulb is out. Save yourself the frustration—plug them in first!
Step-by-Step Guide to How to Attach Outdoor String Lights to Fence in 2026
Step 1: Plan Your Layout and Measure
Before you grab a hammer or drill, take a moment to plan. Where do you want the lights to go? Along the top rail? Diagonally across a section? Around a pergola?
Use your measuring tape to determine the length of your fence section. Then, divide that by the spacing you want between lights or hooks—typically 16 to 24 inches apart works best. This prevents sagging and keeps the glow even.
Mark each mounting point with a pencil or chalk. If you’re doing a straight line along the top, use a level or string line to keep it straight. A crooked line is harder to fix later.
Personal Insight: I once skipped measuring and eyeballed it. The result? One side was 6 inches lower. My wife noticed immediately. Lesson learned: measure twice, hang once.
This step is crucial for how to attach outdoor string lights to fence in 2026 because precision prevents future headaches. A little planning now saves time, materials, and frustration later.
Step 2: Choose the Right Mounting Method for Your Fence
Not all fences are created equal. The mounting method depends on your fence material—each has its pros, cons, and best practices.
For Wooden Fences
Wood is the easiest to work with. You can use:
- Screw-in cup hooks (my favorite): Twist them into the top rail or post. Use stainless steel to resist rust.
- Fence clips: Plastic or metal clips that snap over the top rail. Great for quick setups.
- Small nails with washers: Hammer in gently, then loop the light’s hanging wire over the head.
Pro Tip: Pre-drill holes slightly smaller than the screw to prevent splitting—especially in older, dry wood.
For Vinyl or PVC Fences
Vinyl is smooth and non-porous, so adhesives and clips work best. Avoid nails or screws unless you want to risk cracking.
- Adhesive outdoor hooks: Brands like 3M or Command make heavy-duty, weather-resistant hooks. Look for ones rated for 5+ lbs.
- Vinyl fence clips: Designed to snap over the top rail. No tools needed.
- Tension rods: If your fence has a horizontal gap, use a no-drill tension rod to hold the lights taut.
Warning: Don’t use cheap adhesive hooks—they fail in heat or rain. I once lost half my lights during a thunderstorm because the glue gave out. Invest in quality.
For Metal Fences
Metal fences (like chain-link or wrought iron) are sturdy but tricky. You can’t easily screw into them without damaging the finish.
- Magnetic hooks: Perfect for chain-link or flat metal surfaces. Just stick and go.
- Metal clips or S-hooks: Loop around the top rail or mesh.
- Self-tapping screws: Only if you’re okay with drilling small holes. Use a metal drill bit.
For Composite or Treated Wood
These materials are durable but sensitive to moisture and expansion. Avoid deep screws that can split the board.
- Low-profile screws or plastic clips: Less invasive and safer.
- Outdoor-rated adhesive mounts: Apply in dry, warm weather for best adhesion.
Choosing the right method is the backbone of how to attach outdoor string lights to fence in 2026. Match the hardware to your fence, and you’ll avoid damage and ensure longevity.
Step 3: Install the Mounting Hardware
Now it’s time to install. Take your time—rushing leads to crooked hooks or broken clips.
For screw-in hooks (wood):
- Use a drill with a small pilot bit to make a starter hole.
- Twist the hook in by hand or with pliers. Don’t overtighten—this can strip the wood.
- Ensure each hook is level and at the same height.
For adhesive hooks (vinyl/PVC):
- Clean the fence with rubbing alcohol to remove dirt and oil.
- Press the hook firmly for 30 seconds. Wait 24 hours before hanging lights—this ensures the adhesive bonds.
- Use a hair dryer to warm the surface on cool days (improves adhesion).
For magnetic hooks (metal):
- Place the magnet on a flat, clean section of the fence.
- Check that it’s secure before hanging—some magnets slide on textured surfaces.
- Use two magnets per hook for heavier lights (like vintage Edison bulbs).
Pro Tip: Install hooks in the morning or evening when temperatures are stable. Hot metal or vinyl can warp, and cold adhesive won’t stick well.
Double-check spacing and alignment. If you’re off by even an inch, it’ll show when the lights are up.
Step 4: Hang the Lights (With Tension in Mind)
Now comes the fun part: hanging the lights. But don’t just drape them—tension is key.
- Start at the power source. Plug in one end, then work your way along the fence.
- Loop the light’s hanging wire over each hook or clip. Don’t force it—gentle pressure is enough.
- Keep the strand taut but not tight. A little slack prevents strain on the bulbs and sockets.
- For long runs, use a “sag” technique: let the middle dip slightly (2–3 inches) to absorb wind stress.
Use zip ties or small cord clips as backup support every 3–4 feet. This prevents sagging over time, especially with heavier bulbs.
Personal Insight: I once hung lights with zero sag. They looked perfect—until a windstorm. The tension pulled a socket loose. Now I always leave a little give. It’s safer and lasts longer.
If your lights have bulbs, face them downward or sideways to reduce rain pooling. This extends bulb life.
For how to attach outdoor string lights to fence in 2026, proper tension and bulb orientation are what separate a pro job from a DIY disaster.
Step 5: Secure the Power Connection
The power end is the weakest point. If it gets wet or yanked, the whole system fails.
- Use an outdoor-rated extension cord with a GFCI plug. This shuts off if there’s a short circuit.
- Route the cord along the fence using cord clips or zip ties. Keep it off the ground.
- Use a weatherproof outlet cover (like a bubble cover) to protect the plug.
- Elevate the plug with a hook or bracket so water doesn’t pool around it.
If possible, plug into a GFCI-protected outdoor outlet. Test it with a circuit tester to be sure.
Warning: Never use indoor extension cords outdoors. They’re not waterproof and can cause shocks or fires. I’ve seen it happen—don’t take the risk.
Step 6: Test, Adjust, and Seal (If Needed)
Once everything’s up, turn on the lights. Walk the length and check:
- Are all bulbs lit?
- Is the strand level and evenly spaced?
- Are the hooks secure?
- Is the power connection safe?
Make adjustments now. Fix any sagging, tighten loose hooks, or reposition the cord.
For wooden fences: Apply a small dab of clear silicone sealant around screw holes. This prevents water from seeping in and rotting the wood. Let it cure for 24 hours.
For adhesive hooks on vinyl, consider adding a small bead of outdoor caulk around the base for extra weatherproofing.
This final step ensures your setup survives rain, snow, and wind—making your how to attach outdoor string lights to fence in 2026 project truly durable.
Pro Tips & Common Mistakes to Avoid
After years of trial and error, here’s what I’ve learned—the hard and easy ways.
Pro Tip 1: Use LED lights with shatterproof bulbs. They last longer, use less power, and survive bumps and weather better.
Pro Tip 2: Install lights before planting or landscaping. You don’t want to dig up your garden to fix a loose hook.
Pro Tip 3: Use a timer or smart plug to automate your lights. No more running outside to turn them on or off. I use mine to turn on at sunset and off at 11 PM.
Pro Tip 4: For multi-section fences, use intermediate support (like a T-post or stake) to carry the weight. Don’t rely solely on the fence.
Common Mistakes:
- Overloading the fence: Too many lights or heavy bulbs can warp or break rails. Stick to one strand per 10–15 feet.
- Ignoring the weather: Rain, snow, and UV rays degrade materials. Use weatherproof hardware and check connections seasonally.
- Skipping the test: Always plug in before hanging. A dead bulb is easier to fix on the ground than 6 feet up.
- Using indoor clips: They’ll fall off in a week. Outdoor-rated is non-negotiable.
- Forgetting the power source: A wet plug is dangerous. Protect it like your home depends on it—because it does.
Remember: how to attach outdoor string lights to fence in 2026 is about smart installation, not just hanging. Think long-term, not just for tonight’s party.
FAQs About How to Attach Outdoor String Lights to Fence in 2026
Q: Can I leave my string lights up all year?
Yes—but only if they’re rated for year-round outdoor use. Look for “all-weather” or “UL-listed for wet locations.” I leave mine up, but I check hooks and seals every spring and fall. In areas with heavy snow, consider removing them in winter to avoid ice damage.
Q: Will adhesive hooks damage my vinyl fence?
High-quality outdoor adhesive hooks won’t damage vinyl if removed carefully. Wait 24 hours before hanging, and peel off slowly at a 90-degree angle. Avoid cheap brands—they leave residue or crack the surface.
Q: What if my fence isn’t straight?
No problem. Use the natural shape of your fence to your advantage. You can create a zigzag, wave, or even a canopy effect. Just keep spacing consistent and use flexible clips or S-hooks to adapt.
Q: Can I connect multiple light strands?
Yes, but check the wattage limit. Most outdoor strands allow 2–3 in a row. Exceeding this can blow fuses or trip breakers. Use a wattage meter to be safe.
Q: How do I fix sagging lights?
Add more support. Install extra hooks, use zip ties to pull the strand taut, or add a center post. For long runs, a “catenary” curve (gentle dip) is better than a straight line.
Q: Are solar string lights a good option?
They’re convenient but less reliable. In cloudy areas, they won’t stay lit long. I use them for accent lighting, not main ambiance. If you go solar, place the panel in full sun and use a timer.
Q: Can I attach lights to a chain-link fence?
Absolutely. Use magnetic hooks, S-hooks, or wrap the strand around the mesh. Just avoid pulling too tight—chain-link can bend. I love the industrial look it creates.
Final Thoughts
Hanging outdoor string lights doesn’t have to be stressful. With the right tools, a little planning, and attention to detail, you can create a magical atmosphere that lasts for years.
How to attach outdoor string lights to fence in 2026 is about more than just aesthetics—it’s about safety, durability, and smart choices. From choosing the right hardware for your fence type to protecting your power source, every step matters.
Start small. Test one section. Get the feel for it. Then expand. You’ll learn as you go—and that’s okay.
And when you flip the switch for the first time? When the glow spills across your yard and your kids gasp, or your friends say, “This is amazing”—that’s the real reward.
So grab your lights, your tools, and your favorite drink. Step outside. And make your backyard the place everyone wants to be.
You’ve got this.
“`