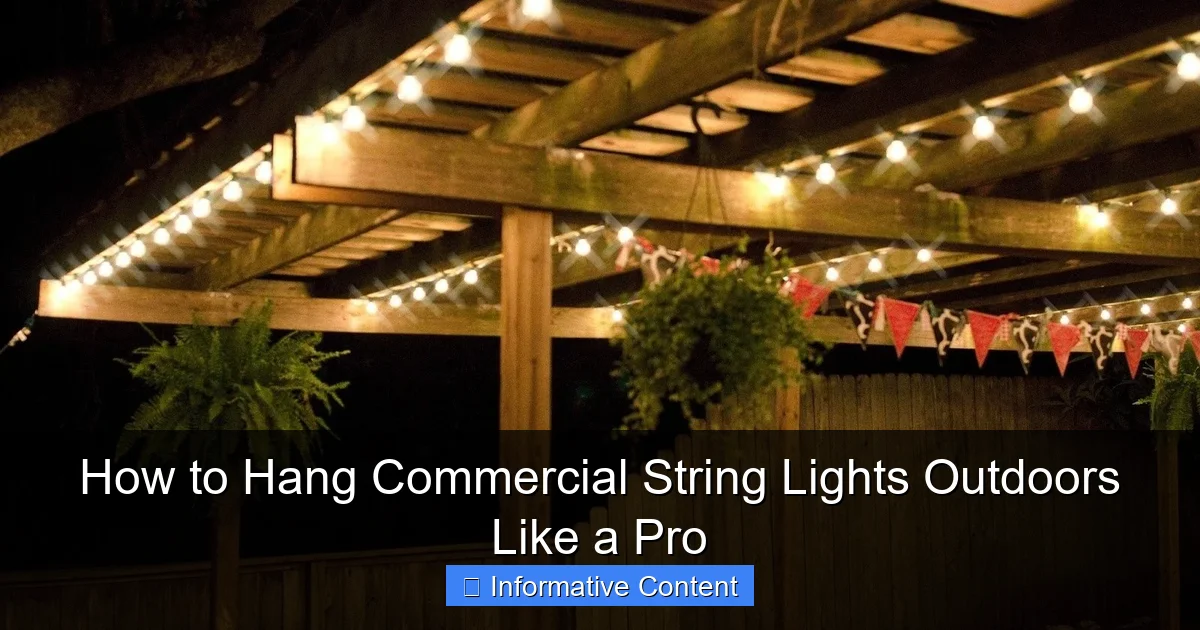
Featured image for how to hang commercial string lights outdoors
Image source: randolphsunoco.com
Plan your layout and measure the space carefully before installation to ensure a seamless, professional look. Use durable, outdoor-rated hardware like eye hooks, zip ties, or specialized mounting tracks, and always follow manufacturer guidelines for spacing and weight support. For a polished finish, maintain consistent height and tension while connecting lights to a GFCI outlet for safety and reliability.
Key Takeaways
- Plan your layout: Measure space and map light placement before installing.
- Use durable hardware: Choose weatherproof hooks, screws, and cables for safety.
- Ensure proper spacing: Hang lights 12–18 inches apart for even illumination.
- Secure connections: Use waterproof connectors and seal all electrical joints tightly.
- Test before finalizing: Check lights and connections early to avoid rework.
- Maintain accessibility: Position fixtures for easy bulb replacement and repairs.
📑 Table of Contents
- How to Hang Commercial String Lights Outdoors Like a Pro
- Choosing the Right Commercial String Lights for Outdoor Use
- Planning Your Layout: Design and Safety First
- Selecting and Installing Anchor Points
- Hanging the Lights: Step-by-Step Installation
- Weatherproofing and Maintenance
- Data: Commercial String Light Specifications Comparison
- Final Thoughts: Light Up Your Space with Confidence
How to Hang Commercial String Lights Outdoors Like a Pro
Picture this: a warm summer evening, laughter drifting through the air, the soft glow of string lights casting a golden hue over a patio, garden, or outdoor dining space. There’s something almost magical about commercial string lights—they transform ordinary outdoor areas into inviting, cozy, and Instagram-worthy settings. Whether you’re a business owner looking to enhance your restaurant’s ambiance or a homeowner dreaming of a backyard oasis, hanging commercial string lights outdoors isn’t just about aesthetics; it’s about creating an experience.
But let’s be honest—what starts as a simple idea can quickly become overwhelming. Where do you begin? How do you ensure the lights are safe, secure, and look professional? I’ve been there. I once spent an entire weekend wrestling with tangled lights, wobbly poles, and a ladder that seemed determined to test my patience. After a few mishaps (and one near-trip to the ER), I learned that hanging commercial string lights outdoors isn’t just about plugging in and hanging up. It’s a mix of planning, safety, and a little bit of creativity. In this guide, I’ll walk you through everything you need to know to hang commercial string lights like a pro—without the stress, the tangles, or the ladder-related injuries.
Choosing the Right Commercial String Lights for Outdoor Use
Before you even think about installation, you need to pick the right lights. Not all string lights are created equal, and using the wrong type can lead to flickering, short circuits, or even fire hazards. The good news? There are plenty of durable, weather-resistant options built specifically for commercial and outdoor use.
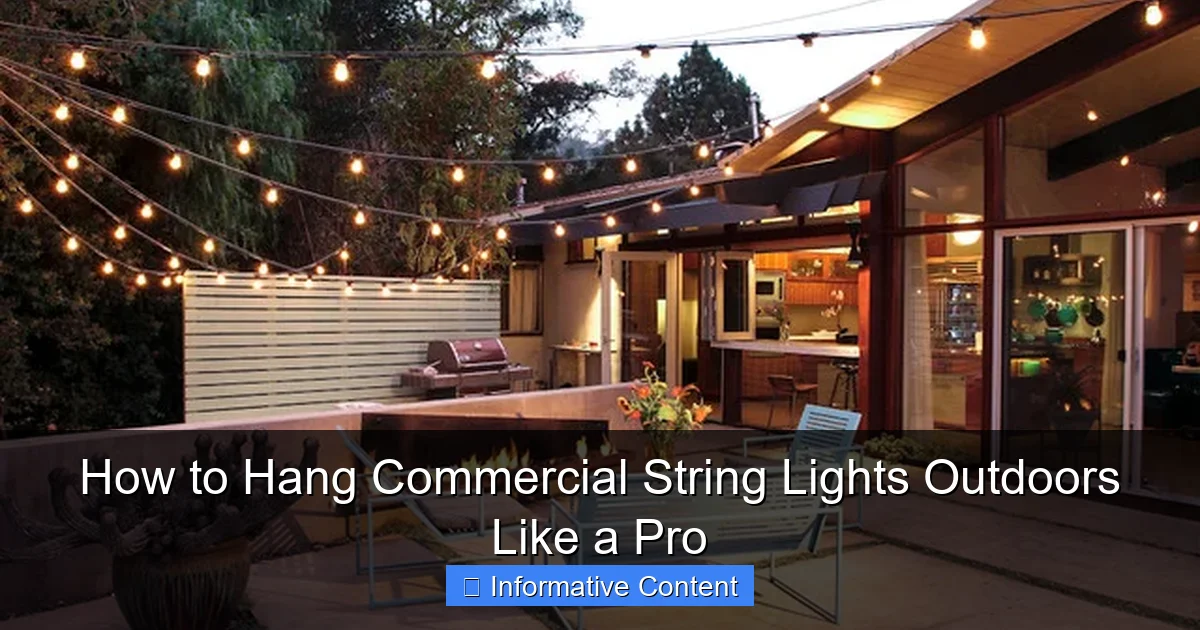
Visual guide about how to hang commercial string lights outdoors
Image source: st.hzcdn.com
Weather Resistance: IP Ratings Matter
When shopping for commercial string lights, look for an IP (Ingress Protection) rating. This tells you how well the lights resist dust and water. For outdoor use, aim for at least IP65—this means the lights are dust-tight and protected against low-pressure water jets. If you live in a rainy or coastal area, consider IP67 or IP68, which offer protection against temporary or prolonged submersion.
For example, a popular choice among restaurant owners is the Commercial Grade LED Edison String Lights with IP65 rating. These are designed to withstand rain, wind, and even snow. I used these for a client’s rooftop bar in Seattle, and after a year of constant use—through rainstorms and windy nights—they still look and function perfectly.
Bulb Type: LED vs. Incandescent
Always go with LED bulbs for outdoor commercial use. Here’s why:
- LEDs use up to 80% less energy than incandescent bulbs.
- They last 25,000–50,000 hours (vs. 1,000–2,000 for incandescent).
- They generate less heat, reducing fire risk and energy costs.
- Many LED commercial strings are dimmable and available in warm, cool, or color-changing options.
Pro tip: Look for shatterproof or shatter-resistant bulbs. Glass bulbs can crack in extreme temperatures or during accidental bumps. Shatterproof plastic or polycarbonate bulbs are safer and more durable.
Wire Gauge and Strand Length
The wire gauge (AWG) determines how much electrical load the string can handle. For commercial use, 18-gauge or 16-gauge wires are ideal. Thicker wires (lower gauge number) reduce voltage drop over long runs and support more bulbs.
Also, check the maximum run length—the total length of lights you can connect end-to-end without overloading the circuit. Most commercial strings allow 100–200 feet. Exceeding this can cause dimming, overheating, or tripped breakers. I once connected five 50-foot strings to one outlet—big mistake. The lights flickered, and the breaker tripped. Lesson learned: always stay within the manufacturer’s recommended run.
Plug Type and Power Source
Commercial string lights often come with heavy-duty plugs and in-line switches. Some even have remote controls or smart home compatibility (Wi-Fi or Bluetooth). For outdoor use, make sure the plug is outdoor-rated and consider using a GFCI (Ground Fault Circuit Interrupter) outlet to prevent shocks in wet conditions.
Planning Your Layout: Design and Safety First
Now that you’ve picked your lights, it’s time to plan the layout. This step is crucial—rushing it can lead to uneven spacing, sagging wires, or unsafe installations. Think of this as the blueprint for your lighting masterpiece.
Measure Your Space
Grab a measuring tape and note the dimensions of your area. Measure:
- The distance between anchor points (e.g., posts, walls, trees).
- The height of your mounting points (e.g., 8 feet for a patio, 15 feet for a gazebo).
- The total length of lights needed, including extra for slack and connections.
For example, if you’re lighting a 30-foot-long patio with lights hanging from a roofline to ground poles, you’ll need at least 40 feet of string lights to allow for sag and connections.
Sketch a Lighting Plan
Draw a simple sketch of your space and mark where the lights will go. Ask yourself:
- Do I want a straight line, a zigzag, or a crisscross pattern?
- Will the lights be parallel to the ground or at an angle?
- Are there obstacles (trees, furniture, signs) that need to be avoided?
I once helped a café owner light their outdoor patio. We planned a zigzag pattern from the roof to ground-mounted poles. It created a dynamic, layered effect—like a web of light—without blocking sightlines or tables.
Check for Electrical Access
Identify where you’ll plug in the lights. You’ll need:
- A nearby GFCI outlet (outdoor-rated).
- Extension cords rated for outdoor use (if needed).
- A plan to hide or secure cords to prevent tripping.
Never run cords under rugs or furniture. Instead, use cord covers or in-ground conduit for permanent setups. For temporary events, use cord clips to secure cords along walls or poles.
Consider Light Spacing and Density
Most commercial string lights have bulbs spaced 6–12 inches apart. For a soft, ambient glow, 12-inch spacing works. For brighter, more dramatic lighting, go with 6-inch spacing. You can also mix and match—use tighter spacing over seating areas and wider spacing along walkways.
Pro tip: Use light spacing calculators (available online) to estimate how many strands you need based on bulb count and desired brightness.
Selecting and Installing Anchor Points
Anchor points are the backbone of your lighting setup. Weak or poorly installed anchors can cause sagging, drooping, or even falling lights. Choose the right hardware and install it securely.
Types of Anchor Points
- Existing Structures: Use walls, eaves, pergolas, or existing poles. These are ideal—no extra installation needed.
- Ground-Mounted Poles: For open spaces, install metal or wooden poles (e.g., 2×4 posts or 1.5-inch steel poles). Bury them 2–3 feet deep with concrete for stability.
- Tree Mounts: Use tree-friendly straps (not nails or screws) to avoid damaging bark. Adjustable nylon straps are best—they expand as the tree grows.
- Ceiling or Eave Hooks: Use heavy-duty eye hooks (rated for at least 50 lbs) screwed into wood or masonry.
I once installed lights on a client’s pergola using 1/4-inch eye hooks. We spaced them 6 feet apart and used stainless steel hooks for rust resistance. After two years, they’re still rock-solid.
Installing Hardware Safely
For wooden surfaces (e.g., eaves, pergolas):
- Use stainless steel eye screws (1.5–2 inches long).
- Pre-drill holes to prevent splitting.
- Tighten securely, but don’t over-torque.
For masonry or brick walls:
- Use masonry anchors (e.g., toggle bolts or sleeve anchors).
- Drill pilot holes with a masonry bit.
- Follow the anchor’s weight rating.
For ground poles:
- Dig a hole 18–24 inches deep and 6–8 inches wide.
- Set the pole, fill with quick-set concrete, and let cure for 24–48 hours.
- Use a level to ensure the pole is straight.
Spacing and Alignment
Space anchor points 6–10 feet apart for straight runs. For zigzag or crisscross patterns, use a template (e.g., a piece of cardboard with marked holes) to ensure consistent spacing.
Use a laser level or string line to keep anchor points aligned. A crooked line can make your lights look messy, even if they’re secure.
Hanging the Lights: Step-by-Step Installation
Now comes the fun part—hanging the lights! With your anchors in place, follow these steps for a professional finish.
Test the Lights First
Before hanging, plug in the lights and test them. Check for:
- Flickering or dim bulbs.
- Loose connections.
- Damaged wires or plugs.
Replace any faulty bulbs or strings. It’s much easier to fix issues on the ground than on a ladder.
Use the Right Hanging Hardware
Most commercial string lights come with built-in hanging loops or S-hooks. If not, use:
- Zip ties (for temporary setups).
- Carabiner clips (for easy removal).
- Stainless steel S-hooks (for permanent installations).
Never use nails or staples—they can damage the wire insulation and create fire hazards.
Hang with Proper Sag
String lights should have a slight sag (about 6–12 inches in the middle of each span). This prevents tension on the wires and reduces wind stress. To achieve this:
- Attach the first end to the anchor.
- Let the string hang loosely to the next anchor.
- Attach the second end, then adjust the slack.
For long spans (over 20 feet), use support wires (e.g., thin steel cable) beneath the string lights. Attach the lights to the cable with zip ties or hooks. This keeps them level and reduces strain.
Connect Multiple Strands
If using multiple strings, connect them with end-to-end plugs. Keep connections:
- Above ground level (to avoid water pooling).
- Under eaves or covers (to protect from rain).
- Within the manufacturer’s max run length.
Use outdoor-rated extension cords if needed, but avoid daisy-chaining more than 2–3 cords.
Secure Cords and Wires
Use cord clips or adhesive hooks to secure wires along walls or poles. For ground-level cords, use cord covers or bury them in shallow trenches (with conduit).
Weatherproofing and Maintenance
Outdoor lights face rain, wind, snow, and UV exposure. Proper weatherproofing and maintenance keep them safe and functional.
Seal Connections and Plugs
Use electrical tape or heat-shrink tubing to seal plug and connection points. For extra protection, use outdoor-rated junction boxes.
For temporary setups, use plastic bags or waterproof covers over plugs during storms.
Clean and Inspect Regularly
Every 3–6 months, inspect your lights for:
- Corroded wires or connectors.
- Loose anchors or hardware.
- Damaged bulbs or insulation.
Clean bulbs with a damp cloth (unplug first!) to remove dust and grime. Avoid abrasive cleaners.
Winter Care
In snowy climates, remove lights during winter or use weatherproof covers. Heavy snow can break bulbs or overload wires. If leaving them up, check after storms for damage.
Data: Commercial String Light Specifications Comparison
To help you choose the right lights, here’s a comparison of popular commercial string light options:
| Model | Bulb Type | Length | IP Rating | Max Run | Wire Gauge | Price (per 50 ft) |
|---|---|---|---|---|---|---|
| Brightech Ambience Pro | LED Edison | 48 ft | IP65 | 150 ft | 18 AWG | $45 |
| Kichler Commercial String | LED Globe | 25 ft | IP67 | 100 ft | 16 AWG | $65 |
| Philips Hue Outdoor | Smart LED | 10 ft (expandable) | IP44 | 330 ft | 20 AWG | $80 |
| GE Heavy Duty String | LED Filament | 50 ft | IP65 | 200 ft | 18 AWG | $50 |
Note: Prices are approximate and vary by retailer.
Final Thoughts: Light Up Your Space with Confidence
Hanging commercial string lights outdoors isn’t just a DIY project—it’s an art and a science. From choosing weatherproof LEDs to installing secure anchor points, every step matters. But with the right tools, a solid plan, and a little patience, you can create a stunning, safe, and long-lasting lighting display that wows your guests, customers, or family.
Remember: start with quality lights, plan your layout, secure your anchors, and never skip weatherproofing. And if you’re ever unsure, consult a licensed electrician—especially for permanent installations or high-voltage setups.
So go ahead, grab your ladder, your measuring tape, and your favorite string lights. The night is young, and your outdoor space is waiting to shine. With these tips, you’re not just hanging lights—you’re creating magic.
Frequently Asked Questions
How do I hang commercial string lights outdoors without damaging my property?
Use removable hooks, adhesive clips, or zip ties on railings to avoid nails or screws. For a secure yet non-permanent solution, opt for commercial-grade light clips designed for outdoor use. These methods protect surfaces while supporting heavy-duty string lights.
What’s the best way to plan spacing for commercial string lights outdoors?
Measure your space and mark anchor points every 2-4 feet to prevent sagging. Ensure even spacing by using a chalk line or laser guide, especially for longer runs. This ensures your commercial string lights look professional and well-balanced.
How do I power outdoor commercial string lights safely?
Use GFCI outlets and waterproof extension cords rated for outdoor use. Position power sources near the start of your string light setup to minimize exposed cords. Always check local electrical codes for outdoor installations.
Can I connect multiple commercial string lights for longer coverage?
Yes, but check the manufacturer’s maximum connection limit (usually 10-20 strands). Overloading circuits can cause damage or fire hazards. Use a power distribution block for large installations to manage load evenly.
What tools do I need to hang commercial string lights like a pro?
Essential tools include a ladder, measuring tape, outdoor-rated clips/hooks, zip ties, and a stud finder for secure mounting. For high or hard-to-reach areas, consider a pole with a hook attachment. These tools simplify the process and ensure a polished result.
How do I keep outdoor string lights taut and sag-free?
Use turnbuckles or tensioners at anchor points to adjust tightness. For spans over 15 feet, add intermediate supports like poles or eye hooks to reduce strain. Proper tension keeps your commercial string lights looking neat and professional.

