Featured image for how to hang indoor string lights
Image source: i.ytimg.com
Transform any room with indoor string lights by choosing the right hanging method—adhesive hooks, nails, or tension rods—based on your wall type and desired look. Ensure lights are spaced evenly and follow a natural path along walls, ceilings, or furniture to create a warm, inviting glow without overwhelming the space. Always check bulb weight and use appropriate hardware for a safe, seamless installation.
Key Takeaways
- Plan your layout first: Sketch light placement to avoid over- or under-lighting key areas.
- Use removable hooks: Protect walls and easily adjust lights with damage-free adhesive hooks.
- Test lights before hanging: Ensure bulbs work and strands are untangled for seamless installation.
- Layer lights creatively: Drape along shelves, headboards, or mirrors for depth and dimension.
- Secure loose cords: Use cord clips or ties to keep wires tidy and prevent tripping hazards.
- Mix bulb types: Combine warm and cool lights for a dynamic, inviting glow.
📑 Table of Contents
- How to Hang Indoor String Lights for a Cozy Ambiance
- Choosing the Right String Lights for Your Space
- Planning Your Layout: Design Principles and Placement Ideas
- Tools and Materials: What You’ll Need
- Step-by-Step Installation Methods for Every Surface
- Styling Tips and Seasonal Adaptations
- Maintaining Your Lights: Safety, Storage, and Longevity
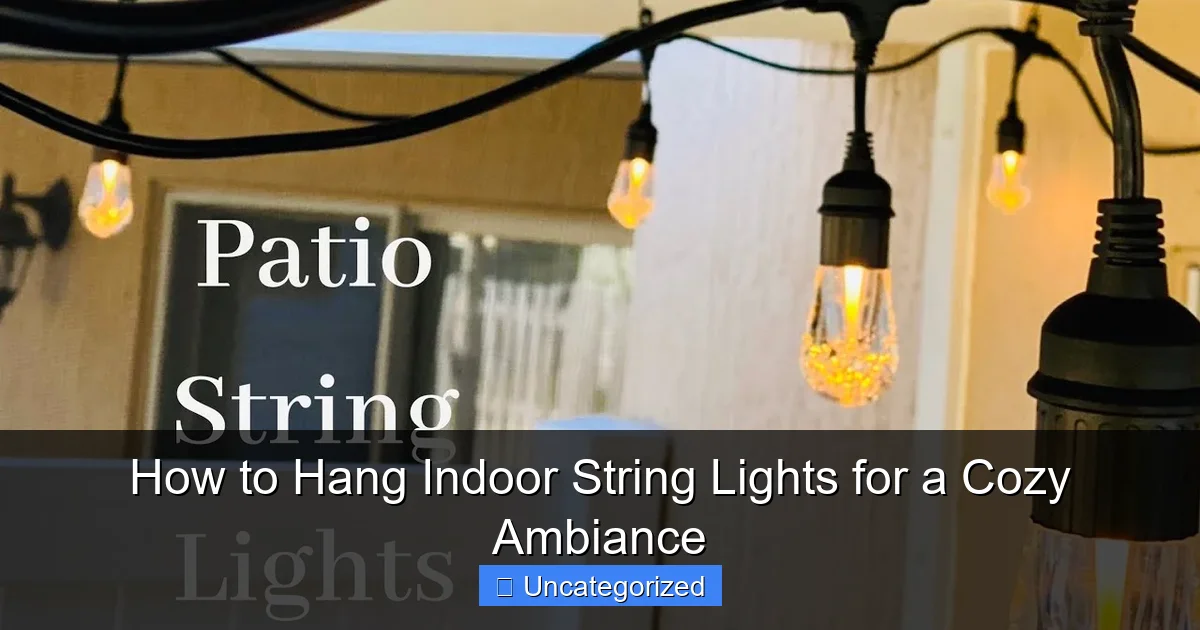
How to Hang Indoor String Lights for a Cozy Ambiance
Imagine walking into a room where soft, twinkling lights dance across the ceiling, casting a warm glow that instantly wraps you in comfort. That’s the magic of indoor string lights. Whether you’re transforming your living room, bedroom, or even a home office, these versatile decorations create a cozy ambiance that elevates any space. From romantic date nights to peaceful reading corners, string lights offer a simple yet powerful way to enhance your home’s atmosphere—no major renovation required.
But here’s the catch: hanging string lights isn’t just about draping them wherever they fit. Poor placement, visible wires, or flimsy mounting can turn a dreamy setup into an eyesore. The good news? With the right techniques, tools, and a little creativity, you can achieve a professional-looking installation that feels both intentional and inviting. This guide will walk you through every step—from choosing the perfect lights to mastering installation methods, troubleshooting common issues, and even seasonal styling tips. By the end, you’ll know exactly how to hang indoor string lights to create a sanctuary that feels as magical as it looks.
Choosing the Right String Lights for Your Space
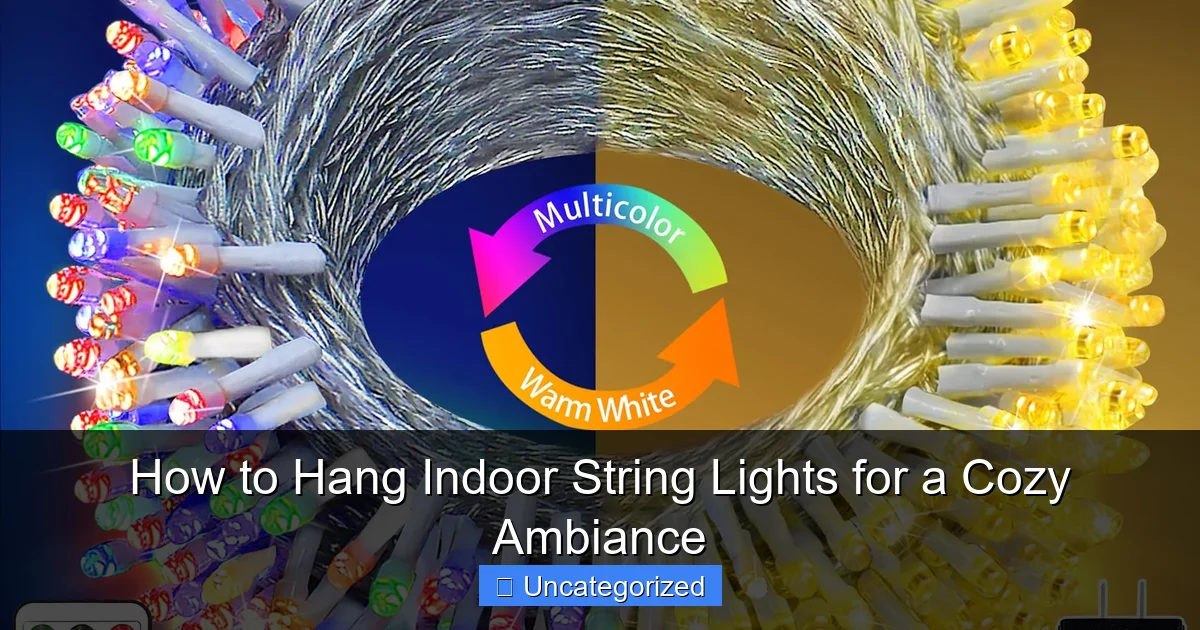
Understanding Light Types and Bulb Styles
Before you start hanging, it’s crucial to select the right type of string lights. Not all lights are created equal, and your choice will impact both aesthetics and functionality. Here’s a breakdown of the most popular options:
Visual guide about how to hang indoor string lights
Image source: m.media-amazon.com
- Incandescent Bulbs: Warm, golden glow with a vintage feel. Energy-intensive but ideal for cozy, nostalgic spaces.
- LED Bulbs: Energy-efficient, long-lasting, and available in warm or cool tones. Perfect for modern setups and frequent use.
- Edison Bulbs: Exposed filaments create a rustic, industrial look. Best for exposed installations (e.g., along beams).
- Fairy Lights: Tiny, delicate bulbs on thin wire. Ideal for draping over shelves, mirrors, or bed frames.
- Net Lights: Grid-like pattern for even coverage. Great for walls or windows.
Pro Tip: For a truly cozy ambiance, opt for warm white (2700K–3000K) or soft yellow tones. Cool white (4000K+) can feel clinical and less inviting.
Length, Spacing, and Power Source Considerations
Measure your space carefully. A 10-foot string might look sparse on a 15-foot wall, while a 25-foot strand could overwhelm a small bedroom. As a rule of thumb:
- Allow 1–2 feet of extra length for draping or looping.
- Space bulbs 4–6 inches apart for a balanced look (closer spacing = denser glow).
- Check if lights are plug-in, battery-operated, or USB-powered. Battery lights offer placement flexibility but require frequent charging. Plug-in lights provide steady power but limit placement to outlets.
For large areas, consider connectable string lights (end-to-end linking) to avoid visible gaps. Always test lights before installation to ensure no burnt-out bulbs.
Smart Lights and Specialty Features
Want to take your ambiance to the next level? Explore smart string lights with:
- App-controlled color changes
- Voice assistant compatibility (Alexa, Google Assistant)
- Timer functions (auto-on at sunset)
- Dimmer switches for adjustable brightness
While pricier, these features add convenience and customization. For example, Philips Hue or Nanoleaf strings let you shift from warm white for reading to soft pink for movie nights—all from your phone.
Planning Your Layout: Design Principles and Placement Ideas
Mapping the Perfect Path
Great lighting starts with a plan. Sketch your room and mark potential paths for the lights. Consider these proven layout strategies:
- Perimeter Lighting: Frame windows, doors, or mirrors to create a glowing outline.
- Ceiling Canopy: Crisscross lights above a bed or seating area (like a starry sky).
- Wall Art Accent: Outline a gallery wall or headboard for a floating effect.
- Staircase Drama: Drape lights along railings (secure with clear zip ties).
- Shelf Illumination: Weave lights through open shelves to highlight decor.
Example: In a bedroom, hang lights along the top edge of the headboard, then let them drape down in gentle swags to the nightstands. This creates a “halo” effect that feels intimate and luxurious.
Creating Depth and Dimension
Avoid flat, two-dimensional installations by adding layers:
- Overlap: Hang two strings at slightly different heights (e.g., one at ceiling, one 12 inches below).
- Texture Play: Weave lights through plants, fabric, or macramé wall hangings.
- Shadow Effects: Position lights behind translucent objects (e.g., sheer curtains, glass vases) to cast soft patterns.
For a living room, try a “light ceiling”: attach strings to the ceiling in a grid pattern, spacing them 18–24 inches apart. The overlapping glow mimics natural daylight without harshness.
Room-by-Room Inspiration
- Bedroom: Frame the bed like a canopy. Use battery lights for a floating look (no visible cords).
- Living Room: Outline a bookshelf or TV console. Add dimmers to control brightness for movie nights.
- Kitchen: Drape lights under upper cabinets to create a warm “glow” while cooking.
- Bathroom: Hang lights around the mirror (use waterproof-rated bulbs) for a spa-like vibe.
- Home Office: String lights along a floating shelf to reduce screen glare.
Tools and Materials: What You’ll Need
Essential Mounting Hardware
The right tools ensure a secure, damage-free installation. Stock up on:
- Adhesive Hooks: 3M Command hooks (removable, no nails). Choose clear or white to blend with walls.
- Push Pins/Nails: For permanent installations. Use tiny brads (1/4″) for minimal damage.
- Zip Ties: Clear or white for securing lights to railings, shelves, or plants.
- Clips: Magnetic clips (for metal surfaces), alligator clips, or curtain clips for fabric draping.
- Extension Cords: White or clear to minimize visibility. Use cord organizers to bundle excess.
Safety Note: Never use nails in drywall without anchors—they’ll pull out under tension.
Tools for Precision
- Measuring Tape: For accurate spacing.
- Level: Ensures straight lines (critical for grid patterns).
- Pencil: Mark hook positions lightly (erase later).
- Stepladder: For ceiling work.
- Needle-Nose Pliers: To bend or tighten wire strands.
Optional (But Helpful) Extras
- Dimmer Switch: For mood control.
- Remote Control: For hard-to-reach installations.
- Wall Putty: To patch small holes after removal.
- Extension Cords with USB Ports: For charging devices near your lights.
Pro Tip: Keep all tools in a caddy for easy access during installation. Nothing breaks the flow like searching for a missing hook!
Step-by-Step Installation Methods for Every Surface
Walls and Ceilings: The Command Hook Method
For renters or those avoiding nails, adhesive hooks are your best friend. Follow these steps:
- Clean the surface with rubbing alcohol (removes dust and grease).
- Measure and mark hook positions with a pencil (e.g., every 12 inches).
- Press hooks firmly for 30 seconds (wait 1 hour before hanging lights).
- Hang the lights, looping the strand over each hook. For extra security, tie a small knot around the hook.
- Hide cords with cord clips or tuck behind decor.
Example: To frame a 6-foot mirror, place 6 hooks (one at each corner, two evenly spaced along each side). Use a level to keep lines straight.
Wood, Metal, and Concrete: Permanent Mounting
For sturdy surfaces, use nails or screws:
- Wood: Use 1/2″ brads. Pre-drill holes to prevent splitting.
- Metal: Magnetic clips or screws (for railings, beams).
- Concrete/Drywall: Use plastic anchors with screws. For heavy strands, toggle bolts add extra support.
Safety Check: Always locate studs with a stud finder before drilling. Never hang lights from drywall alone—they’ll sag over time.
Creative Surfaces: Fabric, Plants, and Furniture
For non-traditional installations:
- Curtains: Attach lights to curtain rings with zip ties. Let them drape between panels.
- Plants: Weave lights through branches (avoid overheating—use LED).
- Shelves: Run lights along the front edge. Use adhesive clips to secure.
- Headboards: Staple lights to wooden headboards (use a staple gun with 1/4″ staples).
Pro Tip: For fabric draping, use clear fishing line to create “floating” lights. Attach the line to hooks, then hang lights from it.
Troubleshooting Common Issues
- Sagging Lights: Add extra hooks or use tension rods (for ceiling canopies).
- Visible Cords: Paint cords to match walls or tuck behind baseboards.
- Uneven Glow: Adjust bulb spacing or add a second strand.
- Overheating: Never cover lights with flammable materials (e.g., paper, thin fabric).
Styling Tips and Seasonal Adaptations
Color and Themes: Matching Your Decor
String lights aren’t just for holidays! Adapt them to your style:
- Minimalist: Warm white LEDs with clean, straight lines.
- Bohemian: Multicolor fairy lights woven through plants.
- Industrial: Edison bulbs along exposed pipes or beams.
- Romantic: Pink or red LEDs in heart patterns.
Example: For a boho bedroom, hang macramé wall hangings, then weave fairy lights through the knots. The light filters through the fabric, creating a soft, textured glow.
Seasonal Transitions
Transform your lights for holidays or seasons:
- Spring: Add pastel clips (e.g., Easter egg-shaped).
- Summer: Hang lights outdoors (use weatherproof strands) or pair with seashells.
- Fall: Drape lights over faux leaves or pumpkins.
- Winter: Use warm white lights with pinecones or faux snowflakes.
For Christmas, create a “light tree” by hanging strings in a cone shape from ceiling to floor. Add ornaments between strands for extra sparkle.
Smart Styling Hacks
- Layer with Other Lights: Combine string lights with floor lamps or candles for a multidimensional glow.
- Use Reflective Surfaces: Place lights near mirrors or metallic decor to amplify brightness.
- Change Bulb Shapes: Swap standard bulbs for globe, star, or heart shapes (if compatible).
- DIY Backdrops: Hang lights behind sheer fabric to create a glowing photo backdrop.
| Installation Method | Best For | Damage Level | Time Required |
|---|---|---|---|
| Adhesive Hooks | Renters, temporary setups | Low (removable) | 30–60 minutes |
| Nails/Screws | Permanent installations | Medium (small holes) | 45–90 minutes |
| Zip Ties | Railings, shelves, plants | Low (removable) | 20–40 minutes |
| Staples | Wooden headboards, beams | Medium (tiny holes) | 30–60 minutes |
| Fishing Line | Floating effects | Low (removable) | 60–120 minutes |
Maintaining Your Lights: Safety, Storage, and Longevity
Routine Care and Safety Checks
Keep your lights shining bright with these habits:
- Inspect bulbs monthly for burnouts or loose connections.
- Wipe bulbs with a dry cloth (avoid water on electrical components).
- Check cords for fraying or overheating (replace immediately if damaged).
- Use surge protectors to prevent power spikes.
Never: Cover lights with flammable materials, leave them on overnight unattended, or use damaged strands.
Seasonal Removal and Storage
- Turn off and unplug lights.
- Remove hooks carefully (for adhesive, use dental floss to slide under).
- Detangle strands by hand (no machines!).
- Store in original packaging or a labeled bin. Wrap strands around cardboard to prevent knots.
- Keep in a cool, dry place (avoid attics or garages with temperature swings).
Maximizing Lifespan
- LEDs last 25,000–50,000 hours (vs. 1,000 for incandescent). Choose LEDs for longevity.
- Use timers to limit daily runtime (e.g., 6 hours).
- For battery lights, remove batteries when not in use to prevent corrosion.
- Replace individual bulbs (if possible) instead of entire strands.
With thoughtful planning and careful installation, your indoor string lights can become a permanent fixture in your home’s ambiance. Whether you’re creating a romantic hideaway, a productive workspace, or a festive party zone, the right lights—hung the right way—transform ordinary spaces into extraordinary experiences. Now that you know how to hang indoor string lights with confidence, it’s time to turn off the overhead lights, dim the switch, and let your new glow shine. After all, the best decor isn’t just seen—it’s felt.
Frequently Asked Questions
How do I hang indoor string lights without damaging my walls?
Use removable adhesive hooks, command strips, or tension rods to hang indoor string lights without nails or screws. These options provide strong support while leaving minimal to no residue on walls.
What’s the best way to hang string lights for a cozy ambiance?
Drape the lights along headboards, windows, or shelves in gentle swags or zigzag patterns to create a warm, inviting glow. For optimal effect, pair warm-white bulbs with dimmable fixtures.
Can I hang indoor string lights on curtains or drapes?
Yes, you can attach lights to curtains using small clips or hooks that clip directly onto the fabric or rod. Ensure the curtain material is sturdy enough to support the weight without stretching.
How do I hide the cords when hanging indoor string lights?
Route cords behind furniture, along baseboards, or use cord covers to keep them discreet. For a seamless look, match the cord color to your wall or trim.
Are there specific tools needed to hang indoor string lights?
Most setups require only adhesive hooks, nails, or clips—no special tools. For high ceilings or tricky angles, a step ladder and measuring tape help ensure even placement.
How many string lights do I need for a room?
Measure the area you want to cover (e.g., perimeter of a window or bed frame) and add 10–15% extra for swags or overlaps. For ambient lighting, one strand per 4–6 feet of space works well.