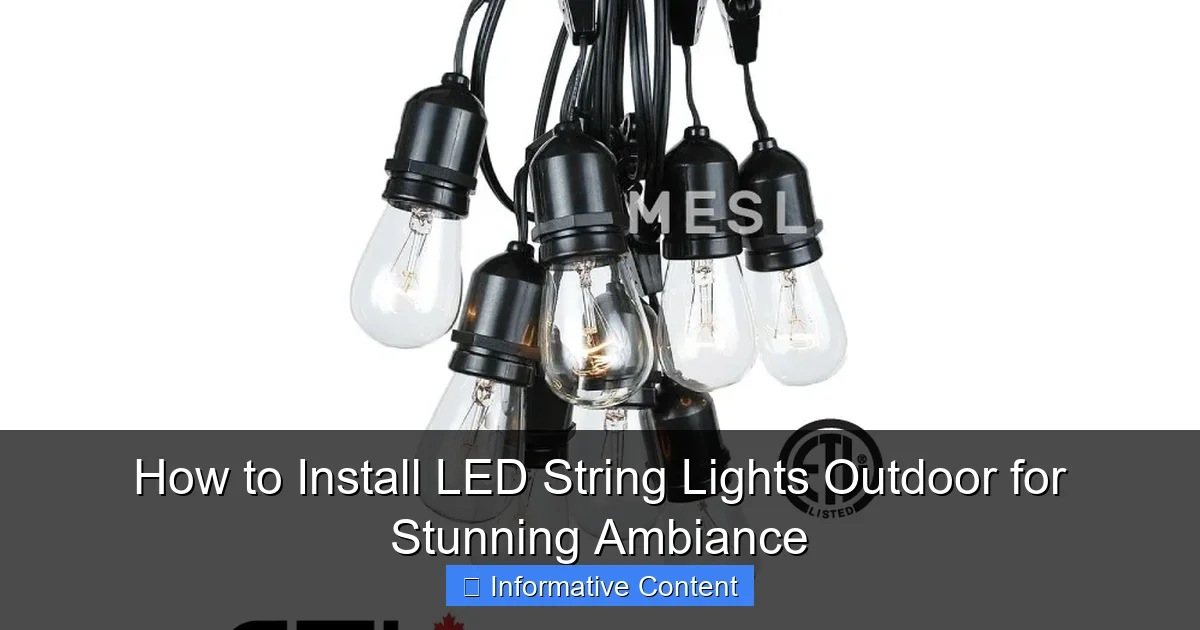
Featured image for how to install led string lights outdoor
Image source: modernelectricaltt.com
Transform your outdoor space instantly by securely mounting LED string lights along sturdy structures like eaves, fences, or trees using weather-resistant clips or hooks—never nails or staples. Ensure a seamless setup by measuring the area, using outdoor-rated extension cords, and connecting lights to a GFCI outlet for safety and reliability. With simple tools and smart spacing, you’ll create a stunning, energy-efficient ambiance perfect for entertaining or relaxing under the stars.
Key Takeaways
- Plan your layout first: Measure space and sketch light placement for balanced coverage.
- Choose weatherproof lights: Ensure IP65+ rating for durability in all conditions.
- Use secure mounting hardware: Install hooks or clips every 12-18 inches for stability.
- Test lights before installing: Verify functionality to avoid mid-project surprises.
- Hide cords creatively: Use clips or conduits to keep wires tidy and safe.
- Layer with other lights: Combine string lights with spotlights for depth and drama.
📑 Table of Contents
- How to Install LED String Lights Outdoor for Stunning Ambiance
- Choosing the Right LED String Lights for Your Outdoor Space
- Planning Your Layout for Maximum Impact
- Tools, Hardware, and Safety Precautions
- Step-by-Step Installation Process
- Maintenance and Long-Term Care
- Data Table: Comparing Outdoor LED String Light Options
- Conclusion
How to Install LED String Lights Outdoor for Stunning Ambiance
There’s something magical about stepping into an outdoor space bathed in the warm, soft glow of LED string lights. Whether it’s a cozy patio, a sprawling backyard, or a simple balcony, the right lighting can transform an ordinary night into something unforgettable. I remember the first time I strung up lights in my backyard—I was skeptical at first, thinking it might look tacky or take too much effort. But once I flipped the switch? Pure magic. My space felt inviting, intimate, and full of character. Now, I can’t imagine entertaining without them.
If you’ve been dreaming of creating that same ambiance, you’re in the right place. Installing LED string lights outdoors isn’t just about aesthetics—it’s about crafting an experience. But before you start draping lights over every tree and fence post, there are practical considerations: safety, durability, layout, and installation techniques. Done right, your outdoor lighting will last for years, survive the elements, and make your space the envy of the neighborhood. In this guide, I’ll walk you through every step, from planning to powering up, so you can achieve stunning results with confidence.
Choosing the Right LED String Lights for Your Outdoor Space
Not all LED string lights are created equal. Before you buy, it’s crucial to pick the right type for your outdoor environment. The wrong choice can lead to flickering, short circuits, or even safety hazards. Let’s break down what to look for.
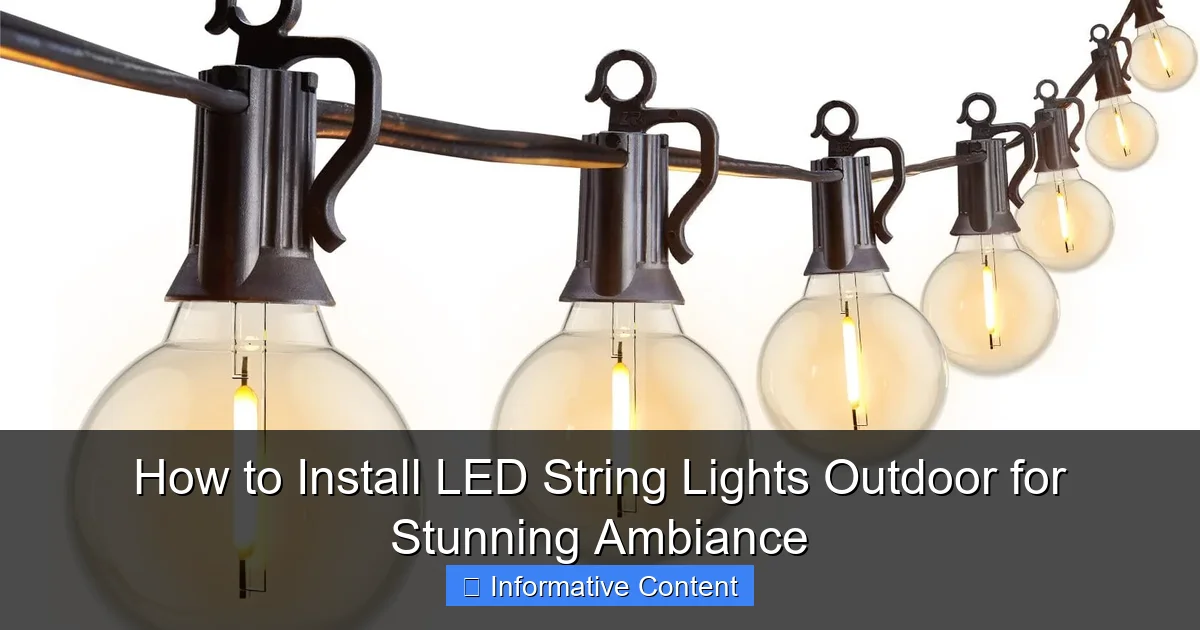
Visual guide about how to install led string lights outdoor
Image source: m.media-amazon.com
Weather Resistance and IP Ratings
Outdoor lights need to withstand rain, wind, humidity, and temperature swings. Look for an IP (Ingress Protection) rating of at least IP44, which means the lights are protected against splashing water. For areas with heavy rain or snow, aim for IP65 or higher—this rating ensures protection against water jets and dust. I once bought cheap lights with no IP rating, and after one rainy night, half the bulbs stopped working. Lesson learned.
Also, check if the lights are rated for outdoor use by the manufacturer. Indoor-only lights might look similar, but their insulation and casing aren’t designed for outdoor conditions.
Light Color and Brightness
LED string lights come in a range of colors and brightness levels. For a warm, inviting ambiance, warm white (2700K–3000K) is ideal—it mimics candlelight and complements most outdoor settings. Cool white (4000K–5000K) feels more modern and bright, great for task areas like grilling zones or patios with dining tables.
Brightness is measured in lumens. For ambient lighting, 100–300 lumens per string is usually sufficient. If you’re lighting a large area, you might need multiple strings. I prefer dimmable lights so I can adjust the mood—brighter for parties, softer for quiet evenings.
Length, Spacing, and Connectability
Measure your space before buying. Measure the perimeter of your patio, the length of a fence, or the distance between trees. Add 10–15% extra for draping or wrapping. Most LED string lights come in 25–50 foot lengths. If you need more coverage, look for end-to-end connectable lights. These allow you to plug multiple strings together—just check the maximum number the manufacturer recommends (often 3–5 strings).
Also, consider bulb spacing. Tighter spacing (4–6 inches) creates a denser, more luxurious look. Wider spacing (12+ inches) is better for outlining shapes or saving on cost.
Power Source and Energy Efficiency
Most outdoor LED string lights use a plug-in transformer (low-voltage) or plug into a standard outlet (120V). Plug-in lights are safer and easier to install, but you’ll need an outdoor-rated power source nearby. Battery-powered options are portable and great for temporary setups, but they require frequent charging or battery changes.
LEDs are energy-efficient, using up to 80% less power than incandescent bulbs. Look for Energy Star certification if you’re concerned about energy use. A typical 50-foot string uses about 20–30 watts—equivalent to a few LED bulbs indoors.
Planning Your Layout for Maximum Impact
Great lighting starts with a great plan. Before you hammer a single hook, sketch out your space and decide where the lights will go. This step saves time, prevents mistakes, and ensures a balanced, professional look.
Define Your Purpose and Zones
Ask yourself: What do you want the lights to do? Are you creating a dining area, a conversation nook, or a focal point around a fire pit? Divide your space into zones. For example:
- Dining zone: String lights overhead for a canopy effect.
- Pathway: Line the edges with low-hanging lights or ground stakes.
- Tree or shrub: Wrap lights around trunks or branches for a fairy-tale glow.
- Fence or pergola: Outline the perimeter for definition.
I once skipped this step and ended up with lights clustered in one corner and bare walls elsewhere. It looked unbalanced. Planning helps avoid that.
Sketch a Lighting Map
Grab paper and draw a top-down view of your space. Mark where you’ll place lights, power sources, and mounting points. Include measurements. For overhead lights, plan the height—10–12 feet is ideal for most patios. Too low, and people might bump into them; too high, and the light feels distant.
Use different colors or symbols to represent different light types (e.g., string lights, spotlights, lanterns). This helps you visualize the final result.
Consider Shadows and Reflections
Light doesn’t just illuminate—it creates shadows and reflections. Position lights to avoid harsh shadows (e.g., behind trees or furniture). Use reflective surfaces like white walls or mirrors to bounce light and brighten the space. For example, hanging lights slightly off-center near a white fence will create a soft, diffused glow.
Also, think about light pollution. Avoid pointing lights upward where they’ll shine into neighbors’ windows or the night sky. Downward or sideways placement is more considerate and effective.
Test Before You Install
Once you’ve planned, do a dry run. Unroll the lights and lay them out temporarily using tape, clips, or stakes. Turn them on at night and walk around. Ask: Does the coverage feel even? Are there dark spots? Is the brightness right?
I did this before installing lights on my pergola, and I realized I needed an extra string to cover a corner. It’s much easier to adjust before you’ve mounted anything.
Tools, Hardware, and Safety Precautions
Now that you’ve planned your layout, let’s gather the right tools and hardware. Using the wrong mounting method can damage your property or create safety hazards.
Essential Tools and Materials
Here’s what you’ll likely need:
- Measuring tape (for precise placement)
- Pencil or chalk (to mark mounting points)
- Drill and bits (for wood, concrete, or stucco)
- Outdoor-rated mounting hardware (see below)
- Extension cords and power strips (rated for outdoor use)
- Wire clips or zip ties (to secure cords)
- Ladder or step stool (for high installations)
- Gloves and safety glasses (for protection)
Invest in a stud finder if mounting on a wall—this ensures you’re anchoring into solid material, not just drywall.
Choosing the Right Mounting Hardware
The best hardware depends on your surface:
- Wood (fences, decks, pergolas): Use outdoor screw hooks or eye bolts. They’re sturdy and easy to install. I like 1.5-inch zinc-coated hooks—they resist rust.
- Masonry (brick, concrete): Use masonry anchors with screws or adhesive hooks (like 3M Outdoor Mounting Tape). Drill pilot holes first to prevent cracking.
- Stucco: Use plastic anchors or adhesive hooks. Avoid nails—they can damage the surface.
- Trees: Use tree-friendly straps or bungee cords. Never hammer nails into trees—it harms them.
- Metal (gutters, railings): Use magnetic hooks or clamp-on brackets.
For temporary setups, gutter hooks or adhesive clips work well. They’re easy to remove and leave no damage.
Safety First: Electrical and Structural Tips
Safety is non-negotiable. Follow these rules:
- Use outdoor-rated extension cords. Indoor cords can overheat or short-circuit in wet conditions.
- Keep cords off the ground. Run them along walls, railings, or use cord covers. Wet grass and puddles are electrical hazards.
- Don’t overload circuits. A typical outdoor outlet can handle 15–20 amps. If you’re using multiple lights, check the wattage and stay under the limit.
- Use GFCI outlets. These “ground fault circuit interrupter” outlets cut power if they detect a short—essential for outdoor safety.
- Inspect lights before installing. Look for frayed wires, loose bulbs, or damaged sockets. Replace any faulty parts.
I once ignored a frayed cord on a string of lights. It sparked during a rainstorm and tripped my breaker. Not fun. Now I check everything before plugging in.
Step-by-Step Installation Process
Now for the fun part: installing the lights. Follow these steps for a smooth, professional-looking setup.
Step 1: Install Mounting Points
Refer to your lighting map. Start with the farthest point from the power source. Install your hooks, clips, or brackets according to the hardware instructions. Space them 2–3 feet apart for even support. For overhead lights, use two anchor points per string (one at each end).
Pro tip: Pre-drill holes slightly smaller than the screw size to prevent splitting wood.
Step 2: Run the Lights
Start at the power source and work outward. Drape the lights loosely between mounting points. Don’t pull them tight—LED strings need some slack to handle wind and temperature changes. For a draped look, create gentle “S” curves between hooks. For a straight line, pull them taut but not strained.
For trees, wrap lights in a spiral around the trunk, moving upward. Use tree straps to avoid girdling the bark.
Step 3: Secure the Lights
Use zip ties, wire clips, or built-in hooks to secure the lights to your mounting points. Avoid tying knots—they can damage the wire insulation. For a cleaner look, hide clips behind the lights or use clear ones.
If you’re using multiple strings, connect them end-to-end before mounting. Plug the first string into the outlet to test. If it works, proceed with the next.
Step 4: Manage Power Cords
Route extension cords along walls, railings, or under furniture. Use cord clips or zip ties to keep them tidy. For long runs, use a weatherproof cord cover to protect against rain and foot traffic.
If your power source is far away, consider a weatherproof outlet box or a timer outlet to automate the lights.
Step 5: Test and Adjust
Turn on the lights and check for:
- Even brightness (no dark spots)
- Secure mounting (no sagging or loose ends)
- Safe cord placement (no tripping hazards)
Adjust the layout if needed. For example, if a string sags in the middle, add a support hook. If the light feels too bright, dim it (if your lights have a dimmer).
Step 6: Automate and Enhance
For convenience, add a timer or smart plug so the lights turn on at sunset. I use a smart plug that syncs with sunset times—no more forgetting to flip the switch.
For extra ambiance, layer in other light sources: lanterns, candles, or spotlights. Just don’t overdo it—less is often more with outdoor lighting.
Maintenance and Long-Term Care
LED string lights can last 10+ years with proper care. Here’s how to keep them looking great.
Seasonal Care
At the end of each season:
- Inspect for damage. Look for cracked sockets, frayed wires, or water in the bulbs.
- Clean the lights. Wipe bulbs with a damp cloth to remove dust and cobwebs. Avoid harsh cleaners.
- Store properly. If removing lights for winter, coil them loosely and store in a dry, temperature-controlled place. Don’t wrap too tightly—it can damage the wires.
I keep my lights up year-round, but I cover the transformer with a plastic bag during heavy rain.
Troubleshooting Common Issues
Even the best lights can have hiccups:
- Flickering lights: Check connections and bulbs. A loose bulb can cause the whole string to flicker.
- Partial outage: One bad bulb can shut down a section. Replace it or use a bulb tester to find the culprit.
- Transformer hum: Some buzzing is normal, but loud noise might mean a failing transformer. Replace it.
- Water in sockets: Dry thoroughly before using. If it persists, replace the string.
Keep spare bulbs and fuses on hand. Most LED strings have replaceable bulbs.
Upgrading and Expanding
As your space evolves, your lighting might too. Consider:
- Adding more strings for larger coverage.
- Switching to solar-powered lights for off-grid areas.
- Integrating smart controls (e.g., voice control, color-changing options).
I recently added a few color-changing LEDs to my setup for parties. It’s a fun way to change the mood without buying new lights.
Data Table: Comparing Outdoor LED String Light Options
| Type | IP Rating | Length Options | Power Source | Best For | Pros | Cons |
|---|---|---|---|---|---|---|
| Plug-In (Low-Voltage) | IP44–IP65 | 25–50 ft | Transformer (outlet) | Patios, pergolas, fences | Safe, energy-efficient, easy to install | Needs nearby outlet |
| Plug-In (120V) | IP44–IP65 | 25–100 ft | Direct outlet | Large spaces, long runs | Longer strings, brighter | Higher voltage risk |
| Battery-Powered | IP44–IP65 | 10–30 ft | Batteries (rechargeable) | Balconies, temporary setups | Portable, no cords | Frequent battery changes |
| Solar-Powered | IP44–IP65 | 20–50 ft | Solar panel + battery | Off-grid areas, gardens | No electricity needed | Less reliable in shade |
Choosing the right type depends on your space, power access, and usage. For most backyards, plug-in low-voltage lights are the sweet spot.
Conclusion
Installing LED string lights outdoors is one of the most rewarding DIY projects you can do. It’s not just about adding light—it’s about creating a mood, a memory, a place where people want to gather. From choosing weather-resistant lights to planning a thoughtful layout, every step matters. And the best part? You don’t need to be an electrician or a designer to get it right. With a little planning, the right tools, and attention to safety, you can transform your outdoor space into a glowing oasis.
I’ve learned that the little details make the difference: using the right hooks, hiding cords neatly, and testing the layout before committing. And don’t forget to enjoy the process. Stringing lights is like weaving magic into your space—one bulb at a time. So grab your lights, invite a friend, and get started. When you flip that switch for the first time, you’ll see exactly what I mean. Your backyard will never be the same.
Frequently Asked Questions
How do I install LED string lights outdoor without damaging my walls or roof?
Use removable adhesive hooks, gutter clips, or tension rods to secure the lights without nails or screws. These methods provide a secure hold while protecting surfaces and are ideal for renters or delicate materials.
What’s the best way to plan the layout for outdoor LED string lights?
Measure your space first, then sketch a layout highlighting anchor points like trees, fences, or eaves. For a balanced look, space bulbs evenly and ensure the LED string lights outdoor power source is easily accessible.
Can I leave LED string lights outside in all weather conditions?
Yes, but only if they’re rated for wet or damp locations (check the IP rating). Always use weatherproof extension cords and seal connections with electrical tape to prevent moisture damage.
How do I power outdoor LED string lights if there’s no nearby outlet?
Use outdoor-rated extension cords to reach distant outlets or install a weatherproof outlet box. For remote areas, consider solar-powered LED string lights outdoor options for energy-efficient ambiance.
Are there smart LED string lights for outdoor use, and how do I install them?
Yes, many brands offer smart outdoor string lights with app or voice control. Pair them with a Wi-Fi/Bluetooth hub, follow the app instructions, and ensure your router has a strong signal outdoors.
How do I safely connect multiple strands of LED string lights outdoors?
Check the manufacturer’s maximum strand limit to avoid overloading circuits. Use outdoor-rated connectors and keep splices under eaves or in waterproof covers to maintain safety and durability.

