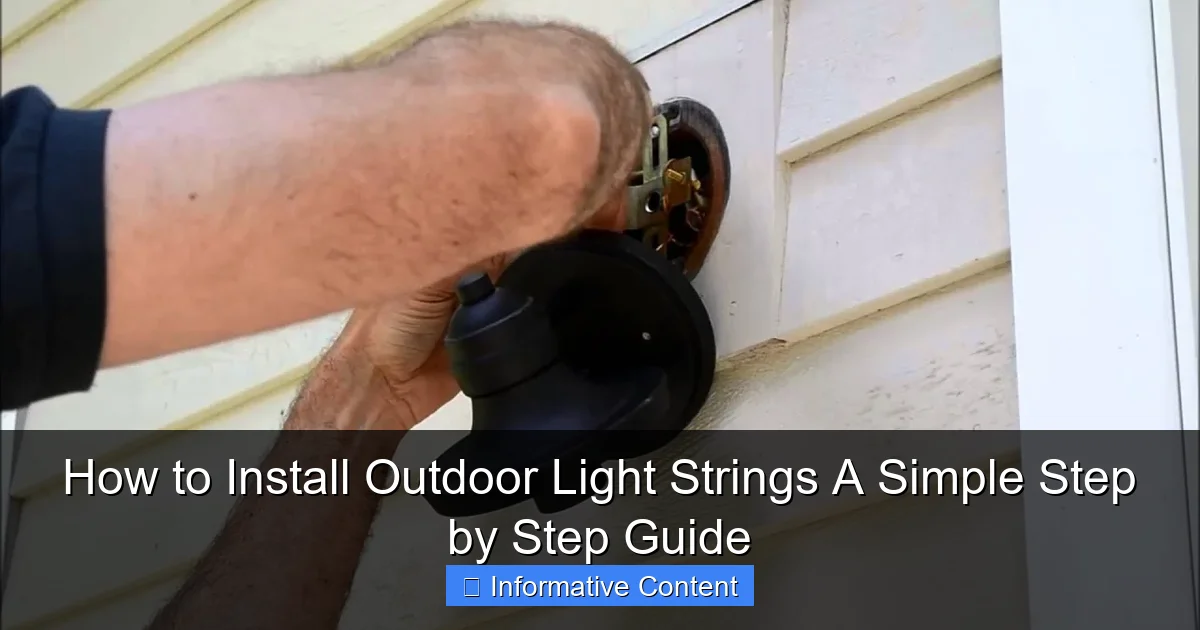
Featured image for how to install outdoor light strings
Image source: i.ytimg.com
Installing outdoor light strings is a simple, rewarding DIY project that instantly enhances your outdoor ambiance. With the right tools—like hooks, clips, or guide wires—and a clear plan for spacing and power access, you can safely and securely hang lights along patios, fences, or trees in under an hour. Always check for outdoor-rated lights and weatherproof connections to ensure long-lasting, brilliant results.
Key Takeaways
- Plan your layout first: Measure space and sketch light placement for even coverage.
- Use outdoor-rated lights: Ensure all components are weatherproof and safe for exterior use.
- Secure with proper hardware: Use hooks, clips, or cable ties to avoid damage.
- Check power sources early: Verify outlet access and use GFCI-protected circuits.
- Test lights before installing: Confirm functionality to avoid mid-installation surprises.
- Space bulbs evenly: Maintain uniform gaps for a balanced, professional look.
📑 Table of Contents
- Why Outdoor Light Strings Are a Game-Changer for Your Space
- Step 1: Choose the Right Type of Outdoor Light Strings
- Step 2: Plan Your Layout and Measure Your Space
- Step 3: Gather Tools and Supplies
- Step 4: Install the Hardware and Hang the Lights
- Step 5: Power Up and Troubleshoot
- Step 6: Maintain and Enjoy Your Outdoor Light Strings
Why Outdoor Light Strings Are a Game-Changer for Your Space
There’s something magical about stepping outside on a warm summer evening and seeing your yard or patio glowing softly with light strings. Whether it’s for a cozy family dinner, a backyard movie night, or just to make your outdoor space feel more inviting, outdoor light strings can transform the atmosphere in seconds. I remember the first time I installed them—my skeptical husband thought it was just “fancy decor,” but after one evening under the twinkling lights, he was sold. Now, our backyard is the go-to spot for neighbors and friends.
But let’s be honest: the idea of installing outdoor light strings can feel a little overwhelming. You might be thinking, Where do I start? What kind of lights do I need? How do I keep them from sagging or getting tangled? Don’t worry—I’ve been there. Over the years, I’ve installed light strings in different spaces: a narrow balcony, a large pergola, even between trees in my yard. Each setup came with its own challenges, but I’ve learned a ton along the way. In this guide, I’ll walk you through a simple, step-by-step process to install your outdoor light strings with confidence. No fancy tools or electrical degree required. Just practical, real-world tips that work.
Step 1: Choose the Right Type of Outdoor Light Strings
Before you start hammering hooks or untangling wires, you need to pick the right kind of light strings for your space. Not all outdoor lights are created equal, and choosing the wrong type can lead to frustration—or worse, lights that don’t last a season.
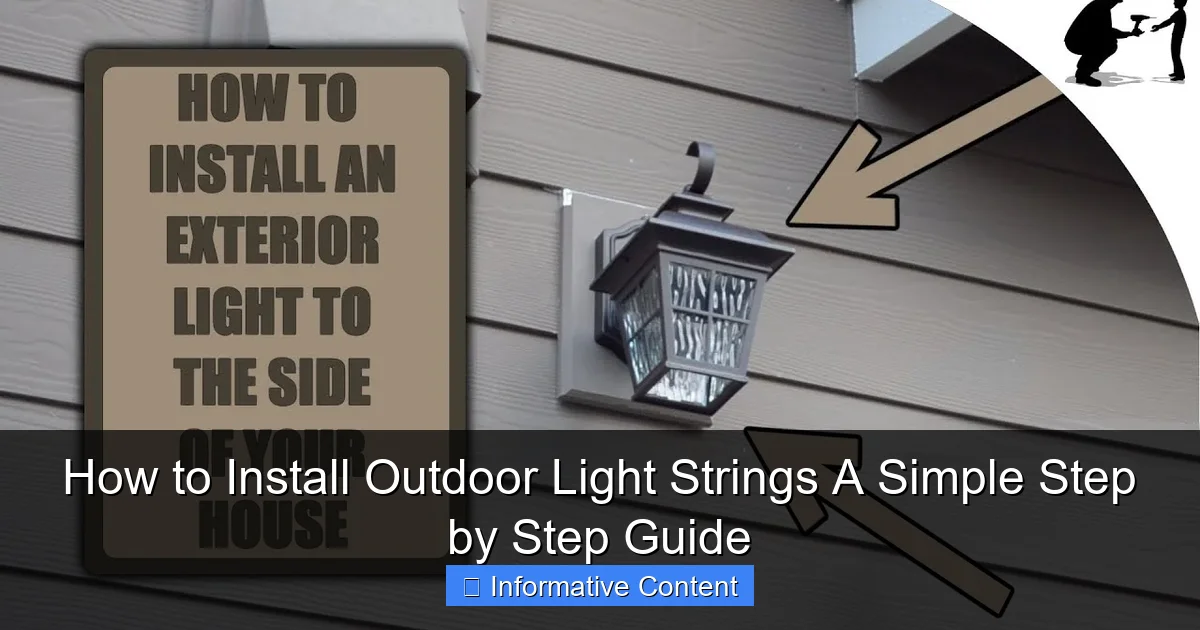
Visual guide about how to install outdoor light strings
Image source: i.ytimg.com
Types of Outdoor Light Strings
- LED String Lights: Energy-efficient, long-lasting, and cool to the touch. They’re perfect for year-round use and come in warm white, cool white, or multicolor options. I’ve had a set of LED lights on my pergola for three years, and they still shine bright.
- Incandescent String Lights: These give off a classic, soft glow but use more energy and don’t last as long. I used these once for a holiday party—beautiful, but they burned out faster than I expected.
- Solar-Powered String Lights: Great for areas without easy access to outlets. They charge during the day and turn on automatically at dusk. Ideal for trees, fences, or garden paths. Just keep in mind they may not be as bright as plug-in options.
- Plug-In String Lights: The most reliable for consistent brightness and color. You’ll need an outdoor-rated extension cord, but they’re worth it for large installations.
Key Features to Look For
- Weather Resistance: Look for lights rated IP44 or higher (protection against rain and dust). This is non-negotiable for outdoor use.
- Bulb Type: Shatterproof bulbs (like plastic or silicone) are safer, especially if kids or pets are around. I learned this the hard way when a glass bulb shattered on my deck.
- Spacing: Standard spacing is 6–12 inches between bulbs. Closer spacing gives a denser look; wider spacing feels more subtle.
- Length: Measure your space first! It’s better to buy a few shorter strands and connect them than to have one giant string that doesn’t fit. Most brands offer 25–50 ft options.
Pro Tip: Test Before You Buy
If you’re unsure about brightness or color, buy one strand first and test it in your space. I once bought a set of “warm white” lights that looked more like hospital lighting in my backyard. A quick test saved me from a costly mistake.
Step 2: Plan Your Layout and Measure Your Space
This is where most people skip ahead and regret it later. Planning your layout isn’t just about aesthetics—it’s about function. A well-planned setup ensures your lights look great, stay secure, and don’t create tripping hazards.
Sketch It Out (Yes, Really)
Grab a piece of paper or use a simple design app (like Canva or even Google Drawings). Sketch your outdoor area and mark where you want the lights: along a fence, across a pergola, between trees, or around a deck railing. This helps you visualize spacing and avoid awkward gaps.
For example, I once wanted to hang lights between two trees 15 feet apart. I didn’t measure and assumed a 25-ft strand would be perfect. It wasn’t. I ended up with too much slack on one side and had to improvise with zip ties. Not a good look.
Measure Twice, Buy Once
- Measure the distance between mounting points (e.g., tree to tree, post to post).
- Add 10–15% extra for slack or decorative draping. You don’t want lights pulled too tight.
- Account for power access. If you’re using plug-in lights, make sure an outlet is within reach. Use a weatherproof outdoor extension cord (rated for outdoor use) if needed.
Choose Your Mounting Method
Your layout will determine how you hang the lights. Common options include:
- Hanging from Trees: Use tree-safe hooks or zip ties (avoid nails or staples, which can harm the tree).
- Along Fences or Railings: Use adhesive hooks (for smooth surfaces) or fence clips (for wood or metal).
- Across a Pergola or Gazebo: Use eye hooks or ceiling hooks screwed into beams.
- On a Wall or Eaves: Use outdoor-rated adhesive clips or stainless steel hooks.
Example: My Pergola Setup
My pergola is 12 ft long with beams every 2 ft. I used eye hooks spaced 2 ft apart along the top beams. I connected 3 strands of 25-ft LED lights, staggering them slightly for a fuller look. The result? A soft, even glow that doesn’t blind you when you look up.
Step 3: Gather Tools and Supplies
Now that you’ve planned your layout, it’s time to gather everything you’ll need. Trust me—nothing is more frustrating than starting a project and realizing you’re missing a key tool halfway through.
Essential Tools and Materials
- Outdoor light strings (measured and tested)
- Mounting hardware: Hooks, clips, zip ties (choose based on your mounting method)
- Outdoor extension cord(s) (if using plug-in lights)
- Power timer or smart plug (optional but highly recommended—saves energy and hassle)
- Ladder or step stool (for high installations)
- Measuring tape
- Drill (if using screws) or hammer (if using nails)
- Scissors or wire cutters (for trimming zip ties or adjusting cords)
- Gloves (to protect your hands)
Smart Upgrades (Worth the Investment)
- Smart Plug: I use a Wi-Fi smart plug that I control from my phone. I can turn the lights on at sunset and off at 10 PM—no more running outside in the rain.
- Light Timer: A simple mechanical timer is cheaper and works just as well. Set it once, and your lights turn on and off automatically.
- Weatherproof Outlet Box: If your outdoor outlet isn’t covered, invest in a weatherproof cover to protect connections from rain.
Pro Tip: Organize Your Supplies
Before you start, lay out all your tools and hardware. I once spent 20 minutes searching for a missing hook because I dumped everything in a bag. Now, I use a small toolbox—game-changer.
Step 4: Install the Hardware and Hang the Lights
This is the fun part—where your vision starts to come to life. But don’t rush it. Take your time to ensure the hardware is secure and the lights hang evenly.
Install Mounting Hardware
- For Hooks: Use a drill to make pilot holes (especially in wood), then screw in hooks. For metal surfaces, use self-tapping screws or adhesive hooks.
- For Adhesive Clips: Clean the surface with rubbing alcohol first. Press firmly and let it set for 24 hours before hanging lights.
- For Trees: Wrap a soft rope or zip tie around the trunk, then attach a hook or clip. Avoid anything that cuts into the bark.
Tip: Spacing matters. For a balanced look, space hooks 12–24 inches apart, depending on your light strand’s bulb density.
Hang the Lights
- Start at the Power Source: If using plug-in lights, begin at the end closest to the outlet. This reduces cord clutter.
- Secure the First End: Hook the light strand’s end loop onto the first mounting point.
- Work Your Way Along: Gently drape the lights between hooks, avoiding sharp bends or kinks.
- Use Zip Ties for Support: If lights sag, add zip ties every 3–5 feet to support the cord.
- Connect Strands (if needed): Most light strings are end-to-end connectable. Just plug one into the next. Avoid connecting more than 3–5 strands to prevent overloading.
Common Mistakes to Avoid
- Over-tightening: Lights should have a gentle drape, not be pulled taut. Tight lights are more likely to break in wind.
- Ignoring Cord Management: Use clips or hooks to keep excess cord off the ground. Tripping over a cord is a real hazard.
- Skipping the Test: Plug in the lights before you finish. If a strand doesn’t work, troubleshoot it now—not after everything is up.
Example: My Fence Installation
I installed lights along a 20-ft wooden fence using adhesive clips. I spaced them 18 inches apart and used a 25-ft strand with 12-inch bulb spacing. The result? A soft, even glow that made my backyard feel like a cozy retreat. The key was leaving a slight sag between clips—no harsh lines.
Step 5: Power Up and Troubleshoot
You’ve done the hard work. Now it’s time to plug in and see your handiwork in action. But don’t celebrate just yet—this step is where you catch any issues before they become problems.
Connect the Power
- Use a Grounded Outlet: Always plug into a GFCI (ground fault circuit interrupter) outlet for safety.
- Use a Weatherproof Cover: If your outlet is exposed, cover it with a flip-top cover to keep connections dry.
- Set Your Timer: If using a timer or smart plug, program it now. I like my lights to turn on at sunset and off at 10 PM.
Test the Lights
Turn on the power and walk around your space. Look for:
- Brightness: Are the lights evenly lit? Dim spots could mean a loose connection or a bad bulb.
- Color Consistency: All bulbs should match. If some look different, they might be from different batches.
- Flickering: This could indicate a loose bulb or a failing strand. Check connections and replace bulbs if needed.
Troubleshooting Common Issues
- One Strand Doesn’t Work: Check the fuse (usually in the plug). Replace it if blown. Also, inspect for loose bulbs.
- Intermittent Power: Wiggle the connections. If lights flicker, tighten the plugs or check for damaged cords.
- Sagging Lights: Add more support clips or use a tension wire system (see table below).
Data Table: Tension Wire vs. Free-Standing Hooks
| Method | Best For | Pros | Cons |
|---|---|---|---|
| Tension Wire | Long runs (e.g., between trees, across a yard) | No sagging, clean look, supports multiple strands | More hardware, harder to install |
| Free-Standing Hooks | Short runs, pergolas, railings | Easy to install, removable, low cost | Can sag over time, less secure |
My Pick: For my 15-ft tree-to-tree setup, I used a tension wire. It took an extra hour to install, but the lights have stayed perfectly taut for two years.
Step 6: Maintain and Enjoy Your Outdoor Light Strings
Installing your lights is just the beginning. To keep them looking great and lasting for years, a little maintenance goes a long way.
Seasonal Care
- Winter: If you live in a cold climate, consider removing lights and storing them indoors. Ice and snow can damage cords and bulbs. I leave mine up but use a weatherproof cover over the plug.
- Spring: Before turning them on, inspect for damage. Look for frayed cords, broken bulbs, or loose connections.
- Summer: Wipe down bulbs with a damp cloth to remove dust and pollen. This keeps them bright and prevents overheating.
Long-Term Tips
- Label Your Strands: Use a permanent marker to note which strand is which. This makes troubleshooting easier.
- Store Properly: When removing lights, coil them around a cardboard template or use a reel. Avoid tangles!
- Replace Bulbs Promptly: A single dead bulb can cause a whole section to dim. Keep spare bulbs on hand.
- Upgrade When Needed: If a strand keeps failing, replace it. Older lights are more prone to issues.
Make It a Ritual
I love turning on my lights at sunset. It’s become a daily ritual that signals the end of the workday. Whether I’m reading a book, grilling dinner, or just watching the fireflies, the lights make my outdoor space feel like home.
And don’t forget—your outdoor light strings aren’t just for you. They’re for your guests, your neighbors, and the memories you’ll create. A simple string of lights can turn an ordinary evening into something special.
So go ahead—take the leap. With this guide, you’ve got everything you need to install your lights safely, beautifully, and with confidence. Your backyard is waiting.
Frequently Asked Questions
How do I install outdoor light strings safely?
To install outdoor light strings safely, always use lights rated for outdoor use and inspect cords for damage before setup. Avoid overloading circuits and keep connections dry using weatherproof covers or electrical tape.
What’s the best way to hang outdoor light strings without damaging my home?
Use removable hooks, adhesive clips, or gutter hangers designed for outdoor lighting to avoid nails or screws. These methods securely hold outdoor light strings while protecting siding, shingles, or paint.
Can I connect multiple outdoor light strings together?
Yes, but check the manufacturer’s guidelines for the maximum number of connected strands. Exceeding the recommended limit can overload the circuit and create a fire hazard.
How do I power outdoor light strings without an exterior outlet?
Use a heavy-duty outdoor extension cord rated for your lights’ wattage to connect to an indoor outlet. Ensure the cord is safely routed (e.g., through a window or door) and protected from moisture.
What tools do I need to install outdoor light strings?
Basic tools include a ladder, measuring tape, outdoor-rated clips or hooks, zip ties, and a timer (optional). For longer runs, a staple gun with insulated staples may help secure cords.
How do I prevent outdoor light strings from sagging?
Space mounting points evenly (every 12–18 inches) and use tension wire or guide cables for longer spans. Avoid pulling lights too tight, as this can damage sockets or wiring.

