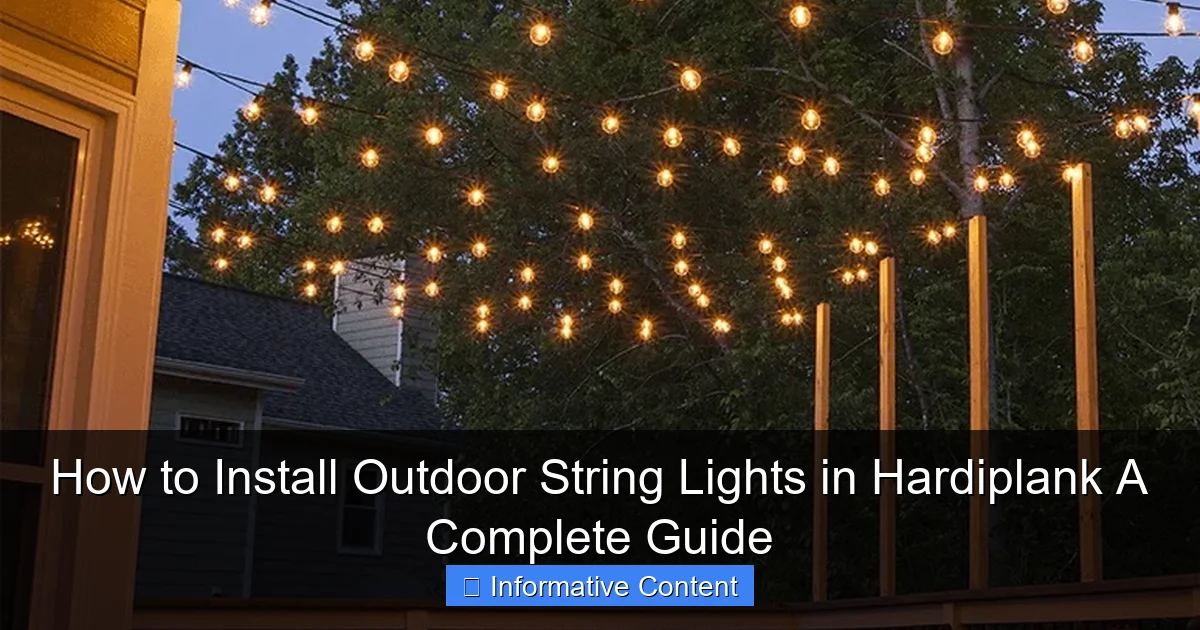
Featured image for how to install outdoor string lights in hardiplank
Image source: kanglight.com
Installing outdoor string lights on Hardiplank requires pilot holes and corrosion-resistant hardware to protect the fiber cement siding. Use a masonry bit to drill precise holes, then secure stainless steel eye hooks or snap-in anchors for a weatherproof, long-lasting hold. Always seal around fixtures with exterior-grade caulk to prevent moisture damage and ensure a clean, professional finish.
Key Takeaways
- Choose durable fixtures: Use weatherproof string lights rated for outdoor use.
- Plan layout first: Map light spacing and power source location before installing.
- Secure with proper clips: Use Hardiplank-compatible clips to avoid damaging siding.
- Drill safely: Pre-drill holes to prevent cracking and ensure secure mounting.
- Seal all gaps: Apply silicone caulk around fixtures to block moisture.
- Test before finalizing: Check connections and brightness prior to full installation.
📑 Table of Contents
- Why Outdoor String Lights Are a Game-Changer for Hardiplank Homes
- Understanding Hardiplank: What Makes It Different?
- Planning Your String Light Layout: Design and Safety First
- Tools and Materials You’ll Need (Plus Pro Tips)
- Step-by-Step Installation: From Drilling to Dazzling
- Maintenance and Troubleshooting: Keeping Your Lights Shining
- Final Thoughts: Light Up Your Hardiplank Home with Confidence
Why Outdoor String Lights Are a Game-Changer for Hardiplank Homes
There’s something magical about stepping into your backyard at dusk and being greeted by the soft glow of string lights. They transform ordinary evenings into cozy, inviting experiences. But if your home has Hardiplank siding, you might be wondering: Can I even install outdoor string lights without damaging this material? The answer is a resounding yes—and it’s easier than you think. I learned this firsthand last summer when I wanted to add ambiance to my patio without drilling holes into my brand-new Hardiplank exterior. After a few trial-and-error moments, I discovered the perfect balance of safety, durability, and style.
Outdoor string lights aren’t just about aesthetics; they boost your home’s curb appeal, extend usable outdoor space, and create a welcoming vibe for guests. But Hardiplank—a fiber cement siding known for its durability and resistance to weather, rot, and pests—requires a slightly different approach than wood or stucco. The key is choosing the right hardware, understanding the material’s unique needs, and planning your layout carefully. Whether you’re a DIY newbie or a seasoned home improver, this guide will walk you through every step of installing outdoor string lights in Hardiplank with confidence. Let’s light up your space—the smart, damage-free way.
Understanding Hardiplank: What Makes It Different?
Material Composition and Why It Matters
Before you grab a drill or a hammer, it’s important to understand what Hardiplank is made of. Unlike wood siding, which is soft and easy to penetrate, Hardiplank is a fiber cement composite. It’s a blend of wood pulp, Portland cement, sand, and water, compressed under high pressure. This makes it incredibly durable—resistant to moisture, fire, termites, and warping—but also more brittle than traditional wood. That brittleness means improper drilling or over-tightening can cause cracks or chips, which could lead to water damage over time.
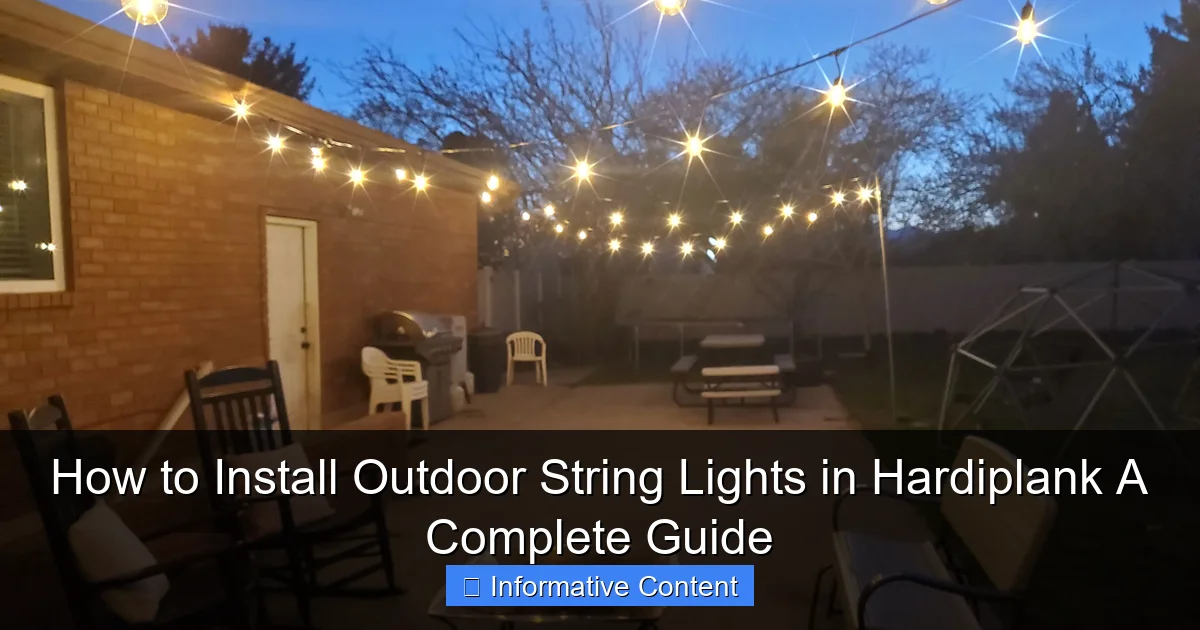
Visual guide about how to install outdoor string lights in hardiplank
Image source: mysillysquirts.com
Think of it like a ceramic tile: strong, but not flexible. If you hit it too hard or use the wrong tool, it’s more likely to crack than flex. That’s why using the right fasteners and techniques is crucial. For example, a regular wood screw might strip or snap in Hardiplank, while a masonry bit could shatter the surface if you’re not careful. Knowing these nuances helps you avoid costly repairs and ensures your lights stay secure for years.
Common Challenges and How to Avoid Them
- Cracking during installation: This happens when you use too much force or the wrong drill bit. Solution: Use a carbide-tipped masonry bit and drill slowly at low speed.
- Water infiltration: Improper sealing around screw holes can allow moisture to seep behind the siding. Solution: Always seal holes with exterior-grade silicone caulk after installing hardware.
- Uneven tension: String lights sag or pull on the siding if not spaced correctly. Solution: Plan anchor points every 2–3 feet and use tensioners.
- Paint damage: Over-tightening screws can chip the factory finish. Solution: Use rubber or plastic washers to cushion the connection.
One mistake I made early on was assuming all siding is the same. I tried using standard wood screws and ended up with a small crack near a mounting point. A quick fix with exterior caulk saved it, but it taught me to respect the material. Now, I always test a hidden area first and use the right tools. Hardiplank isn’t fragile, but it does demand respect—and the right approach.
Planning Your String Light Layout: Design and Safety First
Mapping the Perfect Light Path
Before you buy a single light bulb, sketch out your layout. Start by measuring the area where you want lights—patio, porch, pergola, or along the eaves. Use painter’s tape to mark where each light strand will hang. This lets you visualize spacing and avoid over- or under-lighting. For example, if you’re lighting a 12-foot patio, you might need two 25-foot strands with a few feet of overlap, or a single strand with a dimmer switch to control brightness.
Here’s a practical tip: Plan for 20–30% more length than your straight-line measurement. Why? Because lights rarely run in perfect straight lines. You’ll need extra length for curves, corners, and slight dips. I once bought a 25-foot strand for a 20-foot space and ended up with a tight, strained line that looked awkward. Now I always round up and use zip ties to manage slack neatly.
Choosing the Right Lights and Power Source
- LED vs. Incandescent: LED lights are more energy-efficient, last longer, and stay cooler. They’re ideal for Hardiplank since they reduce fire risk and heat damage.
- Wattage and Voltage: Most outdoor string lights are 120V, but check if your home’s outlet can handle the load. For longer runs, consider low-voltage (12V) systems with a transformer—safer and easier on your electric bill.
- Weatherproofing: Look for IP44 or higher ratings. These lights are sealed against rain, dust, and snow. Cheap plastic bulbs might fail after one rainy season.
- Smart Options: Wi-Fi-enabled lights let you control brightness, color, and timers from your phone. Great for parties or mood lighting.
Power is another big consideration. Hardiplank homes often have outlets on porches or under eaves. If not, you can run an outdoor-rated extension cord (GFCI-protected) from a garage or basement. Just make sure it’s rated for continuous outdoor use and buried in a conduit if it crosses a walkway. I once used a regular indoor cord and had to replace it after one storm—lesson learned!
Safety Checks: Permits, Codes, and Child/Pet Safety
While string lights are generally low-risk, it’s smart to follow local electrical codes. Some areas require permits for permanent outdoor lighting. Also, keep lights out of reach of kids and pets—especially if they’re curious or chew on things. Use hooks or clips that are at least 7 feet high. And never daisy-chain more than three strands unless the manufacturer says it’s safe. Overloading can cause overheating or fire.
One neighbor of mine installed a 10-strand setup and blew a fuse during a party. Turns out, he’d exceeded the outlet’s capacity. Now he uses a timer and only runs 4 strands at once. A simple fix, but it could’ve been avoided with a little planning.
Tools and Materials You’ll Need (Plus Pro Tips)
Essential Tools for a Damage-Free Install
Here’s what I keep in my “Hardiplank lighting kit”:
- Carbide-tipped masonry bit (1/8” or 3/16”): For drilling pilot holes. Avoid regular wood bits—they’ll dull or crack the siding.
- Cordless drill with variable speed: Low speed (300–500 RPM) prevents overheating and cracking.
- Exterior-grade silicone caulk: Seals holes and prevents water damage. I like clear or white, depending on your siding color.
- Plastic or rubber washers: Cushions screws so they don’t chip the paint. Dollar-store washers work in a pinch!
- Measuring tape and level: Ensures even spacing and straight lines. A laser level is even better.
- Stud finder (optional): Helps locate framing behind the siding for stronger anchor points.
Recommended Hardware: What Works Best with Hardiplank
| Hardware Type | Best For | Pros | Cons |
|---|---|---|---|
| Self-tapping fiber cement screws | Direct mounting to siding | No pre-drilling needed; strong hold | Can chip paint if over-tightened |
| Toggle bolts or snap toggles | Heavy loads (e.g., chandeliers) | Holds up to 50 lbs; great for corners | Requires larger pilot hole; harder to install |
| Adhesive hooks (3M Outdoor Mounting Tape) | Temporary or light-duty use | No drilling; removable without damage | Not for heavy strands; can fail in extreme heat |
| Eye hooks with rubber washers | Classic look; easy to adjust | Reusable; works with tensioners | Requires sealing; not ideal for high-wind areas |
Pro tip: For a clean look, I use white or black plastic hooks that blend with the siding. They’re cheap, easy to replace, and don’t rust. I also keep a few extra hooks on hand—I’ve had to replace one after a windstorm once.
Where to Buy and Budgeting Tips
You don’t need to break the bank. I buy lights at Costco or Home Depot during off-season sales (late winter). For hardware, local hardware stores often have better quality than big-box stores. Total cost for a 25-foot patio setup: $80–$150 (lights: $30–$60, hardware: $20, tools: reusable).
One money-saving hack: Use existing structures. If you have a pergola, fence, or tree, attach lights there instead of the house. This reduces drilling and looks natural. I ran a strand from my pergola to a nearby maple tree—no siding damage, and it looks like the lights are floating in the air!
Step-by-Step Installation: From Drilling to Dazzling
Step 1: Drill Pilot Holes (The Right Way)
Start by marking your anchor points with a pencil. Use a level to keep lines straight. For each point, drill a pilot hole with your carbide bit. Go slow—about 1/4 inch per second. Apply gentle pressure; let the bit do the work. If you feel resistance, stop and check the bit. A dull bit can overheat and crack the siding.
After drilling, clean the hole with a brush or compressed air. Then, dab a small amount of silicone caulk into the hole. This seals the fiber cement and prevents moisture from seeping in. I learned this the hard way—my first install had a tiny leak that caused a water stain. Now I never skip this step.
Step 2: Install Hardware and Attach Lights
Insert your screw or hook, but don’t tighten all the way yet. Add a rubber washer first to protect the paint. Then, hand-tighten until the hardware is snug. Use a screwdriver for final tightening—never a drill. Over-tightening is the #1 cause of cracks.
Once all hooks are in, drape the lights. Start at the power source and work outward. Use zip ties to secure excess cord to hooks or nearby structures. I like to leave a small loop near the outlet for easy unplugging. For tension, use a turnbuckle or light tensioner every 6–8 feet. This keeps lights from sagging and reduces stress on the siding.
Step 3: Test, Adjust, and Weatherproof
Plug in the lights and check for dim spots or flickers. If a bulb is out, replace it—don’t ignore it. A single dead bulb can strain the circuit. Adjust hooks for even spacing. If a strand sags, add a tensioner or reposition a hook.
Finally, seal all connections. Run a bead of silicone around each screw head and hook base. This creates a waterproof seal. For extra protection, I use clear nail polish on small paint chips—it’s a quick fix until I repaint.
Pro Tip: The “Test Run” Trick
Before finalizing, do a 24-hour “test run.” Turn the lights on at dusk and check for:
- Uneven brightness (indicates a loose bulb or poor connection)
- Sagging strands (add more tensioners)
- Wind noise (tighten hooks or use rubber grommets)
I did this with my first install and caught a loose hook that would’ve failed in a storm. Saved me a repair job!
Maintenance and Troubleshooting: Keeping Your Lights Shining
Seasonal Care for Long-Term Durability
Outdoor lights need TLC. In spring, inspect for:
- Corroded bulbs (replace with waterproof LED)
- Loose hooks (tighten or re-seal)
- Frayed cords (cut and re-terminate, or replace)
In fall, clean the lights with a damp cloth. Remove leaves and debris that trap moisture. For snowy climates, gently brush off snow—don’t pull on the cord. I keep a soft-bristle brush in my garage just for this.
Common Issues and Quick Fixes
- Flickering lights: Usually a loose bulb or bad connection. Tighten bulbs or replace the strand.
- Water in sockets: Dry thoroughly and apply dielectric grease. If corrosion persists, replace the socket.
- Sagging strands: Add a tensioner or reposition hooks. For long runs, use a support cable (e.g., aircraft wire) behind the lights.
- Paint peeling near hooks: Sand lightly, apply primer, and touch up with exterior paint. Seal with caulk afterward.
One winter, I had a strand go dark. Turns out, a squirrel chewed the cord. I replaced it with a squirrel-proof armored cord—problem solved!
Final Thoughts: Light Up Your Hardiplank Home with Confidence
Installing outdoor string lights in Hardiplank isn’t just possible—it’s a rewarding project that enhances your home’s beauty and functionality. By understanding the material, planning your layout, using the right tools, and following a careful process, you can create a stunning, damage-free display. Remember, the key is respect for the material. Take your time, seal everything, and test before you commit.
I’ve lit up three Hardiplank homes now, and every time, the results are worth it. Whether you’re hosting a dinner party or enjoying a quiet night with a book, those lights transform the space. And when guests ask, “How did you do that without ruining the siding?” you’ll have a proud answer. So grab your tools, pick a clear day, and start stringing. Your dream outdoor oasis is just a few hooks away. Happy lighting!
Frequently Asked Questions
How do I install outdoor string lights in Hardiplank without damaging the siding?
Use low-profile plastic or rubber grommets with screws to anchor the lights, ensuring they don’t pierce the Hardiplank’s surface. Avoid drilling directly into the fiber cement—opt for adhesive hooks rated for outdoor use as a non-invasive alternative.
What’s the best way to secure string lights to Hardiplank without drilling?
For a drill-free install, use heavy-duty outdoor adhesive hooks or clips designed for Hardiplank siding. Ensure the adhesive is rated for weather resistance and weight capacity to hold the lights securely.
Can I use nails or screws to hang string lights on Hardiplank?
Yes, but use corrosion-resistant screws (e.g., stainless steel or coated) and pre-drill pilot holes to prevent cracking. Space fasteners every 2-3 feet and avoid over-tightening to protect the fiber cement material.
How do I hide the wires when installing outdoor string lights in Hardiplank?
Route the wires behind existing trim, gutters, or use paintable cord covers to blend with the Hardiplank. For a seamless look, drill small holes near mounting points and thread wires through discreetly.
What type of outdoor string lights work best for Hardiplank installations?
Choose LED string lights with a lightweight, weatherproof design (IP65+ rating) to reduce strain on the Hardiplank. Globe or Edison-style lights are popular for their aesthetic and durability in outdoor conditions.
How do I plan the layout for installing string lights on Hardiplank siding?
Map the light path using painter’s tape to test spacing, ensuring even coverage. Measure distances between anchor points and account for outlet access, aiming for 1-2 feet from edges to avoid siding stress.

