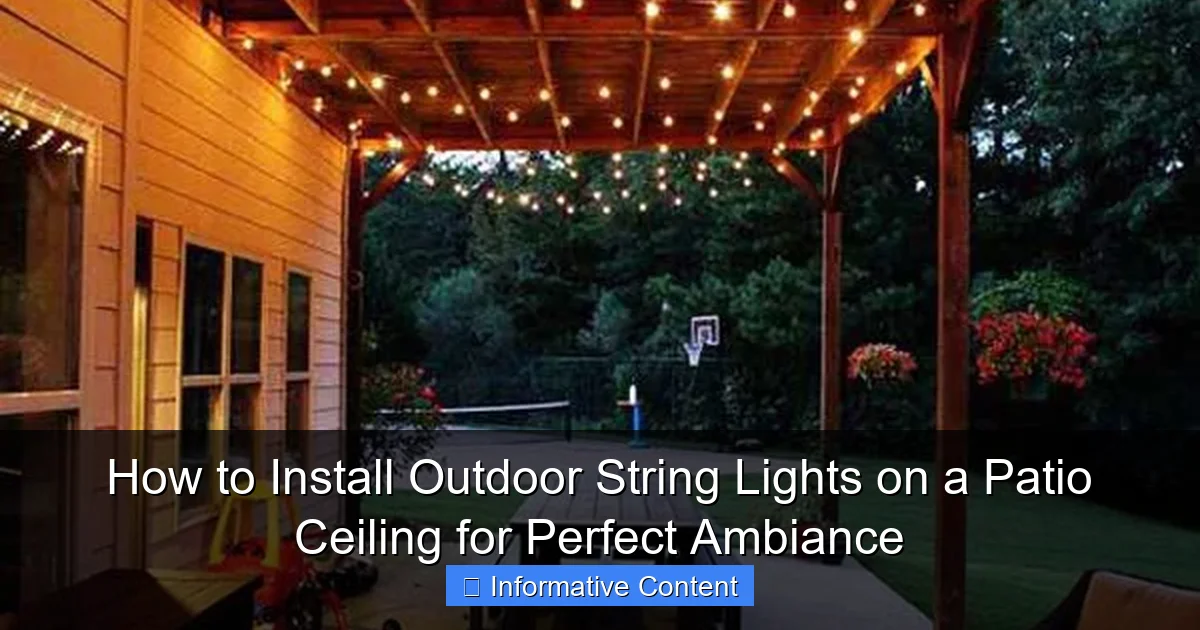
Featured image for how to install outdoor string lights on a patio ceiling
Image source: homemydesign.com
Transform your patio into a cozy retreat by securely mounting outdoor string lights to the ceiling using weather-resistant hardware and a thoughtful layout. Start by measuring the space, spacing anchor points every 2–3 feet, and using hooks or cable ties rated for outdoor use to ensure a safe, sagging-free installation. For seamless ambiance, connect lights to a dimmer or smart plug to easily adjust brightness and set the perfect mood.
Key Takeaways
- Plan your layout: Measure and mark light placement before installing.
- Use weatherproof fixtures: Choose outdoor-rated lights and hardware.
- Secure mounting points: Anchor hooks into studs or solid structures.
- Maintain even spacing: Keep bulbs aligned for balanced illumination.
- Hide cords neatly: Use clips or conduit for a clean look.
- Test before finalizing: Check connections and brightness early.
📑 Table of Contents
Why Patio String Lights Are a Game-Changer
Let me paint a picture: It’s a warm summer evening, the sun has just dipped below the horizon, and your patio is softly illuminated by a canopy of twinkling lights. There’s laughter, maybe a glass of wine, and the gentle hum of conversation. That’s the magic of outdoor string lights—simple, elegant, and transformative. Whether you’re hosting a dinner party or just unwinding after a long day, these lights instantly elevate your space from ordinary to enchanting.
But here’s the thing: installing outdoor string lights on a patio ceiling isn’t just about aesthetics. It’s about creating a safe, functional, and long-lasting ambiance. I’ve seen plenty of DIY attempts that end up with tangled wires, sagging lines, or lights that burn out after one season. The good news? With a little planning and the right approach, you can avoid these pitfalls. In this guide, I’ll walk you through every step—from choosing the right lights to securing them properly—so your patio becomes the cozy, inviting retreat you’ve always dreamed of.
Choosing the Right String Lights for Your Patio
Not all outdoor string lights are created equal. Before you start drilling holes or hanging hooks, take a moment to think about what you want to achieve. Are you going for a rustic vibe with Edison bulbs? Or maybe something sleek and modern with LED fairy lights? Here’s how to make an informed choice.
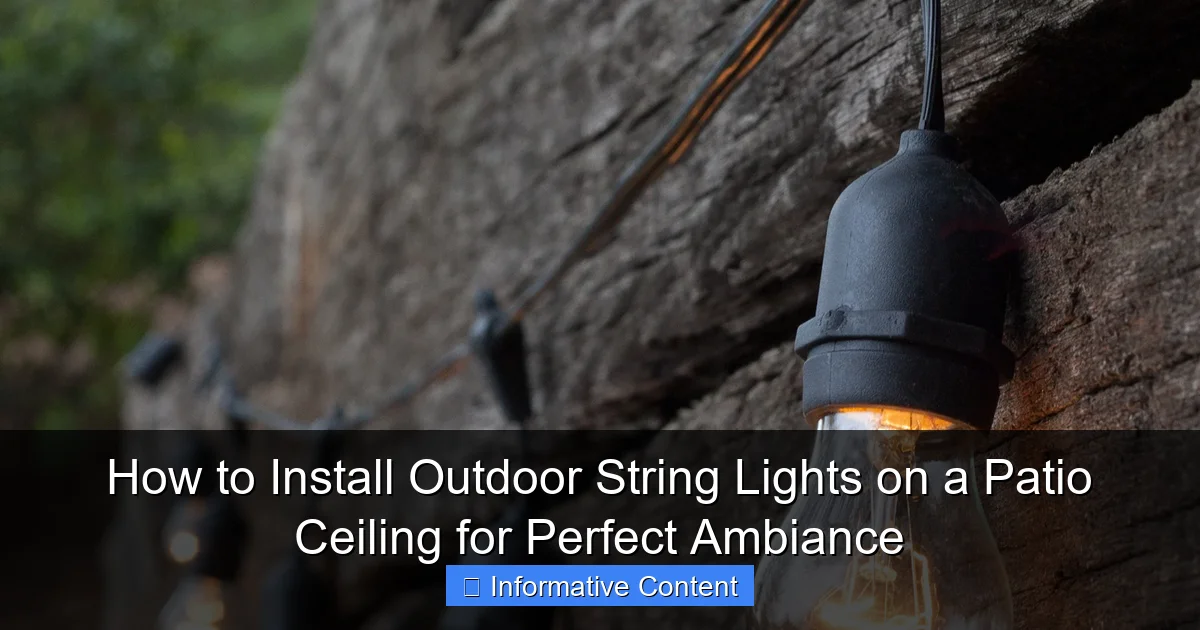
Visual guide about how to install outdoor string lights on a patio ceiling
Image source: warisanlighting.com
Types of Outdoor String Lights
The market is flooded with options, but these are the most common types you’ll encounter:
- LED String Lights: Energy-efficient, long-lasting, and available in various colors and brightness levels. Great for year-round use and lower electricity bills. Look for weatherproof or IP65-rated models for durability.
- Incandescent String Lights: Classic, warm glow but less energy-efficient. They’re cheaper upfront but may need frequent bulb replacements.
- Solar-Powered String Lights: Eco-friendly and easy to install (no wiring), but performance depends on sunlight exposure. Ideal for areas with limited power access.
- Smart String Lights: Wi-Fi or Bluetooth-enabled, allowing you to control brightness, color, and schedules via an app. Perfect for tech-savvy homeowners.
Pro Tip: I once bought cheap, non-weatherproof LED lights for my patio. After one rainy season, half the bulbs stopped working. Lesson learned: always check the IP (Ingress Protection) rating—IP44 or higher means the lights can handle rain and dust.
Key Features to Consider
- Bulb Spacing: Closer spacing (e.g., 6-12 inches) creates a denser, more magical effect. Wider spacing (18-24 inches) works for a minimalist look.
- Length: Measure your patio’s perimeter or ceiling area. Add 10-15% extra to account for curves or overlaps. For a 20-foot patio, a 25-foot strand is ideal.
- Connectability: Some lights let you daisy-chain multiple strands. Handy for large patios, but check the max wattage to avoid overloading.
- Color Temperature: Warm white (2700K-3000K) is cozy; cool white (4000K+) feels modern. RGB lights offer versatility but may not suit a classic aesthetic.
Where to Buy (and What to Avoid)
Stick to reputable brands like GE, Philips, or Westinghouse for reliability. Avoid “bargain bin” lights from unknown sellers—they often lack safety certifications (look for ETL, UL, or CSA marks). Online reviews are your friend; read them to spot durability or installation issues.
Planning Your Layout: Design Tips for Maximum Impact
Now that you’ve picked your lights, it’s time to plan the layout. A well-designed installation doesn’t just look good—it’s functional, safe, and easy to maintain. Here’s how to get it right.
Step 1: Sketch Your Patio Ceiling
Grab paper or use a digital tool (like SketchUp or a simple drawing app). Sketch your patio’s ceiling, noting:
- Dimensions (length, width, height)
- Existing features (rafters, beams, vents, fans)
- Power source locations (outlets, junction boxes)
For example, if your patio is 12×16 feet with a sloped ceiling, you’ll need to account for the slope in your measurements. Pro tip: Use painter’s tape to mark light positions on the ceiling. This lets you visualize the layout before committing.
Step 2: Choose a Hanging Style
Your layout depends on your patio’s structure. Here are three popular options:
- Grid Pattern: Lights form a grid across the ceiling. Ideal for large, open patios. Use 6-8 anchor points per 100 square feet.
- Perimeter Style: Lights follow the patio’s edges. Works well for intimate spaces or when you want to highlight the ceiling’s shape.
- Criss-Cross or Zigzag: Lights criss-cross diagonally or in a zigzag pattern. Adds visual interest but requires more planning.
Example: On my 10×12-foot patio, I used a grid pattern with lights spaced 12 inches apart. It created a “starry night” effect without looking cluttered.
Step 3: Calculate Anchor Points and Tension
Outdoor string lights sag if the tension isn’t right. To prevent this:
- Space anchor points no more than 24 inches apart (12-18 inches for heavier bulbs).
- Use turnbuckles or tensioners to adjust sag after installation.
- For long spans (over 10 feet), add a support pole or center anchor to reduce strain.
Pro Tip: I learned this the hard way—my first installation sagged so much the lights touched my head. Now I use a tension calculator (free online tools) to determine the right number of anchors.
Step 4: Plan for Power
Extension cords are a tripping hazard. Instead:
- Use outdoor-rated extension cords (GFCI-protected).
- Hide cords under eaves, in conduit, or with cord covers.
- For a permanent look, hire an electrician to install an outdoor outlet.
Tools and Materials You’ll Need
You don’t need a full workshop, but having the right tools makes installation faster and safer. Here’s my go-to list.
Essential Tools
- Measuring Tape: For precise spacing and lengths.
- Stud Finder (for wood ceilings): Locates rafters to secure anchors.
- Drill with Masonry Bit: For concrete, brick, or stucco ceilings.
- Ladder: A stable, extendable ladder (I prefer a step ladder with a tool tray).
- Level: Ensures anchors are aligned.
- Wire Cutters/Strippers: For trimming excess wire or adjusting connections.
Materials
- Anchors:
- Eye Screws: For wood rafters (use stainless steel to prevent rust).
- Toggle Bolts: For hollow ceilings (like drywall or plaster).
- Concrete Anchors: For masonry (screw-in or hammer-in types).
- Hooks and Clips:
- Ceiling Hooks: For heavy-duty support.
- Adhesive Hooks: For temporary installations (test weight limits first).
- Tensioning Hardware:
- Turnbuckles: Adjust sag without rehanging.
- Zip Ties: For securing loose wires (use UV-resistant ones).
- Weatherproofing Supplies:
- Silicone Sealant: For sealing anchor holes.
- Electrical Tape: For waterproofing connections.
Pro Tip: I keep a “patio lighting kit” with spare bulbs, hooks, and sealant. It saves time when a bulb burns out or a hook loosens after a storm.
Optional (But Helpful) Extras
- Timer or Smart Plug: Automate on/off times.
- Remote-Controlled Dimmer: Adjust brightness from your seat.
- Extension Cords with GFCI: For safety in wet conditions.
Step-by-Step Installation Guide
Alright, let’s get to the fun part—hanging the lights! Follow these steps for a professional-looking result.
Step 1: Mark and Prepare Anchor Points
Using your sketch, mark each anchor point on the ceiling with a pencil. For wood rafters, use a stud finder to locate the center of each beam. For concrete, measure carefully—masonry anchors are hard to move once installed.
Pro Tip: Drill pilot holes for wood anchors to prevent splitting. For concrete, use a hammer drill with a masonry bit.
Step 2: Install Anchors
- Wood: Screw in eye hooks or ceiling hooks. Tighten until snug, but don’t overtighten.
- Concrete: Insert concrete anchors, then screw in hooks. Use a level to ensure they’re aligned.
- Adhesive Hooks: Clean the surface with alcohol, then press firmly for 30 seconds.
Warning: Never use nails or staples—they can damage wires or create fire hazards.
Step 3: Hang the Lights
- Start at the power source. Plug in the first strand and drape it over a hook.
- Loop the string light’s hanging wire (or use S-hooks) around each anchor.
- For tension, attach a turnbuckle to the first and last anchor. Gently tighten until the line is taut.
- If using multiple strands, connect them end-to-end before hanging.
Pro Tip: I hang lights in daylight to spot sagging or misalignment. Adjust tension with turnbuckles—don’t pull the wire itself.
Step 4: Secure and Weatherproof
- Use zip ties to secure loose wires to rafters or beams.
- Apply silicone sealant around anchor holes (especially in concrete) to prevent water intrusion.
- Wrap electrical connections with electrical tape or use waterproof wire nuts.
- For solar lights, position panels where they’ll get 6+ hours of direct sunlight.
Step 5: Test and Troubleshoot
- Turn on the lights. Check for dim spots, flickering, or non-working sections.
- If a bulb is out, replace it (most LED strands have replaceable bulbs).
- If the whole strand is dead, check the fuse (located in the plug).
- Adjust tension if lights sag after turning on (heat expands wires).
Example: On my patio, I noticed one section was dimmer. Turns out a bulb wasn’t seated properly—fixed in seconds!
Maintenance and Safety: Keep Your Lights Shining
Even the best installations need upkeep. Here’s how to keep your lights safe and beautiful for years.
Regular Maintenance Checklist
- Monthly:
- Inspect bulbs for cracks or corrosion.
- Check anchors for looseness or rust.
- Clean bulbs with a dry cloth (avoid water).
- Seasonally:
- Re-tighten turnbuckles if lights sag.
- Trim nearby branches that could damage wires.
- Test GFCI outlets (press the “test” and “reset” buttons).
- Annually:
- Replace bulbs with visible wear.
- Reapply silicone sealant if it’s cracked.
- Store lights indoors during extreme weather (hurricanes, ice storms).
Safety First: Avoid Common Hazards
- Overloading: Never connect more strands than the manufacturer recommends. For example, if your lights max out at 500 watts, don’t exceed that.
- Water Exposure: Keep connections away from gutters or downspouts. Use outdoor-rated extension cords.
- Fire Risks: Don’t cover bulbs with flammable materials (e.g., paper lanterns). Ensure bulbs are rated for outdoor use.
- Tripping Hazards: Route cords along walls or under rugs (use cord covers).
When to Call a Pro
Some jobs are best left to professionals:
- Running new electrical wiring.
- Installing lights on tall or hard-to-reach ceilings.
- Working with high-voltage systems (e.g., low-voltage landscape lighting).
Data Table: Maintenance Schedule for Outdoor String Lights
| Task | Frequency | Tools Needed | Time Required |
|---|---|---|---|
| Inspect bulbs & anchors | Monthly | Ladder, gloves | 15-30 minutes |
| Clean bulbs | Monthly | Dry cloth | 10 minutes |
| Re-tighten tension | Seasonally | Turnbuckle wrench | 20 minutes |
| Replace sealant | Annually | Silicone sealant, caulk gun | 30 minutes |
Final Thoughts: Your Perfect Patio Awaits
Installing outdoor string lights on a patio ceiling isn’t just a DIY project—it’s an investment in your home’s ambiance and your quality of life. I remember the first time I turned on my patio lights after installation: the glow was so inviting, my neighbors stopped by just to admire it. That’s the power of thoughtful design and careful execution.
To recap: Choose weatherproof lights, plan your layout, use the right tools, and prioritize safety. Don’t rush the process—take time to test and adjust. And remember, maintenance is key. A little effort every few months keeps your lights shining bright for years.
Now, go ahead—transform your patio into a cozy, magical space. Whether you’re sipping coffee at sunrise or sharing stories under the stars, your string lights will be the silent storyteller of countless memories. Happy hanging!
Frequently Asked Questions
How do I install outdoor string lights on a patio ceiling without drilling holes?
Use adhesive hooks or removable mounting clips designed for outdoor use, especially on smooth surfaces like pergolas or covered patios. Ensure the hooks are rated for the weight of your lights and weather-resistant.
What’s the best way to hang string lights on a patio ceiling for even spacing?
Measure and mark consistent intervals along the ceiling before installing hooks or mounts. Use a level to keep lines straight, and test the layout with lights before finalizing.
Can I install outdoor string lights on a patio ceiling in rainy climates?
Yes, but choose **weatherproof string lights** (IP65 or higher) and seal connections with silicone. Angle lights slightly to prevent water pooling and use outdoor-rated extension cords.
How do I power outdoor string lights on a patio ceiling without nearby outlets?
Use an outdoor-rated extension cord or install a weatherproof GFCI outlet nearby. For permanent setups, consider hiring an electrician to add an outlet or use solar-powered lights.
What tools do I need to install string lights on a patio ceiling?
Basic tools include a ladder, measuring tape, hooks or mounts, and zip ties. For wood surfaces, a drill with pilot bits may help secure hardware without splitting the material.
How can I hide cords when installing outdoor string lights on a patio ceiling?
Run cords through cable clips or conduit painted to match the ceiling. Drape them behind beams or railings, or use decorative covers for a polished look.

