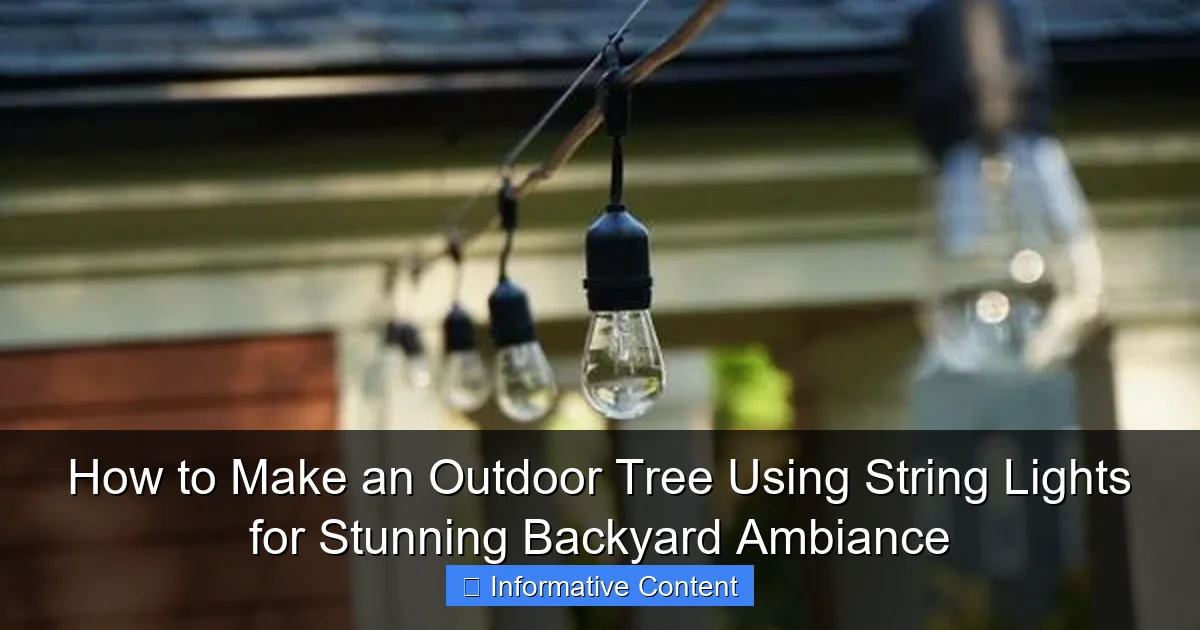
Featured image for how to make an outdoor tree using string lights
Image source: aconcordcarpenter.com
Transform your backyard into a magical retreat by wrapping string lights around trees to create a stunning outdoor centerpiece. Choose weatherproof, LED string lights and spiral them from the trunk up through the branches, securing with zip ties or hooks for a secure, even glow. This simple DIY project instantly elevates evening ambiance, perfect for entertaining or relaxing under a canopy of light.
Key Takeaways
- Choose weatherproof lights: Ensure durability with outdoor-rated, waterproof string lights.
- Plan your design: Sketch light placement for balanced, eye-catching tree coverage.
- Secure safely: Use non-damaging clips or ties to protect tree bark.
- Layer lighting: Combine warm and cool tones for depth and ambiance.
- Time it right: Install during dry weather for easier, safer setup.
- Add a timer: Automate on/off times for effortless, consistent evening glow.
📑 Table of Contents
Transform Your Backyard with a Magical Outdoor Tree of String Lights
There’s something undeniably magical about a backyard lit by the soft glow of string lights. Whether it’s a quiet summer evening, a festive holiday gathering, or a romantic dinner under the stars, the right lighting can transform your outdoor space into a cozy, inviting oasis. One of the most effective—and visually stunning—ways to achieve this ambiance is by turning a tree in your yard into a shimmering centerpiece using string lights.
I remember the first time I tried this. My old maple tree was just… there. Solid, leafy, and a bit boring after sunset. One weekend, armed with a few boxes of string lights and a ladder, I decided to give it a glow-up. The result? My backyard instantly felt like a secret hideaway, a place where time slowed down and laughter echoed a little louder. Since then, I’ve experimented with different techniques, styles, and setups, learning what works best (and what to avoid). In this guide, I’ll walk you through how to make an outdoor tree using string lights to create that same breathtaking effect in your own space. Whether you’re a seasoned DIYer or a first-timer, this project is simpler than it looks—and the payoff is huge.
Choosing the Right Tree and String Lights
Assessing Your Tree’s Suitability
Not all trees are created equal when it comes to string light installations. Before you start, take a good look at your tree. The ideal candidate has a sturdy trunk, well-spaced branches, and a shape that lends itself to wrapping or draping—think maples, oaks, or fruit trees. Avoid trees with brittle branches, excessive sap, or those that are too young or weak to support weight.
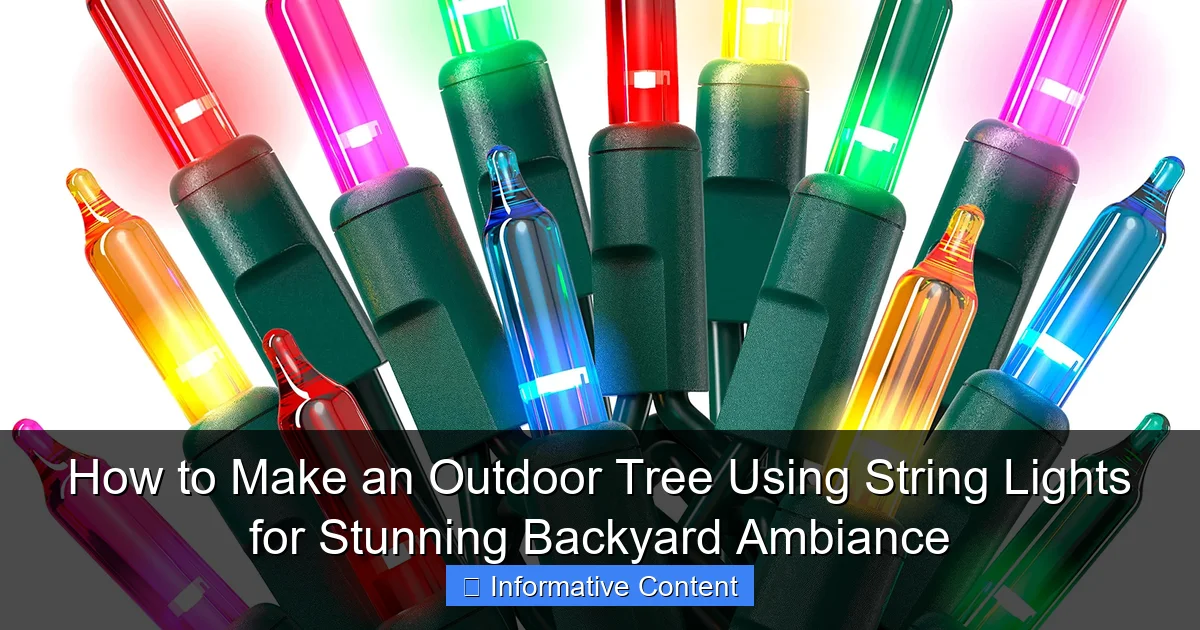
Visual guide about how to make an outdoor tree using string lights
Image source: m.media-amazon.com
- Trunk diameter: A thicker trunk (8+ inches) can handle more lights and tension. Thinner trunks work better with lighter setups.
- Branch structure: Branches that radiate outward or upward are easier to wrap. Avoid trees with dense, tangled growth.
- Location: Ensure the tree is near a power source or has a safe, accessible outdoor outlet. If not, you’ll need an extension cord (more on that later).
Pro tip: Take photos of your tree from multiple angles during the day. This helps you visualize how the lights will look at night and plan your layout.
Selecting the Perfect String Lights
Not all string lights are built for the outdoors. Here’s what to prioritize:
- Weather resistance: Look for lights rated for outdoor use (IP44 or higher). These are waterproof and UV-resistant.
- Bulb type:
- LED: Energy-efficient, long-lasting, and cool to the touch. Great for all seasons.
- Incandescent: Warm, classic glow but less durable and energy-efficient. Best for short-term use.
- Color and style:
- Warm white: Cozy, inviting. Ideal for everyday ambiance.
- Multicolor: Festive for holidays or parties.
- Twinkling/flickering: Adds movement and magic.
- Length: Measure your tree’s trunk circumference and branch span. Add 20-30% extra for draping or overlapping. A 20-ft tree might need 100-150 ft of lights.
Example: For a 15-ft oak with a 12-inch trunk, I used three 50-ft strands of warm white LED lights (IP65) with a mix of solid and twinkling modes. The result was a balanced, natural glow.
Planning Your Design: Layout and Aesthetic
Decide on a Lighting Style
Your design sets the mood. Here are popular approaches:
- Trunk wrap: Wrap lights tightly around the trunk from base to top. Creates a glowing pillar effect. Best for straight, sturdy trunks.
- Branch draping: Drape lights along branches like garlands. Soft, romantic. Ideal for trees with horizontal or arching branches.
- Starburst: Anchor lights at the trunk and stretch them outward to branch tips. Resembles a glowing firework.
- Layered: Combine trunk wraps and branch drapes for depth. My personal favorite for a full, lush look.
Tip: Sketch your design on paper or use a photo-editing app to preview it. This saves time and materials.
Calculate Light Coverage
Too few lights look sparse; too many can overwhelm. Use this formula:
- Trunk wraps: 1 strand per 1-2 inches of trunk diameter. (e.g., 12-inch trunk = 6-12 strands, depending on density).
- Branch drapes: 1 strand per 3-5 ft of branch length. Overlap strands for fuller coverage.
For a balanced look, aim for 70-80% coverage. Leave some bark or branch visible to maintain the tree’s natural shape.
Power Source and Extension Cords
Outdoor outlets are a luxury. If you lack one:
- Use a heavy-duty outdoor extension cord: Look for 12- or 14-gauge cords (thicker = safer for long runs). Keep it off the ground (use stakes or clips).
- Consider a timer or smart plug: Automate on/off times to save energy and avoid manual hassle.
- For remote areas: Solar-powered lights are an option, but they’re dimmer and less reliable in cloudy climates.
Warning: Never daisy-chain more than three light strands unless the manufacturer specifies it. Overloading can cause fire hazards.
Step-by-Step Installation Guide
Gather Your Tools and Materials
Here’s what you’ll need:
- String lights (outdoor-rated)
- Outdoor extension cord (if needed)
- Timer/smart plug (optional)
- Light clips or zip ties (weatherproof)
- Ladder (sturdy, with stabilizers)
- Gloves (to protect your hands)
- Measuring tape
- Helper (highly recommended for tall trees)
Pro tip: Buy a few extra clips. They’re cheap and easy to lose in grass.
Install Lights Safely and Securely
- Start at the base: Plug in the first strand at the trunk’s lowest point. Secure the plug with a clip or zip tie to prevent water damage.
- Wrap the trunk: Spiral lights upward, keeping tension even. Use clips every 12-18 inches to prevent sagging. Don’t wrap too tightly—tree growth can damage bark.
- Drape the branches: For draping, start at the trunk and let lights hang down 12-24 inches. Secure ends to branch tips with clips. For starburst, anchor lights at the trunk and stretch them to tips.
- Connect strands: Use outdoor-rated connectors. Test each strand as you go. A dead section early saves troubleshooting later.
- Hide cords: Tuck excess cord into bark crevices or use camouflage sleeves. Keep it tidy to avoid tripping hazards.
Example: For my maple, I wrapped the trunk with 8 strands (spaced 2 inches apart) and draped 12 strands along primary branches. Total time: 2 hours with a helper.
Test and Adjust
Once installed:
- Test the lights: Turn them on at dusk. Check for dark spots, loose connections, or flickering.
- Adjust spacing: Move clips to even out brightness. Add extra strands to sparse areas.
- Check safety: Ensure cords are dry, plugs are elevated, and lights aren’t touching leaves (fire risk).
Tip: Use a dimmer switch or remote to control brightness. Lower settings reduce glare and create a softer glow.
Maintenance and Safety Tips
Seasonal Care
Outdoor lights endure weather, pests, and wear. Maintain them with:
- Monthly checks: Inspect for loose clips, frayed cords, or dead bulbs. Replace faulty strands immediately.
- Clean bulbs: Wipe with a damp cloth (unplugged!) to remove dirt and improve brightness.
- Winter prep: In harsh climates, remove lights or use cold-weather-rated strands (rated for -20°F or lower). Store in a dry place.
Note: LED lights last 15-20 years outdoors; incandescent lasts 2-3 years.
Preventing Damage to Your Tree
Your tree’s health is paramount. Follow these rules:
- No tight wraps: Loosen zip ties annually to accommodate trunk growth.
- No nails/screws: Use clips or ties only. Metal can girdle the tree.
- Trim branches: Remove dead or low-hanging branches that could snag lights.
- Mind the bark: Avoid placing lights on rough or cracked areas.
Example: My neighbor used wire to secure lights and ended up with a girdled trunk. The tree survived, but it took years to recover. Clips are safer!
Electrical Safety
Outdoor electricity requires caution:
- Use GFCI outlets: These cut power if moisture is detected (standard for outdoor circuits).
- Elevate plugs: Use a covered outlet box or hang plugs off the ground.
- Avoid water exposure: Never run cords through puddles or wet grass.
- Unplug during storms: Lightning can fry circuits.
Stat: The U.S. Consumer Product Safety Commission reports over 1,000 outdoor electrical fires annually—many from faulty holiday lights.
Enhancing Your Tree’s Ambiance: Creative Ideas
Layer with Additional Lighting
Elevate your design with:
- Ground lights: Place solar path lights or LED stakes around the tree base to highlight its silhouette.
- Fairy lights in foliage: Weave tiny lights into leaves for a “sparkling canopy” effect.
- Color-changing LEDs: Use smart bulbs for dynamic hues (e.g., blue for winter, red for holidays).
Tip: Sync lights with a smart hub (like Alexa) for voice-controlled ambiance.
Add Decorative Elements
Personalize your tree with:
- Ornaments: Hang weatherproof baubles or wind chimes from branches.
- Ribbon or fabric: Drape sheer fabric for a whimsical touch.
- Signage: Add a wooden sign with a quote (e.g., “Gather Here”).
Example: For a wedding, I hung crystal beads and paper lanterns from my tree. The lights reflected off the beads, creating a fairy-tale glow.
Create a Themed Display
Match your lights to occasions:
- Holidays: Red/green for Christmas, orange for Halloween.
- Seasonal: Pink for spring, warm white for fall.
- Events: Blue for a baby shower, gold for a birthday.
Data Table: Popular String Light Themes
| Theme | Light Color | Accessories | Best For |
|---|---|---|---|
| Romantic | Warm white | Fairy lights, sheer fabric | Dates, anniversaries |
| Festive | Multicolor | Ornaments, tinsel | Holidays, parties |
| Modern | Cool white | Minimalist clips, geometric shapes | Backyard dinners |
| Rustic | Warm white | Wooden signs, burlap ribbon | Farmhouse style |
Conclusion: Light Up Your Outdoor Life
Turning a tree into a glowing masterpiece with string lights is more than a DIY project—it’s an invitation to slow down, savor the moment, and create memories. I’ve hosted countless dinners, stargazing sessions, and impromptu dance parties under my lighted maple, and each one feels like a celebration. The best part? You don’t need to be a pro. With the right lights, a bit of planning, and attention to safety, your backyard can become that magical space too.
Remember, the goal isn’t perfection. It’s about creating a feeling—a warm, welcoming glow that says, “This is your happy place.” Whether you choose a simple trunk wrap or a layered, starburst design, your outdoor tree will stand as a testament to the power of light to transform the ordinary into the extraordinary. So grab those string lights, gather your tools, and start weaving magic. Your backyard (and your guests) will thank you.
Now, go make your tree shine. And when you do, take a moment to step back, breathe in the night air, and admire your handiwork. That’s the real reward.
Frequently Asked Questions
How do I choose the right string lights for an outdoor tree?
Opt for weatherproof, UL-listed LED string lights with a warm white or color temperature that complements your outdoor space. Consider the tree’s size—larger trees need longer, commercial-grade lights with higher lumens for even coverage.
What’s the best way to hang string lights on an outdoor tree without damaging it?
Use soft, flexible materials like zip ties or light clips designed for outdoor use, avoiding nails or staples. Wrap lights gently around branches, starting from the trunk outward, to preserve bark and allow for natural growth.
How can I make an outdoor tree using string lights look professional?
Plan a spiral or crisscross pattern for balanced light distribution, and secure lights at multiple anchor points to prevent sagging. Hide excess cords with tree-safe ties and use a timer for consistent, automated lighting.
Are solar-powered string lights suitable for outdoor tree lighting?
Yes, solar-powered string lights work well for outdoor trees, especially in sunny areas. Ensure the solar panel is positioned to receive direct sunlight and check that the lights are rated for outdoor use.
How do I power string lights for an outdoor tree without nearby outlets?
Use outdoor-rated extension cords connected to GFCI outlets, or choose battery-operated or solar-powered lights for off-grid placement. For large setups, a weatherproof power inverter with a long cord may be necessary.
Can I leave outdoor tree string lights up year-round?
Only if the lights are explicitly rated for all-season outdoor use. Remove or inspect lights periodically to prevent damage from storms, pests, or prolonged exposure to moisture, which can shorten their lifespan.

