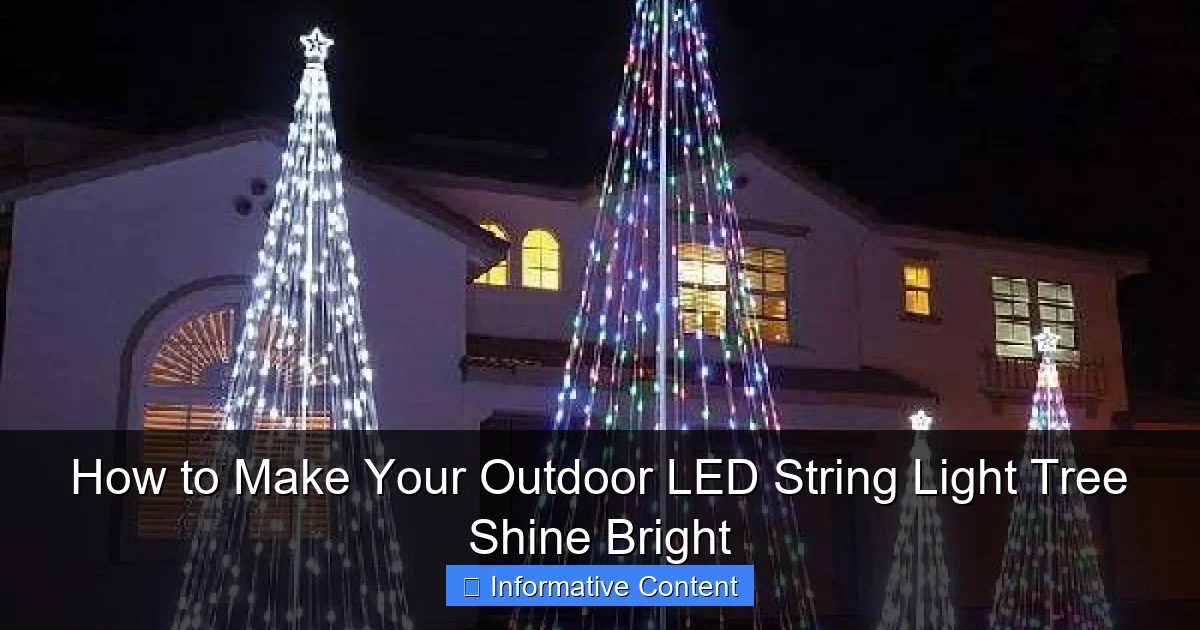
Featured image for how to make your outdoor led string light tree
Image source: i.pinimg.com
Transform your outdoor space into a dazzling nighttime oasis by strategically wrapping LED string lights from the tree’s trunk outward, ensuring even spacing and secure placement with outdoor-rated clips. Boost brightness and longevity by using high-lumen, weatherproof LEDs and connecting them to a timer or smart plug for effortless, energy-efficient illumination.
Key Takeaways
- Choose high-quality LEDs: Opt for weatherproof, energy-efficient lights for long-term durability.
- Plan your design: Sketch light placement to ensure even coverage and visual appeal.
- Secure with care: Use non-damaging clips or ties to protect tree bark and branches.
- Layer lighting effects: Combine string lights with spotlights for depth and dimension.
- Time it right: Install a timer or smart plug for automatic dusk-to-dawn operation.
- Maintain regularly: Check for loose connections or damaged bulbs every few weeks.
📑 Table of Contents
- How to Make Your Outdoor LED String Light Tree Shine Bright
- Why an Outdoor LED String Light Tree is Worth the Effort
- Choosing the Right LED String Lights and Tools
- Planning Your Design: From Tree to Glow
- Step-by-Step Installation Guide
- Maintenance and Troubleshooting for Long-Term Shine
- Creative Ideas to Take Your Tree to the Next Level
How to Make Your Outdoor LED String Light Tree Shine Bright
There’s something magical about walking into a backyard lit by the soft, twinkling glow of LED string lights. Maybe it was that summer night at my cousin’s barbecue, when the entire oak tree in their yard looked like it had been wrapped in fireflies. Kids laughed, music played, and the lights made everything feel warm and welcoming. I remember thinking, “I want this in my own space.” That’s when I decided to create my own outdoor LED string light tree. And guess what? It wasn’t as hard as I thought. In fact, with a little planning, the right tools, and a dash of creativity, you can turn any tree—or even a treeless yard—into a glowing centerpiece that transforms your outdoor space into a dreamy retreat.
This guide walks you through every step of the process: choosing the right lights, planning your design, installing safely, and maintaining your setup so it shines bright all year. Whether you’re lighting up a backyard for weekend hangouts, holiday celebrations, or just everyday ambiance, your outdoor LED string light tree can become the heart of your outdoor living area. I’ll share what worked for me, what I wish I’d known, and how you can avoid common pitfalls. Let’s get started on making your outdoor LED string light tree not just functional, but unforgettable.
Why an Outdoor LED String Light Tree is Worth the Effort
Before we dive into the how, let’s talk about the why. Why go through the effort of hanging lights on a tree when you could just plug in a patio light or use a string of fairy lights along a fence?
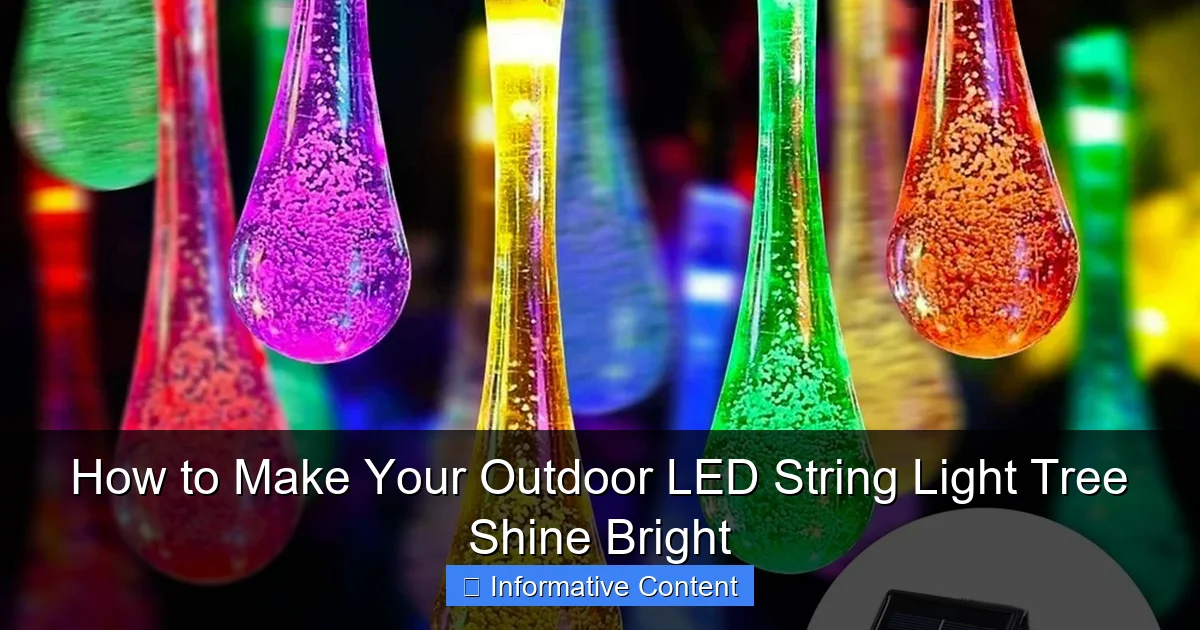
Visual guide about how to make your outdoor led string light tree
Image source: i5.walmartimages.com
Creates a Warm, Inviting Atmosphere
LED string lights emit a soft, warm glow that mimics candlelight or fireflies. Unlike harsh floodlights, they create a cozy, intimate vibe. I noticed this right away when I first installed my lights. My backyard went from “dark and quiet” to “perfect for evening chats.” Guests linger longer, conversations deepen, and the whole space feels more alive. An outdoor LED string light tree becomes a natural gathering point—like a campfire, but with less smoke and more sparkle.
Energy Efficient and Long-Lasting
LEDs use up to 80% less energy than incandescent bulbs and last 25,000 to 50,000 hours—some even more. I’ve had the same set of LED string lights on my tree for over five years, and they’re still going strong. That means fewer replacements, lower electricity bills, and less hassle. Plus, many outdoor-rated LED lights are designed to withstand rain, wind, and temperature swings. They’re built to last, so your outdoor LED string light tree can shine year after year.
Versatile and Customizable
You’re not limited to one look. Want a classic white glow? Go for warm white LEDs. Feeling festive? Try color-changing or multi-colored strings. You can wrap the trunk, drape branches, create a canopy, or even build a freestanding structure if you don’t have a tree. I once used a metal pole and a wooden frame to create a “tree” of lights on a bare patio. It worked beautifully! The flexibility of LED string lights means you can adapt the design to your space, your style, and your budget.
Boosts Curb Appeal and Property Value
Outdoor lighting isn’t just for fun—it adds real value. A well-lit yard feels safer, more secure, and more attractive. Real estate agents often mention outdoor lighting as a selling point. Even if you’re not planning to sell, a beautifully lit tree enhances your home’s nighttime presence. My neighbors always comment on how inviting my backyard looks from the street. It’s a small touch that makes a big difference.
Choosing the Right LED String Lights and Tools
Not all LED string lights are created equal. Picking the right ones is the first step to a successful outdoor LED string light tree. Here’s what to look for—and what tools you’ll need to install them safely.
Types of LED String Lights
There are three main types of outdoor LED string lights:
- Standard LED String Lights: These are the classic bulbs on a wire. They come in various bulb shapes (globe, Edison, mini), sizes, and colors. I used globe-style warm white lights for my tree—they give off a soft, even glow.
- LED Net Lights: Perfect for covering large areas quickly. They’re like a grid of lights that you drape over branches. Great if your tree has a wide canopy.
- LED Curtain Lights: These hang vertically and create a waterfall effect. I used these along the lower branches of my tree to add depth and drama.
Pro tip: Look for weatherproof or waterproof ratings (IP65 or higher). This ensures the lights can handle rain, snow, and humidity without shorting out.
Key Features to Consider
- Bulb Spacing: Closer spacing (every 2–4 inches) creates a denser, brighter look. Wider spacing (6–12 inches) gives a more subtle, starry-night effect.
- Color Temperature: 2700K–3000K is warm white—ideal for cozy outdoor spaces. 4000K is neutral white, better for task lighting. Avoid cool white (5000K+) for ambiance.
- Power Source: Battery-powered lights are easy to install but need frequent charging. Plug-in lights require an outdoor outlet. Solar-powered lights are eco-friendly but may dim in winter or cloudy climates.
- Length and Connectivity: Measure your tree’s height and circumference. Most strings are 20–50 feet long. Some are end-to-end connectable, so you can link multiple strands.
- Remote Control or App: Higher-end sets come with remotes or smart features (like dimming, timers, or color changes). I use a remote to turn my lights on at dusk—no climbing trees!
Essential Tools and Accessories
You don’t need a full toolkit, but these items make the job easier and safer:
- Extension cords (outdoor-rated, heavy-duty): Use one with a built-in GFCI (ground fault circuit interrupter) for safety.
- Light clips or zip ties (UV-resistant): Don’t staple or nail lights into the tree—this damages bark and invites pests. Use plastic clips designed for outdoor lights.
- Step ladder or extension pole: For reaching high branches. I use a 6-foot step ladder with a stabilizer bar.
- Measuring tape: To calculate how many strings you’ll need.
- Timer or smart plug: Automate when the lights turn on and off. I set mine to come on at sunset and off at 11 p.m.
- Gloves: Protect your hands from rough bark or sharp branches.
Bonus tip: Buy 10–15% more lights than you think you’ll need. Trees are irregular shapes, and you’ll likely need extra to cover gaps or add layers.
Planning Your Design: From Tree to Glow
Now comes the fun part: designing your outdoor LED string light tree. This is where creativity meets practicality. A good plan saves time, reduces waste, and ensures your lights look intentional—not like you just threw them up.
Assess Your Tree and Space
Start by studying your tree. Is it tall and narrow, wide and bushy, or multi-trunked? Take photos from different angles. Note:
- Branch thickness and height
- Distance from power source
- Obstacles (like power lines, fences, or windows)
- How the tree looks at night (use a flashlight to simulate lighting)
For example, my oak tree has thick lower branches that spread wide. I decided to wrap the trunk and main branches, then drape net lights across the canopy. This created a layered effect—like the tree was wearing a glowing cloak.
Choose a Lighting Pattern
Here are five popular designs:
- Trunk Wrap: Wrap lights vertically around the trunk. Simple and effective. Best for single-trunk trees.
- Branch Drape: Hang strings from branch to branch, like a web. Creates depth. Works well for wide trees.
- Canopy Net: Drape net lights over the top of the tree. Covers a large area fast. Ideal for dense canopies.
- Spiral Wrap: Wrap lights diagonally around the trunk and main branches. Adds movement and interest.
- Hybrid Design: Combine two or more patterns. I used a spiral wrap on the trunk and branch draping on the lower limbs. The result? A dynamic, multi-layered glow.
Pro tip: Sketch your design on paper or use a free design app (like SketchUp or Canva) to visualize it before installing.
Map Out Power and Safety
Safety first. Never daisy-chain more than three light strands unless the manufacturer says it’s safe. Overloading can cause fires. Also:
- Keep cords off the ground to prevent tripping and water pooling.
- Use outdoor-rated outlets or a GFCI-protected extension cord.
- Route cords along tree trunks or fences, not across walkways.
- If using solar lights, place the panel in full sun—even if it’s not near the tree.
I learned this the hard way. One year, I ran a cord across my patio. A guest tripped, and the lights went dark. Now I use a cord cover or bury the cord in a shallow trench (covered with mulch).
Step-by-Step Installation Guide
Now that you’ve planned your design, it’s time to hang the lights. Follow these steps for a clean, safe, and stunning result.
Step 1: Gather Your Supplies
Double-check your list:
- LED string lights (measured and tested)
- Outdoor extension cords
- Light clips or zip ties
- Ladder or pole
- Gloves
- Timer or smart plug
Test each light strand indoors before installing. There’s nothing worse than climbing a tree only to find a broken bulb.
Step 2: Start from the Bottom
Begin at the trunk or lowest branches. This gives you a stable base and prevents tangling. For a trunk wrap:
- Secure the first clip near the base.
- Wrap the lights upward in a spiral, spacing clips every 6–12 inches.
- Keep the tension even—don’t pull too tight (it can damage bark) or too loose (it looks sloppy).
For branch draping:
- Attach one end of the string to a low branch.
- Run the string to a higher branch, then back down to another.
- Secure every 2–3 feet with clips.
Step 3: Work Your Way Up
Move to higher branches. Use a ladder for safety. If the branch is too high, use an extension pole with a hook to hang lights from below. I use a painter’s pole with a clip attachment—it’s a game-changer.
For net or curtain lights:
- Drape the net over the top of the tree.
- Secure the edges to lower branches with clips.
- Adjust so the lights hang evenly.
Step 4: Manage Cords and Power
Route the plug-end of the lights to your power source. Use clips to secure cords along the trunk or to a nearby fence. Plug into a timer or smart plug, then into the outdoor outlet. Test the lights before finalizing.
Pro tip: Use a surge protector to guard against lightning or power spikes.
Step 5: Adjust and Refine
Stand back and look. Are there dark spots? Gaps? Uneven spacing? Make small adjustments. I often tweak my lights for a few nights until I get the perfect balance.
Maintenance and Troubleshooting for Long-Term Shine
Your outdoor LED string light tree isn’t a set-it-and-forget-it project. A little maintenance keeps it shining bright for years.
Seasonal Care
- Spring: Inspect for damage from winter storms. Replace broken bulbs or frayed wires. Clean lights with a damp cloth.
- Summer: Trim branches that grow into the lights. Watch for pests (like squirrels chewing cords).
- Fall: Remove leaves and debris from light strands. Check for water pooling in sockets.
- Winter: If you live in a snowy area, consider removing lights to prevent ice damage. Or, use weatherproof covers.
I leave my lights up year-round, but I check them monthly. One winter, a squirrel chewed through a cord. I replaced it with a thicker, chew-resistant model.
Common Issues and Fixes
- Flickering or dim lights: Often caused by loose connections or a failing bulb. Check all plugs and sockets. Replace the bulb if needed.
- One section not working: Test each bulb with a light tester. Replace the faulty one. Or, use a continuity tester to find the break.
- Cord damage: Cut out the damaged section and splice in a new cord. Use waterproof wire connectors.
- Timer not working: Replace batteries or reset the device. I keep spare batteries in a weatherproof container near the outlet.
Energy-Saving Tips
- Use a timer to limit runtime (e.g., 4–6 hours per night).
- Switch to solar lights for remote areas.
- Choose dimmable lights and set them to 70–80% brightness.
Creative Ideas to Take Your Tree to the Next Level
Once your outdoor LED string light tree is shining, why stop there? Here are fun, easy upgrades to make it even more magical.
Add Themed Accents
- Hang ornaments, wind chimes, or paper lanterns from the branches.
- Use color-changing lights for holidays (red/green for Christmas, orange for Halloween).
- Attach fabric drapes or sheer curtains behind the lights for a soft, ethereal glow.
I added small glass baubles to my tree last Christmas. They reflected the lights like tiny stars.
Integrate with Other Lighting
- Pair your tree with path lights, spotlights, or ground stakes to create layers of light.
- Use smart bulbs in nearby fixtures that sync with your string lights.
Build a Freestanding Version
No tree? No problem. Create a “tree” using:
- A metal pole with branches (like a coat rack)
- A wooden frame with dowels for branches
- A large planter with a tall center pole
I built a 10-foot freestanding tree for a friend’s patio using PVC pipe and zip ties. It looked amazing and took less than two hours.
Light Up the Surroundings
- Wrap nearby fences or railings.
- Hang lights from pergolas or awnings.
- Place battery-powered LEDs in lanterns or mason jars.
| Feature | Standard LED Strings | LED Net Lights | LED Curtain Lights |
|---|---|---|---|
| Best For | Trunk and branch wrapping | Large canopy coverage | Vertical draping and depth |
| Installation Difficulty | Easy | Medium | Medium |
| Energy Use (per 25 ft) | 5–10 watts | 8–15 watts | 10–20 watts |
| Lifespan | 25,000–50,000 hours | 30,000–40,000 hours | 25,000–35,000 hours |
| Weather Resistance | IP65 or higher | IP65 or higher | IP65 or higher |
| Cost (approx. per 25 ft) | $15–$30 | $20–$40 | $25–$50 |
Your outdoor LED string light tree is more than just a decoration—it’s a source of joy, connection, and beauty. It turns your backyard into a place where memories are made. I still smile every time I walk outside and see my tree glowing in the dark. It feels like the tree is smiling back.
You don’t need to be an electrician or a DIY expert to create this magic. With the right lights, a clear plan, and a little patience, anyone can build a stunning outdoor LED string light tree. Remember to prioritize safety, choose quality materials, and maintain your setup regularly. And don’t forget to enjoy the process. The best part isn’t just the finished product—it’s the time you spend creating it, the stories you’ll tell, and the moments you’ll share under that warm, twinkling glow.
So grab your lights, gather your tools, and start building. Your outdoor space is waiting to shine bright.
Frequently Asked Questions
How do I choose the right LED string lights for my outdoor tree?
Select weather-resistant, commercial-grade LED string lights with a warm or cool white glow to match your outdoor aesthetic. Ensure the lights are rated for outdoor use and have a long lifespan to withstand seasonal changes.
Can I install LED string lights on any type of tree?
Yes, most trees work well, but avoid delicate or brittle branches. For best results, use zip ties or clips on sturdy branches and consider spacing lights evenly to create a balanced look.
How do I safely power my outdoor LED string light tree?
Use a GFCI-protected outdoor outlet and a waterproof extension cord to reduce electrical risks. For larger setups, consider a low-voltage transformer or solar-powered LED string lights for added safety.
What’s the best way to hang LED string lights on a tall tree?
Use a light-hanging pole or ladder to drape the lights in a spiral or zigzag pattern. Secure them with insulated hooks or clips, ensuring the wiring is hidden and doesn’t strain the branches.
How can I make my outdoor LED string light tree last longer?
Store lights indoors during extreme weather and check connections annually for wear. Use timers to limit usage and avoid overloading circuits to extend the lifespan of your LED string lights.
Are there creative ways to style my outdoor LED string light tree?
Yes! Wrap lights around the trunk, weave them through foliage, or add ornaments for a festive touch. Layering with net lights or accenting with colored LEDs can enhance your outdoor ambiance.

