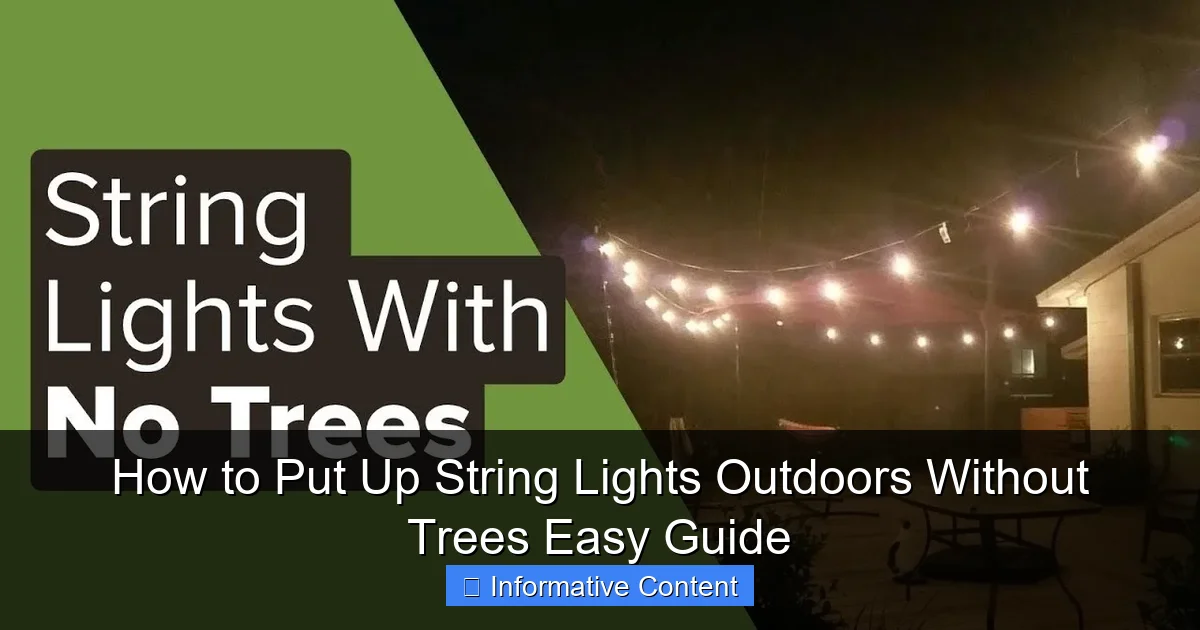
Featured image for how to put up string lights outdoors without trees
Image source: i.ytimg.com
No trees? No problem—install outdoor string lights using walls, fences, or freestanding poles for instant ambiance. With simple hardware like hooks, zip ties, or tension rods, you can securely mount lights along patios, railings, or pergolas in minutes. This easy guide shows you how to create a stunning outdoor glow without drilling or damaging surfaces.
Key Takeaways
- Use poles or stakes: Install ground-mounted poles for sturdy, tree-free lighting.
- Attach to fences: Secure lights to existing fences with hooks or clips.
- Try wall mounts: Fasten lights to exterior walls using adhesive or screws.
- Opt for tension cables: Stretch cables between structures for seamless string light support.
- Choose weighted bases: Use freestanding bases for flexible, damage-free placement.
- Plan spacing carefully: Measure distances to avoid sagging or overstretching lights.
📑 Table of Contents
- Why You Don’t Need Trees for Beautiful Outdoor String Lights
- Assess Your Outdoor Space and Lighting Goals
- Choose the Right Mounting Methods (No Trees Needed)
- Install the Lights: Step-by-Step Process
- Creative and Aesthetic Design Tips
- Maintain and Troubleshoot Your Setup
- Data Table: Recommended Mounting Methods by Space Type
- Final Thoughts: Light Up Your Space, Tree or Not
Why You Don’t Need Trees for Beautiful Outdoor String Lights
Picture this: a warm summer evening, the soft glow of string lights twinkling above your patio, casting a cozy ambiance as you sip wine with friends. You’ve seen this scene in magazines or at a trendy rooftop bar—but you’ve always thought, “I can’t do that. I don’t have trees.” Well, here’s the good news: you absolutely can. Trees are a classic anchor for outdoor string lights, but they’re far from the only option. Whether you live in an apartment with a balcony, have a bare backyard, or a modern concrete courtyard, there are clever, stylish, and easy ways to hang string lights without a single branch in sight.
As someone who once struggled with the same dilemma—my first attempt involved tying lights to a garden gnome (don’t ask)—I’ve learned that creativity and the right tools go a long way. The goal isn’t just to hang lights; it’s to create a space that feels inviting, warm, and uniquely yours. In this guide, I’ll walk you through practical, budget-friendly, and damage-free ways to install outdoor string lights without relying on trees. From poles and railings to fences and pergolas, we’ll cover everything you need to know to transform your outdoor area into a dreamy, lit-up retreat.
Assess Your Outdoor Space and Lighting Goals
Before you start drilling or hammering, take a step back and really look at your space. What’s the layout? Where do you spend the most time? What kind of mood do you want to create? Answering these questions will help you choose the right method and placement for your string lights.
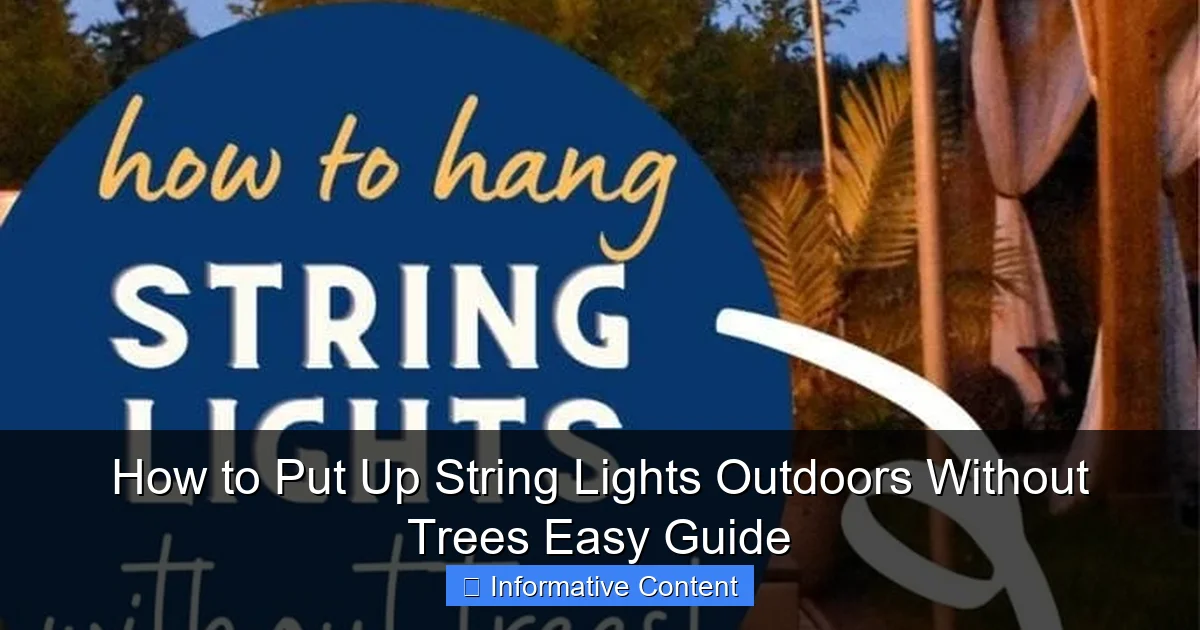
Visual guide about how to put up string lights outdoors without trees
Image source: jessicawellinginteriors.com
Define Your Lighting Purpose
Are you going for:
- Ambient lighting – Soft, overall glow for relaxing or entertaining?
- Task lighting – Bright enough to illuminate a dining or cooking area?
- Accent lighting – Highlighting architectural features, plants, or pathways?
For most people, ambient lighting is the goal. String lights are perfect for this. But knowing your purpose helps you pick the right brightness (measured in lumens), bulb type (LED vs. incandescent), and spacing between lights. For example, if you’re lighting a dining area, you’ll want more concentrated, brighter bulbs. For a cozy reading nook, a softer, more scattered glow works better.
Measure and Map Your Layout
Grab a tape measure and note:
- The length of your desired light path (e.g., 20 feet across your patio)
- Available mounting points (fence, wall, railing, pergola)
- Distance to the nearest power source (outlet, extension cord reach)
Pro tip: Sketch a simple diagram. Draw your space and mark where you want lights to go. This helps avoid overbuying or running out of lights mid-installation. I once bought three sets of 25-foot lights for a 40-foot run—only to realize I needed four. A quick sketch would’ve saved me a trip back to the store.
Check Weather and Power Access
Outdoor string lights must be rated for outdoor use (look for “UL Wet Rated” or “IP44” or higher). Also, consider how you’ll power them. Will you use:
- An outdoor outlet?
- Extension cords (use heavy-duty, outdoor-rated ones)?
- Solar-powered lights (great for remote areas, but less reliable in cloudy climates)?
For example, my backyard has one outlet at the back of the house. I use a 25-foot outdoor-rated extension cord with a built-in surge protector. It’s tucked under a planter to avoid tripping hazards.
Choose the Right Mounting Methods (No Trees Needed)
Now for the fun part: the actual setup. The key is finding stable, secure anchor points that can support the weight of the lights and withstand wind, rain, and temperature changes. Here are the most effective methods for tree-free installations.
Use Freestanding or Permanent Poles
Poles are the closest thing to a “tree” without being a tree. They’re ideal for open yards, patios, or rooftops.
- Metal or PVC poles: Install into the ground (use concrete for stability) or place in heavy bases (like weighted planters). I use two 8-foot galvanized steel poles in my backyard. I sunk them 2 feet into the ground and filled with quick-dry concrete. They’ve survived two hurricanes.
- Tension poles: For balconies or decks, use adjustable tension poles that press between the floor and ceiling. No drilling needed. Just make sure your ceiling is solid (drywall is okay, but avoid plaster).
- Umbrella stands: Repurpose a large, heavy-duty umbrella base. Attach a pole to it and run lights from the pole to a nearby wall or railing.
Tip: If using ground-installed poles, space them 12–20 feet apart to avoid sagging. For longer runs, add a center pole.
Attach to Fences, Walls, or Railings
These are the most common and easiest anchor points.
- Fences: Use zip ties (UV-resistant, outdoor-rated) or fence hooks. For wooden fences, screw in eye hooks every 3–4 feet. For metal or vinyl, use adhesive hooks rated for outdoor use (like 3M Command Outdoor Hooks). I used these on my vinyl fence and they’ve held strong for three years.
- Walls: Use outdoor-rated screw hooks or adhesive clips. For stucco or brick, use anchors. For wood or siding, screw directly into studs. Space hooks every 2–3 feet.
- Railings: Wrap lights around the railing (if it’s sturdy) or use clips or clamps designed for railings (like “S-hooks” or “rail mounts”). On my apartment balcony, I use S-hooks on the railing and run lights to a tension pole on the opposite side.
Caution: Avoid overloading railings. Most can’t support more than 5–10 pounds. Use lightweight string lights (LEDs are lighter than incandescents).
Create a DIY Pergola or Canopy
If you have a patio, deck, or gazebo, build a simple frame.
- PVC pipe pergola: Use 1-inch PVC pipes and connectors to create a rectangular frame. Anchor the base with sandbags or concrete. Run lights along the top beams.
- Metal conduit frame: More durable than PVC. Use EMT conduit and fittings. Attach to walls or poles for stability.
- Canopy with fabric: Hang a waterproof canopy (like a shade sail) and string lights underneath. Use turnbuckles for tension.
Example: My friend built a 10×10 ft PVC pergola in two hours. She used zip ties to attach the lights to the crossbeams. It’s survived 50 mph winds.
Use Existing Structures
Look around—what’s already there?
- Gazebo or arbor: If you have one, run lights along the rafters or beams.
- Outdoor furniture: Hang lights from the legs of a sturdy table or the back of a bench. Just don’t obstruct use.
- Garage or shed: Attach hooks to the side and run lights to a pole or fence.
Pro tip: Use light clips designed for gutters, shingles, or eaves. They’re perfect for garages or sheds with overhangs.
Install the Lights: Step-by-Step Process
Now that you’ve chosen your method, it’s time to hang the lights. Follow these steps for a safe, secure, and visually appealing setup.
Gather Your Tools and Materials
Here’s what you’ll need:
- String lights (outdoor-rated, LED recommended)
- Mounting hardware (hooks, clips, zip ties, etc.)
- Measuring tape
- Level (for straight lines)
- Ladder (if working at height)
- Drill and screws (if using permanent mounts)
- Extension cords (outdoor-rated)
- Timer or smart plug (optional but helpful)
I keep a “lighting kit” in my garage with all this stuff. It saves time and prevents last-minute hardware store runs.
Plan the Path and Spacing
Before attaching anything, lay the lights out on the ground along your planned path. This helps you:
- Check for kinks or damage
- Ensure the length is right (add 10% extra for slack)
- Visualize the final look
For spacing: Aim for 2–3 feet between anchor points. Too far = sagging. Too close = cluttered look.
Install Anchors and Mounts
Now, install your hooks, clips, or poles. Key tips:
- Use a level to keep lines straight. A crooked line is the first thing people notice.
- Pre-drill holes for screws (especially in wood) to avoid splitting.
- Use anchors in masonry or stucco.
- For adhesive hooks, clean the surface with alcohol and press firmly for 30 seconds.
Example: On my wooden fence, I pre-drilled pilot holes for eye hooks. I spaced them 3 feet apart and used a level to ensure they were aligned. It took 20 minutes but made the final look perfect.
Hang the Lights
Start at one end and work your way to the other.
- For hooks: Loop the light’s cord or wire around the hook. Don’t tie knots—they’re hard to undo and can damage the cord.
- For clips: Snap the light into place. Some clips have grooves for the wire.
- For zip ties: Loop through the light’s mounting holes (if it has them) or around the cord. Cut off excess.
Pro tip: Leave a little slack (1–2 inches) between anchor points. This prevents tension on the cord and looks more natural.
Connect to Power and Test
Before finalizing, plug in the lights and test them.
- Check for dim or flickering bulbs (replace if needed).
- Ensure cords aren’t in high-traffic areas (trip hazard).
- Use cord covers or tape to secure loose cords.
I always test at night. It’s easier to spot issues like uneven spacing or dark spots.
Creative and Aesthetic Design Tips
Great lighting isn’t just about function—it’s about feel. Here’s how to elevate your setup from “meh” to “wow.”
Play with Height and Layers
Don’t keep all lights at the same height. Mix it up:
- Hang some lights 7–8 feet high (for ambiance).
- Add lower lights (5–6 feet) near seating or dining areas.
- Use layered lighting: Combine string lights with lanterns, candles, or path lights.
Example: My patio has high string lights (8 ft) for overall glow and lower fairy lights (5 ft) wrapped around a planter. It feels cozy and inviting.
Choose the Right Bulb and Color
Bulb type matters:
- LEDs: Energy-efficient, cool to touch, long-lasting (25,000+ hours). Choose warm white (2700K–3000K) for a cozy vibe.
- Incandescent: Warmer glow but less efficient and hotter.
- Edison bulbs: Vintage look—great for boho or industrial styles.
Color: Warm white is most popular, but amber, soft yellow, or even color-changing LEDs can create different moods.
Use Shapes and Patterns
Get creative with the layout:
- Zigzag pattern: Run lights diagonally between poles for a dynamic look.
- Canopy effect: Hang lights in a crisscross pattern (like a net) for a starry sky feel.
- Curves and swags: Let lights droop slightly between anchor points for a soft, flowing look.
Tip: Use a light dimmer or smart plug with scheduling to control brightness and timing. I use a timer to turn lights on at sunset and off at 11 PM.
Maintain and Troubleshoot Your Setup
Once your lights are up, keep them looking great all year.
Regular Maintenance Tips
- Inspect monthly: Check for loose hooks, frayed cords, or dead bulbs.
- Clean bulbs: Wipe with a damp cloth (unplugged!) to remove dust and bugs.
- Trim vegetation: Keep plants from growing into the lights.
I do a quick check every spring before using the lights. I replace any damaged bulbs and tighten loose hooks.
Weatherproofing and Seasonal Care
- Use weatherproof covers for connections and plugs.
- Take down in extreme weather (hurricanes, ice storms) if possible.
- Store properly: Coil lights loosely and store in a dry place. I use labeled bins.
For year-round use, invest in all-weather lights and outdoor-rated extension cords.
Common Issues and Fixes
Problem: Lights sag in the middle.
Fix: Add a center anchor or reduce span between hooks.
Problem: Flickering lights.
Fix: Check connections, replace bulbs, or use a surge protector.
Problem: Adhesive hooks fall off.
Fix: Use heavier-duty hooks or switch to screws.
Data Table: Recommended Mounting Methods by Space Type
| Outdoor Space | Best Mounting Method | Tools Needed | Estimated Cost | Difficulty |
|---|---|---|---|---|
| Backyard (open) | Freestanding poles + ground anchors | Drill, concrete, level | $50–$100 | Medium |
| Balcony or Deck | Tension poles + rail clips | Measuring tape, ladder | $30–$70 | Easy |
| Fenced Yard | Eye hooks on fence + zip ties | Screwdriver, drill | $15–$40 | Easy |
| Patio (no fence) | DIY PVC pergola | PVC cutter, zip ties | $40–$80 | Medium |
| Roof Deck | Weighted bases + poles | Sandbags, level | $60–$120 | Medium |
Final Thoughts: Light Up Your Space, Tree or Not
Hanging string lights without trees isn’t just possible—it’s empowering. It means you’re not limited by your landscape. Whether you’re in a high-rise apartment or a modern suburban home, you can create a magical outdoor oasis with a little planning and the right tools. The key is to start small, experiment, and don’t be afraid to try something new.
I’ve learned that the best outdoor lighting setups are the ones that feel authentic—not perfect, but personal. Maybe your lights aren’t perfectly straight, or you used a repurposed umbrella stand as a base. That’s okay. What matters is that they make your space feel like you. So go ahead, grab some lights, pick a method, and get creative. Your dreamy, lit-up outdoor retreat is closer than you think. And who knows? Your neighbor might just knock on your door asking, “How did you do that?”
Frequently Asked Questions
How can I hang string lights outdoors without trees?
You can use structures like fences, pergolas, or walls to anchor your lights. Install hooks, nails, or zip ties on these surfaces to create a stable grid for the lights to drape across.
What are the best ways to put up string lights outdoors without trees using existing structures?
Utilize railings, gutters, eaves, or balcony edges by attaching adhesive hooks or screw-in anchors. This method is ideal for patios, decks, or urban spaces lacking trees.
Can I install string lights on a fence or wall?
Yes, fences and walls work perfectly. Use cup hooks, eye screws, or outdoor-rated clips spaced evenly to support the weight of the lights and prevent sagging.
How to put up string lights outdoors without trees if I have a small yard?
For compact spaces, stretch lights between posts, poles, or even tall planters. Consider freestanding light poles or shepherd’s hooks to create vertical anchors.
Are there damage-free options for hanging string lights on a balcony?
Use removable adhesive hooks, tension rods, or magnetic clips designed for metal railings. These options avoid drilling while securing lights firmly in place.
Do I need special tools to hang string lights without trees?
Basic tools like a drill, ladder, and measuring tape help, but many setups use no-drill solutions like zip ties, clips, or zip tie mounts for quick, easy installation.

