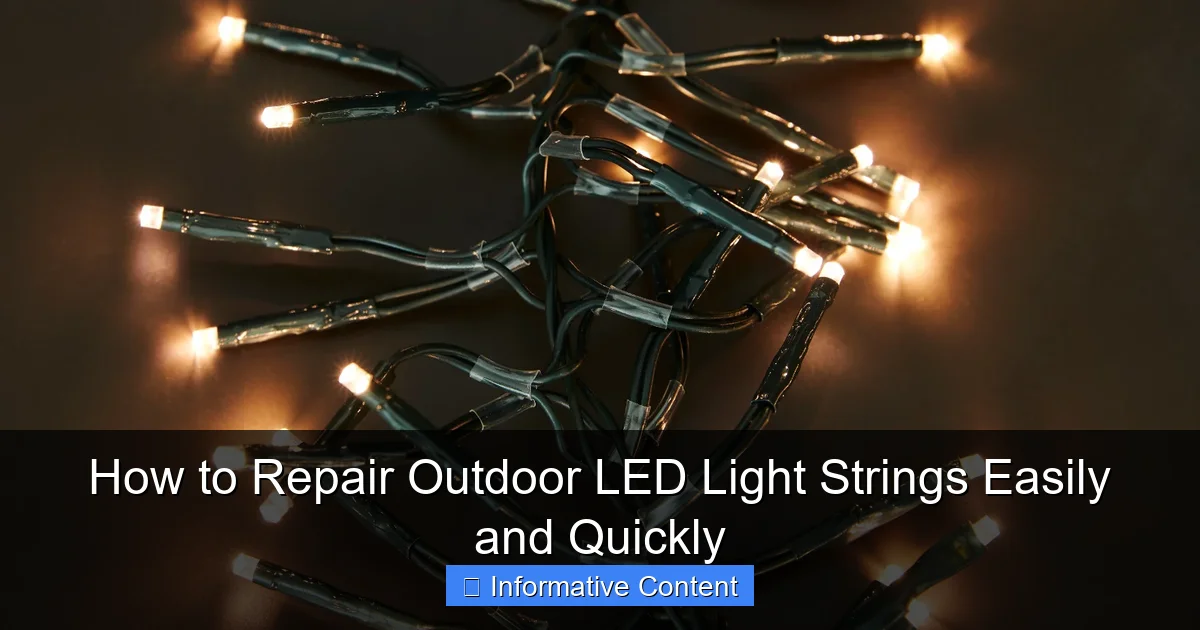
Featured image for how to repair outdoor led light strings
Image source: source.widen.net
Repairing outdoor LED light strings is fast and simple with basic tools and a little troubleshooting know-how. Most issues—like burnt-out bulbs, loose connections, or frayed wires—can be fixed in minutes using a multimeter, replacement bulbs, and waterproof electrical tape. Always test and seal connections properly to ensure long-lasting, weather-resistant performance.
Key Takeaways
- Inspect first: Always check for visible damage before testing circuits or connections.
- Use a multimeter: Quickly identify dead bulbs or faulty sections with voltage testing.
- Replace bulbs properly: Match voltage and base type when swapping out LEDs.
- Seal connections: Waterproof repaired areas with silicone to prevent future failures.
- Test early, test often: Power up after each fix to isolate remaining issues.
- Store correctly: Prevent damage by wrapping lights loosely and keeping dry when not in use.
📑 Table of Contents
- Why Outdoor LED Light Strings Fail (And Why You Shouldn’t Toss Them)
- Understanding Your Outdoor LED Light String: The Basics
- Step-by-Step: How to Diagnose the Problem
- Common Outdoor LED Light String Problems (And How to Fix Them)
- Tools and Materials You’ll Need for Repairs
- Prevention: How to Extend the Life of Your Outdoor LED Lights
- Repair vs. Replace: When It’s Not Worth Fixing
- Final Thoughts: Don’t Toss, Troubleshoot!
Why Outdoor LED Light Strings Fail (And Why You Shouldn’t Toss Them)
Remember that one strand of outdoor LED lights that flickered to life during the holidays, only to go dark halfway through the season? Or the string you left up year-round, now blinking erratically after a summer storm? You’re not alone. Outdoor LED light strings are incredibly popular—durable, energy-efficient, and versatile. But even the best ones don’t last forever. And when they fail, the instinct is often to toss them and buy new. But here’s the good news: most outdoor LED light string problems are fixable.
Whether it’s a single bulb not lighting up, the entire string failing, or a frustrating flicker, these issues often stem from simple, repairable causes. The truth is, LED lights are more resilient than incandescent strings, but they’re not immune to wear and tear. Moisture, temperature shifts, poor connections, or even a single bad bulb can cause the whole strand to go dark. Instead of replacing them every year, learning how to repair outdoor LED light strings can save you money, reduce waste, and extend their life by years.
Understanding Your Outdoor LED Light String: The Basics
Before you dive into repairs, it helps to understand how these lights work. Unlike traditional incandescent bulbs, LEDs (Light Emitting Diodes) are semiconductor devices. They’re tiny, efficient, and designed to last tens of thousands of hours. But when they’re strung together, their performance depends on several factors—wiring, connections, power supply, and even the type of bulb base.

Visual guide about how to repair outdoor led light strings
Image source: ledouxlight.com
Types of Outdoor LED Light Strings
Not all LED strings are created equal. Knowing your type helps diagnose the issue faster.
- Mini LED strings: Small, closely spaced bulbs (50–150 per strand). Often used for wrapping trees or outlining windows. These can be wired in series or parallel.
- C9/C7 LED bulbs: Larger, vintage-style bulbs. Usually used for rooflines or large trees. Each bulb is replaceable and often has its own housing.
- Net lights: Grid-style strings for covering bushes or walls. Great for quick coverage but tricky to troubleshoot.
- Smart LED strings: App-controlled, color-changing, or music-synced. More complex, but often have built-in diagnostics.
For most repairs, the principles are the same—whether you’re fixing a $20 mini strand or a $100 smart setup. But the tools and approach may vary slightly.
How LED Strings Are Wired: Series vs. Parallel
This is crucial. Most outdoor LED strings use one of two wiring methods:
- Series wiring: Bulbs are connected end-to-end. If one fails, the circuit breaks and the whole string goes dark. Common in older or cheaper strings.
- Parallel wiring: Each bulb has its own path to power. If one fails, others stay lit. More reliable and common in higher-quality strings.
You can usually tell by checking the bulb sockets. In parallel strings, each socket has two wires running in and two out. In series, it’s often one in, one out. Knowing your wiring helps you understand why a single dead bulb might kill the whole strand—or why it doesn’t.
Step-by-Step: How to Diagnose the Problem
“My lights aren’t working.” That’s the most common complaint. But before you start cutting wires, slow down. A systematic diagnosis saves time and prevents unnecessary damage.
1. Check the Power Source
It sounds obvious, but start here. Plug the string into a known-working outlet. Use a lamp or phone charger to test the outlet first. If the outlet works, try the light string in a different outlet. Sometimes, outdoor GFCI outlets trip due to moisture and need resetting.
Pro tip: If your string has a transformer (the black box on the plug), check if it’s warm or making a humming noise. A faulty transformer can deliver too much or too little voltage, damaging the LEDs.
2. Inspect the Plug and Fuse
Most outdoor LED strings have a small fuse inside the plug. Over time, power surges or moisture can blow it. Here’s how to check:
- Unplug the string.
- Locate the fuse compartment (usually a tiny slot on the side of the plug).
- Use a screwdriver to open it.
- Check if the fuse is intact (a thin wire inside). If it’s broken or blackened, replace it.
- Most fuses are 3A or 5A, 125V. Match the rating exactly.
One year, my entire patio string went dark. I spent 20 minutes checking bulbs, only to find the fuse had blown after a thunderstorm. A 50-cent replacement saved the whole strand.
3. Look for Physical Damage
Walk the entire length of the string. Check for:
- Frayed or chewed wires (common with squirrels or raccoons).
- Cracked or melted bulb sockets.
- Loose or corroded connections at splices or junctions.
- Water inside sockets (a sign of poor sealing or cracked plastic).
Outdoor lights are exposed to rain, snow, and UV rays. A tiny crack in a socket can let in moisture, causing shorts or corrosion. If you see white or green crusty buildup, clean it with rubbing alcohol and a toothbrush.
4. Test Each Bulb and Socket
This is the most time-consuming step, but it’s essential. For mini LED strings, you can use a light tester (available at hardware stores for under $10). It sends a small current through the circuit and lights up when it hits a working bulb.
For larger C7/C9 bulbs, remove each one and test it in a known-working socket. Or, use a multimeter on the continuity setting. A dead bulb will show no reading.
Quick tip: In series-wired strings, start from the plug end. If the first bulb is dead, the rest won’t light. In parallel strings, test each socket individually.
Common Outdoor LED Light String Problems (And How to Fix Them)
Now that you’ve diagnosed the issue, let’s fix it. Here are the most common problems and their solutions.
Problem 1: The Entire String Is Dark
Causes: Blown fuse, faulty transformer, broken wire, or failed controller (in smart strings).
Solution:
- Replace the fuse (as described above).
- If the transformer is hot or buzzing, replace it. Match voltage and amperage exactly.
- Use a multimeter to check for continuity in the wires. If the reading is “OL” (open loop), there’s a break. Trace the wire and repair with solder and heat-shrink tubing.
- For smart strings, try resetting the controller or re-pairing with the app.
I once had a 200-bulb string go dark. The fuse was fine, but the transformer was fried after a power surge. I replaced it with a generic 12V DC adapter—same specs—and the lights came back to life.
Problem 2: Some Bulbs Are Out, Others Work
Causes: Dead bulbs, loose connections, or corroded sockets.
Solution:
- Replace dead bulbs with identical ones (check wattage, voltage, and base type).
- For mini LED strings, if the wiring is parallel, you can often skip the dead bulb and keep the others lit. But in series, you must replace it or bypass it with a shunt (a small wire or jumper).
- Clean sockets with isopropyl alcohol and a cotton swab. Corrosion can block the connection.
- Wiggle bulbs gently. If they flicker, the socket is loose. Tighten with needle-nose pliers or replace the socket.
One year, half my tree lights were out. I found three loose bulbs—each wiggled just enough to break the circuit. Tightening them fixed the whole strand.
Problem 3: The String Flickers or Flashes Erratically
Causes: Loose bulb, water in socket, failing transformer, or incompatible dimmer (if using one).
Solution:
- Tighten all bulbs and check for moisture.
- Replace the transformer if it’s old or damaged.
- If using a dimmer, make sure it’s rated for LEDs. Incandescent dimmers can cause flickering.
- For smart strings, update the firmware or reset the controller.
Flickering can also happen if the string is too long for the power supply. Most outdoor strings are rated for “end-to-end” connections (e.g., 2–3 strands max). Overloading can cause voltage drop and erratic behavior.
Problem 4: Water Damage or Corrosion
Causes: Cracked sockets, poor sealing, or long-term exposure to rain.
Solution:
- Cut out damaged sockets and splice in new ones. Use waterproof connectors or heat-shrink tubing.
- Apply dielectric grease to sockets before installing bulbs. It prevents corrosion and improves conductivity.
- For severe damage, consider replacing the entire strand. But if only a few sockets are bad, repair is often worth it.
I once found a strand with water inside every other socket. I cut the string in half, removed the bad section, and spliced the good end to a new plug. Saved 50% of the lights.
Tools and Materials You’ll Need for Repairs
You don’t need a full workshop, but a few basic tools make repairs easier and safer.
Essential Tools
- Multimeter: For testing continuity and voltage. A $20 model is fine.
- Light tester: For mini LED strings. Saves time over testing each bulb.
- Needle-nose pliers: For tightening sockets and bending wires.
- Wire strippers: For cutting and splicing wires.
- Soldering iron and solder: For permanent, waterproof connections.
- Heat-shrink tubing and heat gun: For sealing splices.
- Isopropyl alcohol and cotton swabs: For cleaning sockets.
- Dielectric grease: For preventing corrosion.
Replacement Parts
- Extra bulbs (match voltage and base type).
- Fuses (3A or 5A, 125V).
- Waterproof wire connectors.
- Replacement sockets (for mini or C7/C9 bulbs).
- Extra wire (18-gauge, stranded, outdoor-rated).
Keep a small repair kit in your garage. I store mine in a tackle box—bulbs in one compartment, tools in another. It’s saved me more times than I can count.
Prevention: How to Extend the Life of Your Outdoor LED Lights
Repairing is great, but preventing problems is even better. With a few habits, you can double or triple the lifespan of your lights.
1. Install Them Properly
- Use clips, hooks, or zip ties—not nails or staples. They damage wires.
- Avoid wrapping lights too tightly around branches. It stresses the wires.
- Keep plugs and connections off the ground. Use a covered outlet or GFCI box.
2. Protect Against Weather
- Use outdoor-rated lights with IP65 or higher waterproof ratings.
- Apply dielectric grease to bulb sockets before installation.
- Seal splices with heat-shrink tubing or waterproof tape.
- Remove lights after the season if possible. Long-term exposure to UV and moisture degrades plastic and wiring.
3. Use Surge Protectors
Lightning and power surges are a leading cause of transformer and LED failure. Plug your lights into a surge protector or use a GFCI outlet. It’s a small investment for big protection.
4. Store Them Right
- Coil lights loosely—don’t wrap too tightly. It can break internal wires.
- Store in a dry, temperature-controlled space (not the attic or shed).
- Use a storage reel or bag to prevent tangles.
One year, I left my lights coiled too tightly in the attic. The wires kinked and broke. Now I use a cardboard reel and store them in a plastic bin.
5. Inspect Annually
Before each season, unplug and inspect your lights. Look for:
- Bulbs that are loose or discolored.
- Wires that are frayed or brittle.
- Sockets that are cracked or corroded.
A 10-minute check can prevent a full strand failure later.
Repair vs. Replace: When It’s Not Worth Fixing
Repairing is great, but it’s not always the best choice. Here’s when to consider replacing your outdoor LED light strings:
| Issue | Repair Cost | Replace Cost | Verdict |
|---|---|---|---|
| One dead bulb in a parallel string | $0.50–$2 (bulb + labor) | $20–$50 (new strand) | Repair |
| Multiple dead bulbs in a series string | $10–$20 (bulbs + labor) | $20–$50 | Replace (if >30% bulbs dead) |
| Damaged transformer | $15–$30 (replacement) | $20–$50 | Repair (if lights are otherwise good) |
| Widespread water damage | $30+ (splicing, sealing, labor) | $20–$50 | Replace |
| Old, brittle wiring | $40+ (full rewire) | $20–$50 | Replace |
As a rule of thumb: if the repair cost (parts + your time) is more than 50% of the replacement cost, it’s usually better to buy new. But if you enjoy tinkering, or the lights have sentimental value (like a gift from a loved one), repair is absolutely worth it.
Final Thoughts: Don’t Toss, Troubleshoot!
Outdoor LED light strings are a staple of holiday decor, patio ambiance, and year-round charm. When they fail, it’s tempting to throw them away. But with a little patience, the right tools, and this guide, you can bring them back to life—easily and quickly.
Remember: most issues are simple—blown fuses, loose bulbs, or water damage. By understanding your string’s wiring, diagnosing the problem step by step, and using basic repair techniques, you’ll save money, reduce waste, and keep your lights shining for years to come.
And the best part? Every repair is a win. That moment when you plug in the string and see it light up—fully, brightly, perfectly—is incredibly satisfying. So next time your lights go dark, don’t reach for the trash can. Grab your multimeter, take a deep breath, and start troubleshooting. You’ve got this.
Your outdoor LED lights aren’t broken. They’re just waiting for you to fix them.
Frequently Asked Questions
How do I troubleshoot outdoor LED light strings that aren’t turning on?
First, check the power source and ensure the outlet is working. Inspect the fuse in the plug (if applicable) and replace it if blown—this is a common fix for outdoor LED light strings that won’t light up.
Can I repair a single LED bulb that’s not working in the string?
Yes, if one LED is out, try replacing it with a spare or a known-working bulb from the same set. Ensure the new bulb is inserted correctly, as polarity matters for LED strings.
What causes outdoor LED light strings to flicker intermittently?
Loose bulbs, damaged wires, or corroded connections are common culprits. Tighten all bulbs and inspect the cord for cuts or fraying, especially near sockets.
How do I fix water damage in my outdoor LED light strings?
Unplug the lights immediately and dry all components thoroughly. Check for corrosion on sockets and replace any damaged sections—waterproof sealant can help prevent future issues.
Are there tools needed to repair outdoor LED light strings?
Basic tools like wire strippers, electrical tape, and a multimeter can help diagnose and fix issues. A replacement bulb kit for your outdoor LED light strings is also useful.
Can I splice broken wires in my LED light string?
Yes, carefully cut out the damaged section, strip the wires, and connect them with a waterproof wire connector. Cover the splice with heat-shrink tubing or electrical tape for outdoor safety.

