Featured image for how to string christmas lights on outdoor tree
Image source: i.ytimg.com
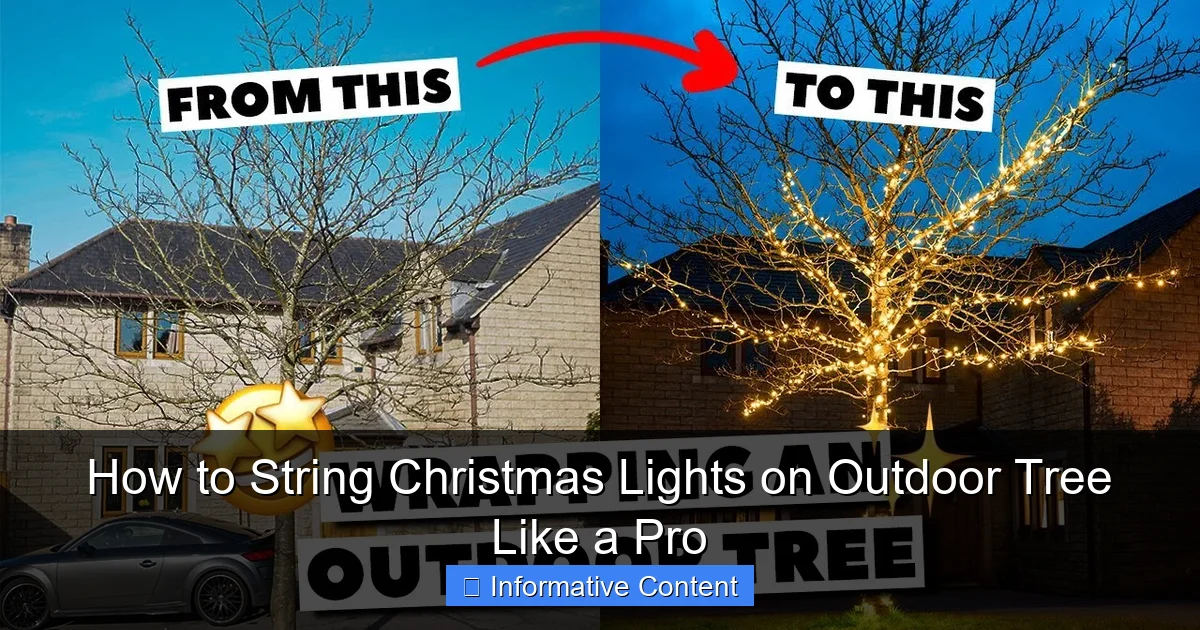
Start by choosing durable, outdoor-rated LED lights and a sturdy ladder for safety—this ensures a bright, long-lasting display. Wrap lights from the trunk outward in spiral layers, securing each strand at the base and tips with insulated clips to prevent slipping and weather damage. For a pro look, vary light density between dense inner layers and spaced outer branches, creating depth and sparkle.
Key Takeaways
- Plan your layout first: Map light placement to avoid tangles and ensure even coverage.
- Use outdoor-rated lights: Ensure safety and durability with weatherproof, UL-certified lighting.
- Start from the trunk: Wrap lights around the trunk before moving to branches for stability.
- Work in layers: Alternate between inner and outer branches for depth and fullness.
- Secure with clips or ties: Prevent slipping and wind damage with proper fasteners.
- Test lights before hanging: Check for faults to avoid mid-installation surprises.
- Keep power sources accessible: Position plugs safely and use GFCI outlets for protection.
📑 Table of Contents
- How to String Christmas Lights on Outdoor Tree Like a Pro
- 1. Choose the Right Christmas Lights for Your Outdoor Tree
- 2. Plan Your Lighting Layout Before You Start
- 3. Gather the Right Tools and Safety Gear
- 4. String the Lights Step-by-Step (With Pro Techniques)
- 5. Maintain and Take Down Your Lights Safely
- 6. Common Mistakes and How to Avoid Them
How to String Christmas Lights on Outdoor Tree Like a Pro
The first time I tried stringing Christmas lights on my backyard oak tree, I ended up tangled in a web of wires, with one strand dangling like a sad icicle and another wrapped around my neighbor’s fence. It was a disaster. But after a few years of trial, error, and a few choice words at the top of a wobbly ladder, I’ve learned how to string Christmas lights on an outdoor tree like a pro—without losing my sanity (or my balance).
Whether you’re lighting up a small ornamental tree or a towering evergreen, the process doesn’t have to be stressful. With the right tools, a smart plan, and a few insider tricks, you can transform your outdoor tree into a dazzling holiday centerpiece. This guide will walk you through every step—from choosing the right lights to avoiding common pitfalls—so you can enjoy a safe, stunning display that wows your neighbors and keeps your lights shining bright all season long.
1. Choose the Right Christmas Lights for Your Outdoor Tree
Before you even touch a strand of lights, it’s crucial to pick the right kind for your outdoor tree. Not all Christmas lights are created equal, and using indoor lights outside is a recipe for short circuits, blown fuses, and possibly even a fire hazard.

Visual guide about how to string christmas lights on outdoor tree
Image source: images-na.ssl-images-amazon.com
Outdoor vs. Indoor Lights: What’s the Difference?
Outdoor Christmas lights are built with weather-resistant materials. They have thicker, UV-protected insulation, waterproof connectors, and are rated for exposure to rain, snow, and temperature swings. Indoor lights, on the other hand, lack these protections and can degrade quickly or become unsafe when used outside.
- Look for the “ETL” or “UL” outdoor rating on the packaging—this means they’ve been tested for safety in outdoor conditions.
- Check the IP (Ingress Protection) rating. For outdoor use, aim for at least IP44, which protects against splashing water and dust.
- Choose LED lights over incandescent—they’re more energy-efficient, generate less heat, and last up to 25 times longer.
Types of Lights: Which Style Works Best?
Different light styles create different effects. Here’s a quick breakdown:
- Mini lights (twinkle lights): Classic and versatile. Great for wrapping trunks and branches. Available in warm white, cool white, or multicolor.
- C9 or C7 bulbs: Larger, vintage-style bulbs. Best for outlining tree shapes or creating bold, retro displays.
- Net lights: Pre-strung grids that drape over bushy trees. Ideal for evergreens or shrubs with dense foliage.
- String lights with timers or app control: Convenient for automatic on/off. Some even change colors or patterns.
Pro tip: For tall or wide trees, mix light types. Use mini lights for wrapping, and add net lights or C9 strands for depth and visual interest.
How Many Lights Do You Need?
As a general rule, use 100 lights per foot of tree height for a full, even look. For example:
- A 6-foot tree = ~600 lights
- An 8-foot tree = ~800 lights
- A 12-foot tree = ~1,200 lights
For wider trees (like a mature maple or fir), add 20–30% more lights to cover the spread. Don’t skimp—too few lights look sparse and underwhelming.
2. Plan Your Lighting Layout Before You Start
I used to just start wrapping lights from the bottom and hope for the best. Spoiler: it never worked. Planning your layout is the secret to a professional-looking display. It saves time, prevents tangles, and ensures even coverage.
Sketch a Simple Tree Diagram
Grab a piece of paper and draw a side view of your tree. Mark:
- Main trunk and major branches
- Where you’ll start and end the lights
- Any obstacles (e.g., bird feeders, power lines, nearby structures)
This sketch helps you visualize the flow. For example, you might decide to:
- Wrap the trunk in a spiral from bottom to top
- Follow major branches outward, then back toward the trunk
- Use net lights on lower, bushy sections
Decide on a Lighting Technique
There are several proven ways to string lights, each with pros and cons:
- Spiral (or helix) wrap: Start at the base and wrap the lights around the trunk in a spiral, moving upward. Best for narrow or columnar trees. Creates a clean, modern look.
- Branch-by-branch: Start at the top of the trunk and work outward along each major branch, then return to the trunk. Great for wide, spreading trees. Ensures even coverage.
- Web (or radial) method: Anchor lights at the top center and run strands out to the branch tips, like spokes. Works well for symmetrical evergreens.
- Combination approach: Use spiral on the trunk and branch-by-branch on limbs. Most effective for large, complex trees.
My go-to: Spiral the trunk, then branch-by-branch on major limbs. It’s balanced, easy to follow, and looks full from all angles.
Test Your Lights and Power Supply
Before climbing, test every strand indoors. Plug them in, check for dead bulbs, and ensure all timers or controllers work. Nothing’s worse than reaching the top of a ladder only to find half the lights don’t turn on.
Also, plan your power source:
- Use a weatherproof outdoor outlet or GFCI-protected extension cord.
- Keep cords off the ground and away from walkways to prevent tripping.
- Use outdoor-rated extension cords (look for “SJTW” or “SJEO” on the label).
- Don’t overload circuits—check your home’s electrical load capacity.
3. Gather the Right Tools and Safety Gear
You don’t need fancy equipment, but having the right tools makes the job safer and faster. I’ve learned the hard way that skipping this step leads to frustration and avoidable injuries.
Essential Tools Checklist
- Sturdy ladder (6–12 feet, depending on tree height): Choose a ladder with slip-resistant feet. A step ladder works for small trees; an extension ladder is better for tall ones.
- Light-hanging tool or hook pole: A telescoping pole with a hook (like a “light hanger” or “tree light tool”) lets you place lights high up without climbing repeatedly. I use mine constantly.
- Zip ties or outdoor-rated light clips: Secure lights to branches without damaging bark. Avoid nails or staples—they can harm the tree.
- Gloves (work or gardening gloves): Protect your hands from rough bark, thorns, and cold.
- Headlamp or flashlight: Essential for early mornings or late afternoons when it’s dark.
- Bucket or tote bag: Carry tools, extra bulbs, and zip ties as you work.
Prioritize Safety: Ladder and Weather Tips
- Always have a spotter: Ask a friend or family member to hold the ladder and hand you tools. Never work alone if possible.
- Check the weather: Avoid windy, icy, or rainy days. Wet bark and slippery ladders are a dangerous combo.
- Inspect your ladder: Look for loose rungs, cracks, or rust. Set it on level, stable ground—use ladder levelers if needed.
- Don’t overreach: Move the ladder frequently instead of stretching too far. A good rule: your belt buckle should stay between the ladder’s side rails.
- Wear closed-toe shoes: Avoid sandals or flip-flops—slippery soles are a hazard.
Real-life lesson: Last year, I ignored a forecast for light rain, thinking it would hold off. By the time I reached the top, the trunk was slick, and my ladder started sliding. My neighbor (who became my spotter) saved me. Lesson learned: when in doubt, wait it out.
4. String the Lights Step-by-Step (With Pro Techniques)
Now comes the fun part—putting up the lights! Follow these steps for a smooth, efficient process.
Step 1: Start at the Bottom
Begin at the base of the trunk, near your power source. Plug in the first strand and secure the end with a zip tie or clip. This anchor point keeps the lights from slipping as you work.
Tip: If using a spiral wrap, leave 6–12 inches of slack at the start to allow for movement as you climb.
Step 2: Wrap the Trunk
For a spiral:
- Hold the strand at a 30–45 degree angle.
- Wrap around the trunk, moving upward every 8–12 inches.
- Keep tension even—don’t pull too tight (it can damage bark) or too loose (it looks sloppy).
- Secure every few feet with a zip tie or clip.
Pro move: Use a light-hanging tool to reach higher sections. Attach the strand to the hook, lift it into place, and guide it around the trunk from below.
Step 3: Move to the Branches
Once the trunk is covered:
- Start at the top of the trunk and work outward along a major branch.
- Wrap the lights around the branch, spacing them every 4–6 inches.
- When you reach the tip, loop back toward the trunk (don’t cut the strand).
- Secure the end at the trunk and move to the next branch.
For bushy trees: Use net lights on lower, dense sections. Drape them like a blanket and secure with clips. They’re faster and cover more area.
Step 4: Connect Strands (Without Overloading)
Most LED strands can be connected end-to-end, but don’t exceed the manufacturer’s limit (usually 20–25 strands). Overloading can cause voltage drop, making lights dim or flicker.
When connecting:
- Use outdoor-rated connectors or twist-on wire nuts.
- Seal connections with electrical tape or silicone gel to prevent moisture damage.
- Run extension cords parallel to the trunk, not through branches.
Step 5: Fill in Gaps and Adjust
Once all strands are up, step back and look from multiple angles. Fill in sparse areas with additional lights or adjust spacing. Use extra clips to secure loose strands.
Final check: Turn the lights on at night. Look for dark spots, flickering bulbs, or sagging strands. Make adjustments as needed.
5. Maintain and Take Down Your Lights Safely
Great lighting isn’t just about setup—it’s about upkeep. Proper maintenance keeps your display looking fresh and prevents damage to your tree and lights.
Weekly Check-Ups
Once a week, inspect your lights:
- Look for frayed wires, loose bulbs, or water in sockets.
- Replace any damaged strands immediately.
- Check that clips and zip ties are secure—wind can loosen them.
- Clear debris (leaves, snow) from light strands.
Weatherproofing Tips
- Use outdoor-rated light clips that grip bark without cutting into it.
- For snowy climates, install lights above snow level (e.g., start wrapping at 4–5 feet).
- Cover connectors with waterproof covers or plastic bags (taped securely).
- If a storm hits, unplug lights temporarily to avoid surges.
How to Take Down Lights Without Damage
When the season ends, don’t just yank them down. Follow these steps:
- Unplug all strands and turn off timers.
- Remove clips and zip ties carefully—don’t pull on the wires.
- Unwrap strands gently, starting from the top.
- Coil each strand loosely (use a cardboard reel or your arm) to prevent tangles.
- Store in a cool, dry place—avoid attics or damp basements.
Bonus tip: Label strands by location (e.g., “trunk,” “north branch”) to make next year’s setup easier.
6. Common Mistakes and How to Avoid Them
Even pros make mistakes. Here are the top pitfalls—and how to steer clear.
Mistake 1: Overloading the Tree
Too many lights can weigh down branches, especially on young or weak trees. Stick to the 100-lights-per-foot rule, and avoid piling on extra strands for “just a little more sparkle.”
Mistake 2: Using Damaging Fasteners
Nails, screws, and metal staples can injure the tree and create entry points for pests. Always use plastic clips, zip ties, or fabric straps.
Mistake 3: Ignoring the Power Source
Using indoor extension cords or overloading circuits is dangerous. Always:
- Use outdoor-rated cords and outlets.
- Plug into a GFCI outlet to prevent shocks.
- Keep cords off the ground and away from water.
Mistake 4: Poor Planning
Starting without a layout leads to uneven coverage and wasted time. Spend 10 minutes sketching your plan—it saves hours of frustration.
Mistake 5: Forgetting the Spotter
Working alone on a ladder is risky. Even a short fall can cause injury. Always have someone nearby to help.
Data Table: Recommended Tools and Supplies
| Tool/Supply | Recommended Type | Why It Matters |
|---|---|---|
| Christmas Lights | LED, outdoor-rated (IP44+), 100 per foot of height | Energy-efficient, weather-resistant, long-lasting |
| Ladder | 6–12 ft, slip-resistant, with stabilizer | Safe access to higher branches |
| Light-Hanging Tool | Telescoping pole with hook (e.g., Tree Light Tool) | Reduces ladder climbs, prevents overreaching |
| Fasteners | Plastic clips or zip ties (outdoor-rated) | Secure lights without damaging bark |
| Extension Cords | Outdoor-rated (SJTW), GFCI-protected | Prevents shocks and overloads |
| Gloves | Work or gardening gloves (padded) | Protects hands from cold, bark, and thorns |
Stringing Christmas lights on an outdoor tree doesn’t have to be a stressful chore. With the right lights, a solid plan, and a few smart tools, you can create a magical display that lasts all season. Remember: start small, work safely, and don’t rush. Take breaks, enjoy the process, and don’t forget to step back and admire your work under the stars.
Whether you’re lighting up a family heirloom tree or a new sapling, the effort you put in will pay off in joy, warmth, and maybe even a few compliments from the neighbors. And when the lights finally sparkle against the night sky, you’ll know—it was worth every zip tie and ladder climb.
Frequently Asked Questions
How do you string Christmas lights on an outdoor tree without tangling them?
Start by testing your lights and untangling them indoors. Work in sections, wrapping the trunk and larger branches first while securing plugs to avoid snags. Keep the strand taut but not too tight to prevent damage.
What’s the best way to hang Christmas lights on tall outdoor trees?
Use a pole with a hook attachment or a ladder with a stabilizer for hard-to-reach branches. Always prioritize safety by working with a partner and avoiding power lines. Opt for LED lights, which are lighter and easier to manage.
How many Christmas lights do I need for an outdoor tree?
Measure your tree’s height and trunk diameter: a general rule is 100 lights per foot of tree height. For a fuller look, add 20–30% more lights, especially for larger or densely branched trees.
Can you leave outdoor Christmas lights on all night?
Yes, but use a timer to limit runtime (6–8 hours is ideal) and reduce energy use. Choose UL-rated outdoor lights with weatherproof sockets to ensure safety during prolonged use.
How do you secure Christmas lights on an outdoor tree without damaging it?
Use plastic clips or zip ties designed for outdoor lights, spacing them every 6–12 inches. Avoid nails or staples, which can harm the tree and create fire hazards.
What type of Christmas lights work best for outdoor trees?
Choose LED C9 or mini lights with a weatherproof rating (IP44 or higher) for durability. These are energy-efficient, brighter, and safer for outdoor conditions like rain or snow.

