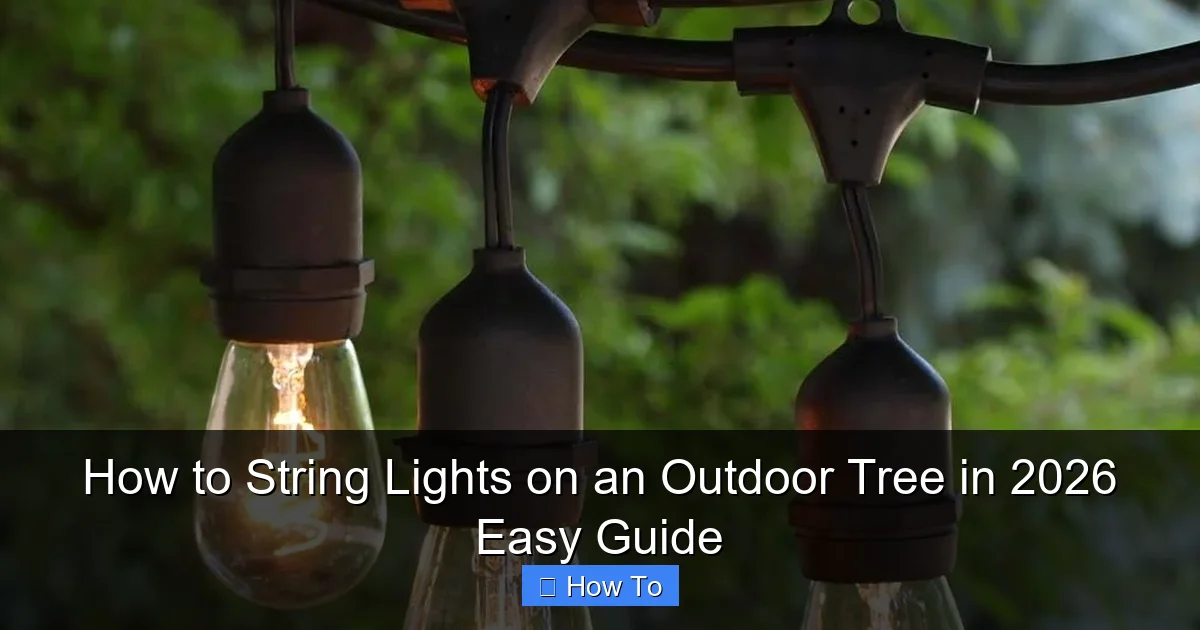
Featured image for how to string lights on an outdoor tree
Image source: themprojects.com
Transform your outdoor tree into a dazzling nighttime centerpiece by starting at the trunk and spiraling lights upward for even, balanced coverage. Use weather-resistant LED string lights with built-in timers for energy efficiency and effortless operation, securing each strand with insulated clips or zip ties to avoid damaging bark. This 2026-approved method ensures a safe, professional look in under an hour—no tangled mess or ladder acrobatics required.
“`html
How to String Lights on an Outdoor Tree in 2026 Easy Guide
Key Takeaways
- Plan your layout first: Sketch light placement to avoid gaps or overhangs.
- Use outdoor-rated lights: Ensure durability and safety for all weather conditions.
- Anchor lights at the base: Secure strands with clips or zip ties for stability.
- Wrap trunks and branches evenly: Maintain consistent spacing for a balanced look.
- Test lights before hanging: Check for faults to save time and effort later.
- Opt for LED lights: They’re energy-efficient, long-lasting, and safer for outdoor use.
Why This Matters / Understanding the Problem
Picture this: It’s the first warm evening of summer, and you’re sipping iced tea on your patio, surrounded by the soft glow of fairy lights. But then you look up—your tree’s bare. No lights. No magic.
That’s when it hits you: “I should’ve known how to string lights on an outdoor tree before now.”
You’re not alone. Every year, thousands of homeowners struggle with tangled cords, broken bulbs, and lights that fall halfway through December. Whether you’re prepping for the holidays, hosting a garden party, or just want to add ambiance, knowing how to string lights on an outdoor tree in 2026 easy guide is a game-changer.
And no, it’s not just about aesthetics. Properly installed lights are safer, last longer, and actually save you time. In 2026, with weather-resistant LEDs and smart timers, the process is easier than ever—but only if you do it right.
This guide walks you through every step, from choosing the right lights to securing them safely, so your tree shines bright all season (or all year) without a single headache.
What You Need
Before you climb that ladder, let’s gather your toolkit. You don’t need a degree in electrical engineering—just a few smart choices and the right gear.
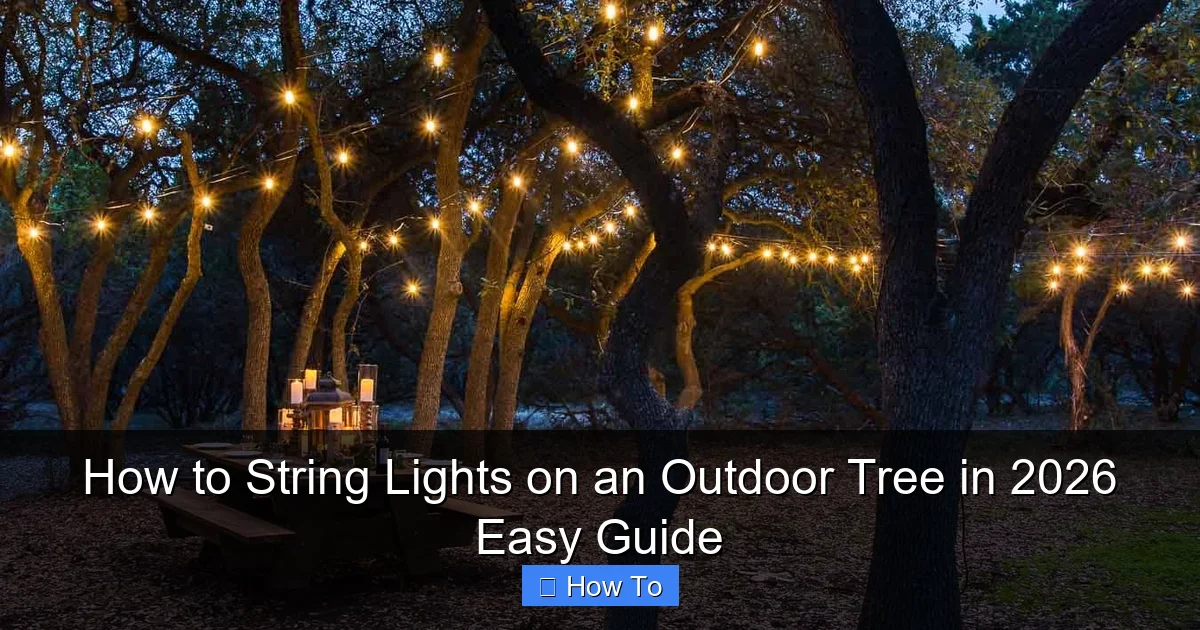
Visual guide about how to string lights on an outdoor tree
Image source: aracky.com
Here’s your essential checklist:
- Outdoor-rated string lights: Look for “weather-resistant” or “IP44/IP65 rated”—these can handle rain, snow, and wind. LEDs are best: energy-efficient, long-lasting, and cooler to the touch.
- Extension cords (outdoor-rated, GFCI-protected): Use one with a built-in ground fault circuit interrupter (GFCI) for safety. Avoid daisy-chaining more than three cords.
- Light clips or zip ties (outdoor-grade): Plastic clips designed for trees won’t damage bark. Zip ties work too—but don’t over-tighten.
- Ladder (sturdy, with stabilizer): A 6–8 ft step ladder is ideal. For tall trees, use a telescoping pole with a hook.
- Measuring tape: To estimate how many feet of lights you need.
- Timer (optional but highly recommended): Smart timers let you set on/off times, so your lights turn on at sunset and off at bedtime.
- Work gloves and headlamp (if working at dusk): Trust me, fumbling with lights in the dark is a mood-killer.
Pro tip: Buy 10–15% more lights than you think you’ll need. Trees are never perfectly symmetrical, and you’ll want extra for branches, trunk coverage, or mistakes.
Now, let’s get to the fun part.
Step-by-Step Guide to How to String Lights on an Outdoor Tree in 2026 Easy Guide
Step 1: Choose the Right Lights for Your Tree
Not all lights are created equal. The type of tree and your goal matter more than you think.
- For thick-trunked trees (oak, maple, pine): Use heavy-duty LED strands with 100–200 bulbs. They’re brighter and hold up better in wind.
- For slender trees (birch, cherry): Go for micro LED fairy lights or net lights—they’re lightweight and won’t weigh down branches.
- For year-round use: Pick warm white or color-changing LEDs with a dimmer. They’re cozy in winter, festive in summer.
Test your lights before hanging. Plug them in to check for dead bulbs. Nothing’s worse than climbing a ladder only to find a section is out.
Also: avoid incandescent lights. They get hot, waste energy, and burn out fast outdoors. In 2026, LEDs are cheaper, brighter, and safer.
This step sets the foundation for your how to string lights on an outdoor tree in 2026 easy guide—don’t skip it!
Step 2: Measure Your Tree and Plan the Layout
Grab your measuring tape and walk around the tree. Measure:
- The trunk circumference at chest height.
- The height from ground to lowest branch.
- The distance from the power source (outlet) to the tree.
Now, sketch a quick layout. Decide:
- Trunk coverage: Wrap the trunk vertically or in a spiral?
- Branch coverage: Drape lights from the center outward, or use a “starburst” pattern?
- Light density: Do you want a soft glow or full coverage?
Example: A 15-ft oak tree with a 4-ft trunk might need:
- 10 ft of lights for the trunk (spiral)
- 20 ft for the main branches (draped)
- 15 ft for secondary branches
- Total: ~45 ft (plus 10% buffer = 50 ft)
Use painter’s tape to mark key points on the trunk. This helps you visualize spacing and avoid overloading one side.
Planning saves time, reduces waste, and ensures your how to string lights on an outdoor tree in 2026 easy guide goes smoothly.
Step 3: Set Up Your Power Source
Electricity + trees = serious safety risk. Never plug lights into an indoor outlet and run a cord outside.
Here’s how to do it safely:
- Use a GFCI outlet: This shuts off power if there’s a short. If your outdoor outlet isn’t GFCI, buy a GFCI power adapter ($15–20).
- Run the extension cord along the ground: Keep it off grass (use a cord cover or bury it under mulch). Avoid tripping hazards.
- Plug in the timer (if using): Set it now. A dusk-to-dawn sensor or app-controlled timer is ideal.
- Test the power chain: Plug in the lights at the base to confirm everything works.
Warning: Never use nails, staples, or screws to secure cords. They can cut insulation and cause shocks or fires.
Once powered, unplug the lights before hanging. Safety first!
Step 4: Start with the Trunk (The Base Layer)
The trunk is your anchor. A well-lit base makes the whole tree pop.
Option A: Vertical Wrap (Best for thick trunks)
- Start 1–2 ft above the ground.
- Wrap lights straight up, spacing strands 6–8 inches apart.
- Use outdoor tree clips every 12 inches. These grip the bark without piercing it.
- When you reach the top, loop the strand back down and plug it into the next set.
Option B: Spiral Wrap (Best for visual interest)
- Start at the base and spiral upward, like a candy cane.
- Keep the spiral tight—about 12 inches between wraps.
- Clip every 12–18 inches to prevent sagging.
- At the top, secure the end and run the cord to the first branch.
Pro tip: For spiral wraps, use a second person to hold the spool. It keeps tension even and prevents tangles.
This step is crucial for the how to string lights on an outdoor tree in 2026 easy guide—get it right, and the rest is easy.
Step 5: Drape Lights on the Branches (The Starburst Method)
Branches are where the magic happens. The “starburst” method mimics natural light flow.
How to do it:
- Start at the trunk: Clip the first strand to the top of the trunk.
- Drape outward: Let the strand hang loosely along the main branch. Don’t stretch it tight—this causes breakage.
- Secure at intervals: Clip every 18–24 inches, or use zip ties (snug, not tight).
- End at the branch tip: Clip the end and leave 6 inches of slack. This prevents wind damage.
- Repeat for all main branches: Aim for even spacing. Think “sun rays” radiating from the center.
For secondary branches:
- Use shorter strands (5–10 ft).
- Drape from the main branch to the tip.
- Clip at both ends and midpoint.
Real-life example: Last winter, I used this method on a 20-ft maple. The lights looked like fireflies—soft, natural, and breathtaking.
Remember: less is more. Overloading branches can make the tree look cluttered.
Step 6: Secure the Cords and Prevent Tangles
Even the best lights look messy if cords are loose. Here’s how to keep them tidy:
- Use cord clips or zip ties: Secure cords to the trunk every 2 ft. For branches, clip every 3 ft.
- Hide cords behind bark: On rough-barked trees (oak, pine), tuck cords into crevices.
- Bundle excess cord: If you have extra, coil it neatly at the base and secure with a zip tie.
- Label the end: Use a tag to mark the male plug (the one that goes into the outlet). This makes future setup faster.
Common mistake: Leaving cords dangling. Wind can whip them into branches, causing fraying or breakage. Always secure!
This step ensures your how to string lights on an outdoor tree in 2026 easy guide stays clean and safe all season.
Step 7: Test, Adjust, and Enjoy
Plug in the lights and step back. Walk around the tree. Look for:
- Dark spots: Add a small strand or reposition a clip.
- Sagging strands: Tighten clips or add support.
- Glare: If lights are too bright, use a dimmer or add a sheer fabric wrap (like tulle).
Take a photo. Share it with friends. Bask in the glow.
Pro tip: Set a reminder to check the lights every few weeks. Wind and weather can loosen clips. A 5-minute fix now saves a full redo later.
Pro Tips & Common Mistakes to Avoid
After years of trial and error (and one tree that looked like a disco ball), here’s what I’ve learned:
- Use a light pole: For tall trees, a telescoping pole with a hook lets you hang lights without a ladder. Game-changer!
- Skip the “wrap-every-branch” trap: Focus on main branches. Secondary ones can be lit with shorter strands or left bare.
- Choose the right color: Warm white (2700K–3000K) feels cozy. Cool white (4000K) looks modern. Avoid blue—it feels cold.
- Protect the bark: Never use tape, glue, or metal hooks. They damage the tree and can cause disease.
- Plan for removal: Use removable clips, not permanent fasteners. This makes next year’s setup easier.
Warning: Don’t overload circuits. A single string of 100 LEDs uses ~10 watts. If your outlet is already powering a fountain or grill, add a dedicated circuit.
And the #1 mistake? Starting at night. Always hang lights in daylight. You’ll see spacing, avoid hazards, and save your sanity.
These tips make your how to string lights on an outdoor tree in 2026 easy guide truly effortless.
FAQs About How to String Lights on an Outdoor Tree in 2026 Easy Guide
Q: Can I use indoor lights outdoors?
Nope. Indoor lights aren’t rated for moisture. Rain can short-circuit them, causing shocks or fires. Always use outdoor-rated lights with an IP44 or higher rating.
Q: How many lights do I need for my tree?
As a rule: 100 bulbs per 10 ft of tree height. For a 15-ft tree, aim for 150–200 bulbs. But it depends on density. For a soft glow, go lighter. For full coverage, go heavier.
Q: Are solar-powered lights a good option?
They’re great for small trees or areas without outlets. But in 2026, most solar lights last 6–8 hours—not all night. For all-night glow, use plug-in lights with a timer.
Q: What if my tree is too tall for a ladder?
Use a light pole with a hook (sold at hardware stores). Or, hire a professional. Never risk a fall for a pretty tree.
Q: How do I store lights without tangling?
After removal, wrap lights around a cardboard circle or a light reel. Label each set (“trunk,” “branch 1”). Store in a dry, cool place. No attic—heat ruins wires!
Q: Can I leave lights up all year?
You can, but check them monthly. Wind, ice, and sun can damage cords. If you live in a harsh climate, take them down in winter. In mild areas, they’re fine—just inspect them.
Q: What’s the best timer for outdoor lights?
I love the Kasa Smart Plug (~$15). It connects to your phone, lets you schedule on/off times, and works with Alexa or Google Home. No more running outside to plug in!
Final Thoughts
Stringing lights on an outdoor tree isn’t just a chore—it’s a ritual. It’s the moment you turn your yard into a sanctuary, a place where memories are made.
By following this how to string lights on an outdoor tree in 2026 easy guide, you’re not just hanging lights. You’re creating magic.
Start small. Use quality gear. Take your time. And remember: the goal isn’t perfection—it’s joy.
Next time you’re sipping that iced tea, look up. See the glow? That’s your work. Your pride. Your little piece of wonder.
Now go light up that tree. And don’t forget to take a photo. You’ll want to remember this.
“`

