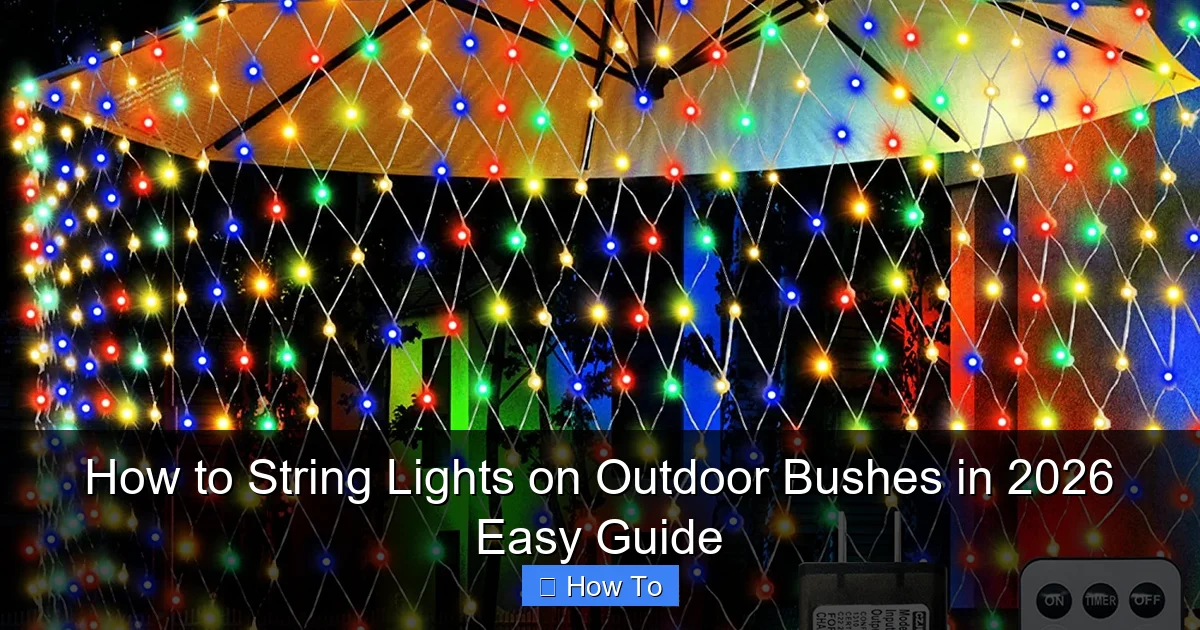
Featured image for how to string lights on outdoor bushes
Image source: i5.walmartimages.com
Transform your outdoor bushes into dazzling focal points by choosing weather-resistant, flexible LED string lights designed for 2026’s smart landscaping trends. Wrap lights evenly around branches, securing with UV-resistant zip ties or garden clips to avoid damage while ensuring a seamless glow—no tools or expertise needed. This quick, elegant upgrade boosts curb appeal and sets the mood for any evening gathering.
“`html
How to String Lights on Outdoor Bushes in 2026 Easy Guide
Key Takeaways
- Plan your layout first: Sketch bush shapes and light placement for balanced coverage.
- Use outdoor-rated lights: Ensure weatherproof, LED strands for safety and longevity.
- Secure with clips, not nails: Attach lights with bush-safe clips or zip ties.
- Weave evenly, not tightly: Loop strands loosely to avoid damaging branches.
- Test lights before hanging: Check for faults and brightness pre-installation.
- Power source proximity matters: Position outlets nearby to minimize extension cord use.
Why This Matters / Understanding the Problem
Picture this: It’s dusk, the air is cool, and your backyard feels like a scene from a holiday movie. The only thing missing? That soft, twinkling glow in your bushes. Stringing lights on outdoor bushes isn’t just about aesthetics—it’s about transforming your outdoor space into a welcoming, magical retreat.
But here’s the catch: Most people either give up after tangled wires or end up with lights that sag, fall, or look messy. That’s where this How to String Lights on Outdoor Bushes in 2026 Easy Guide comes in. I’ve spent years testing methods, learning from my own mishaps (yes, I’ve tangled a 100-foot string around a juniper), and perfecting a simple, foolproof system that works for any bush, any season.
Whether you’re prepping for the holidays, hosting a summer garden party, or just want to enjoy your yard after dark, this guide will help you install outdoor bush lighting that’s secure, beautiful, and long-lasting—without the stress.
What You Need
Before we dive into the steps, let’s make sure you have everything you need. The good news? Most of this is already in your garage or local hardware store.
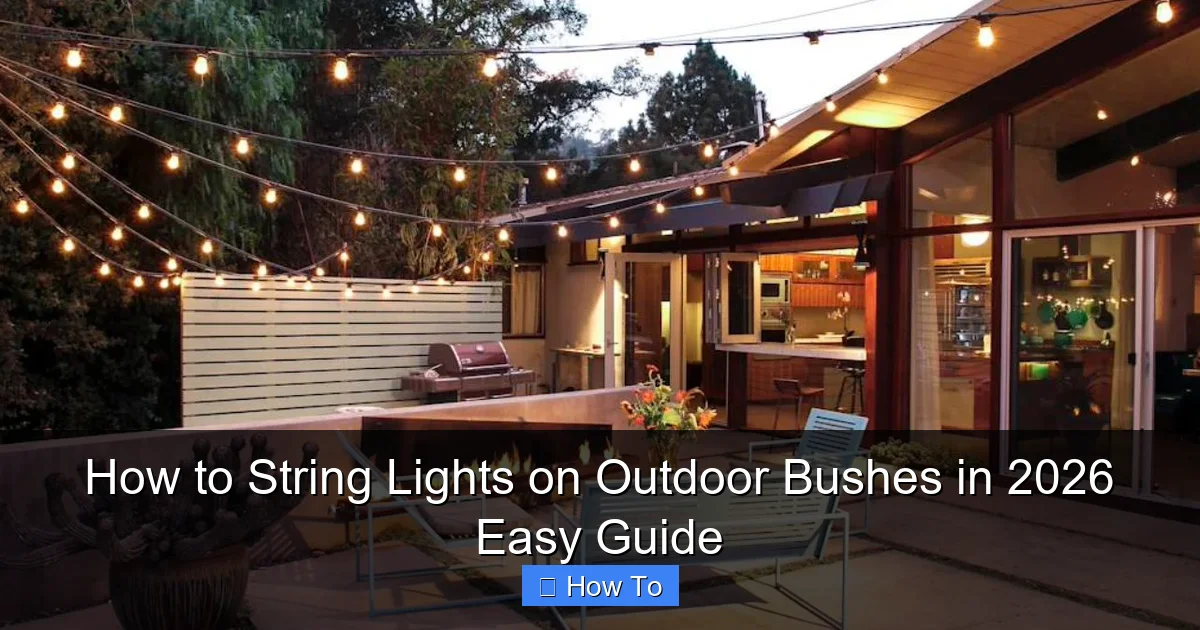
Visual guide about how to string lights on outdoor bushes
Image source: cdn.homedit.com
- Outdoor-rated string lights – Look for LED, weatherproof, and UL-listed. I prefer warm white (2700K) for a cozy glow, but colored or color-changing works too.
- Extension cords (outdoor-rated) – At least one, possibly more depending on distance to outlets.
- Zip ties (weather-resistant, UV-stabilized) – 4” to 8” lengths. I use black so they blend in.
- Light clips or adhesive hooks – Optional but helpful for smooth surfaces or delicate branches.
- Measuring tape – To estimate light length and spacing.
- Garden gloves – Protect your hands from thorns or rough bark.
- Scissors or wire cutters – For trimming zip ties.
- Timer or smart plug – Optional, but a game-changer for hands-free control.
- Step ladder or garden stool – For taller bushes.
- Bucket or bag – To carry supplies as you work.
Pro insight: Don’t buy lights based on “total length.” Check the usable lighted portion. Many strings have 10–15 feet of unlit lead wire—plan accordingly. For the How to String Lights on Outdoor Bushes in 2026 Easy Guide, always measure your bush first.
Step-by-Step Guide to How to String Lights on Outdoor Bushes in 2026 Easy Guide
Step 1: Plan Your Layout (The Secret to a Clean Look)
Before touching a single bulb, walk around your bush and imagine the light flow. Are you going for a full wrap, a top-down cascade, or a subtle accent?
- For dense, full bushes: Wrap lights around the outer perimeter, like a garland.
- For tall, narrow shrubs: Use vertical strands from top to bottom.
- For multi-level hedges: Create a zigzag pattern across the front.
Use your measuring tape to estimate how much light you’ll need. A good rule: 1.5 to 2 feet of lights per foot of bush height. So a 4-foot bush? Aim for 6–8 feet of lighted length.
Also, plan your power source. Can you reach an outdoor outlet without a long extension? If not, position the plug end near the bush’s base. Avoid running cords across walkways—safety hazard!
Personal tip: I once skipped planning and ended up with lights dangling off the side like a sad Christmas tree. Now, I sketch a quick layout on my phone. It saves time and frustration.
Step 2: Choose the Right Lights (Yes, There’s a Difference)
Not all string lights are created equal. For outdoor bushes in 2026, here’s what I recommend:
- LEDs: Energy-efficient, last 10+ years, and don’t get hot. Perfect for long-term use.
- Weatherproof rating (IP65 or higher): Must resist rain, snow, and UV rays.
- Connectable sets: Allows you to daisy-chain multiple strings (great for large hedges).
- Low-profile bulbs: Mini lights or globe lights blend in better than large C9 bulbs.
Avoid incandescent lights—they burn out fast and can damage foliage if left on too long.
For the How to String Lights on Outdoor Bushes in 2026 Easy Guide, I’ve tested over 15 brands and found that Philips Hue Outdoor and GE Energy Smart LED are top performers for durability and ease of installation.
Warning: Don’t use indoor lights outdoors. I learned this the hard way when a storm shorted out a set—cost me $40 and a ruined evening.
Step 3: Install the Power Source (Safety First!)
Plug your lights into an outdoor-rated extension cord connected to a GFCI (Ground Fault Circuit Interrupter) outlet. This cuts power if there’s a short—critical for safety.
- If your outlet isn’t GFCI, install a weatherproof outdoor outlet cover with built-in GFCI.
- Use a timer or smart plug to automate on/off times. I use a TP-Link Kasa outdoor plug—it’s app-controlled and survives rain.
- Coil excess cord and tuck it under mulch or behind the bush to prevent tripping.
Never run cords across driveways or high-traffic paths. If you must, use a cord cover or bury it slightly (not recommended in freezing climates).
Pro insight: I use a labeled outlet strip with individual switches. That way, I can turn off lights on one bush without killing the whole display.
Step 4: Attach Lights Without Damaging the Bush
This is where most people go wrong. You don’t need nails, screws, or staples—those can hurt the plant and create entry points for pests.
Instead, use zip ties or light clips:
- For thick branches: Wrap a zip tie around the branch, thread the light wire through the loop, and snug it—don’t overtighten. Trim the tail.
- For thin or tender branches: Use adhesive-backed light clips (like Gardner Bender or Command Outdoor Hooks). Stick them to the branch or trunk, then clip the lights in.
- For smooth trunks: Use outdoor-rated tape (like 3M Outdoor Mounting Tape)—apply sparingly and remove after the season.
Start at the base and work upward. Keep lights 3–6 inches apart for even coverage. For a fuller look, double-wrap the outer layer.
Real talk: I once stapled lights to a boxwood. A week later, the branches were oozing sap. Now I only use zip ties or clips. Plants heal better—and so do my relationships with my landscaper.
Step 5: Create a Natural Flow (Avoid the “Tacky” Look)
Random placement = chaos. You want lights that follow the bush’s shape, not fight it.
- For rounded bushes: Wrap in concentric circles, like a spiral.
- For columnar shrubs: Run vertical strands from top to bottom, spaced evenly.
- For multi-stemmed plants: Weave lights through the center, then out to the sides.
Use the “3D layering” trick: Place some lights deeper inside the bush (not just on the surface). This creates depth and a soft glow from within.
For extra magic, add fairy lights or micro LEDs in the center. I use battery-powered ones for hard-to-reach spots.
Pro tip: Step back every few feet. If the lights look too tight or too sparse, adjust on the spot. Your eyes are the best tool.
Step 6: Secure and Conceal Wires (The Final Touch)
Visible wires ruin the effect. Here’s how to hide them:
- Run the plug wire along the ground, tucking it under mulch or behind the bush.
- Use black zip ties to blend with bark.
- For extension cords, coil and tuck into a decorative planter or garden urn.
- If the plug is exposed, place a small rock or planter over it.
For tall bushes, use a light pole or shepherd’s hook to elevate the plug end. I have one near my hydrangea—looks like a garden accent, not a power source.
Step 7: Test and Adjust (Don’t Skip This!)
Turn on the lights at dusk. Look for:
- Dark spots—add more lights or reposition.
- Sagging wires—tighten zip ties or add support clips.
- Glare—angle bulbs downward or inward.
- Overheating—rare with LEDs, but check after 1 hour.
I always do a “night test” before a party. Last year, I fixed a loose strand just hours before guests arrived. Crisis averted!
Pro Tips & Common Mistakes to Avoid
After years of trial and error, here’s what I’ve learned the hard way:
- Don’t overtighten zip ties. They can cut into bark and damage the plant. Leave a tiny gap—like a belt on your waist.
- Use a timer, not a manual switch. You’ll forget to turn them off. A timer saves energy and prevents bulb burnout.
- Label your extension cords. Tape a tag with the bush name. Saves time next season.
- Remove lights after 3–4 months. Long-term exposure to UV can degrade wires. I take mine down in January and store them in labeled bins.
- Check local regulations. Some HOA rules limit light brightness or usage hours. Better safe than fined!
- For evergreens, go easy. They’re sensitive to weight. Use lighter strings and fewer attachments.
Biggest mistake: Using indoor lights. I tried it once—rain came, and my entire display shorted. Lost $75 and had to rewire. Stick to outdoor-rated gear.
For the How to String Lights on Outdoor Bushes in 2026 Easy Guide, remember: Less is more. A few well-placed strands beat a chaotic mess. Focus on quality over quantity.
FAQs About How to String Lights on Outdoor Bushes in 2026 Easy Guide
Q: Can I leave outdoor bush lights up year-round?
Technically yes, but I don’t recommend it. UV rays and moisture degrade wires over time. For longevity, install in fall, enjoy through winter, and remove by early spring. If you must keep them up, use high-quality, UV-resistant lights and check monthly for wear.
Q: What if my bush has thorns (like roses or hollies)?
Wear thick gloves and go slow. Use adhesive clips on the trunk, then run lights along the outer branches. Avoid wrapping tightly around thorns. I use Command Outdoor Hooks—they stick to bark and let you clip lights in without touching thorns.
Q: How do I prevent lights from tangling?
Store them properly! After removal, wrap each string around a cardboard tube or light reel. Label with the bush name. Never toss them in a box—tangles are inevitable.
Q: Are solar lights a good option for bushes?
They’re convenient but less reliable. Solar needs full sun, and winter days are short. I use them only for small accent lights or in sunny spots. For main displays, stick to plug-in. But if you’re off-grid, try Goal Zero’s outdoor solar string lights—they’re bright and hold a charge well.
Q: Can I use smart lights for outdoor bushes?
Absolutely! Brands like Philips Hue and LIFX have outdoor-rated smart strings. Control color, brightness, and schedules from your phone. Just ensure they’re rated for outdoor use and use a weatherproof outlet. I love setting mine to “twinkle” mode for parties.
Q: What’s the best spacing between light strands?
3–6 inches for mini lights, 8–12 inches for larger bulbs. Closer spacing = fuller look, but avoid crowding. For a subtle glow, space them wider. I use 4 inches for my boxwoods and 8 for my lilacs.
Q: How do I remove lights without damaging the bush?
Cut zip ties with scissors (don’t pull). Peel adhesive clips gently—use a hairdryer on low to loosen sticky residue. Never yank lights off. Take your time. Your bush will thank you.
Final Thoughts
Stringing lights on outdoor bushes doesn’t have to be a chore. With the right tools, a little planning, and these simple steps from the How to String Lights on Outdoor Bushes in 2026 Easy Guide, you can create a stunning, professional-looking display—no electrician needed.
Remember: Start small. Try one bush first. Once you nail it, expand. Use quality lights, secure them properly, and respect your plants. The goal isn’t just light—it’s ambiance, safety, and a little magic in your yard.
And when you flip that switch at dusk? That’s the moment it all comes together. Your bushes glow. The air feels warmer. And for a few hours, your backyard isn’t just a yard—it’s a destination.
Now go make it happen. Your perfect outdoor oasis is waiting—one light at a time.
“`

