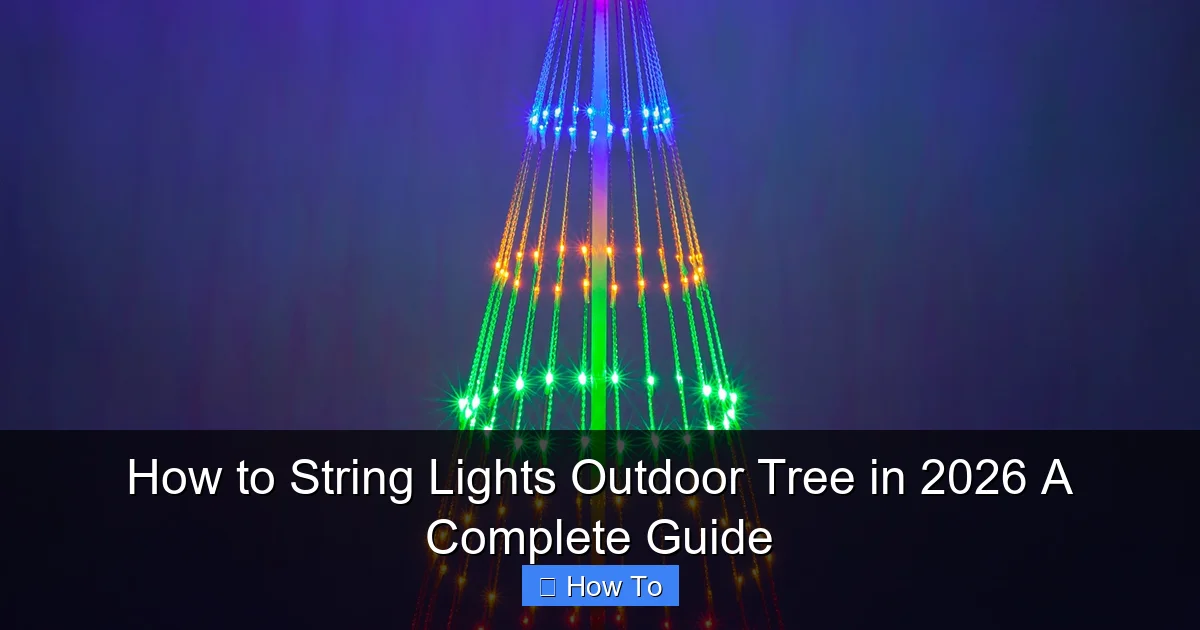
Featured image for how to string lights outdoor tree
Image source: cdn.christmaslightsetc.com
Transform your outdoor space in 2026 by safely and securely stringing lights on trees using commercial-grade, weather-resistant LED strands and non-damaging clips or hooks. This guide walks you through planning your layout, measuring tree circumference, and installing lights from the trunk outward for a professional, dazzling effect. With smart timers and layered lighting techniques, you’ll create a stunning, energy-efficient display that enhances your landscape all season long.
How to String Lights Outdoor Tree in 2026 A Complete Guide
Key Takeaways
- Plan your layout first: Sketch light placement to avoid over- or under-lighting.
- Choose weatherproof lights: Ensure IP65+ rating for durability in all conditions.
- Start from the trunk: Wrap lights upward in a spiral for even coverage.
- Use insulated clips: Secure lights without harming bark or branches.
- Test before installing: Check bulbs and connections to prevent mid-process failures.
- Time it right: Install lights after leaves drop for easier access and visibility.
Why This Matters / Understanding the Problem
Let’s be honest—there’s something magical about trees wrapped in twinkling lights. It’s not just about holiday cheer; it’s about transforming your backyard into a cozy, inviting oasis. Whether you’re planning a summer BBQ, a winter gathering, or just want to enjoy a starry night under your own “sky,” knowing how to string lights outdoor tree in 2026 a complete guide can make all the difference.
But here’s the catch: doing it right isn’t as simple as tossing lights over branches and hoping for the best. I’ve learned this the hard way—after one too many tangled messes, flickering strands, and lights that barely lasted a season. The truth? Outdoor tree lighting is a mix of art, engineering, and a little bit of patience.
With weather changes, tree growth patterns, and evolving LED tech, the methods from five years ago might not cut it in 2026. That’s why this guide is built around current best practices, safety, and long-term durability. Whether you’ve got a towering oak or a delicate dogwood, this how to string lights outdoor tree in 2026 a complete guide will help you avoid the headaches and create something truly beautiful.
Real Talk: I once spent three hours wrapping a maple, only to realize I’d used indoor-rated lights that shorted out in the first rain. Learn from my mistakes—always check the IP rating and use outdoor-rated fixtures.
What You Need
Before you start, let’s get your toolkit ready. You don’t need a professional electrician—just the right gear and a little prep. Here’s what I always keep on hand:

Visual guide about how to string lights outdoor tree
Image source: cdn.trendir.com
- Outdoor-rated LED string lights (look for “weatherproof” or “IP65” rating)
- Extension cords (outdoor-rated, GFCI-protected)
- Light clips or zip ties (tree-safe, UV-resistant)
- Ladder (sturdy, with rubber grips)
- Measuring tape (to estimate how much light you need)
- Gloves (for grip and protection)
- Timer or smart plug (optional, but game-changing)
- Tree wrap or soft fabric strips (for delicate bark)
- Drill with small bit (if using permanent hooks)
Pro Insight: I always buy 10–15% more lights than I think I need. Trees have a way of eating up extra length, especially around the trunk and main branches.
Bonus: If you’re going for a permanent setup, consider solar-powered lights or low-voltage landscape lighting kits. They’re pricier upfront but save energy and wiring hassle in the long run.
Step-by-Step Guide to How to String Lights Outdoor Tree in 2026 A Complete Guide
Alright, let’s get into the nitty-gritty. This how to string lights outdoor tree in 2026 a complete guide breaks down the process into simple, doable steps—no electrical degree required.
Step 1: Choose the Right Lights for Your Tree and Climate
Not all string lights are created equal. In 2026, the market is flooded with options, but not all are suited for outdoor trees. Here’s what to look for:
- LED bulbs: Energy-efficient, last 50,000+ hours, and generate less heat.
- Weatherproof rating (IP65 or higher): Protects against rain, snow, and dust.
- Flexible, tangle-resistant wiring: Saves time and frustration.
- Connectable strands: Lets you link multiple sets without overloading.
For example, I used to buy cheap “outdoor” lights from big-box stores—only to find they cracked in the cold. Now I stick with brands like Philips Hue Outdoor or Twinkly (for app-controlled color and patterns).
Also, consider the color temperature. Warm white (2700K–3000K) feels cozy and natural. Cool white (4000K+) can feel too clinical. And if you want something fun, RGB color-changing lights are great for parties.
Tip: If you live in a snowy area, avoid heavy glass bulbs. They can break under ice buildup. Stick with plastic or shatterproof LEDs.
Step 2: Measure Your Tree and Plan the Layout
Grab your measuring tape and ladder. You’ll want to map out:
- Trunk circumference (wrap the tape around the base)
- Height from ground to lowest branch
- Main branch lengths and spacing
- Distance to the nearest power source
Now, sketch a rough plan. I like to use a simple method:
- Trunk wrap: Spiral up the trunk from bottom to top.
- Branch draping: Hang lights from branch tips toward the trunk (like a chandelier).
- Canopy fill: Weave through the crown for a “floating” effect.
For a 20-foot oak, I usually need 3–4 strands of 25-foot lights. For a smaller ornamental tree, one or two strands may suffice.
Warning: Don’t wrap lights too tightly. Trees grow, and you don’t want to strangle the trunk or branches. Use slack loops or removable clips.
Step 3: Prepare the Tree and Work Area
Safety first. Clear the area around the tree. Remove tripping hazards like garden tools or hoses. If you’re using a ladder, place it on level ground—no leaning on branches.
Check for:
- Dead or weak branches (prune them first)
- Power lines overhead (never drape lights near them)
- Animal nests or insects (respect their space)
If your tree has thin or sensitive bark (like birch or maple), wrap the trunk with soft fabric strips or use tree-friendly clips that don’t pierce the bark.
Also, plan your power access. Can you run an extension cord safely? Is there a GFCI outlet nearby? If not, consider a weatherproof outdoor outlet box or a solar-powered hub.
Step 4: Start at the Trunk (The Foundation)
This is the backbone of your design. Begin at the base, just above the root flare (where the trunk meets the soil).
Here’s how I do it:
- Attach the first light clip or zip tie to the trunk (about 12 inches up).
- Wrap the lights in a spiral pattern, moving upward at a 45-degree angle.
- Keep the spacing even—about 6–8 inches between wraps.
- Every few feet, secure the strand with a clip to prevent sagging.
- When you reach the first major branch, loop the lights around the branch base before continuing up the trunk.
The goal? A smooth, flowing look that highlights the tree’s shape—not a tangled mess.
Personal Hack: I use a bungee cord to temporarily hold the light strand while I climb the ladder. It keeps tension and prevents drooping.
Step 5: Drape the Branches (The Drama)
Now for the fun part—adding sparkle to the canopy. There are two main styles:
- Chandelier style: Hang lights from branch tips toward the trunk. Use clips or zip ties to secure the end of each strand.
- Weave style: Run lights back and forth across the canopy, like a web. Great for dense trees.
For chandelier style:
- Start at the end of a long, sturdy branch.
- Attach a clip or tie the light strand to the tip.
- Let it hang down 1–2 feet, then loop it back up to the trunk.
- Secure the return point with another clip.
- Repeat on other branches, varying the drop length for depth.
For weave style:
- Start at one side of the canopy.
- Run the lights across to the opposite side, securing with clips every 12–18 inches.
- Loop back in the opposite direction, creating a crisscross pattern.
- Keep tension even to avoid sagging.
Pro tip: Use different colored or shaped bulbs on different branches to create visual interest. I once used warm white on the trunk and soft blue on the outer branches—it looked like moonlight filtering through.
Step 6: Connect and Test the Lights
Now that everything’s up, it’s time to plug it in—but test first.
Before connecting to power:
- Double-check all clips and ties are secure.
- Ensure no wires are dangling near the ground or water.
- Verify all connections are tight and protected.
Plug in the lights. If they don’t turn on:
- Check the outlet (use a lamp to test).
- Inspect for loose plugs or damaged wires.
- Try a different strand to isolate the issue.
Once they’re on, step back and assess:
- Are there dark spots? Add another strand.
- Is it too bright or too dim? Adjust spacing or add dimmers.
- Do the lights sway in the wind? Add more clips or use a heavier-duty strand.
Warning: Never leave lights on overnight without a timer or smart plug. It’s a fire hazard and wastes energy.
Step 7: Secure the Power Source and Add Finishing Touches
Your lights are up and shining—now protect them.
- Use a GFCI outlet or power strip to prevent electrical shocks.
- Bury extension cords under mulch or use cord covers (but never under concrete or heavy furniture).
- Install a timer or smart plug (I use a TP-Link Kasa that turns lights on at sunset and off at 10 PM).
- Label the outlet so you know which switch controls the tree.
For a polished look:
- Hide the power source behind a bush or planter.
- Use light covers or frosted bulbs to soften harsh glare.
- Add outdoor ornaments like glass balls or wind chimes for extra charm.
Step 8: Maintain and Store (When the Season Ends)
Even the best setup needs care. At the end of the season (or when you’re ready to take them down):
- Turn off the power and unplug.
- Remove clips and ties gently—don’t pull on the wires.
- Inspect for damage, frayed wires, or burnt-out bulbs.
- Store in a cool, dry place (I use labeled bins with silica gel packs).
If you’re doing a permanent setup, consider in-ground conduits or solar-powered hubs to avoid yearly re-wiring.
Pro Tips & Common Mistakes to Avoid
After years of trial and error, here’s what I wish I’d known earlier:
Pro Tip 1: Use removable clips instead of nails or screws. They don’t damage the tree and are easier to adjust.
Pro Tip 2: Test your lights before hanging them. Nothing’s worse than climbing a ladder to find a dead strand.
Pro Tip 3: Add extra slack near the power source. Trees sway, and wires stretch. A 2-foot loop prevents tension.
Common Mistake 1: Overloading the circuit. Most outdoor outlets handle 15–20 amps. Don’t plug in 10 strands plus a heater.
Common Mistake 2: Ignoring tree growth. Wraps that are too tight can girdle the tree. Use flexible materials and check annually.
Common Mistake 3: Using indoor lights outdoors. They’ll fail fast. Always check the IP rating—IP65 or higher is best.
And one last thing: don’t rush. I used to try to finish in one evening. Now I break it into two sessions—trunk one day, branches the next. It’s less stressful and the results are better.
FAQs About How to String Lights Outdoor Tree in 2026 A Complete Guide
Can I leave outdoor tree lights up year-round?
Technically, yes—but I don’t recommend it. Constant exposure to sun, rain, and wind shortens lifespan. Plus, you risk damaging the tree. For a permanent look, use low-voltage landscape lighting or solar-powered strands designed for long-term use.
What’s the best way to avoid tangled lights?
Store them properly! I use a light reel or wrap them around a cardboard tube. Never just toss them in a bin. Also, look for non-tangle wire designs when buying new lights.
Are solar-powered string lights worth it?
Absolutely—especially in 2026. Modern solar lights are brighter, last longer, and charge faster. I use Twinkly Solar for my patio tree. Just make sure the panel gets 6+ hours of sunlight daily.
How do I light a very tall tree?
Use a pole hook or fishing line method. Tie a lightweight string to a rock, throw it over a high branch, then use it to pull up the lights. Or, hire a professional with a lift—safety first!
Can I use smart lights for outdoor trees?
Yes! Brands like Philips Hue Outdoor and Nanoleaf Shapes Outdoor offer app control, voice commands, and scheduling. Just ensure they’re rated for outdoor use and protected from direct rain.
What if my tree has thin or peeling bark?
Use soft fabric wraps or foam-padded clips. Avoid anything that pierces the bark. For extra protection, install a tree guard around the base.
How often should I check the lights?
At least once a season. Look for frayed wires, loose clips, or dead bulbs. Also, check the power source and timer settings. A quick 10-minute check can prevent big issues.
Final Thoughts
Stringing lights on an outdoor tree isn’t just about decoration—it’s about creating a feeling. That warm glow at dusk, the way the lights dance in the breeze, the smiles on your guests’ faces. It’s magic you can build yourself.
This how to string lights outdoor tree in 2026 a complete guide gives you the tools, tips, and confidence to do it right. No more tangled messes, no more flickering failures. Just a beautiful, safe, and lasting display.
So grab your lights, your ladder, and a little patience. Start small—maybe just the trunk this year. Add more next season. The key is to enjoy the process, not rush it. And remember: trees grow, weather changes, and lights evolve. What works in 2026 might need a tweak in 2027. That’s okay. It’s part of the fun.
Now go light up your world—one tree at a time.

