Featured image for how to string outdoor led lights
Image source: cactus.pk
Master the art of stringing outdoor LED lights in 2026 with smart planning, durable mounting, and weather-resistant gear for a flawless, pro-level glow. Choose high-quality, energy-efficient LEDs and map your layout using clips or channels—never nails or staples—to protect wires and surfaces. With the right tools and a clean installation, you’ll create a stunning, long-lasting display that wows all year.
“`html
How to String Outdoor LED Lights Like a Pro in 2026
Key Takeaways
- Plan your layout first: Sketch light placement to avoid gaps or overloads.
- Use weatherproof connectors: Prevent corrosion with outdoor-rated, insulated connections.
- Secure lights properly: Attach with clips or hooks, not nails or staples.
- Measure power needs: Stay under 80% of circuit capacity for safety.
- Test before installing: Check bulbs and wiring to save troubleshooting time.
- Opt for smart controls: Schedule on/off times and adjust brightness remotely.
Why This Matters / Understanding the Problem
Imagine this: you’ve just hosted a backyard barbecue, the sun has set, and your patio is still buzzing with laughter. Then—poof—the lights go out. Not because the power failed, but because your DIY string light setup sagged, tangled, or just plain looked amateurish.
If you’ve ever struggled with droopy wires, flickering bulbs, or lights that won’t stay put, you’re not alone. Many of us want to create a magical outdoor ambiance with how to string outdoor LED lights like a pro in 2026, but without the right know-how, it can feel like wrestling with a glow-in-the-dark octopus.
The truth? Stringing outdoor LED lights isn’t just about aesthetics. It’s about safety, longevity, and creating an environment that feels warm and inviting. Whether you’re lighting up a pergola, a garden path, or your entire backyard, doing it right means fewer headaches and more “oohs” and “aahs” from your guests.
In this guide, I’ll walk you through everything I’ve learned—after years of trial, error, and one particularly tragic incident involving a squirrel and a tangled mess—so you can skip the frustration and get straight to that perfect glow.
What You Need
Before we dive into the nitty-gritty, let’s talk tools and materials. You don’t need to be an electrician or a landscape designer to pull this off. A few smart choices will make all the difference.
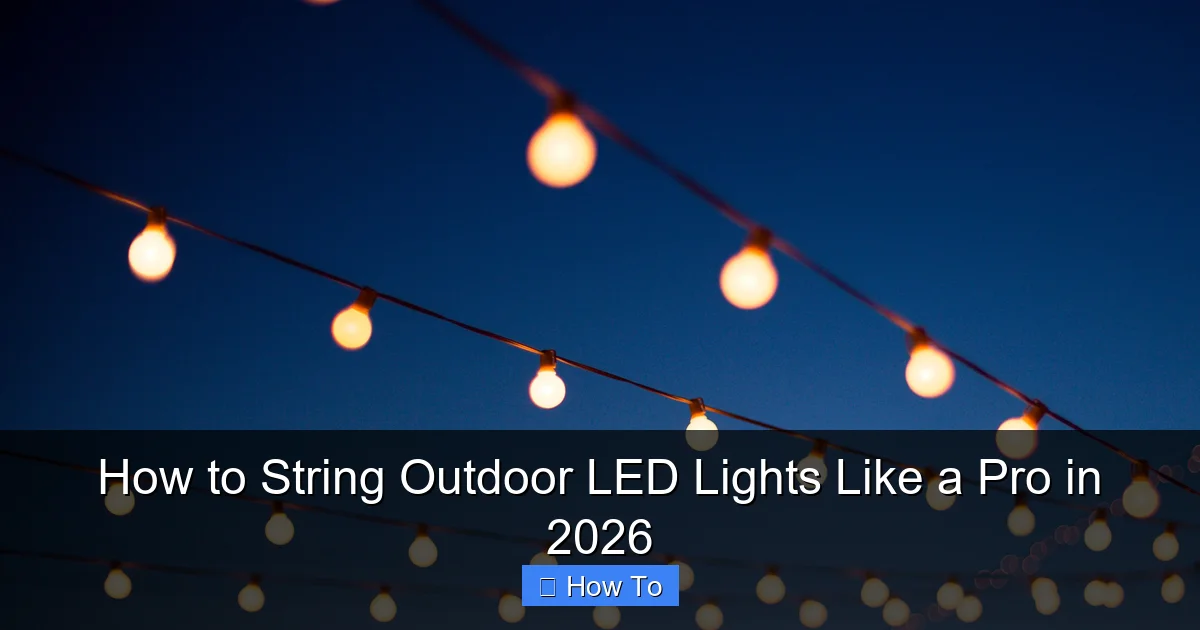
Visual guide about how to string outdoor led lights
Image source: thespruce.com
- Outdoor-rated LED string lights (look for “wet-rated” or “weatherproof” on the label)
- Extension cords (outdoor-rated, grounded) – avoid daisy-chaining more than 3–4 sets
- Weather-resistant zip ties or cable clips – plastic or rubber-coated, not metal that rusts
- Stainless steel or vinyl-coated wire (optional, for support) – great for long runs or heavy lights
- Measuring tape – trust me, eyeballing leads to uneven spacing
- Drill with masonry or wood bits – if you’re attaching to walls or posts
- Screws, hooks, or eye bolts – stainless steel or coated to resist rust
- Step ladder (or extension ladder) – safety first, always
- Timer or smart plug (optional but highly recommended) – so your lights turn on automatically
- Marker or chalk – for marking attachment points
Pro tip: Buy 10–15% more lights than you think you’ll need. It’s easier to trim excess than to scramble for more mid-install.
Warning: Never use indoor lights outside. The insulation can degrade in UV light and moisture, creating fire hazards. Always check the packaging for “suitable for outdoor use.”
Step-by-Step Guide to How to String Outdoor LED Lights Like a Pro in 2026
Alright, let’s get into the real work. I’ll break this down into clear, doable steps—just like I do with my own setup every spring.
Step 1: Plan Your Layout (Sketch It Out)
Before you touch a light, grab a piece of paper or use a free app like SketchUp Free or even Google Slides. Sketch your space: the patio, trees, pergola, fence, etc.
Ask yourself:
- Where do I want the glow to be strongest? (e.g., dining area, lounge zone)
- Are there natural anchor points? (trees, eaves, posts)
- Will the lights follow a shape? (rectangle, zigzag, canopy)
- Where are the power sources? (outlets, extension cords)
For example, I once tried to string lights across a wide backyard without a support wire—big mistake. The center sagged so much, it looked like a hammock for fireflies. Now, I always plan for a central support line if the span is over 15 feet.
This is where how to string outdoor LED lights like a pro in 2026 starts: with a plan, not a power drill.
Step 2: Choose the Right Lights for Your Space
Not all LED string lights are created equal. Here’s how to pick the right type:
- Bulb shape: Globe (soft, ambient), Edison (vintage, cozy), or fairy (twinkly, delicate)
- Color temperature: Warm white (2700K–3000K) for intimacy, cool white (4000K+) for a crisp, modern look
- Brightness (lumens): 100–200 lumens per bulb is ideal for mood lighting
- Spacing: 4–8 inches between bulbs gives a balanced look
- Connectable sets: Look for “end-to-end” or “stackable” so you can add more without extra cords
I personally love warm white Edison-style bulbs for dining areas—they cast a golden glow that makes everyone look good. For pathways, I use brighter, spaced-out fairy lights for visibility.
And yes, smart LED lights (like Philips Hue Outdoor) are worth the extra cost if you want color-changing or app control. But for most, simple plug-and-play sets work just fine.
Step 3: Install Support Structures (If Needed)
Long runs or heavy lights need support. Here’s how to do it right:
- For pergolas or eaves: Use stainless steel eye bolts or heavy-duty hooks. Pre-drill holes to avoid splitting wood.
- For trees: Use soft tree straps (never nails or screws) to protect bark. Wrap around the trunk or a strong branch.
- For open spaces (e.g., backyard): Install temporary poles (like 2x4s or metal stakes) or use a central support wire.
For support wires, I use vinyl-coated steel cable (like picture wire). Run it taut between two anchor points, then hang your lights from it using small S-hooks or zip ties. This prevents sagging and distributes weight evenly.
Pro tip: Tension the wire with a turnbuckle so you can adjust it later. I learned this after a winter storm nearly snapped my pergola lights.
Step 4: Measure and Mark Attachment Points
Use your layout sketch to measure and mark where each hook, clip, or anchor will go.
For even spacing:
- Measure the total length of the run
- Divide by the number of bulbs (or desired spacing)
- Mark every 4–6 feet with chalk or a marker
Example: If your run is 24 feet and you want 6-foot spacing, mark at 0, 6, 12, 18, and 24 feet.
This step saves you from the “oops, I ran out of lights” or “why is this side shorter?” frustration. Trust me—measuring twice saves stringing once.
Step 5: Install the Hardware
Now it’s time to drill, screw, or strap. Take your time here—rushing leads to crooked hooks or stripped screws.
For walls:
- Drill pilot holes (slightly smaller than the screw)
- Insert anchors if needed (especially in stucco or brick)
- Attach hooks or eye bolts
For trees:
- Wrap tree straps around the trunk or branch
- Secure with the buckle (don’t over-tighten)
- Attach a small hook or loop to the strap
For fences or posts:
- Use outdoor-rated screws or heavy-duty zip ties
- Ensure the attachment won’t damage the surface
Tip: If you’re renting or don’t want to drill, use removable adhesive hooks (like Command Outdoor) for light-duty setups. Just don’t hang heavy strings on them.
Step 6: String the Lights (Start from the Power Source)
This is the fun part! But don’t just start hanging—always start from the power source and work outward.
Why? So you don’t end up with a long cord dangling in the middle of your beautiful setup.
Here’s how:
- Plug in the first string near the outlet
- Hang the first bulb at your starting point
- Move to the next marked point, hang the next bulb, and so on
- Use zip ties or clips every 2–3 feet to secure the cord
If you’re using a support wire:
- Attach the lights to the wire with S-hooks or zip ties
- Let the cord hang loosely—don’t pull it taut
For corners or turns:
- Use a hook or clip to redirect the string
- Don’t bend the cord sharply—it can damage the wiring
I once tried to “save time” by hanging lights first, then plugging in. The cord snaked through my entire setup, and I had to take half of it down to fix it. Lesson learned.
Step 7: Secure and Tidy the Cords
Messy cords = messy vibes. Use zip ties, clips, or conduit to keep everything clean.
For long runs:
- Use zip ties every 2–3 feet
- Snip off excess with wire cutters (not scissors)
For downspouts or poles:
- Use outdoor-rated conduit (flexible plastic tube)
- Route cords through it for a sleek look
For ground-level cords:
- Use cord covers (like rubber ramps) to prevent tripping
- Or bury them slightly under mulch or gravel
I use black zip ties for a low-profile look—they blend in with the lights and hardware.
Step 8: Test and Adjust
Before you celebrate, plug it in and check:
- Are all bulbs working?
- Is the spacing even?
- Are the cords secure and not sagging?
- Is the overall effect what you imagined?
If a bulb is out, try replacing it. If a section is too bright or dim, adjust spacing. If it sags, add another support point.
This is your chance to tweak before guests arrive. I always test at dusk—it’s the best time to see how the lights really look.
Step 9: Add Smart Features (Optional)
Want to go pro? Add:
- A timer – so lights turn on at sunset and off at bedtime
- A smart plug – control with your phone or voice assistant
- Dimmer switch – for adjustable brightness
- Color-changing lights – for holidays or moods
I use a smart plug with a sunset-to-sunrise timer. My lights turn on automatically every evening—no fumbling with switches.
Pro Tips & Common Mistakes to Avoid
After years of doing this, here’s what I wish I knew sooner:
Pro Tip 1: Use a zip tie tensioner (a $10 tool) to tighten zip ties evenly. It prevents over-tightening, which can cut into the cord insulation.
Pro Tip 2: For sloped areas (like a roof or hill), run lights horizontally, not vertically. Vertical lines can look like a waterfall—unless that’s the vibe you want.
Pro Tip 3: Leave a small loop at the end of each string (like a “tail”). It makes it easier to unplug and store without stressing the plug.
Common Mistake 1: Daisy-chaining too many sets. Most manufacturers say “max 3–4 sets.” I once connected 6—the voltage drop made the last ones flicker like a haunted house. Stick to the limit.
Common Mistake 2: Ignoring weatherproofing. Even “outdoor” lights can fail if water gets into the plugs. Use outdoor-rated extension cords and consider a weatherproof outlet cover.
Common Mistake 3: Overcrowding. More lights don’t always mean better. A few well-placed strings can create more drama than a tangled mess. Less is often more.
And one last thing: store lights properly in winter. Coil them loosely, store in a dry place, and avoid folding the bulbs. I use a labeled plastic bin—no more “where did I put the lights?” panic every spring.
FAQs About How to String Outdoor LED Lights Like a Pro in 2026
You’ve got questions—I’ve got answers from real experience.
Q: Can I leave outdoor LED lights up all year?
A: It depends. If they’re rated for extreme weather (look for IP65 or higher), and your hardware is rust-proof, yes. But I take mine down in winter to prevent ice damage and prolong their life. Better safe than sorry.
Q: How do I prevent sagging over long distances?
A: Use a support wire (vinyl-coated steel cable) and hang the lights from it. Or install additional poles or hooks every 10–15 feet. Think of it like a clothesline—tension is key.
Q: Are solar-powered LED lights a good option?
A: They’re great for small areas (like garden paths) and no wiring. But they’re dimmer and may not charge well in shade. For a full patio setup, I prefer plug-in—more reliable and brighter.
Q: Can I string lights around a tree trunk?
A: Yes, but use tree straps or soft cord—never nails or wire. Wrap loosely and check annually to avoid girdling (cutting off the tree’s circulation).
Q: How do I fix a burnt-out bulb?
A: Most LED strings have replaceable bulbs. Unscrew the dead one and swap in a new one. If the whole string is dead, check the fuse in the plug (some have a small reset button).
Q: What’s the best way to store the lights when not in use?
A: Coil them loosely (don’t wrap tightly), place in a plastic bin, and store in a dry, cool place. I use a labeled bin with silica gel packs to absorb moisture.
Q: Can I use regular zip ties on outdoor lights?
A: Yes, but use UV-resistant ones. Regular zip ties degrade in sunlight. I prefer black nylon ties—they last years and blend in.
Final Thoughts
There you have it—everything I’ve learned about how to string outdoor LED lights like a pro in 2026, from planning to plugging in.
It’s not about perfection. It’s about creating a space that feels like home—where you can sip wine under the stars, host friends, or just enjoy a quiet evening outside.
Start small. Maybe just one string across your porch. Then expand. Use the steps above, avoid the common mistakes, and don’t be afraid to tweak until it feels right.
And remember: the best lighting setup is the one that makes you smile every time you turn it on. So go ahead—string those lights, press that plug, and let your outdoor space shine.
You’ve got this. And when your neighbors ask, “Who did your lights?” you can smile and say, “I did.”
“`

