Featured image for how to string outdoor lights on a patio
Image source: themprojects.com
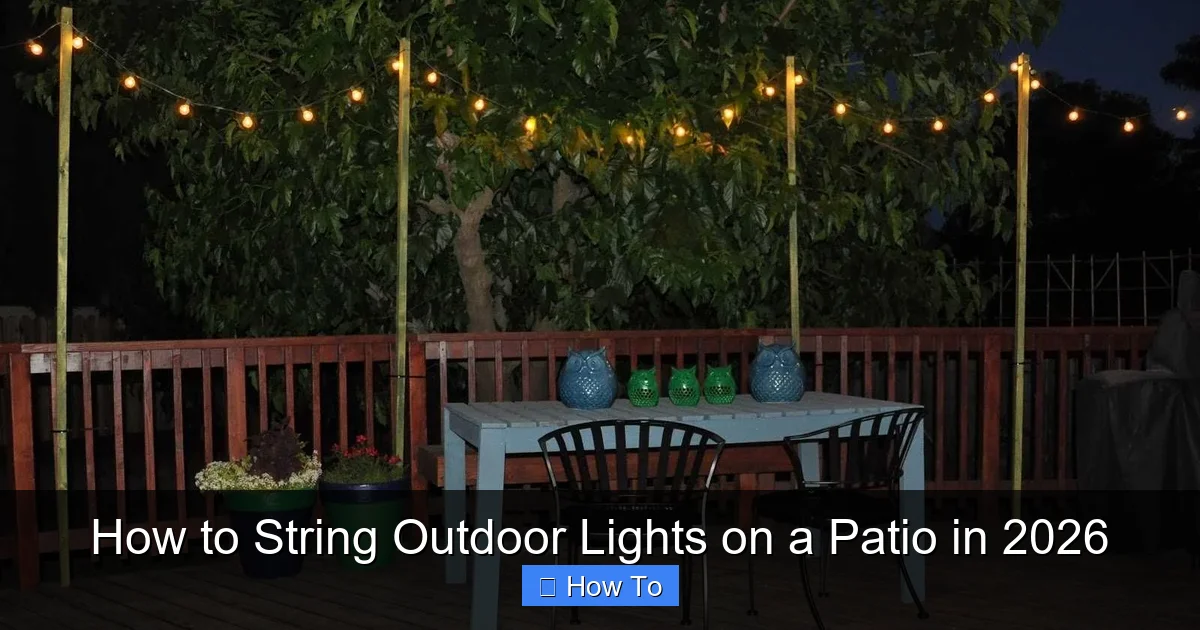
Transform your patio into a glowing retreat in 2026 by choosing durable, weather-resistant LED string lights and securing them with adjustable, non-damaging clips or hooks. Plan your layout strategically—running lights along railings, overhead beams, or tension cables—to create balanced ambiance without sagging or hazards. Always use a GFCI outlet and follow manufacturer guidelines for safe, stunning results that last all season.
How to String Outdoor Lights on a Patio in 2026
Key Takeaways
- Plan your layout: Sketch light placement before installation to avoid mistakes.
- Choose weatherproof lights: Ensure durability with UL-rated outdoor lighting.
- Use proper hardware: Install hooks or clips designed for outdoor use.
- Measure spacing: Keep bulbs 12–18 inches apart for balanced illumination.
- Test before finalizing: Check connections and brightness early to troubleshoot.
- Secure loose wires: Use zip ties or conduits for a clean, safe setup.
Why This Matters / Understanding the Problem
Picture this: It’s a warm summer evening. You’re outside with friends, sipping drinks, laughing under a golden sunset. As the light fades, you realize your patio is now dark—no ambiance, no warmth, just shadows.
You wanted a cozy, inviting space, but without lighting, it’s just a slab of concrete. That’s why how to string outdoor lights on a patio in 2026 isn’t just a DIY project—it’s a game-changer for your outdoor lifestyle.
Outdoor string lights do more than brighten your space. They create mood, define areas, and make your patio usable after dark. Whether you’re hosting a BBQ, reading a book, or just unwinding, the right lighting transforms the experience.
But here’s the catch: doing it right matters. Poor placement, weak anchors, or tangled wires can turn your dreamy setup into a frustrating mess. And with new tech and safety standards in 2026, it’s not as simple as hanging a few bulbs and calling it a day.
That’s why I’m sharing what I’ve learned—after years of trial, error, and a few “Why won’t these stay up?!” moments. This guide walks you through how to string outdoor lights on a patio in 2026 with confidence, style, and safety.
What You Need
Before you start, let’s gather your tools and materials. Don’t worry—nothing here is overly technical or expensive. Most of these you might already have in your garage or shed.

Visual guide about how to string outdoor lights on a patio
Image source: cdn.christmaslightsetc.com
Here’s your essential checklist for how to string outdoor lights on a patio in 2026:
- Outdoor-rated string lights: Look for IP44 or higher weather resistance. LED is best—longer life, less heat, energy-efficient.
- Mounting hardware: Eye screws, hooks, zip ties, or adhesive clips (depending on your patio surface).
- Measuring tape: For spacing and layout planning.
- Drill and bits: If you’re screwing into wood, concrete, or metal. Masonry bits for stone or brick.
- Level: Ensures your lights are straight—no one likes a lopsided glow.
- Extension cords (outdoor-rated): With built-in surge protection if possible.
- Timer or smart plug: Optional but highly recommended for automation.
- Staple gun (optional): For securing wires along wooden beams—use outdoor-rated staples.
- Ladder: If you’re working on high areas.
- Gloves and safety glasses: Always a good idea when drilling or working at height.
Pro Insight: In 2026, many string lights come with smart features—like app control, color-changing LEDs, or solar charging. If you’re tech-savvy, consider these upgrades. But if you just want simple, warm light, classic Edison-style LEDs still rule.
Step-by-Step Guide to How to String Outdoor Lights on a Patio in 2026
Now, let’s get into the fun part. I’ll walk you through each step, just like I’d explain it to my neighbor over the fence. No fluff, no jargon—just clear, doable actions.
Step 1: Plan Your Layout
Before you touch a single hook, map out your design. This is the most important step—get it right, and the rest flows smoothly.
Ask yourself: What’s the purpose of the lighting? Do you want to:
- Outline the patio edges?
- Create a canopy overhead?
- Highlight a dining or seating area?
- Add accent lighting to planters or railings?
For a classic “canopy” look (my favorite), plan to string lights from one anchor point to another in a crisscross or parallel pattern. Think of it like a web of light.
Use painter’s tape to mark anchor points on walls, posts, or beams. This helps you visualize spacing and avoid last-minute changes.
Pro Tip: In 2026, many people are going for a “layered” look—combining string lights with path lights or lanterns. If you’re doing that, plan where each light type goes before installing.
Measure the total length you’ll need. Always buy 10–15% extra wire to account for slack, corners, and connections. Nothing’s worse than running out halfway.
Step 2: Choose Your Anchor Points
Your lights need solid places to attach. Weak anchors mean sagging wires and potential hazards.
Common anchor options:
- Wooden posts or beams: Use eye screws or hooks. Easy to install and very secure.
- Concrete or brick walls: Use masonry screws with plastic anchors, or toggle bolts for heavier loads.
- Metal railings: Use S-hooks or zip ties (if the design allows).
- Roof eaves or gutters: Use gutter hooks or clips designed for this—avoid damaging the roof.
- Freestanding poles: If your patio lacks vertical supports, install metal or wooden poles at corners.
For a canopy, aim for anchor points at least 7–8 feet high. This keeps lights out of the way and prevents accidental bumps.
Warning: Never use nails or screws in gas lines, electrical conduits, or irrigation pipes. If you’re unsure, use a stud finder with a metal/pipe detection mode.
Space anchor points 3–6 feet apart, depending on the weight of your lights. Heavier bulbs (like vintage glass) need closer spacing.
Step 3: Install the Mounting Hardware
Now, it’s time to secure your anchors. This is where precision matters.
For wooden surfaces:
- Pre-drill a pilot hole slightly smaller than the eye screw.
- Twist the screw in by hand or with a screwdriver. Don’t over-tighten—you don’t want to strip the wood.
For concrete or brick:
- Use a masonry bit to drill a hole.
- Insert a plastic anchor, then screw in the hook or eye.
- For extra strength, use epoxy anchors or concrete screws (like Tapcon).
For metal railings:
- Use S-hooks that fit snugly. Test by gently tugging.
- Or use UV-resistant zip ties—cut the tails flush for a clean look.
Use a level to make sure each anchor is straight. A crooked hook leads to crooked lights—and that’s hard to fix later.
Pro Tip: In 2026, many people are using adhesive hooks rated for outdoor use (like 3M VHB). These work great on smooth, clean surfaces—no drilling needed. Just clean the area with alcohol first.
Step 4: Test the Lights First
Before hanging, plug in your lights and test them. Seriously—do this now.
Check for:
- Flickering or dead bulbs
- Damaged cords or frayed wires
- Proper weatherproofing (no exposed connections)
If you’re using multiple strands, connect them and test the full run. This saves you the headache of climbing a ladder to fix a broken bulb later.
Also, test the timer or smart plug if you’re using one. Make sure it turns on and off as expected.
Real Talk: I once installed 20 feet of lights before realizing one bulb was out—and it was a daisy-chained set. Had to take half of it down. Learn from my mistake!
Step 5: Hang the Lights
Now, the moment you’ve been waiting for. Start at one anchor point and work your way around.
For eye screws or hooks:
- Loop the light’s hanging hook or built-in loop over the anchor.
- Don’t force it—gentle pressure is enough.
For zip ties or adhesive clips:
- Secure the cord every 12–18 inches to prevent sagging.
- Keep the cord straight and taut, but not stretched.
If you’re creating a canopy:
- Start with the outer perimeter, then add diagonal or crisscross strands.
- Use a ladder and a helper if possible—safety first!
Keep the cord slightly slack—about an inch of give per 3 feet. This prevents tension during temperature changes or wind.
Pro Tip: In 2026, many string lights have built-in tensioners or adjustable hooks. Use them to fine-tune the sag. No more droopy wires!
Step 6: Manage the Power Source
This step is often overlooked, but it’s crucial for safety and aesthetics.
Route your extension cord from the nearest outdoor outlet to the first light. Use:
- Outdoor-rated extension cords (GFCI-protected if possible)
- Cord clips or conduit to secure the cord along walls or railings
- Weatherproof cord covers if the cord runs across the ground
Never drape cords over sharp edges or leave them in high-traffic areas. Trip hazard alert!
If you’re using a timer or smart plug:
- Plug the timer into the outlet first.
- Then plug the lights into the timer.
- Set it to turn on at dusk and off at bedtime (or use motion sensors).
Warning: Never use indoor extension cords outside. They aren’t rated for moisture or UV exposure—risk of fire or shock.
Step 7: Adjust and Secure
Step back and look at your work. Are the lights:
- Evenly spaced?
- Straight (not zigzagging)?
- Free of tangles or kinks?
Make small adjustments now. Tighten hooks, re-route cords, or add extra clips if needed.
For extra security in windy areas:
- Add zip ties at anchor points (cut flush).
- Use cord locks to prevent slipping.
- Consider a central support pole if the span is over 10 feet.
Finally, tuck away any excess cord. Use a cord reel or zip-tie it neatly to a post.
Pro Insight: In 2026, solar string lights are more efficient than ever. If you have good sun exposure, consider solar-powered options—no cords, no outlets, just light.
Pro Tips & Common Mistakes to Avoid
After years of doing this, I’ve seen what works—and what doesn’t. Here are my hard-earned insights.
- Don’t skip the layout plan. Impulse hanging leads to regret. Take 10 minutes to map it out.
- Avoid overloading circuits. Check your outlet’s amperage. Most outdoor outlets handle 15–20 amps. Don’t plug in 10 strands plus a heater.
- Use the right hardware for your surface. Adhesive hooks fail on rough stucco. Masonry screws slip in old brick. Match the tool to the job.
- Don’t pull the cord too tight. It can damage the wiring or pull anchors loose. A little sag is okay.
- Label your cords. If you have multiple strands, use tags or colored tape. Makes troubleshooting easier.
- Think about bulb type. Clear bulbs give bright light. Frosted or amber bulbs are warmer and more diffused—better for ambiance.
- Consider light pollution. Angle lights downward to avoid shining into neighbors’ windows. Use baffles or shields if needed.
Common Mistake: Hanging lights during the day, then realizing at night they’re blinding or poorly placed. Always test at dusk. Lighting looks different after dark!
And one final tip: how to string outdoor lights on a patio in 2026 isn’t just about function—it’s about feeling. Choose a style that matches your patio’s vibe: boho, modern, rustic, or minimalist.
FAQs About How to String Outdoor Lights on a Patio in 2026
Let’s tackle the questions I hear most often from friends, neighbors, and DIY newbies.
Can I leave string lights up all year?
It depends. If your lights are rated for all-weather use (look for IP65 or higher), and you’ve installed them securely, they can last through seasons. But I recommend taking them down in winter if you get heavy snow, ice, or high winds. Even tough lights can fail under constant stress. Plus, it’s easier to clean and inspect them annually.
How do I hang lights on a patio with no walls or posts?
Good question! Use freestanding poles. I’ve used:
- Metal shepherd’s hooks (for lighter strands)
- Wooden or metal poles set in concrete bases
- Even repurposed flagpoles or umbrellas with mounts
For a permanent look, install 2–4 poles at the corners and string lights between them. Just make sure they’re stable—nobody wants a light pole toppling in a storm.
What’s the best way to connect multiple strands?
Most outdoor lights have end-to-end connectors. Just plug them in. But check the manufacturer’s max strand limit (usually 2–5). Going over can overload the circuit. For longer runs, use an outdoor outlet with a power strip (GFCI-protected). Or, consider a central hub with multiple outlets.
Can I use indoor string lights outside?
No. Indoor lights aren’t rated for moisture, UV, or temperature swings. Using them outside is a fire hazard. Always choose outdoor-rated lights for how to string outdoor lights on a patio in 2026. They have thicker insulation, weatherproof sockets, and UV-resistant cords.
How do I keep the lights from sagging?
Sagging is normal, but too much looks sloppy. To prevent it:
- Use closer anchor spacing (3–4 feet for heavy bulbs)
- Add a central support pole for long spans
- Use tensioners or adjustable hooks
- Choose lighter bulbs (LEDs are best)
And remember: a little sag is okay. It adds charm—like a cozy café in Paris.
Are solar string lights worth it in 2026?
Absolutely. Solar tech has improved a lot. Modern solar string lights charge faster, last longer, and have better batteries. They’re perfect for patios with good sun exposure. No cords, no outlets—just clean, eco-friendly light. Just make sure the solar panel is in direct sunlight for at least 6 hours a day.
How do I make the lights dimmable?
Use LED lights with a dimmer switch. Some smart plugs or timers have dimming features. Or, look for string lights with built-in dimmers. Just avoid dimming non-dimmable LEDs—it can cause flickering or damage.
Final Thoughts
So, there you have it—my complete guide to how to string outdoor lights on a patio in 2026. It’s not rocket science, but it does take planning, the right tools, and a bit of patience.
Remember: the goal isn’t just to add light. It’s to create a space where you want to be—where laughter lingers, stories unfold, and the night feels just right.
Start simple. Even one strand over your dining table can make a difference. Then, as you get more comfortable, expand to a full canopy, add accent lights, or try smart controls.
And if you run into trouble? Take a breath. Step back. Most issues are fixable. I’ve fixed sagging wires, replaced bulbs, and even re-drilled anchors in the dark (not recommended, by the way).
The key is to enjoy the process. This isn’t just a project—it’s an investment in your outdoor life.
So grab your tools, invite a friend, and get started. Your patio is waiting for its glow-up. And when you flip that switch for the first time? That’s the moment it all comes together.
Happy lighting—and see you under the stars.

