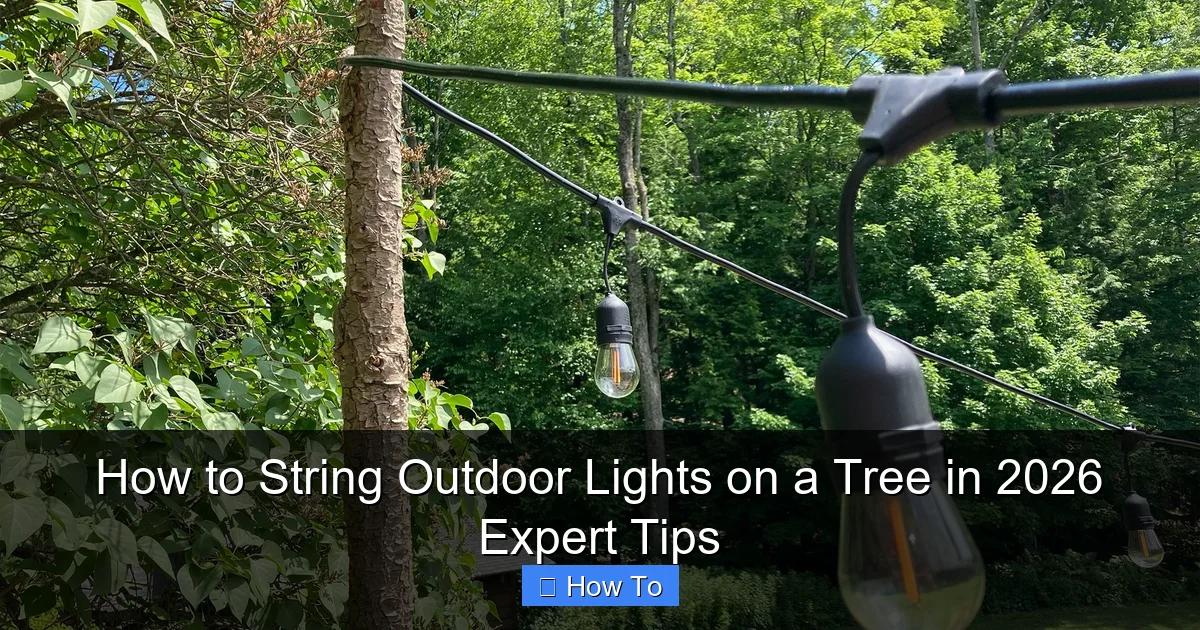
Featured image for how to string outdoor lights on a tree
Image source: cdn.thewirecutter.com
Choose LED, weather-resistant lights and start at the base of the tree, wrapping trunks and major branches in a spiral pattern for even coverage and visual impact. Use durable, UV-protected zip ties or light clips every 12–18 inches to secure strands safely without damaging bark, especially on young or delicate trees. Always follow manufacturer spacing guidelines and use a GFCI outlet to prevent overheating and ensure year-round safety in all weather conditions.
How to String Outdoor Lights on a Tree in 2026 Expert Tips
Key Takeaways
- Plan your layout first: Sketch light placement to avoid tangles and ensure even coverage.
- Use outdoor-rated lights: Choose weatherproof, LED strings for safety and energy efficiency.
- Anchor lights securely: Wrap lights around branches, not trunks, to prevent damage.
- Test before installing: Check all bulbs and connections to save time and frustration.
- Opt for a timer: Automate on/off times for convenience and extended bulb life.
- Maintain safe height: Keep lights 6+ feet high to avoid tripping hazards.
Why This Matters / Understanding the Problem
Picture this: It’s a warm summer evening, the air is still, and you’re lounging in your backyard with friends. The stars are out, but your yard feels a little… dark. That’s when you realize—how to string outdoor lights on a tree in 2026 expert tips isn’t just about decoration. It’s about transforming your outdoor space into a cozy, inviting haven.
Whether you’re prepping for a holiday party, a romantic dinner under the stars, or just want to enjoy your garden after sunset, tree lighting can elevate the mood. But let’s be honest—many people dread the process. Tangled cords, uneven spacing, or lights that sag after a week can turn a dreamy idea into a frustrating chore.
I’ve been there. A few years ago, I spent an entire Saturday wrestling with LED strands, only to have them droop like overcooked spaghetti by Monday. After trial, error, and a few tree-friendly upgrades, I’ve cracked the code. This guide shares how to string outdoor lights on a tree in 2026 expert tips—practical, durable, and beautiful results without the headache.
You’ll learn not just the how, but the why behind each step. Because when it comes to lighting trees, it’s not just about hanging lights—it’s about creating magic that lasts.
What You Need
Before you climb that ladder (or ask your tallest friend for help), let’s gather your toolkit. The right materials make all the difference—especially when you’re aiming for long-term durability and a polished look.
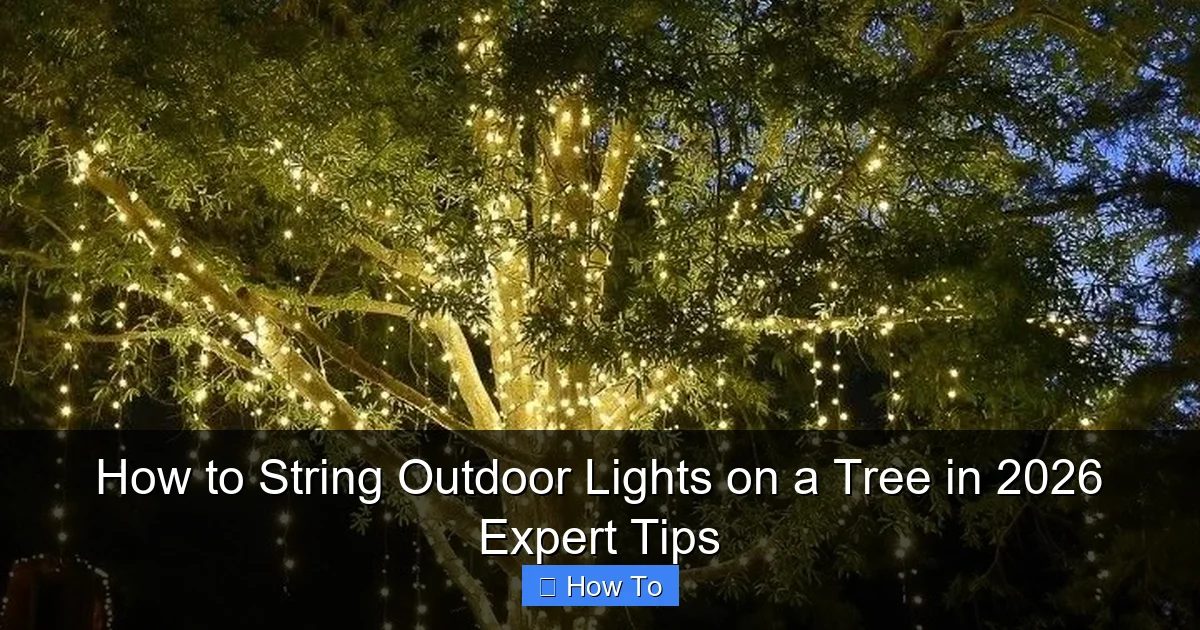
Visual guide about how to string outdoor lights on a tree
Image source: i.pinimg.com
- Outdoor-rated string lights – Look for weatherproof, UV-resistant, and dimmable options. LED is best (energy-efficient and cool to the touch).
- Extension cords – Outdoor-rated, GFCI-protected, and long enough to reach from your power source to the tree.
- Light clips or hooks – Tree-friendly options like silicone-coated clips, zip ties (use sparingly), or non-penetrating hooks that don’t damage bark.
- Ladder (if needed) – A stable, extendable ladder with rubber feet for grip.
- Measuring tape – For spacing and planning your layout.
- Timer or smart plug – Optional, but great for automatic on/off control.
- Gloves – Protect your hands from rough bark and tangled wires.
- Helper (optional but recommended) – One person holds the lights, the other climbs or guides.
Pro Insight: Avoid nails, screws, or staples. They can harm the tree, create entry points for disease, and void your lights’ warranty. The how to string outdoor lights on a tree in 2026 expert tips method is all about tree health and safety.
Step-by-Step Guide to How to String Outdoor Lights on a Tree in 2026 Expert Tips
Step 1: Choose the Right Tree and Plan Your Design
Not all trees are created equal for lighting. Start by picking a tree with strong, horizontal branches—like an oak, maple, or fruit tree. Avoid young saplings or trees with brittle wood (looking at you, birch).
Walk around the tree at night. Where do you want light to spill? Over a patio? Along a path? This helps you decide on a layout style:
- Canopy Wrap: Lights spiral up the trunk and branch out—great for focal trees.
- Branch Drape: Lights hang vertically from main branches—ideal for weeping trees or willows.
- Halo Effect: Lights circle the tree at different heights—perfect for creating a glowing centerpiece.
Use your measuring tape to estimate the total length needed. Add 10–15% extra for overlaps and slack. This prevents the “Oh no, I’m short by 5 feet” panic.
Pro Tip: Sketch a quick diagram on paper or use a photo-editing app to map your design. It saves time and helps visualize spacing.
Step 2: Test Your Lights and Power Source
Before you even touch the tree, test every strand. Plug them in, check for dead bulbs, and ensure they’re working as expected. Nothing’s worse than finishing the job and discovering a section is dark.
Next, check your power source. Can your outdoor outlet handle the load? Use a GFCI outlet (ground fault circuit interrupter) for safety. If you’re using multiple strands, daisy-chain them (connect end-to-end) or use a power distributor to avoid overloading one outlet.
Pro tip: If your outlet is far from the tree, use a weatherproof extension cord with a built-in timer. This keeps cords off the ground and reduces tripping hazards.
Warning: Never use indoor-rated lights outdoors. They’re not sealed against moisture and can become fire hazards. The how to string outdoor lights on a tree in 2026 expert tips guide emphasizes safety first.
Step 3: Install Tree-Friendly Hangers or Clips
This is where most people go wrong—they use nails or zip ties that cut into the bark. Instead, use non-invasive hangers:
- Silicone-coated light clips: Gentle on bark, reusable, and hold lights securely.
- Adjustable tree straps: Wrap around branches or trunk with a loop for hanging.
- Magnetic clips (for metal-reinforced trees): A niche but effective option if your tree has metal supports.
Start at the base. Attach clips every 12–18 inches up the trunk, spacing them evenly. For branches, place clips at the base and mid-point to prevent sagging.
For a canopy wrap, use a ladder to reach higher. Have a helper pass you clips or use a long-handled clip installer (yes, they exist!).
Pro Insight: Avoid zip ties unless absolutely necessary. If you must, use biodegradable ones and cut them off after the season. The how to string outdoor lights on a tree in 2026 expert tips approach prioritizes tree health.
Step 4: String the Lights (Start from the Bottom Up)
Here’s the fun part—but don’t rush it. Start at the bottom of the trunk and work upward. Why? It’s easier to manage tension and avoid tangles.
- Begin by clipping the first light to the base.
- Wrap the strand around the trunk in a spiral, moving upward. Keep tension light—don’t pull tight.
- For each turn, clip the strand to the pre-installed hangers. This prevents drooping.
- When you reach a major branch, drape the lights along it. Clip at the base and end of the branch.
- For vertical drapes, run strands from branch tips down to lower branches or the ground.
If you’re doing a halo effect, use a ladder to circle the tree at 3–4 different heights. Secure each ring with clips, then connect them with vertical strands for depth.
Pro Tip: Use the “two-handed method”: One hand feeds the lights up, the other clips them in place. It’s like dancing with the tree—rhythm matters!
Step 5: Manage Cords and Power Connections
Messy cords ruin the magic. Here’s how to keep things clean:
- Route the main cord along the trunk (using clips) down to the outlet.
- Use cord covers or conduit to hide cords running along the ground. Bury them under mulch (if safe and permitted).
- Secure connections with waterproof wire nuts or silicone sealant. Wrap with electrical tape for extra protection.
- Elevate connections off the ground using a small platform or hanging clip—this prevents water damage.
If you’re using a smart plug, place it in a weatherproof outdoor box. This protects it from rain and debris.
Warning: Never leave connections exposed. Moisture + electricity = danger. The how to string outdoor lights on a tree in 2026 expert tips guide ensures safety without sacrificing style.
Step 6: Fine-Tune for Even Lighting and Aesthetics
Now step back and look. Are the lights evenly spaced? Do any strands sag? Adjust as needed:
- Re-clip sagging sections with extra hangers.
- Rotate bulbs so the brightest side faces outward.
- Trim excess cord with zip ties (cut them flush to avoid snags).
- Add filler lights in darker spots—like under branches or near the base.
For a natural look, avoid perfectly symmetrical patterns. Let the lights follow the tree’s shape—it feels organic, not forced.
Pro Insight: Walk around the tree at night. Check for “hot spots” (too bright) or “dead zones” (too dark). Adjust spacing or add dimmers for balance.
Step 7: Set a Timer or Smart Control (Optional but Recommended)
Why manually turn lights on/off? Use a timer or smart plug to automate:
- Set lights to turn on at sunset and off at midnight.
- Use a motion sensor for security lighting.
- Control via an app (e.g., Alexa, Google Home) for voice commands.
Bonus: A timer reduces energy use and prevents lights from burning out prematurely.
Pro Tip: Test the timer during the day. Make sure it syncs with your local sunset/sunrise times. The how to string outdoor lights on a tree in 2026 expert tips method saves time and effort long-term.
Pro Tips & Common Mistakes to Avoid
After years of trial and error, here’s what I wish I knew sooner:
- Don’t over-wrap: Too many turns on the trunk can stress the tree. Stick to 3–5 spirals max.
- Use dimmable LEDs: Bright lights can be harsh. Dimming creates a warmer, more inviting glow.
- Seasonal removal: Take down lights in winter (or after holidays) to prevent wind damage and tree strain.
- Label cords: Use tags to identify which strand goes where. Makes next year’s setup easier.
- Check local rules: Some HOAs or municipalities restrict outdoor lighting. Check first!
Common Mistakes:
- Using nails or staples: Damages bark and invites pests. Use clips instead.
- Ignoring weather ratings: Indoor lights + rain = short circuits. Always choose outdoor-rated.
- Skipping the test: A dead strand halfway up the tree is a nightmare. Test first!
- Overloading outlets: Check wattage limits. Too many strands can trip breakers.
- Forgetting the helper: Climbing a ladder with tangled lights is risky. Teamwork makes it safer.
Personal Story: I once used zip ties on a maple tree. By spring, the bark was girdled—the tree couldn’t transport nutrients. I learned the hard way: gentle is always better. The how to string outdoor lights on a tree in 2026 expert tips method protects both your lights and your tree.
FAQs About How to String Outdoor Lights on a Tree in 2026 Expert Tips
Q: Can I leave outdoor lights on trees year-round?
A: Technically, yes—but I don’t recommend it. Winter winds can snap branches, and ice can damage lights. Take them down in late fall. If you must keep them up, use wind-resistant strands and check monthly for damage.
Q: What’s the best type of light for trees?
A: LED string lights are ideal. They’re energy-efficient, cool to the touch, and last 25,000+ hours. Look for warm white (2700K–3000K) for a cozy feel, or multicolor for festive occasions. Avoid incandescent—they’re hot and short-lived.
Q: How do I light a tall tree without a tall ladder?
A: Use a light pole or extendable clip tool. Or, string lights from a lower branch upward. For very tall trees, consider uplighting (placing lights at the base to shine upward).
Q: Will lights hurt the tree?
A: Not if you use tree-friendly clips and avoid wrapping too tightly. The bark needs to breathe and expand. Check the tree monthly for signs of stress (e.g., discoloration, oozing sap).
Q: How many strands do I need?
A: Measure the tree’s circumference at chest height. Multiply by 3–5 (for spiral wraps) or by branch length (for drapes). For a 4-foot-circumference tree: 12–20 feet of lights. Always buy extra.
Q: Can I use solar lights on trees?
A: Yes—but they’re less reliable in shady areas. Solar panels need 6+ hours of direct sun. If your tree is shaded, stick to plug-in lights.
Q: What’s the easiest way to remove lights after the season?
A: Start at the top. Clip each strand, coil it loosely, and store in a plastic bin with desiccant packets. Label the bin “Tree Lights – Ready for 2026!”
Final Thoughts
Lighting a tree isn’t just a chore—it’s an act of love for your outdoor space. With these how to string outdoor lights on a tree in 2026 expert tips, you’re not just hanging lights. You’re crafting an experience: warm evenings, laughter under the stars, and memories that glow long after the season ends.
Remember: Start simple. A single strand on a favorite tree can make a bigger impact than a dozen tangled messes. Use the right tools, respect the tree, and automate where you can.
Next time you’re sipping coffee in your backyard, look up. If the lights are even, the tree is healthy, and the vibe is just right—you’ve nailed it. And if you ever need a refresher? This guide will be here.
Now go string those lights. Your tree (and your guests) are waiting.

