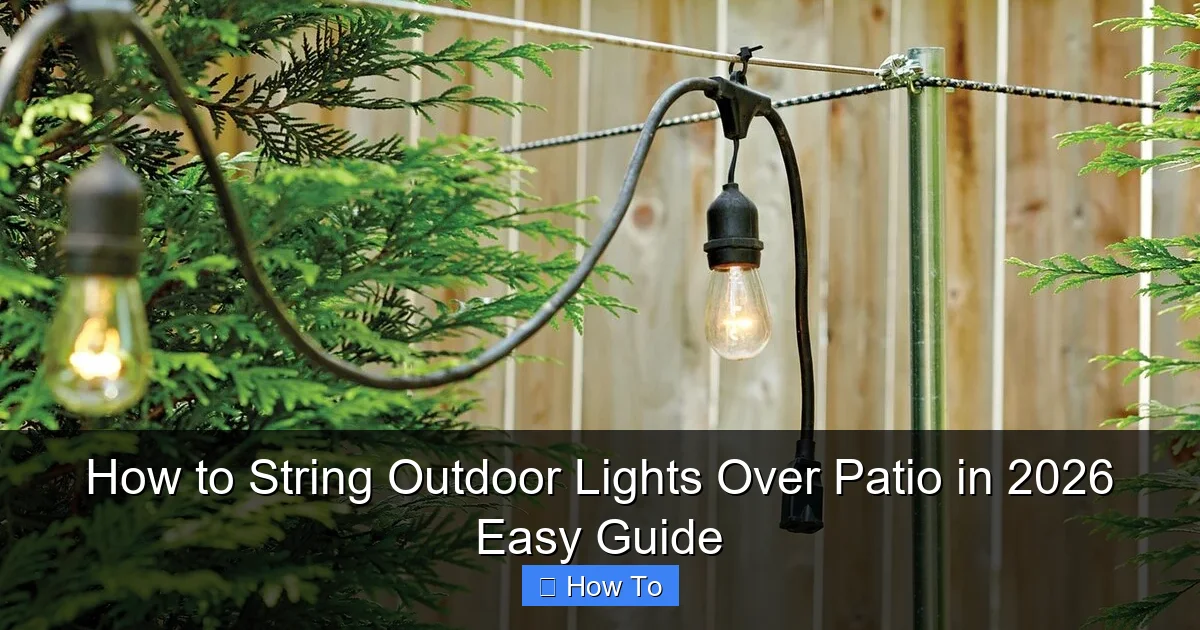
Featured image for how to string outdoor lights over patio
Image source: storables.com
Transform your patio into a stunning nighttime retreat by securely anchoring outdoor lights to walls, poles, or overhead structures using weather-resistant hardware. This 2026 guide simplifies the process with step-by-step instructions for creating a balanced, professional look—whether you prefer a zigzag pattern, canopy style, or straight-line design. Always prioritize safety and spacing to ensure a dazzling, long-lasting display that enhances ambiance and functionality.
“`html
How to String Outdoor Lights Over Patio in 2026 Easy Guide
Key Takeaways
- Plan your layout: Sketch light placement before installation to avoid mistakes.
- Use durable hardware: Choose weather-resistant hooks, wires, and bulbs for longevity.
- Measure accurately: Ensure proper wire tension and spacing for a professional look.
- Prioritize safety: Turn off power and use a sturdy ladder when working overhead.
- Test before finalizing: Check connections and brightness prior to securing lights permanently.
- Opt for LEDs: Save energy and reduce heat with efficient, long-lasting LED bulbs.
Why This Matters / Understanding the Problem
Let’s be honest—nothing beats the cozy glow of string lights on a warm summer night. You’re sipping lemonade, maybe grilling, and suddenly, your patio feels like a scene from a rom-com. But here’s the catch: getting those lights up without them sagging, snapping, or looking like a DIY disaster? That’s where most people hit a wall.
You’ve probably seen it: lights drooping in the middle, tangled in branches, or worse—falling after one windy night. I’ve been there. My first attempt looked like a spider’s web after a storm. But after years of trial, error, and a few ladder climbs, I cracked the code. And now, I’m sharing my How to String Outdoor Lights Over Patio in 2026 Easy Guide—so you can skip the frustration and go straight to ambiance.
Whether you’re setting up for a party, a date night, or just want your backyard to feel more inviting, this guide covers everything—from picking the right lights to securing them safely and stylishly. No electrician needed. Just common sense and a few smart tricks.
Real Talk: The key isn’t just hanging lights—it’s doing it in a way that lasts through seasons, looks intentional, and doesn’t damage your home or trees. This guide is built on real-world testing, not theory.
What You Need
Before you start climbing ladders, let’s get your toolkit ready. You don’t need fancy gear—just the right mix of practical tools and a little patience.
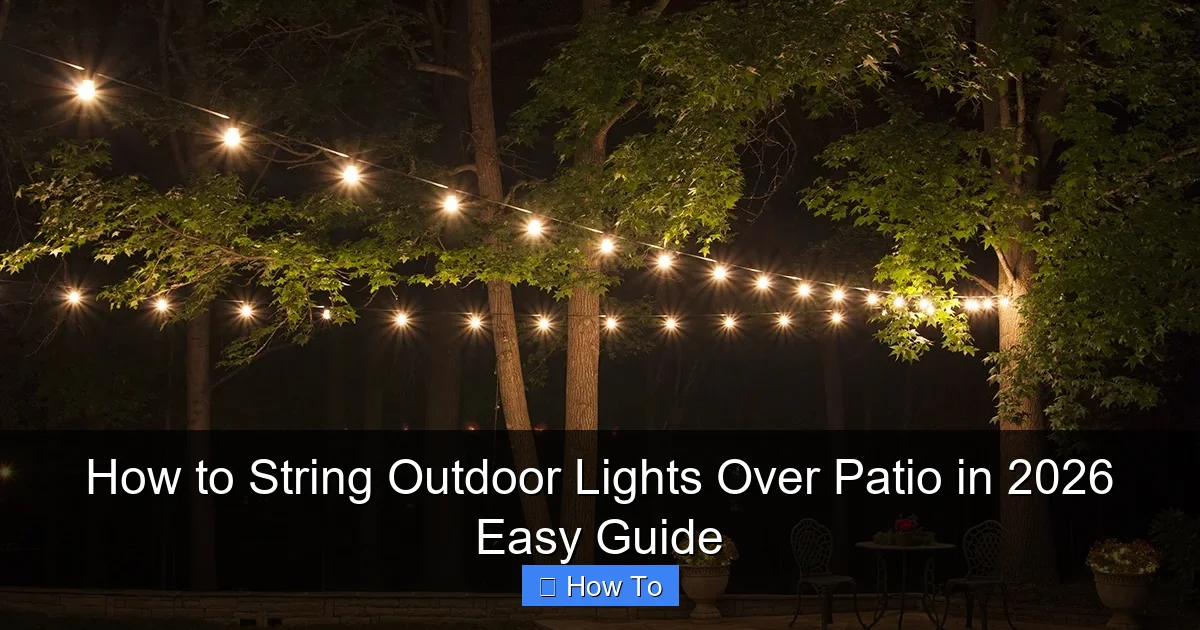
Visual guide about how to string outdoor lights over patio
Image source: cdn.christmaslightsetc.com
Essential Tools & Materials
- Outdoor-rated string lights – Look for “wet-rated” or “weatherproof” labels. LED bulbs are energy-efficient and last longer.
- Measuring tape – To map your layout and avoid buying too much (or too little).
- Drill & screws – For permanent anchor points (like fascia boards or posts). Use stainless steel or coated screws to prevent rust.
- Eye hooks or cup hooks – For attaching lights to wood, stucco, or brick (more on this later).
- Zip ties (outdoor-rated) – Great for trees, railings, or temporary setups.
- Extension cord (outdoor-rated, 12-gauge) – Don’t skimp here. A 16-gauge cord can overheat if you’re running multiple strands.
- Light clips or adhesive hooks – For vinyl siding or surfaces where drilling isn’t an option.
- Ladder or step stool – Safety first! Use a stable, non-slip ladder.
- Gloves – Protect your hands from splinters, sharp edges, or hot bulbs (if using incandescent).
- Timer or smart plug – Optional, but a game-changer for automatic lighting.
Pro Insight: Buy 10–15% more lights than you think you need. You’ll likely want to drape or zigzag for visual depth, and extra length helps with reach.
Optional (But Helpful)
- String light clips – Specifically designed for outdoor use; they grip the wire without damaging insulation.
- Turnbuckles – For long spans (15+ feet) to prevent sagging.
- Outdoor-rated conduit – If you’re running cords across open areas (e.g., from house to pergola).
- Smart bulbs or app-controlled lights – For color changes, dimming, or scheduling.
Now, before you start drilling, plan your layout. Sketch your patio area and mark where lights will go. Think about:
- Where the power source is (outlet, GFCI-protected).
- Natural anchor points (trees, posts, eaves, railings).
- Desired pattern: zigzag, canopy, straight lines, or clusters.
This prep work saves time and avoids mid-installation “uh-oh” moments. Trust me—I’ve learned the hard way.
Step-by-Step Guide to How to String Outdoor Lights Over Patio in 2026 Easy Guide
Step 1: Choose Your Light Type & Layout
Not all string lights are created equal. For your How to String Outdoor Lights Over Patio in 2026 Easy Guide, start with the right kind.
- LED Edison bulbs: Classic look, warm glow, energy-efficient. Ideal for ambiance.
- Mini LEDs: Subtle, great for outlining or wrapping columns.
- Net or curtain lights: Perfect for vertical spaces (like pergolas or walls).
- Smart lights: If you want app control or color options.
Now, pick your layout style. Here are a few popular ones:
- Zigzag (crisscross): Start from one anchor point, go diagonally to the next, then back. Creates a canopy effect.
- Straight lines: Parallel strands from one end to the other. Clean and modern.
- Cluster or “cloud”: Hang multiple strands from a central point (like a tree or pergola) for a starry-night vibe.
- Outline: Follow the perimeter of your patio or roofline.
Real Example: I used a zigzag pattern on my 12×16 ft patio. It took 4 strands of 25-ft lights, spaced 2 ft apart. The result? A cozy, layered glow that made my backyard feel twice as big.
Step 2: Map Anchor Points & Measure
This is where precision pays off. You don’t want lights sagging or pulling loose.
- Identify anchor points: These are the spots where you’ll attach the lights—e.g., eaves, posts, trees, or railings.
- Measure distances: Use your tape to calculate the span between each point. For zigzag, measure diagonals.
- Calculate total length needed: Add up all the runs. Remember: 10–15% extra for draping or slack.
- Mark anchor spots: Use painter’s tape or chalk to mark where hooks, clips, or screws will go.
For long spans (over 15 ft), add a midpoint anchor to prevent sagging. A turnbuckle or extra hook in the middle keeps tension even.
Warning: Never attach lights directly to tree branches with nails or screws. Use soft zip ties or rope to protect the bark. Trees grow—your lights should too.
Step 3: Install Anchors (Safely & Securely)
Now, install your attachment points. This step varies based on your surface.
For Wood (Fascia, Posts, Deck Railings)
- Drill pilot holes to prevent splitting.
- Use stainless steel eye hooks or cup hooks.
- For heavy loads, use lag screws with washers.
For Vinyl Siding
- Use outdoor-rated adhesive hooks (like Command Outdoor).
- Or, install light clips that snap into the siding’s J-channel.
For Brick or Concrete
- Use masonry screws with plastic anchors.
- For no-drill options, try heavy-duty outdoor suction hooks (best for smooth surfaces).
For Trees
- Use soft zip ties or rope with a sliding knot.
- Check annually—remove and reattach as the tree grows.
Pro Tip: Install anchors before hanging lights. It’s easier to adjust spacing when the wires aren’t in the way.
Step 4: Hang the Lights (With Tension Control)
Time to string! But don’t just drape them loosely. Tension is key.
- Start at the power source: Plug in one end and leave the outlet accessible.
- Attach the first bulb or socket: Hook it to your first anchor. Don’t pull tight—leave a little slack.
- Work your way across: For zigzag, go diagonal. For straight lines, keep parallel.
- Use clips or ties: Every 1–2 feet, secure the wire with a clip or zip tie. This prevents wind damage and keeps spacing even.
- For long spans: Add a turnbuckle at the midpoint. Tighten it slowly to remove sag.
- End with a loop or knot: Leave a small loop at the last anchor to absorb movement.
For a “draped” look, let the middle drop 6–12 inches lower than the ends. Just make sure it’s not a tripping hazard.
Common Mistake: Over-tightening. Lights expand in heat and contract in cold. Too tight = snapped wires or pulled anchors.
Step 5: Connect Strands & Test
If you’re using multiple strands, connect them before hanging.
- Use manufacturer-approved connectors (don’t splice with electrical tape).
- Keep connections off the ground and covered (use outdoor-rated junction boxes if needed).
- Don’t exceed the manufacturer’s max strand count (usually 3–5 LED strands).
Now, plug in and test:
- Check for dim bulbs, flickering, or dead sections.
- Look for sagging or loose clips.
- Make sure no wires are touching metal (can cause shorts).
Real Talk: I once skipped testing and had a “dead” strand. Turned out a connector wasn’t fully seated. Always test early!
Step 6: Add Finishing Touches
You’re almost done. Now, refine the look.
- Hide the power cord: Use cord clips or tuck it behind trim.
- Add a timer: Plug into a smart plug or outdoor timer. Set it for sunset to sunrise.
- Adjust spacing: If bulbs are too close, gently slide them apart. Too far? Add a clip in the middle.
- Trim excess zip ties: Use scissors or a utility knife for a clean finish.
For extra charm, drape lights over plants, railings, or furniture. Just avoid covering bulbs completely (can cause overheating).
Step 7: Maintain & Store (Seasonal Care)
Outdoor lights last longer with care.
- Inspect monthly: Look for frayed wires, loose clips, or water damage.
- Clean bulbs: Wipe with a dry cloth. Never use water or chemicals.
- Winter care: If you live in a cold climate, consider taking lights down. Or, use frost-resistant models.
- Storage: Coil lights loosely and store in a dry place. Use a labeled bin to avoid tangles.
Pro Insight: I leave my lights up year-round in mild climates. Just check them after storms. In snowy areas, I take them down—better safe than sorry.
Pro Tips & Common Mistakes to Avoid
After years of trial and error, here’s what I wish I knew sooner.
Pro Tips
- Use a laser level: For straight lines, a $20 laser level ensures perfect alignment.
- Start with a mock run: Use twine or rope to test your layout before installing anchors.
- Buy extra clips: You’ll lose a few. Keep spares in your toolkit.
- Use a GFCI outlet: Prevents shocks and trips in wet weather.
- Layer lighting: Combine string lights with lanterns or path lights for depth.
Common Mistakes (And How to Avoid Them)
- Sagging wires: Caused by long spans without mid-anchors. Fix: Add turnbuckles or extra hooks.
- Overloading circuits: Too many strands on one outlet can trip the breaker. Check wattage limits.
- Using indoor lights: They’ll short out in rain. Always choose wet-rated models.
- Ignoring wind: Lights can snap in storms. Use clips every 1–2 ft and avoid loose dangles.
- Forgetting the timer: Manually turning lights on/off gets old fast. A $15 timer is worth it.
Personal Story: I once used indoor-rated lights. After one rainstorm, they were dead. Lesson learned: always check the label.
FAQs About How to String Outdoor Lights Over Patio in 2026 Easy Guide
Q: Can I leave my string lights up year-round?
It depends. If you live in a mild climate and use weatherproof, frost-resistant lights, yes. But in areas with heavy snow, ice, or extreme temps, it’s safer to take them down. I leave mine up in California, but in Chicago? Nope.
Q: How do I hang lights on a pergola without drilling?
Use outdoor zip ties on the beams or adhesive hooks on the wood. For a no-damage option, drape lights over the top and secure with clips. Just avoid covering bulbs.
Q: What’s the best way to prevent sagging?
Two words: mid-anchors. For spans over 15 ft, add a hook or turnbuckle in the middle. Also, use heavier-duty wire (like 18-gauge) for long runs.
Q: Can I connect different brands of string lights?
Not safely. Mixing brands can cause voltage drops or short circuits. Stick to the same brand and model. If you need more length, buy a longer strand.
Q: How do I hide the power cord?
Clip it to the edge of the patio, run it behind furniture, or use a cord cover (like a raceway). For a permanent fix, bury it in a conduit or run it through a soffit.
Q: Are LED string lights safer than incandescent?
Absolutely. LEDs run cooler, use less power, and last 10–20x longer. They’re also less likely to overheat or cause fires. I switched years ago and never looked back.
Q: How do I fix a burnt-out bulb?
Most LED strings have shunt circuits—if one bulb dies, the rest stay on. But if a section is out, check the bulb and socket. Replace with the same type. For incandescent, just swap the bulb.
Final Thoughts
Hanging outdoor lights isn’t rocket science—but it does take planning, the right tools, and a little patience. This How to String Outdoor Lights Over Patio in 2026 Easy Guide is your shortcut to a stunning, safe, and long-lasting setup.
Remember: start small. Test your layout with twine. Use quality lights and anchors. And don’t rush the tension—sagging ruins the vibe.
Once you’ve got the lights up, step back, turn them on, and enjoy. That warm glow? That’s not just light. It’s magic.
And if you’re still unsure? Start with one strand. See how it feels. You’ll be amazed how quickly you go from “I don’t know” to “I’ve got this.”
Happy lighting—and here’s to many cozy nights under the stars (or bulbs).
One Last Tip: Take a photo of your setup. It’ll help you remember the layout for next year—or inspire your next project.
“`

