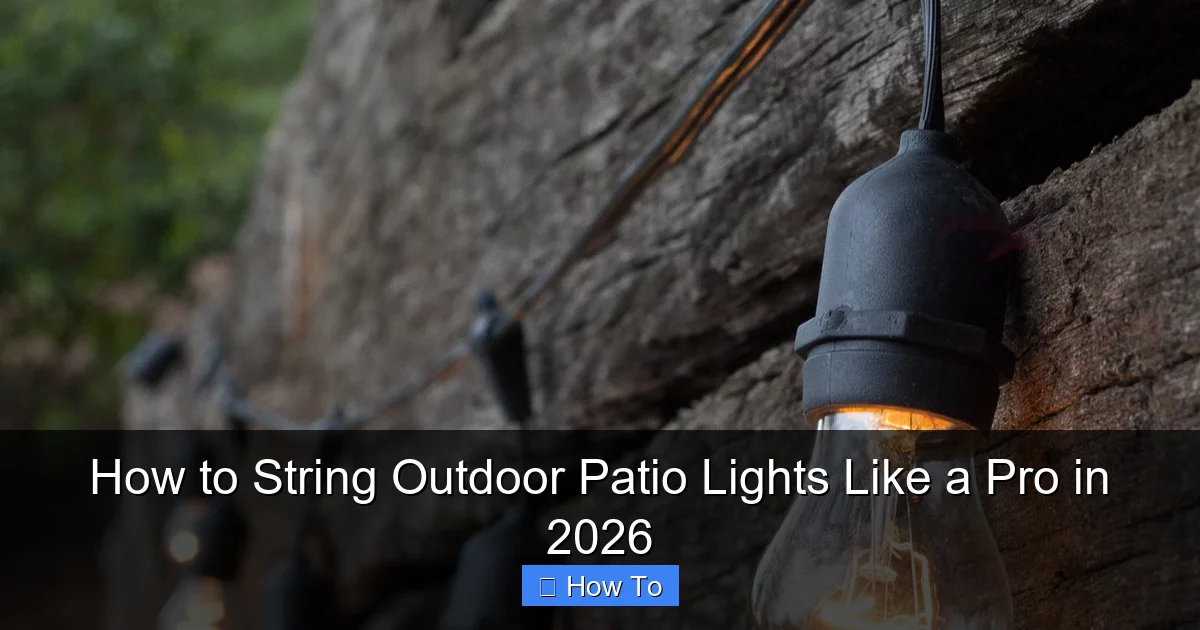
Featured image for how to string outdoor patio lights
Image source: warisanlighting.com
Transform your outdoor space with perfectly strung patio lights by planning your layout and choosing durable, weather-resistant fixtures designed for 2026’s top lighting trends. Use secure mounting hardware and maintain even spacing between bulbs for a professional, polished look that enhances ambiance and safety. Always follow manufacturer guidelines and local electrical codes to ensure a safe, long-lasting installation.
How to String Outdoor Patio Lights Like a Pro in 2026
Key Takeaways
- Plan your layout first: Sketch the area to ensure even spacing and avoid overloading circuits.
- Use weatherproof lights: Choose IP65-rated or higher for durability in outdoor conditions.
- Secure with proper hardware: Install hooks, clips, or cables rated for outdoor use and weight.
- Test before finalizing: Plug in lights during setup to check for faults or gaps in coverage.
- Layer lighting for depth: Combine string lights with path or accent lights for ambiance.
- Follow a power source plan: Position outlets nearby or use extension cords safely to prevent tripping.
Why This Matters / Understanding the Problem
Picture this: It’s a warm summer evening. You’ve got friends over, the grill’s hot, and the mood is just right—until the sun sets and your patio turns into a shadowy cave. You reach for the switch, only to realize you never installed outdoor lighting. Or worse, you tried, and now the wires are tangled, drooping, or worse—sparking.
I’ve been there. A few years ago, I strung up some cheap LED lights across my patio with zip ties and hope. By the second week, they were sagging like wet spaghetti, one strand died after a rainstorm, and my guests were squinting at their burgers. Not exactly the *ambiance* I was going for.
That’s why **how to string outdoor patio lights like a pro in 2026** isn’t just about aesthetics—it’s about creating a safe, functional, and inviting space you can enjoy year-round. Whether you’re hosting a birthday, enjoying a quiet night with tea, or just want to see where you’re stepping, good lighting changes everything.
But here’s the thing: it’s not as simple as hanging lights and calling it a day. You need planning, the right tools, and a few insider tricks to make them last, look amazing, and survive the elements. In this guide, I’ll walk you through the exact process I’ve refined over five patios, three storms, and one very stubborn raccoon (long story).
By the end, you’ll know **how to string outdoor patio lights like a pro in 2026**—without the headaches, the sagging, or the “why is this buzzing?” moments.
What You Need
Before we dive in, let’s talk gear. You don’t need a full electrician’s toolkit, but a few key items make all the difference. Think of this as your “patio lighting starter pack.”
- Outdoor-rated string lights: Look for “wet-rated” or “weatherproof” labels. I love LED Edison bulbs for that warm, cozy glow, but solar options work great for low-power areas.
- Mounting hardware: This includes eye hooks, screw-in anchors, or cable clips. For stucco or brick, use masonry anchors.
- Measuring tape: Precision matters. You don’t want lights sagging or stretching too tight.
- Drill and drill bits: A cordless drill with a small bit (1/8″) for wood or a masonry bit for stone.
- Level: Even a small one from your toolbox helps keep lines straight.
- Extension cords (outdoor-rated): Make sure they’re UL-listed and have a GFCI plug for safety.
- Timer or smart plug (optional but smart): Automate your lights to turn on at sunset. Huge convenience win.
- Ladder (if needed): A sturdy step ladder or extension ladder for high spots.
- Marker or chalk: For marking drill points.
- Zip ties or cable ties (weather-resistant): For securing loose ends or bundling cords.
Pro Tip: Buy 10–15% more lights than you think you need. You’ll likely need to daisy-chain strands, and extra length helps with spacing and corners. Trust me—running short mid-project is a mood killer.
Also, consider your power source. Are you plugging into an outdoor outlet? Using an indoor outlet with a weatherproof cover? Or going solar? Each affects your layout and safety.
Now that you’re equipped, let’s get into the real magic: **how to string outdoor patio lights like a pro in 2026**.
Step-by-Step Guide to How to String Outdoor Patio Lights Like a Pro in 2026
Step 1: Plan Your Layout (Sketch It Out)
Before you touch a drill, grab a piece of paper or use a free app like SketchUp Free or even Google Draw. Sketch your patio area, including:
- Furniture placement
- Entry points (doors, steps)
- Nearby trees, railings, or posts
- Where your power source is
Now, decide your lighting pattern. Most people go for one of three:
- Grid pattern: Lights run in parallel lines across the patio. Great for large, open spaces.
- Perimeter loop: Lights follow the edges of the patio or deck. Cozy and defined.
- Hanging canopy: Lights drape from a central point (like a pergola) down to posts. Romantic and dramatic.
I usually mix a perimeter loop with a few diagonal strands for depth. The key is to avoid overcrowding. You want light, not a Christmas tree.
Measure the total distance you’ll need. Add 10% extra for slack and connectors. This tells you how many light strands to buy.
Warning: Never exceed the manufacturer’s recommended number of connected strands. Most outdoor lights can only be daisy-chained 3–5 times. Overloading causes overheating and fire risk.
Step 2: Choose the Right Mounting Method
This is where most DIYers go wrong. They use flimsy tape, weak hooks, or—worst of all—nails. In 2026, we’re smarter than that.
Your mounting depends on your surface:
- Wood (deck, pergola, fence): Use screw-in eye hooks. They’re strong, removable, and won’t split the wood if you drill a pilot hole first.
- Concrete, stucco, or brick: Use masonry anchors and screws. I like toggle bolts for heavier setups.
- Metal (railings, gutters): Use magnetic clips or cable ties with rubber backing to avoid scratching.
- Trees: Use soft rope or tree-friendly straps. Never nail or screw into live wood—it damages the tree and can rot.
For a clean, pro look, I prefer invisible cable clips (like the ones from Command Outdoor). They stick to surfaces with strong adhesive and hold up to 5 lbs. Perfect for light strands.
Pro Tip: If you’re renting or don’t want to drill, use freestanding poles (like shepherd’s hooks) or weighted bases to create anchor points. I use these on my apartment balcony—works like a charm.
Step 3: Mark and Drill Mounting Points
Now, it’s time to mark where your hooks, clips, or anchors will go.
- Use your sketch and measuring tape to space points every 2–3 feet. For a grid, keep lines parallel.
- Use a level to make sure horizontal lines are straight. A 1/4″ dip over 10 feet is noticeable.
- Mark each point with a pencil or chalk.
For wood:
- Drill a small pilot hole (slightly smaller than the hook’s screw).
- Twist in the eye hook by hand, then give it a final turn with pliers.
For masonry:
- Use a hammer drill or regular drill with a masonry bit.
- Drill to the depth of the anchor.
- Insert the anchor, then screw in the hook or clip.
Common Mistake: Drilling into a stud or beam without checking first. Use a stud finder or tap the wall—solid sound means you’re on wood. Hollow sound? Find a better spot.
Take your time. Rushed drilling = crooked lights and frustration.
Step 4: Install a Support Cable (Optional but Highly Recommended)
If you’re running lights over a wide area (more than 15 feet), consider adding a support cable. This is a thin, strong wire (like stainless steel or paracord) that runs between anchor points and holds the lights. It prevents sagging and adds a pro touch.
Here’s how:
- Run a cable between your anchor points using turnbuckles or cable clamps.
- Tighten it just enough to be taut—don’t over-stretch.
- Attach your light strands to the cable with S-hooks or zip ties.
I used this method on my 20-foot pergola, and the lights stayed straight for two years, even through heavy snow. Without it, they would’ve sagged like a tired hammock.
Step 5: String the Lights (Start from the Power Source)
Now for the fun part: hanging the lights.
- Begin at the power source. This is critical. If you start at the far end, you might run out of cord or have to daisy-chain too many strands.
- Unroll one strand and attach the plug end to the first hook or clip near your outlet.
- Work your way around, securing the strand to each anchor point with an S-hook or zip tie.
- For corners, use a hook or clip to redirect the strand smoothly—no sharp bends.
- If daisy-chaining, connect the next strand to the first, then continue.
Keep the strand slightly loose—about 1–2 inches of slack between hooks. This allows for expansion in heat and contraction in cold. Too tight, and the lights will stretch or break.
Pro Tip: Use zip ties with a quick-release tab (like the kind from Gardena). They let you adjust or remove lights without cutting.
If you’re using a support cable, clip the lights to it every 12–18 inches. This keeps them evenly spaced and prevents dragging.
Step 6: Manage Cords and Power (Hide the Mess)
Nothing ruins a beautiful setup like a tangled cord snaking across your patio. Let’s keep it clean.
- Use outdoor-rated extension cords with a GFCI (ground fault circuit interrupter) plug. This shuts off power if there’s a leak—critical for safety.
- Run the cord along a railing, under furniture, or through a conduit (like a PVC pipe) for a hidden look.
- Use cord clips or adhesive mounts to secure it to walls or posts.
- If using multiple strands, bundle cords with a zip tie at key points.
For a smart upgrade, plug your lights into a Wi-Fi smart plug. I use the Kasa Outdoor Smart Plug—it lets me turn lights on with my phone, set schedules, or sync with sunset via an app. Game-changer for ambiance.
Warning: Never run cords under rugs, through doorways, or where people walk. It’s a tripping hazard and can damage the insulation.
Step 7: Test, Adjust, and Secure
Now, plug it in and test.
- Turn on the lights. Do all strands work? Is the glow even?
- Check for sagging, dangling wires, or exposed connections.
- Adjust slack or add extra clips where needed.
- Trim any excess zip tie tails with scissors.
Walk around the patio. Sit in different spots. Does the light feel warm and inviting? Or is it too bright, too dim, or casting weird shadows?
Make small tweaks—move a hook, add a strand, adjust a timer. This is your chance to perfect it.
Pro Tip: Take a photo at night. It’s easier to spot uneven lighting or dark zones in a picture than in person.
Once you’re happy, secure all connections. Wrap plugs and connectors with electrical tape or use weatherproof cord covers to prevent moisture damage.
Pro Tips & Common Mistakes to Avoid
After years of trial and error (and a few “oops” moments), here’s what I’ve learned:
- Don’t skip the weatherproofing. Even “outdoor” lights can fail if plugs or connectors get wet. Use waterproof outlet covers and seal connections.
- Avoid overloading circuits. Check your outdoor outlet’s amperage. Most are 15A—don’t exceed 80% (about 12A) with lights, heaters, and speakers.
- Use warm white (2700K–3000K) for a cozy feel. Cool white (4000K+) feels clinical and harsh at night.
- Think about light direction. Downward-facing strands reduce glare. Upward-facing creates a canopy but can be blinding.
- Label your strands. Use masking tape or tags to mark which strand is which. Saves time when one goes out.
- Seasonal storage: If you live in a snowy area, take down lights in winter or use all-season LED strands rated for sub-zero temps.
My Biggest Mistake: Once, I used indoor-rated lights “just for the summer.” They lasted three weeks. Rain + non-weatherproof bulbs = short circuit + smoke. Lesson learned: always use outdoor-rated gear.
And here’s a pro secret: **layer your lighting**. Combine string lights with a few LED spotlights on the ground or solar path lights along walkways. It creates depth and makes the space feel larger.
FAQs About How to String Outdoor Patio Lights Like a Pro in 2026
Can I leave my outdoor string lights up all year?
Yes—if they’re rated for all-season use. Look for “wet-rated” or “all-weather” on the packaging. Avoid leaving indoor or seasonal lights up in rain or snow. I keep my Edison bulbs up year-round, but I unplug them during storms.
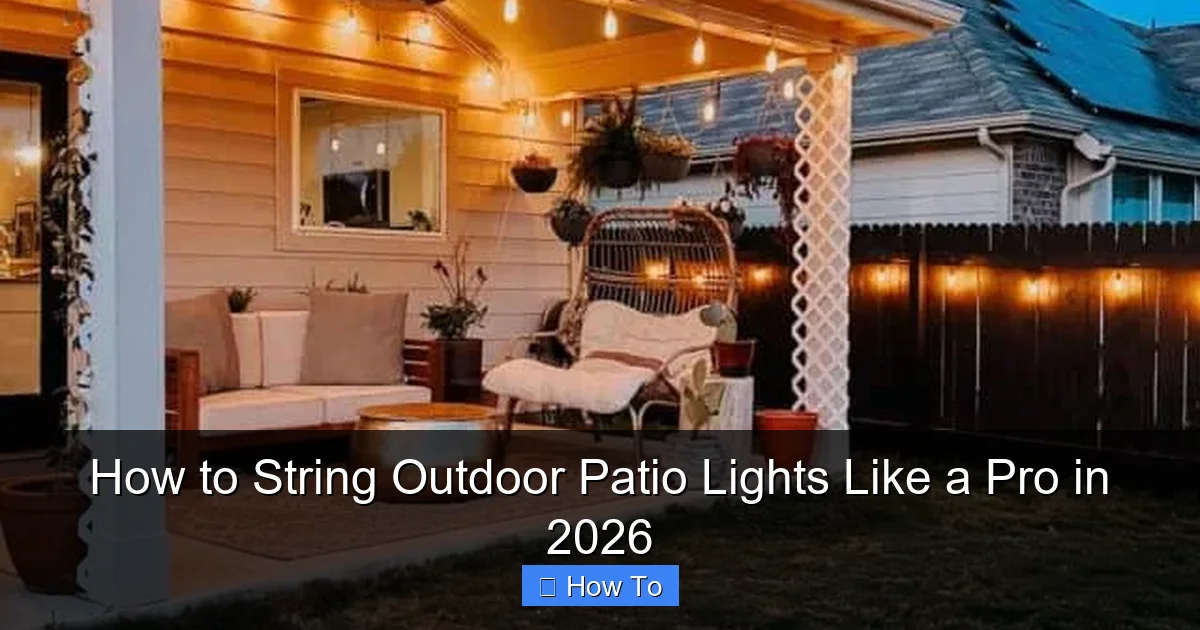
Visual guide about how to string outdoor patio lights
Image source: loveandrenovations.com
How do I hide the cords without drilling?
Use freestanding poles, weighted bases, or furniture to anchor lights. For cords, run them behind planters, under benches, or use outdoor cord covers that blend with the deck. I once used a fake cactus planter to hide an extension cord—worked perfectly.
What if I don’t have an outdoor outlet?
Options: Use an indoor outlet with a weatherproof cover (like the Weatherproof Outlet Box), run a heavy-duty extension cord through a window (seal the gap with foam), or go solar-powered. I use solar strands on my balcony—no cords, no outlets, just sunlight.
How far apart should I space the lights?
For a grid, 2–3 feet between strands is ideal. For perimeter loops, every 18–24 inches. Closer spacing = brighter, cozier feel. Farther = more open and modern. I like 24″ for a relaxed vibe.
Can I connect different brands of lights?
Generally, no. Different brands may have different voltages, connectors, or wattage. Stick to the same brand or check compatibility. I once mixed brands—one set flickered constantly. Not worth the hassle.
What’s the best way to fix a dead strand?
First, check the fuse in the plug (yes, most have one). Then, inspect for loose bulbs or damaged wires. Use a light tester pen to find the break. Replace the strand if it’s beyond repair—don’t splice unless you’re experienced.
Do I need a permit for outdoor lighting?
For permanent installations (like hardwired lights), maybe. Check with your local building department. For temporary or plug-in setups, usually not. When in doubt, ask. I once got a friendly note from my HOA about “excessive brightness”—now I use dimmers.
Final Thoughts
So there you have it: the real, no-fluff guide to **how to string outdoor patio lights like a pro in 2026**. It’s not about flashy tools or expensive gear—it’s about planning, patience, and a few smart choices.
You don’t need to be an electrician. You just need to care about how your space feels. And trust me, when those lights glow at dusk, casting soft shadows on your table, your dog curled up nearby, and your friend laughing under the stars—you’ll know it was worth it.
Start small. Maybe just a perimeter loop this weekend. Then add a grid next month. Use the right hooks, respect the weather, and test as you go. That’s the pro way.
And remember: the best outdoor lighting doesn’t shout—it whispers. It invites, it comforts, it turns a simple patio into a place you never want to leave.
Now go string those lights. Your perfect evening is waiting. And when you’re done, send me a photo. I’d love to see it.
You’ve got this. And now you know **how to string outdoor patio lights like a pro in 2026**.

