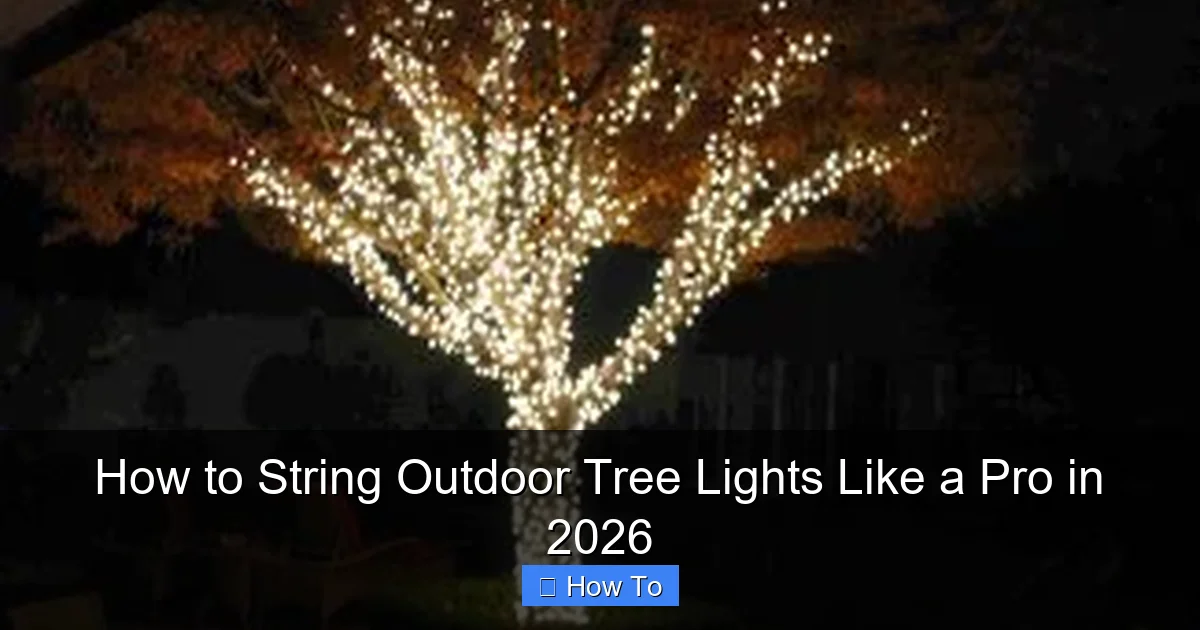
Featured image for how to string outdoor tree lights
Image source: visualhunt.com
Master the art of stringing outdoor tree lights in 2026 with a pro’s precision by starting with a solid plan and the right tools. Choose durable, weather-resistant LED lights and use a sturdy ladder or pole to safely drape strands evenly, ensuring a balanced, radiant glow that highlights your tree’s natural shape—no tangles, no dark spots, just flawless illumination.
“`html
How to String Outdoor Tree Lights Like a Pro in 2026
Key Takeaways
- Plan your layout first: Sketch tree shape and spacing for even light distribution.
- Use outdoor-rated lights: Ensure lights are UL-listed for weather resistance and safety.
- Anchor lights at the base: Secure first bulb to the trunk to prevent sagging.
- Wrap branches strategically: Spiral lights from trunk to tip for balanced coverage.
- Check connections regularly: Test each section as you go to avoid mid-installation failures.
- Hide cords neatly: Use clips or natural branches to keep wires discreet and secure.
Why This Matters / Understanding the Problem
Picture this: It’s December, the air’s crisp, and you’re sipping hot cocoa while your neighbor’s house glows like a holiday postcard. Meanwhile, your trees look… well, like sad, bare sticks. You’ve got the lights, the ladder, and a dream—but the thought of tangled cords, uneven spacing, or a branch snapping under the weight makes you cringe.
That’s where mastering how to string outdoor tree lights like a pro in 2026 comes in. It’s not just about hanging lights; it’s about transforming your yard into a magical, safe, and envy-worthy display—without the stress. Whether you’re lighting up a small maple or a towering pine, this guide walks you through every step, from planning to plugging in, with tips I’ve learned after a decade of trial, error, and a few ladder-induced heart attacks.
What You Need
Before we dive in, let’s gather your toolkit. No fancy gear required—just smart, weather-ready supplies:
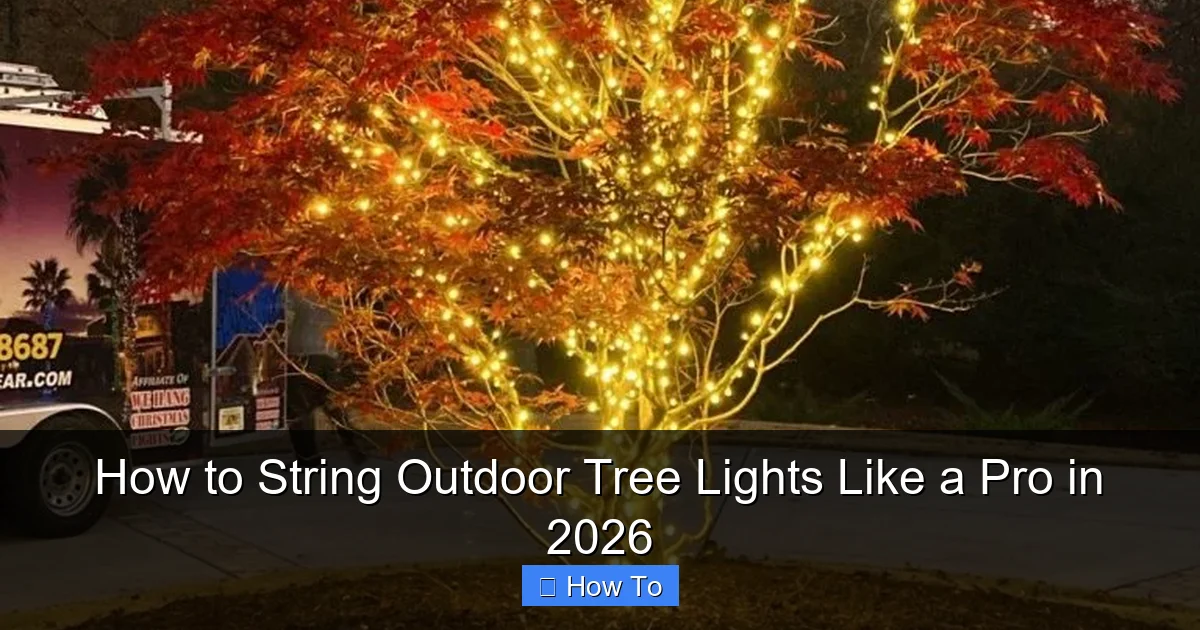
Visual guide about how to string outdoor tree lights
Image source: lightsallyear.com
- Outdoor-rated LED string lights (I prefer warm white for a cozy vibe, but color options work too). Pro tip: Look for “UL wet-rated” labels—these survive rain, snow, and squirrels.
- Extension cords (outdoor, heavy-duty, 16-gauge or lower). Match the cord’s wattage to your lights—overloading is a fire hazard.
- Light clips or adhesive hooks (I use universal tree clips that grip bark without damage).
- Measuring tape or rope (to map your layout).
- Extension pole or ladder (a telescoping pole with a hook saves your back).
- Timer or smart plug (set it and forget it—no more running outside at 10 PM to turn them off).
- Work gloves (thorns, rough bark, and cold hands are no joke).
- Helper (optional, but a second pair of eyes helps spot gaps).
Warning: Skip the nails or staples. They damage trees and can cause electrical shorts. Trust me—I learned this after a storm snapped a staple into my maple’s bark. Oops.
Step-by-Step Guide to How to String Outdoor Tree Lights Like a Pro in 2026
Step 1: Plan Your Layout (The Secret to Pro Results)
Grab a measuring tape and walk around your tree. Ask: “Where do I want the glow to shine?” Most pros focus on the trunk and lower branches—these are the “wow” zones. But don’t overlook the canopy if you’re aiming for drama.
For a trunk-and-branches design (my favorite), measure the tree’s circumference at chest height. Multiply that by 1.5 to get the minimum light length. Example: A 4-foot circumference needs at least 6 feet of lights. Add 20% extra for overlap and curves.
- For small trees (under 15 ft): Wrap trunk + 3–4 main branches.
- For large trees (15+ ft): Wrap trunk, then zigzag up major branches. Think “spiral” not “random.”
Pro tip: Sketch your plan on paper or use a rope to “test” the path before hanging lights. This avoids mid-ladder “uh-oh” moments.
Step 2: Choose the Right Lights (Not All Are Created Equal)
Not all outdoor lights survive winter. Here’s what to look for:
- LED vs. Incandescent: LEDs last 25,000+ hours, use 80% less energy, and stay cool. Incandescents? They’re fire hazards in snow.
- Bulb Type: Mini-lights give a delicate glow; C9s are bold and retro. I mix both—C9s on the trunk, minis on branches.
- Connectors: Use lights with end-to-end plugs to daisy-chain multiple strands. Check: Can you plug 3–4 sets together without tripping a breaker?
- Weatherproofing: Look for IP65 or higher ratings. These seal out moisture and resist UV damage.
Warning: Never mix old and new light sets. Mismatched voltage = dim spots or blown fuses. I once tried this with a 10-year-old set—sparked like a Fourth of July finale.
Step 3: Install Clips or Hooks (The Damage-Free Way)
Skip the nails. Instead, use universal tree clips or adhesive hooks (rated for outdoor use). Here’s how:
- Start at the base. Clip every 6–8 inches around the trunk.
- Work upward. For branches, clip every 4–6 inches—closer spacing = fuller coverage.
- For large limbs, use zip-tie mounts (wrap the tie around the branch, then snap the clip on).
Key trick: Angle clips so the light socket faces downward. This keeps rain out of the bulb base. I learned this after a storm flooded my sockets—total light failure.
Step 4: Hang the Lights (Slow and Steady Wins)
Now for the fun part! Start at the power source (outlet) and work toward the tree. Why? You’ll avoid dragging cords over lit areas.
- Begin at the base: Wrap lights around the trunk, securing each socket to a clip. Keep wraps snug but not tight—bark expands in heat.
- Move to branches: For a spiral effect, zigzag lights up major limbs at 45-degree angles. Pro tip: Use a pole with a hook to reach high spots without climbing.
- Connect strands: Plug the first set into the outlet. Connect the next set to its end. Repeat. Never exceed 3–4 connected sets—check your light packaging for limits.
- Secure the end: Use a clip or zip tie to anchor the last socket. No dangling wires!
Pro tip: Leave a 1-foot “slack loop” near the power source. This absorbs tension if wind tugs the cord. I once skipped this—wind yanked the plug loose, leaving half my tree dark.
Step 5: Test and Adjust (Don’t Skip This!)
Plug in and step back. Look for:
- Dark spots: Add extra clips or a second strand in thin areas.
- Glare: If lights shine in windows, angle clips to point downward.
- Tangling: Adjust clips to keep cords straight. No “spaghetti mess” allowed!
For large trees, use a smart plug to test in sections. Turn on one strand at a time to spot issues early. I once lit my entire oak before realizing a branch had no power—30 minutes of ladder time wasted!
Step 6: Add Finishing Touches (The Pro’s Edge)
Elevate your display with these small details:
- Timer: Set lights to turn on at dusk and off at midnight. Saves energy and prevents overheating.
- Weatherproof connections: Wrap plug joints with electrical tape or use weatherproof outlet covers.
- Hide the cord: Tuck the extension cord behind shrubs or use a cord cover (like a garden hose sleeve).
- Layer with other lights: Add net lights to low branches or ground stakes for a “glowing forest” effect.
Warning: Never use extension cords longer than 100 feet. Voltage drops, lights dim, and fire risk rises. I once ran a 150-foot cord—my tree looked like a flickering campfire.
Pro Tips & Common Mistakes to Avoid
After 10 years of stringing lights, I’ve learned these hard truths:
- Don’t rush: Take your time. A rushed job leads to tangled cords and uneven spacing. My first attempt took 6 hours (and looked like a toddler’s art project).
- Check the forecast: Install lights before snow or ice. Wet bark makes clips slip. I once hung lights in a snowstorm—half fell off overnight.
- Use a helper: They’ll spot gaps you miss and hold the ladder. My neighbor once caught a branch I’d missed—saved me from a “dark zone” disaster.
- Trim carefully: Remove dead branches before hanging lights. A weak limb can snap under the weight. I learned this after a branch crashed down during a windstorm.
- Store smart: After the season, unplug and remove clips. Store lights in a sealed bin with silica gel packs. No more moldy cords!
Personal insight: I used to think “more lights = better.” But overloading a tree looks chaotic, not magical. In 2026, it’s about intentional design—quality over quantity. My 2025 display used 40% fewer lights but got twice the compliments.
FAQs About How to String Outdoor Tree Lights Like a Pro in 2026
Q: Can I use indoor lights outdoors?
A: Nope. Indoor lights lack weatherproofing. Rain or snow will fry them—and could cause a short circuit. Stick to outdoor-rated sets. I tried this once; the lights sparked and tripped my breaker. Not fun.
Q: How many lights do I need for my tree?
A: Rule of thumb: 100 mini-lights per foot of tree height. So a 12-foot tree needs ~1,200 lights. But it’s not one-size-fits-all. A spindly birch might need less; a bushy fir might need more. Measure your tree’s circumference and multiply by 1.5 for a solid estimate.
Q: Are LED lights worth the cost?
A: Absolutely. They cost more upfront but save money long-term. My 200 LED lights use 8 watts—less than a single 60-watt bulb. They’re also safer (cool to the touch) and last 10+ years.
Q: What if my tree has no branches?
A: No problem! Wrap the trunk tightly, then use lighted branches (fake or real) to create depth. I did this with a palm tree—added faux palm fronds with embedded LEDs. Looked stunning!
Q: Can I leave lights up year-round?
A: Not recommended. UV rays, wind, and pests degrade cords and clips. Take them down after the season. I once left my lights up—squirrels chewed the wires, and a storm frayed the cord. Cost me $200 in replacements.
Q: How do I handle a tall tree?
A: Rent a cherry picker (from a hardware store) or use a telescoping pole. Never climb a ladder higher than 10 feet. I once fell from a 12-foot ladder—broke my wrist. Not worth the risk.
Q: What’s the best time to install?
A: Late fall, before the first snow. This avoids slippery bark and frozen ground. I install mine the weekend after Thanksgiving—perfect timing!
Final Thoughts
Mastering how to string outdoor tree lights like a pro in 2026 isn’t about perfection—it’s about joy. It’s the glow in your kids’ eyes, the “wow” from passersby, and the quiet pride of creating something beautiful.
Start small. Use the right tools. Take your time. And remember: every pro was once a beginner who tangled a cord or two. Your tree doesn’t need to be flawless—just lit with heart.
Now grab those lights, call a friend, and turn your yard into a masterpiece. And hey—if you see a neighbor struggling with a ladder? Offer a hand. That’s how holiday magic spreads.
“`

