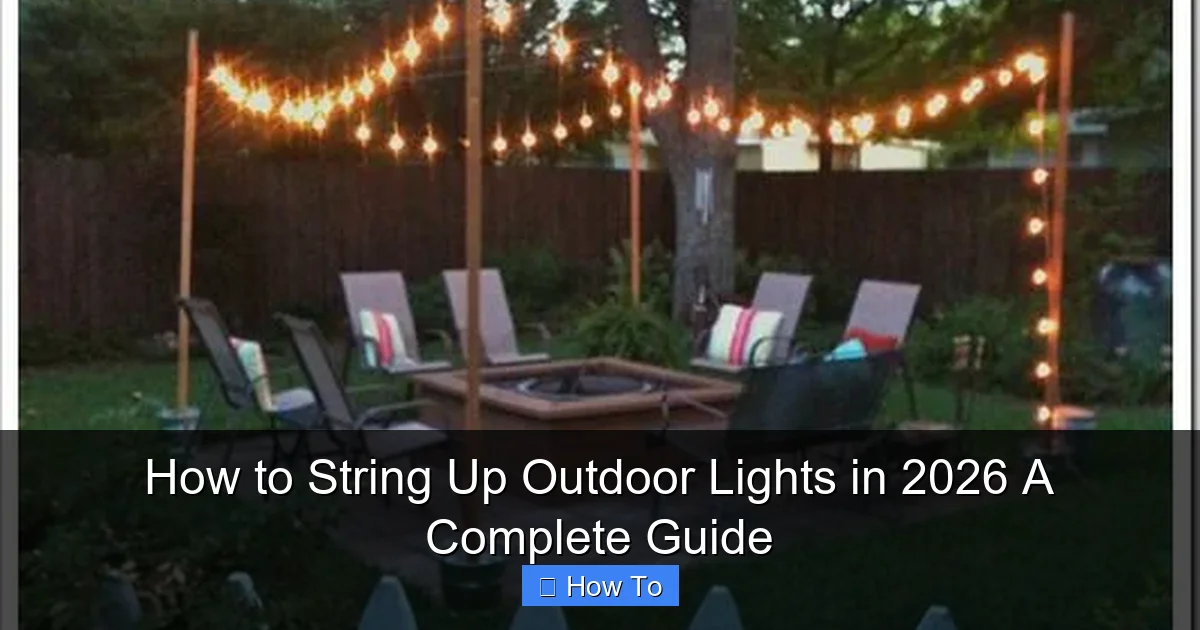
Featured image for how to string up outdoor lights
Image source: landscapelightingguru.com
Transform your outdoor space in 2026 with professionally strung lights by following simple, step-by-step techniques that ensure safety, durability, and stunning visual impact. Choose weather-resistant LED strands and secure them with insulated hooks or clips to prevent sagging and damage—no more droopy wires or frequent repairs. Whether outlining your patio, wrapping trees, or lining a fence, proper spacing and a GFCI-protected power source keep your setup safe and dazzling all season long.
How to String Up Outdoor Lights in 2026: A Complete Guide
Key Takeaways
- Plan your layout first: Sketch light placement to avoid overbuying or gaps.
- Use weatherproof lights: Ensure all components are rated for outdoor use.
- Secure with hooks or clips: Prevent sagging and damage to wires or fixtures.
- Check voltage drop: Use thicker cables for longer runs to maintain brightness.
- Install a timer or smart control: Automate on/off times for safety and convenience.
- Test before finalizing: Verify lights work properly before securing permanently.
Why This Matters / Understanding the Problem
Picture this: It’s a warm summer evening, and you’re hosting friends on your patio. Laughter fills the air, but as the sun dips below the horizon, the mood dims—literally. The space feels dark, unsafe, and just… not inviting. That’s when you realize: you need outdoor lights.
But here’s the catch: stringing up outdoor lights in 2026 isn’t just about aesthetics. It’s about safety, ambiance, and smart home integration. With new weather-resistant materials, solar tech, and Wi-Fi-enabled bulbs, the game has changed. The how to string up outdoor lights in 2026 a complete guide isn’t just a DIY project—it’s an investment in your home’s comfort and curb appeal.
Yet, many people hesitate. They worry about power sources, weather damage, or making the space look like a carnival. Others try to wing it and end up with sagging wires, tripping hazards, or lights that die after one rainy night.
I’ve been there. I once strung lights across my backyard using flimsy clips and extension cords. Two weeks later, a storm hit, and half the bulbs were flickering. The wires drooped like wet spaghetti. My neighbor called them “the sad disco.”
That’s why this guide exists. Whether you’re lighting a cozy porch, a sprawling backyard, or a poolside oasis, I’ll walk you through a modern, durable, and beautiful setup—using today’s best practices and tomorrow’s tech.
What You Need
Before we dive in, let’s gather your toolkit. No need to buy everything new—many items you already have. But investing in the right gear now saves headaches later.
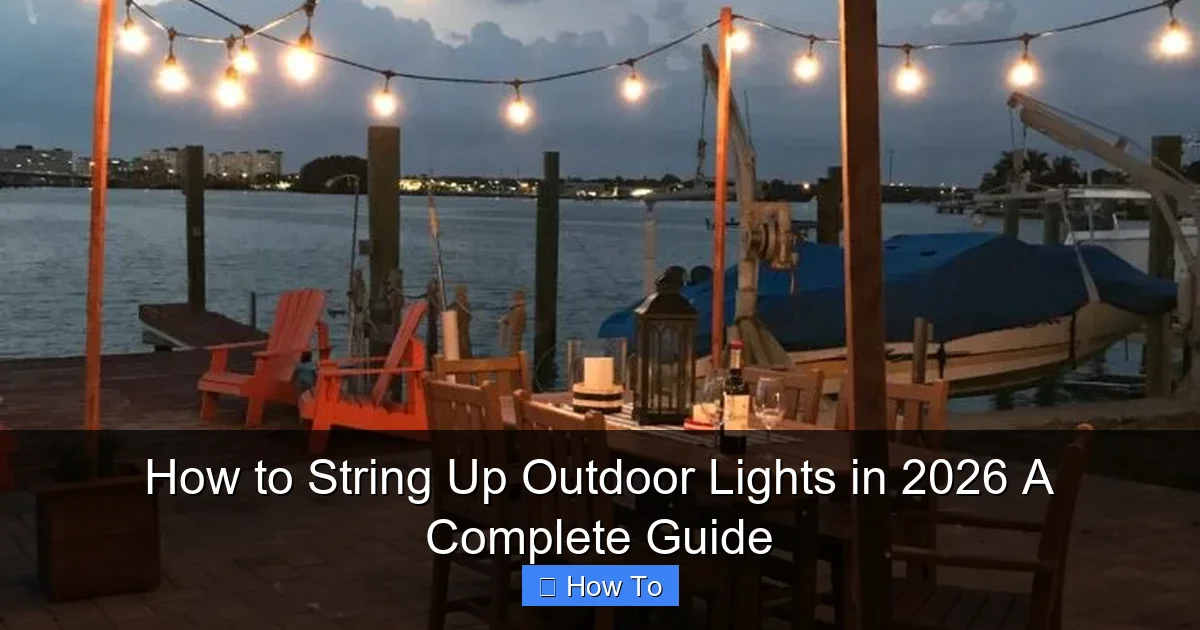
Visual guide about how to string up outdoor lights
Image source: h2obungalow.com
- Outdoor-rated string lights (LED preferred—longer life, less heat)
- Weather-resistant mounting hardware (screw-in hooks, zip ties, or specialized clips)
- Measuring tape or laser measure
- Drill and drill bits (if installing permanent hooks)
- Extension cords (outdoor-rated, GFCI-protected)
- Power source (outdoor outlet, solar panel, or low-voltage transformer)
- Wire clips or zip ties (UV-resistant)
- Smart plug or timer (optional, but highly recommended)
- Ladder (if working above 6 feet)
- Marker or masking tape (for spacing)
Pro Tip: In 2026, many people opt for solar-powered string lights with built-in batteries and motion sensors. They’re easier to install (no wiring!) and great for shaded areas. But if you want full control, hardwired or plug-in is still the gold standard.
The key? Match your tools to your space. A small balcony needs less hardware than a 50-foot backyard. And always check the IP rating (Ingress Protection) on lights and cords—look for IP65 or higher for full weather resistance.
Step-by-Step Guide to How to String Up Outdoor Lights in 2026: A Complete Guide
Step 1: Plan Your Layout (Before You Buy a Single Light)
Start with a sketch. Use graph paper or a free app like SketchUp Free to map your space. Identify anchor points: trees, posts, eaves, railings, or walls.
Ask yourself:
- Where do people gather? (Dining area, fire pit, entryway)
- Where do you need safety lighting? (Stairs, pathways)
- Do you want ambient glow or task lighting?
For a balanced look, space lights 8 to 12 feet apart for main lines. For accent lighting (like wrapping a tree), go closer—every 2–3 feet.
Measure the total length of your planned path. Add 10–15% extra for slack and curves. Nothing kills the vibe like realizing you’re 6 feet short.
Warning: Don’t just drape lights randomly. A well-planned layout ensures even light distribution and prevents overloading circuits. Use the how to string up outdoor lights in 2026 a complete guide approach: design first, install second.
Step 2: Choose the Right Lights for Your Needs
In 2026, your options are better than ever. But not all lights are created equal.
For permanent installations: Go with commercial-grade LED string lights. Look for:
- UL Listed for wet locations
- IP65+ rating
- Replaceable bulbs (so one burnout doesn’t kill the whole strand)
- Low-profile, black or brown wire (blends with wood and stone)
For temporary or seasonal use: Solar string lights are a win. They charge by day, glow at night. Great for renters or renos. But they’re less bright and may dim in cloudy climates.
For smart control: Try Wi-Fi-enabled or Bluetooth string lights. Brands like Philips Hue and Nanoleaf now make outdoor-rated versions. You can schedule them, dim them, or change colors from your phone.
I use a mix: permanent LED strands on my pergola, solar lights in the garden, and smart bulbs on my deck. It’s like having a lighting menu for every mood.
Step 3: Install Anchor Points (The Foundation of a Tidy Setup)
This is where most DIYers cut corners—and pay for it later. Loose or weak anchor points cause sagging, tripping, and damage.
For wood (fences, pergolas, eaves):
- Use stainless steel screw-in hooks or eye bolts.
- Pre-drill holes to avoid splitting wood.
- Space hooks every 8–10 feet for long runs.
For concrete or brick:
- Use masonry anchors or expansion bolts.
- Drill pilot holes, insert anchors, then screw in hooks.
- Use a level to keep lines straight.
For trees:
- Use tree-friendly clips or zip ties with felt padding.
- Never use nails—they damage bark and invite disease.
- Wrap lights loosely—don’t strangle the trunk.
For railings or metal posts:
- Use magnetic hooks or clamp-on clips.
- Ensure they’re rated for outdoor use (rust-resistant).
Pro Tip: Test each anchor point by pulling it firmly. If it wiggles, reinforce it. A single weak link can bring down your whole display.
Step 4: Run the Lights (Keep It Neat, Keep It Safe)
Now the fun part—hanging the lights! But do it right.
Start at the power source. Unroll the string light completely on the ground first. Plug it in to test all bulbs. Replace any duds.
Begin at one anchor point. Attach the first bulb socket (not the plug end) to the hook. Then, work outward in both directions—this prevents tension buildup.
Use UV-resistant zip ties or clips every 12–18 inches. Tighten just enough to hold the wire—don’t cinch it. Over-tightening can damage insulation.
For straight runs (like along a fence), use a level to keep the line straight. For curves (around a tree or arch), let the lights follow the shape naturally.
Leave 6–12 inches of slack at each end. This allows for expansion in heat and contraction in cold. It also makes future adjustments easier.
If you’re connecting multiple strands, use a weatherproof junction box or outdoor-rated splitter. Never use indoor extension cords—they’re not rated for moisture.
Step 5: Manage Power and Control (Smart Moves for 2026)
In 2026, “dumb” lights are out. Smart control is in.
For plug-in lights: Use a smart plug with a weatherproof cover. Set it to turn on at sunset and off at 10 PM. No more forgetting to switch them off.
Pair it with a motion sensor for security lighting. Lights turn on when someone walks by—great for paths and entries.
For solar lights: Install the solar panel in full sun (6+ hours daily). Angle it south (in the Northern Hemisphere) for maximum charge.
For hardwired systems: Run a low-voltage (12V) transformer to your lights. It’s safer, more efficient, and easier to expand later. Use direct-burial cable if running underground.
I love using a voice-controlled hub (like Alexa or Google Home). “Hey Google, turn on the patio lights”—and boom, instant ambiance.
Step 6: Weatherproof and Protect (Because Nature Happens)
Outdoor lights face rain, wind, UV rays, and critters. Protect them.
- Seal all connections with dielectric grease or weatherproof tape.
- Elevate plugs and splitters off the ground—use a weatherproof outlet box or hang them on a hook.
- Use conduit or wire loom where wires cross high-traffic areas (like walkways).
- Trim nearby branches—falling leaves and limbs can damage wires.
After storms, check for:
- Loose hooks
- Frayed wires
- Water in sockets
Replace any damaged parts immediately. A small fix now prevents a big failure later.
Step 7: Test, Adjust, and Enjoy (The Final Touch)
Plug it in. Turn it on. Step back and admire your work.
Look for:
- Even light distribution
- No sagging wires
- No tripping hazards
- Proper brightness (not too dim, not too harsh)
Adjust hooks or clips if needed. Add more lights for dark spots. Dim smart lights to set the mood.
Take a photo. Share it with friends. You’ve just created a space that’s safe, inviting, and Instagram-ready.
Pro Tips & Common Mistakes to Avoid
Let’s talk real talk—what I wish I knew when I started.
Pro Tip #1: Buy lights with replaceable bulbs. One burned-out LED shouldn’t kill your whole strand. Look for “socketed” or “bulb-replaceable” models.
Pro Tip #2: Use black or brown wire. Clear wire screams “cheap rental party.” Dark wires blend with wood, stone, and shadows.
Pro Tip #3: Install a GFCI outlet. It cuts power if there’s a ground fault—saving you from shocks or fires. If your outdoor outlet isn’t GFCI, call an electrician.
Common Mistake #1: Overloading circuits. Most outdoor outlets handle 15 amps. A single strand of LED lights uses about 0.5 amps. But add a heater, a sound system, and a fountain? You’re in trouble. Use a circuit checker or consult an electrician.
Common Mistake #2: Ignoring the “drape factor.” Lights should have a slight sag—like a gentle catenary curve. Too tight = stress on hooks. Too loose = tripping hazard. Aim for 6–12 inches of dip between anchor points.
Common Mistake #3: Forgetting about maintenance. Clean bulbs annually. Check wires for damage. Replace batteries in solar lights every 2–3 years. A little care keeps your lights shining for years.
And one personal lesson: Don’t rush the planning. I once hung lights in a hurry before a party. They looked great—for 30 minutes. Then a gust of wind knocked a loose strand into the pool. Not a good look.
The how to string up outdoor lights in 2026 a complete guide isn’t just about installation. It’s about creating a space that works for your lifestyle.
FAQs About How to String Up Outdoor Lights in 2026: A Complete Guide
Q: Can I use indoor string lights outdoors?
A: Nope. Indoor lights aren’t rated for moisture, UV, or temperature swings. They’ll short out, fade, or become a fire hazard. Always use outdoor-rated lights. Look for “wet location” on the label.
Q: How do I light a large backyard without outlets?
A: Solar lights are your friend. Use solar path lights for walkways and solar string lights for trees or pergolas. For larger areas, install a solar-powered transformer with a 100W panel. It can power several strands.
Q: Are LED string lights worth the cost?
A: Absolutely. They use 80% less energy, last 10+ years, and run cooler. I paid $60 for a 50-foot strand. After five summers, it’s still going strong. The savings on electricity and replacements? Priceless.
Q: Can I string lights between trees without damaging them?
A: Yes—with care. Use tree-friendly clips or soft zip ties with padding. Wrap lights loosely, and never use nails or wire. Remove them every 2–3 years to check for bark damage. Trees grow—don’t strangle them!
Q: How do I hide the wires?
A: Use wire channels (like raceways) for straight runs. For curves, tuck wires behind beams or use camouflage tape. Paint hooks to match the surface. Or, use low-profile black wire—it disappears in shadows.
Q: What if my lights flicker or go out?
A: First, check the plug and outlet. Then, inspect the strand for loose bulbs or damaged sockets. For smart lights, reset the app or hub. If one bulb is out, replace it (if socketed). If the whole strand dies, check the fuse in the plug.
Q: Can I install outdoor lights myself, or should I hire a pro?
A: Most setups are DIY-friendly—especially plug-in and solar. But if you’re running wires through walls, adding a new outlet, or using high-voltage systems, call an electrician. Safety first. The how to string up outdoor lights in 2026 a complete guide is for homeowners, not risk-takers.
Final Thoughts
Stringing up outdoor lights in 2026 isn’t just a weekend project—it’s a way to transform your home. Whether you’re creating a romantic nook, a family hangout, or a party zone, the right lights make all the difference.
Remember: plan first, install with care, and maintain regularly. Use quality materials, smart controls, and weatherproofing. And don’t be afraid to mix and match—solar, smart, permanent, temporary. Your space, your rules.
Start small. Light one area. See how it feels. Then expand. Before you know it, your backyard will be the place everyone wants to be.
And if you ever doubt your skills, just think of my “sad disco.” Even the best of us make mistakes. But with this how to string up outdoor lights in 2026 a complete guide, you’ll skip the mistakes and go straight to the magic.
Now grab your lights, your tools, and your courage. The night is waiting—and it’s time to make it glow.

