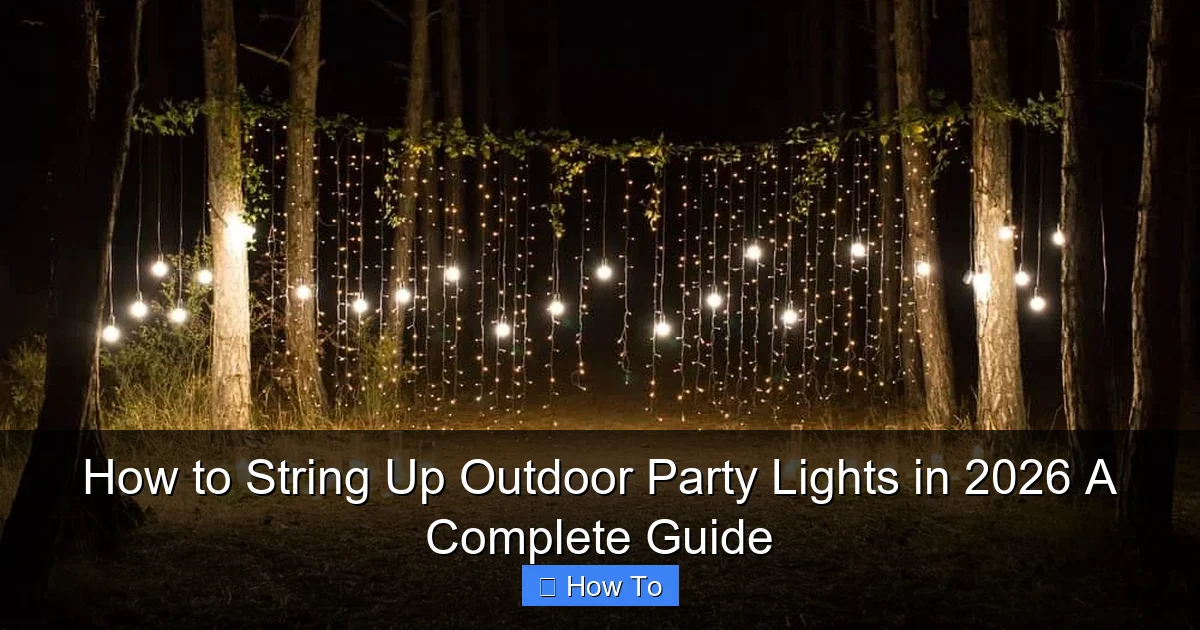
Featured image for how to string up outdoor party lights
Image source: homestratosphere.com
Transform your outdoor space in 2026 with weather-resistant, energy-efficient LED string lights by planning your layout, securing durable mounting hardware, and using smart timers or solar-powered options for effortless ambiance. Always prioritize safety—inspect cords, avoid overloading circuits, and follow manufacturer guidelines for a stunning, worry-free display.
“`html
How to String Up Outdoor Party Lights in 2026: A Complete Guide
Key Takeaways
- Plan your layout first: Sketch light placement to avoid mid-project changes.
- Use weatherproof lights: Choose IP65-rated or higher for lasting durability.
- Secure with proper hardware: Use outdoor-rated clips, not nails or staples.
- Measure twice, hang once: Account for sagging and expansion in hot weather.
- Test before finalizing: Check connections and bulbs before full installation.
- Keep power sources accessible: Place outlets nearby for safe, easy connections.
Why This Matters / Understanding the Problem
Let’s be honest—nothing sets the mood for a summer BBQ, backyard wedding, or even a cozy Friday night like the soft glow of outdoor party lights. But if you’ve ever tried how to string up outdoor party lights in 2026 a complete guide without a plan, you know how quickly it can turn into a tangled mess of extension cords, drooping strands, and questionable structural integrity.
I learned this the hard way at a friend’s birthday last year. We spent 45 minutes untangling lights, only to realize we’d strung them too tightly and snapped a few bulbs. The result? A half-lit patio and a very unimpressed guest of honor.
Whether you’re planning a one-night celebration or want permanent ambient lighting, getting it right means safety, longevity, and that magical atmosphere everyone remembers. This guide walks you through every step—no prior experience needed—so you can nail your outdoor lighting game in 2026 and beyond.
From choosing the right fixtures to avoiding common pitfalls, this is the how to string up outdoor party lights in 2026 a complete guide I wish I had when I started.
What You Need
Before you grab your ladder and start wrapping lights around the nearest tree, let’s talk about what you’ll actually need. The good news? Most of these items are either already in your garage or easy to pick up at any hardware or home improvement store.
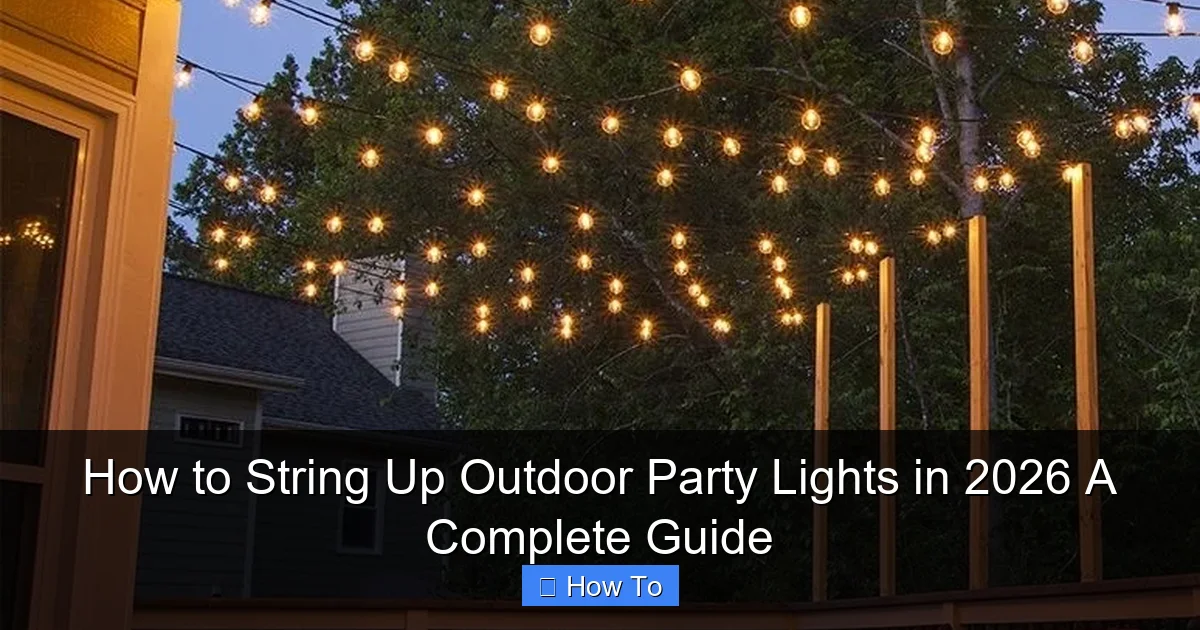
Visual guide about how to string up outdoor party lights
Image source: menterarchitects.com
- Outdoor-rated string lights: Look for “wet-rated” or “weather-resistant” labels. LED bulbs are best—they’re energy-efficient, long-lasting, and don’t get hot.
- Extension cords (outdoor-rated): Get one with a ground fault circuit interrupter (GFCI) for safety. Avoid daisy-chaining more than three cords.
- Light clips or hooks: These are game-changers. Use plastic or rubber-coated clips for gutters, wood, or vinyl siding. Metal hooks work on masonry or brick.
- Measuring tape: Measure your space before buying lights to avoid shortages or waste.
- Ladder or step stool: A stable, non-slip ladder is essential. If you’re working on a roof or tall structure, consider a scaffolding platform or extension pole.
- Drill and anchors (if needed): For permanent installations on brick, stucco, or concrete.
- Zip ties and cable clips: Great for securing loose wires or managing excess cord length.
- Timer or smart plug: Automate your lights so they turn on at dusk and off at bedtime.
- Helper (optional but highly recommended): One person holds, one person strings—makes the whole process faster and safer.
Pro tip: Buy 10–15% more lights than your measured length. You’ll likely need extra for curves, overlaps, or unexpected obstacles. And always test your lights before installing them.
Real-life insight: I once bought a 50-foot strand for a 45-foot patio—only to realize I had to go around a pillar. That extra 5 feet saved me from buying a second set mid-installation.
Step-by-Step Guide to How to String Up Outdoor Party Lights in 2026 A Complete Guide
Step 1: Plan Your Layout (The Most Important Step)
Before you even touch a light bulb, sketch out your space. Use graph paper or a simple drawing app on your phone. Mark where you want lights—over the patio, between trees, along the fence, etc.
Think about:
- Where will the power source be?
- Will you use trees, poles, gutters, or walls as anchor points?
- Are there any obstacles (vents, windows, plants)?
- Do you want a grid, zigzag, or cascading pattern?
For a classic “canopy” effect, string lights in a crisscross pattern across a pergola or between two trees. For a more casual look, drape them loosely along a fence or railing.
Use painter’s tape or chalk to mark anchor points. This helps you visualize spacing and avoid over- or under-lighting.
Pro tip: Measure the distance between anchor points. Most outdoor lights have a recommended maximum span (usually 20–30 feet). Going beyond that causes sagging and stress on connections.
This step is crucial for a successful how to string up outdoor party lights in 2026 a complete guide—because a good plan prevents headaches later.
Step 2: Choose the Right Lights and Power Source
Not all string lights are created equal. For outdoor use, always go with **weather-resistant LED lights**. They’re safer, last longer, and use less energy.
Look for:
- IP rating of 65 or higher: Means they’re protected from dust and water jets (perfect for rain and sprinklers).
- Plug-in vs. solar: Plug-in lights are brighter and more reliable. Solar lights are great for remote areas but may dim on cloudy days.
- Connectable strands: Some brands let you link multiple sets. Great for long runs, but don’t exceed the manufacturer’s limit (usually 3–5 strands).
For power, use an outdoor GFCI outlet. If you don’t have one, install a GFCI outlet or use a GFCI extension cord. This prevents shocks if water gets into the connection.
Place your power source near a covered area (like under an eave or porch) to protect the plug. Never leave plugs exposed to rain or snow.
And here’s a secret: Use a **smart plug** with a timer or app control. Set it to turn on at 7 PM and off at 11 PM—no more forgetting to switch them off.
Choosing the right lights and power setup is a key part of the how to string up outdoor party lights in 2026 a complete guide—don’t skip it!
Step 3: Install Anchor Points (The Foundation of a Great Setup)
Now it’s time to secure your mounting points. This step determines how stable and professional your lights look.
For gutters or vinyl siding: Use plastic gutter clips. They snap on easily and won’t damage the surface. Space them every 12–18 inches.
For wood or deck railings: Use rubber-coated S-hooks or adhesive-backed clips. Drill small pilot holes if you’re using screws—this prevents splitting.
For trees: Use tree-friendly straps or zip ties (but don’t over-tighten—trees grow!). Wrap the strap around the trunk or a sturdy branch, then attach a hook or loop.
For brick or concrete: Use masonry anchors and screws. A hammer drill makes this much easier. Drill a pilot hole, insert the anchor, then screw in a hook or eye bolt.
For pergolas or posts: Use eye hooks or cup hooks. Pre-drill holes to avoid cracking the wood.
Warning: Never use nails or screws directly on vinyl siding—they can crack and cause leaks. And avoid staples—they damage wires and are a fire hazard.
Once all anchors are in place, do a quick walkthrough. Are they evenly spaced? Are they strong enough to hold the weight of the lights? Fix any issues now—before you start stringing.
Solid anchor points are the backbone of any how to string up outdoor party lights in 2026 a complete guide—don’t rush this step.
Step 4: String the Lights (The Fun Part!)
Now the magic begins. Start at the power source and work outward. This way, you avoid running out of cord or creating a tangled mess.
For straight runs (fence, railing):
- Attach one end of the light strand to the first anchor.
- Walk along the path, clipping each socket or bulb into place.
- Keep tension even—don’t pull too tight (can damage bulbs) or too loose (can sag or sway).
For crisscross or canopy patterns:
- Start at one corner and run the strand diagonally to the opposite anchor.
- Loop it through a clip or hook to create a “V” shape.
- Continue weaving in a grid or zigzag pattern.
- Use zip ties to secure loose wires to the main strand.
For trees or irregular shapes:
- Drape the strand loosely from anchor to anchor.
- Use clips to guide the path around branches or curves.
- Let some strands hang lower for a “starry sky” effect.
Always leave a little slack at each anchor point—this reduces stress on the sockets and makes future adjustments easier.
If you’re using connectable strands, plug them in as you go. But don’t turn them on until the entire setup is complete—safety first!
Real-life insight: I once strung lights too tightly between two trees. A week later, a strong wind pulled the socket apart. Now I leave a 1-inch loop at each end—it absorbs tension and prevents breakage.
Stringing lights is where your vision comes to life—a core part of the how to string up outdoor party lights in 2026 a complete guide.
Step 5: Secure and Manage Cords
Even the prettiest lights look messy with dangling cords. This step keeps everything clean and safe.
For extension cords:
- Run them along the ground and cover with a cord cover or mulch.
- Use cable clips to attach cords to walls or railings.
- Keep them off walkways to avoid tripping hazards.
For excess light strand:
- Coil it neatly and secure with a zip tie.
- Hide it behind a planter, bench, or railing.
- Never cut the strand—it voids the warranty and creates a fire risk.
For smart plugs and timers:
- Mount them in a dry, shaded area (under an eave or in a weatherproof box).
- Use adhesive hooks or screws to keep them off the ground.
Good cord management isn’t just about looks—it’s about safety and longevity. Loose cords can get damaged by lawn mowers, pets, or weather.
Taking the time to tidy up is a small detail that makes a big difference in your how to string up outdoor party lights in 2026 a complete guide.
Step 6: Test and Adjust
Now plug everything in and turn it on. Stand back and admire your work—but also check for:
- Are all bulbs working?
- Is the pattern even? Any gaps or overlaps?
- Are the lights too bright or too dim?
- Is anything touching the ground or a heat source?
If a bulb is out, check the fuse (usually in the plug). Replace it if needed. For LED strands, individual bulbs rarely fail—so a whole section going dark usually means a loose connection or damaged wire.
Adjust clips or hooks as needed. A slight tweak can fix sagging or uneven spacing.
Let the lights run for 30 minutes. Watch for flickering, buzzing, or overheating. These are signs of a bad connection or overloaded circuit.
Testing is the final quality check in any how to string up outdoor party lights in 2026 a complete guide—don’t skip it!
Step 7: Maintain and Store (For Long-Term Use)
If you’re installing lights for a one-time event, you can take them down after the party. But if you want to reuse them, proper storage is key.
For seasonal removal:
- Unplug and gently unclip each strand.
- Coil lights around a piece of cardboard or a light reel.
- Store in a dry, cool place—away from pests and moisture.
- Label the box with the length and type of lights.
For permanent installations:
- Inspect lights every season.
- Clean bulbs with a dry cloth.
- Check for loose connections or frayed wires.
- Replace damaged strands immediately.
LEDs can last 15–20 years with proper care. But even the best lights need maintenance—especially if they’re exposed to sun, rain, and wind.
Smart storage and upkeep extend the life of your lights and make next year’s setup a breeze.
Pro Tips & Common Mistakes to Avoid
After years of trial and error (and a few disasters), here are my top insights:
- Don’t daisy-chain more than three extension cords: Overloading can cause overheating and fire. Use a power strip with a built-in breaker instead.
- Use a level: A small bubble level helps keep straight runs even. A crooked line is the fastest way to ruin the look.
- Go for warm white (2700K–3000K): It’s cozy and flattering. Cool white (5000K+) feels too clinical for most outdoor settings.
- Mix light types for depth: Combine string lights with lanterns, path lights, or uplights for a layered effect.
- Check local codes: Some areas have rules about outdoor electrical installations. When in doubt, consult a licensed electrician.
Common mistake: Using indoor lights outside. I did this once—rain shorted the circuit, and I had to replace the entire set. Always check the rating!
Another big one: rushing the planning stage. I’ve seen people buy lights first, then realize they don’t have enough outlets or anchor points. Measure, plan, then buy.
And finally—don’t forget the timer. Nothing kills the vibe like coming home to lights still on at 3 AM.
These tips are the secret sauce to a successful how to string up outdoor party lights in 2026 a complete guide.
FAQs About How to String Up Outdoor Party Lights in 2026 A Complete Guide
Can I use indoor string lights outside?
Nope—and don’t risk it. Indoor lights aren’t built to handle moisture, UV rays, or temperature swings. They’ll burn out fast or become a fire hazard. Always choose outdoor-rated, wet-location lights for any exterior setup.
How many strands can I connect together?
It depends on the brand and wattage. Most LED strands let you connect 3–5 sets. Check the packaging or manufacturer’s website. Exceeding the limit can overload the circuit and damage the lights.
What if I don’t have an outdoor outlet?
You have a few options: Use a long, outdoor-rated extension cord from an indoor outlet (but keep the plug inside a covered area). Or, install a weatherproof outdoor outlet—this is a job for a licensed electrician. Solar lights are another great alternative for areas without power.
Are solar string lights bright enough?
They’re improving every year! Modern solar lights with lithium batteries can last 6–8 hours on a full charge. But on cloudy days, they may be dimmer. For consistent brightness, go with plug-in lights. Save solar for accent lighting or hard-to-reach spots.
Can I leave lights up year-round?
You can, but it’s not ideal. Sun, rain, and wind degrade wires and bulbs over time. If you do leave them up, choose commercial-grade lights with UV-resistant coatings. Inspect them every season and replace any damaged parts.
How do I hang lights on stucco or brick without drilling?
Use adhesive hooks rated for outdoor use (like 3M Outdoor Command Strips). They hold well in dry conditions and remove cleanly. For heavier loads, consider a tension rod system or freestanding poles.
What’s the best way to avoid tangles?
Store lights properly! Wrap them around a reel or cardboard template when not in use. Never toss them in a box. And always test them before installation—fix tangles on the ground, not on a ladder.
Final Thoughts
Stringing up outdoor party lights doesn’t have to be stressful. With the right tools, a solid plan, and a little patience, you can create a space that feels warm, inviting, and totally Instagram-worthy.
This how to string up outdoor party lights in 2026 a complete guide is more than just a set of instructions—it’s a roadmap to confidence. Whether you’re lighting up a wedding, a birthday, or just a quiet night under the stars, you’ve got this.
Start with planning. Invest in quality, weather-resistant lights. Take your time with anchors and tension. And don’t forget to test before you celebrate.
Your guests won’t notice the clips or the extension cords—but they’ll remember the glow, the laughter, and the magic of a well-lit night.
Now go string some lights. The backyard is waiting.
“`

