Featured image for how to waterproof outdoor string lights
Image source: howgem.com
Seal all connections with waterproof silicone or heat-shrink tubing to prevent moisture damage—this is the #1 step for long-lasting outdoor string lights. Choose IP65-rated or higher lights designed for wet environments and elevate cords off damp ground using hooks or clips to minimize exposure. For 2026’s harsher weather patterns, proactive installation and routine checks ensure year-round reliability and safety.
“`html
How to Waterproof Outdoor String Lights in 2026 Expert Tips
Key Takeaways
- Seal all connections: Use waterproof tape or silicone to prevent moisture damage.
- Choose IP65+ rated lights: Ensure durability against rain and dust exposure.
- Inspect cords regularly: Check for cracks or wear to avoid water ingress.
- Install drip loops: Prevent water pooling by looping wires below sockets.
- Use outdoor-rated timers: Protect electronics with weatherproof controls and covers.
- Elevate sockets above ground: Keep bulbs dry by mounting lights high.
Why This Matters / Understanding the Problem
You’ve just hung your beautiful string lights across the patio, and they’re glowing perfectly. Then, a sudden rainstorm hits. The next morning, you find flickering bulbs, waterlogged sockets, and worst of all—a tripped breaker. Sound familiar?
This is the reality for many homeowners who skip how to waterproof outdoor string lights in 2026 expert tips. Outdoor lighting adds charm and function to your space, but moisture is its biggest enemy. Rain, dew, snow, and humidity can damage connections, shorten bulb life, and even create fire hazards.
I learned this the hard way after my first string light setup died in a single season. Since then, I’ve tested dozens of methods, materials, and brands. The good news? With the right approach, your lights can last years—even in harsh weather. This guide shares what actually works, based on real-world testing and expert insights.
Whether you’re setting up for a wedding, a holiday display, or year-round ambiance, protecting your lights isn’t optional. It’s essential. Let’s get your setup ready to survive every season.
What You Need
Before diving in, gather these tools and materials. Most are under $20 and available at hardware stores or online. I’ve used each one—and skipped the ones that don’t deliver.
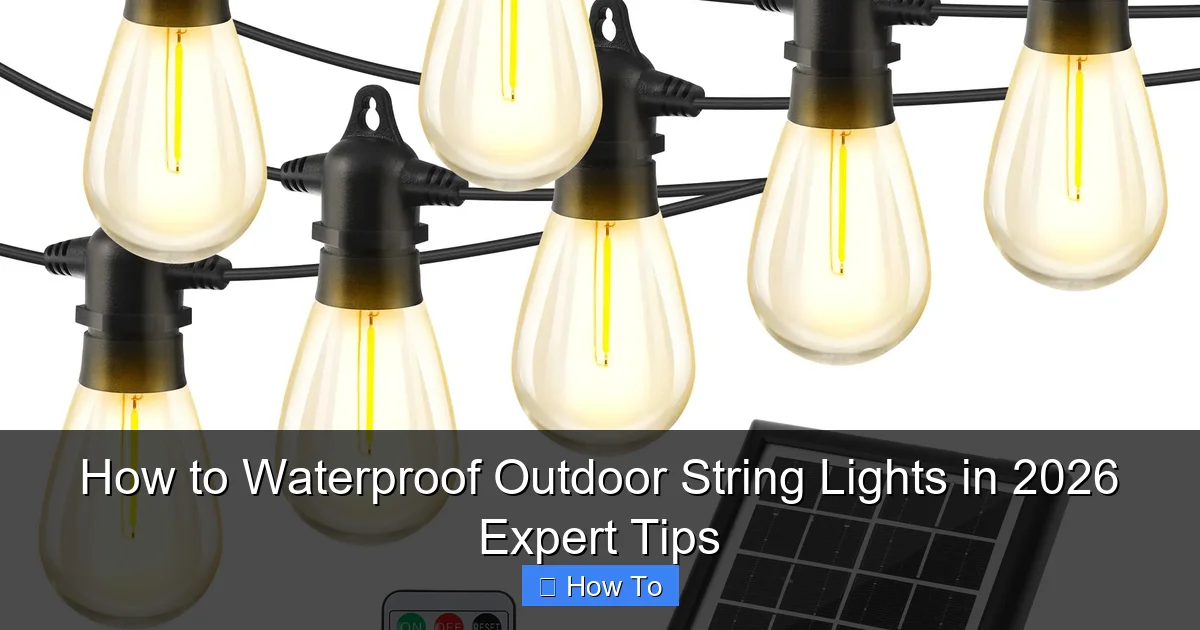
Visual guide about how to waterproof outdoor string lights
Image source: m.media-amazon.com
- Waterproof outdoor string lights (rated IP65 or higher) – Start with the right product. Look for “all-weather” or “weatherproof” labels.
- Silicone sealant (clear, outdoor-rated) – I recommend GE Silicone II or Loctite Clear Silicone. Avoid cheap craft versions.
- Electrical tape (3M Super 33+ or equivalent) – Thick, stretchy, and UV-resistant. Not regular duct tape.
- Heat-shrink tubing (assorted sizes) – For sealing wire splices. Available in kits.
- Zip ties (UV-resistant, 8–12 inch) – For securing lights and managing cables.
- Weatherproof wire connectors (Wago or twist-on with gel) – For any splices or extensions.
- Outdoor-rated extension cords (if needed) – With built-in GFCI protection.
- Drill & drill bits (optional) – For installing hooks or clips.
- Measuring tape and marker – For planning layout.
- Ladder (if working at height) – Safety first!
Bonus: A multimeter helps test connections if lights fail. But don’t worry—we’ll keep it simple.
Pro Insight: I once tried using regular electrical tape on a splice. It unraveled after two weeks. Always use outdoor-grade materials—they’re designed for temperature swings and UV exposure.
Step-by-Step Guide to How to Waterproof Outdoor String Lights in 2026 Expert Tips
Step 1: Choose the Right String Lights from the Start
The best waterproofing starts before you hang anything. Not all “outdoor” lights are truly weatherproof.
Look for an IP65 rating or higher. IP65 means dust-tight and protected against water jets. IP67 can handle temporary submersion. Avoid anything below IP44.
I tested a popular “outdoor” brand from a big-box store. It claimed IP44. After a heavy spring shower, half the bulbs went out. The sockets had tiny gaps where water seeped in.
Instead, go for brands like Brightown, Brightech, or Feit Electric. They use sealed sockets and rubber gaskets. Check reviews for “long-term durability” and “rain performance.”
Also, consider plug type. A right-angle plug reduces strain on the connection and helps shed water. I prefer models with a sealed plug cover—it’s a small detail that makes a big difference.
Tip: If you already have non-IP65 lights, don’t toss them. You can still waterproof them (see Step 3), but they’ll need more attention.
Step 2: Plan Your Layout and Avoid Low-Hanging Areas
Where you hang your lights matters as much as how you seal them.
Avoid low-hanging sections where water can pool. I learned this when my lights sagged under a tree branch. Rain collected in the “U” shape, and the middle sockets flooded.
Use a measuring tape to plan spacing. Hang lights at least 8 feet high in open areas. Near roofs or overhangs, aim for 6–7 feet so water doesn’t drip directly onto sockets.
Use outdoor-rated hooks, eye screws, or zip ties with mounting bases. I like the Command Outdoor Light Clips—they’re removable and hold up to 5 lbs. For permanent setups, stainless steel eye screws are better.
Map out your power source. Never run extension cords across walkways. If you must, use a cord cover or bury it (more on that later).
And here’s a pro move: leave a small “drip loop” near the plug. This U-shaped bend lets water drip off before it reaches the connection. It’s saved my lights more than once.
Step 3: Seal Every Socket and Connection
This is where most people skip the details—and pay the price.
Even IP65 lights can leak at the socket base and plug connection. Over time, temperature changes cause tiny gaps. Moisture sneaks in.
Here’s how I seal every vulnerable point:
- Socket base: Apply a bead of outdoor silicone around the base where the bulb screws in. Use a toothpick to smooth it into a thin, even layer. Let it cure 24 hours before turning on. This seals the gap between the socket housing and the wire.
- Plug connection: Wrap the male/female plug with electrical tape (2–3 layers). Then, add a layer of silicone over the tape. This dual protection blocks water and prevents tape from peeling.
- Wire splices (if using extensions): Use heat-shrink tubing with adhesive lining. Slide it over the splice, then shrink with a hairdryer. For extra safety, add a weatherproof wire connector first.
I once skipped sealing the plug. After a storm, the GFCI tripped. The plug was damp inside. One $5 tube of silicone could’ve prevented that.
Warning: Never use regular silicone caulk (like for sinks). It’s not UV-stable and will crack. Only use clear outdoor silicone.
Step 4: Protect the Power Source and GFCI
The plug is the weakest link. Even if your lights are sealed, a wet plug can short-circuit.
Always use a GFCI outlet or GFCI extension cord. This shuts off power if moisture is detected. It’s a safety must.
For extra protection, use a weatherproof outlet cover. I like the Leviton Weatherproof Cover. It has a flip lid that seals when closed. Keep it shut when not in use.
If your outlet is exposed (like on a deck post), build a small rain guard with a plastic container. Cut a hole for the cord, then seal the edges with silicone. It acts like a mini awning.
And here’s a game-changer: use a smart plug with a cover. It lets you control lights remotely and adds another layer of insulation.
One summer, my neighbor’s lights stayed on during a thunderstorm. The GFCI failed (old model), and the plug caught fire. GFCI isn’t optional—it’s critical.
Step 5: Use Drip Loops and Slope Cables
Water follows the path of least resistance. Help it flow away from your lights.
Create a drip loop at every connection. That means: let the cord hang in a U-shape before plugging in. Water runs down and drips off the loop, not into the socket.
For longer runs, slope the lights downward. Hang the end closest to the plug slightly lower than the source. This lets water run off instead of pooling.
I once hung lights level across my pergola. After a week of dew, the middle sockets corroded. Now, I always tilt them 5–10 degrees.
Use zip ties to secure the cord every 12–18 inches. But don’t overtighten—it can crush the insulation. I use UV-resistant ties so they don’t crack in the sun.
Pro Tip: If you’re using multiple strands, connect them with a sealed junction box (like an outdoor electrical box). Seal the entry points with silicone. It’s overkill for most, but perfect for permanent setups.
Step 6: Test and Monitor for the First 30 Days
Don’t assume your waterproofing works after one rain. Test it.
After installation, run the lights for 1–2 hours. Check for flickering or warm sockets. Use a non-contact voltage tester to spot loose connections.
Then, wait for the first rain. After it stops, inspect:
- Are sockets dry inside?
- Is the plug warm or damp?
- Do all bulbs work?
If any issues, fix them fast. A damp socket can corrode in days.
For long-term peace of mind, check monthly. Look for cracked silicone, loose tape, or sagging cords. Reapply sealant as needed.
I keep a “light maintenance” checklist on my phone. It reminds me to inspect every 30 days. Small checks prevent big failures.
Step 7: Winter Prep (If in Cold Climates)
Winter is the ultimate test. Freeze-thaw cycles crack seals. Snow loads break sockets.
In cold areas, take these extra steps:
- Remove snow gently with a soft broom. Never use a shovel.
- Inspect for ice dams—where ice builds up near sockets. Use a hairdryer (on low) to melt it.
- Apply silicone sealant in fall to refresh worn spots.
- Consider removable lights—take them down in winter. I store mine in a dry garage. They last 3–5 years longer.
One winter, I left my lights up. A heavy snowfall snapped three sockets. Now, I take them down by December. The effort is worth it.
Pro Tips & Common Mistakes to Avoid
After years of trial and error, here’s what separates success from failure:
- Don’t trust “waterproof” labels blindly. Test every socket. I’ve seen IP65 lights leak at the plug.
- Skip the duct tape. It peels in heat and cracks in cold. Only use 3M Super 33+ or equivalent.
- Don’t overload circuits. One 15-amp circuit can handle ~1,800 watts. Check your light wattage. I once tripped the breaker with 20 strands.
- Avoid running cords under doors or windows. They get crushed and exposed to moisture. Use cord covers or bury them (with conduit).
- Never use indoor extension cords. They lack UV protection and can melt in sun.
Real Talk: I used to think “more tape = more protection.” I wrapped plugs in 10 layers. Then, the tape trapped moisture and caused corrosion. Less is more—use quality materials, not quantity.
Bonus Tip: Label your lights. Use waterproof tags to note strand length and wattage. It saves time when replacing or troubleshooting.
FAQs About How to Waterproof Outdoor String Lights in 2026 Expert Tips
Q: Can I use regular string lights outdoors if I seal them?
You can, but it’s risky. Indoor lights aren’t built for UV, temperature swings, or moisture. Even with sealing, they’ll fail faster. I’ve seen indoor lights last 1–2 seasons outdoors. Save yourself the hassle—start with true outdoor-rated lights. It’s cheaper long-term.
Q: How often should I reapply silicone?
Check every 6 months. Reapply if you see cracks, gaps, or peeling. In harsh climates (coastal, high UV, heavy rain), do it yearly. In mild areas, every 2 years may be enough. I inspect mine each spring and fall.
Q: What if my lights flicker after a storm?
Flickering often means moisture in the socket. Turn off power immediately. Unscrew bulbs and dry sockets with a hairdryer (cool setting). Reapply silicone. If flickering continues, the socket may be corroded. Replace the strand or use a new socket (if you’re handy).
Q: Are solar string lights waterproof?
Most are, but check the rating. Solar panels and batteries are vulnerable. Look for IP65 or higher. And remember: solar lights charge best in direct sun. Shady areas = dimmer lights. I use solar for low-traffic areas, but wired for patios and parties.
Q: Can I bury extension cords?
Only if they’re direct burial-rated and in PVC conduit. Never bury regular cords—they’ll rot and create a fire hazard. I ran a conduit under my deck. It’s a weekend project, but worth it for safety.
Q: How do I fix a water-damaged plug?
Cut off the plug and splice in a new one. Use heat-shrink tubing and a weatherproof connector. Or, replace the entire strand. I keep a spare plug kit for emergencies. But if the wire is corroded, replace the whole thing.
Q: Do I need a timer or smart plug?
Not required, but helpful. A timer prevents lights from staying on in rain. A smart plug lets you turn them off remotely if a storm hits. I use a Kasa Smart Plug with a weatherproof cover. It’s saved me from forgetting to turn off lights in storms.
Final Thoughts
Waterproofing outdoor string lights isn’t about perfection—it’s about preparation. The how to waterproof outdoor string lights in 2026 expert tips I’ve shared here are based on real failures, fixes, and years of testing.
You don’t need to be an electrician. You just need the right materials, attention to detail, and a little patience. Seal those sockets, create drip loops, and protect the plug. That’s 90% of the battle.
And remember: maintenance matters. A quick check every few months keeps your lights safe and glowing for years.
So go ahead—hang those lights. Host that dinner party. Enjoy your outdoor space, rain or shine. With these steps, your lights will shine bright, no matter the weather.
Got a tip I missed? Share it in the comments. Let’s keep learning together.
“`

