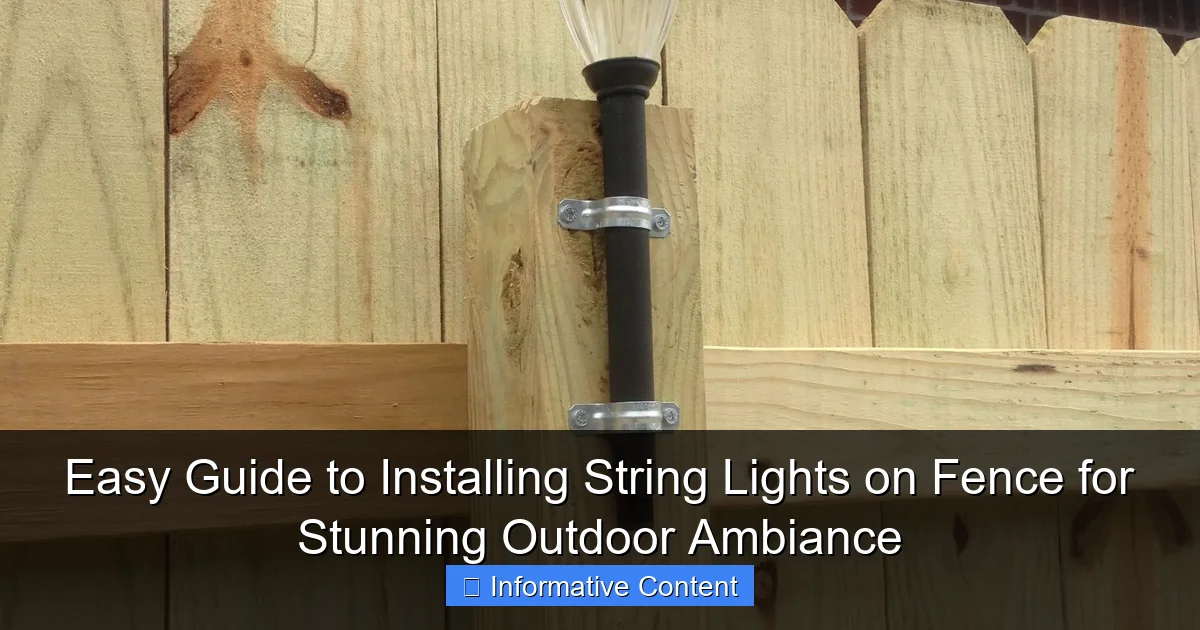
Featured image for installing string lights on fence
Image source: i.pinimg.com
Transform your outdoor space instantly by securely installing string lights on your fence using simple, weather-resistant hardware. With just a few tools and our step-by-step guidance, you can achieve a professional, enchanting glow that enhances ambiance and extends your living area into the night—perfect for gatherings or quiet evenings.
Key Takeaways
- Plan your layout: Sketch light placement before installing for balanced, professional results.
- Use outdoor-rated lights: Ensure durability and safety with weatherproof, certified string lights.
- Secure with clips: Attach lights with fence clips to avoid damage and simplify removal.
- Check power source: Place lights near outlets or use solar-powered options for convenience.
- Test before finalizing: Power on lights during setup to catch issues early.
- Maintain spacing: Keep bulbs evenly spaced for a clean, cohesive look.
- Weatherproof connections: Use electrical tape or covers to protect plugs from moisture.
📑 Table of Contents
- Why String Lights on a Fence Transform Your Outdoor Space
- Planning Your String Light Installation
- Tools and Materials You’ll Need
- Step-by-Step Installation Guide
- Creative Design Ideas for Maximum Ambiance
- Maintaining Your String Lights for Long-Term Use
- Data Table: String Light Comparison
- Final Thoughts: Light Up Your Life (Literally)
Why String Lights on a Fence Transform Your Outdoor Space
Picture this: It’s a warm summer evening, and you’re sipping iced tea on your patio. The sun has dipped below the horizon, and suddenly, your backyard comes alive with a soft, golden glow. Not from a floodlight, but from delicate string lights gently strung along your fence. That’s the magic of installing string lights on a fence—simple, elegant, and surprisingly transformative.
Outdoor lighting isn’t just about visibility; it’s about mood. Whether you’re hosting a barbecue, enjoying a quiet night with a book, or creating a romantic setting for two, the right lighting can make your outdoor space feel like an extension of your home. And one of the easiest, most effective ways to achieve this? String lights on your fence. They’re affordable, easy to install, and instantly elevate your ambiance. Plus, with a little planning, they can last for years without much maintenance.
Planning Your String Light Installation
Before you start hammering hooks into your fence, take a moment to plan. A little prep work saves time, money, and frustration down the road. Think of it like mapping a hiking trail—knowing where you’re going makes the journey smoother.
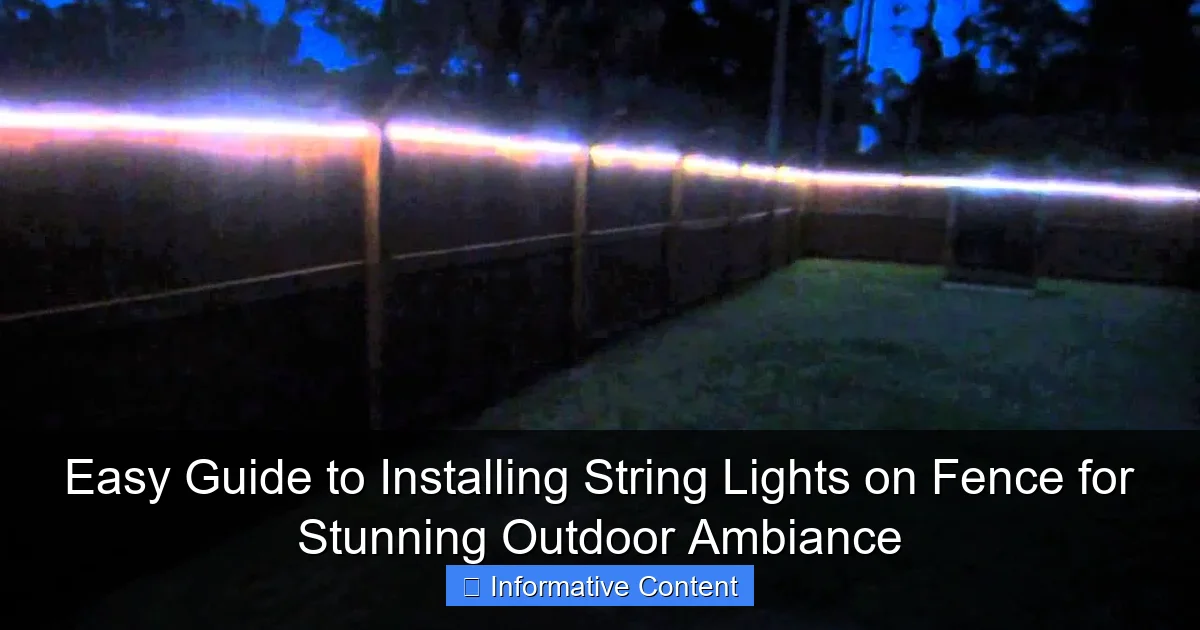
Visual guide about installing string lights on fence
Image source: i.ytimg.com
Assess Your Fence Type and Condition
Not all fences are created equal. Wood, vinyl, chain-link, or metal each have different strengths and weaknesses when it comes to supporting string lights. For example:
- Wooden fences: Ideal for screws, hooks, or staples. Just make sure the wood isn’t rotting or too soft.
- Vinyl fences: Use adhesive clips or zip ties. Avoid drilling or hammering, as vinyl can crack under pressure.
- Chain-link fences: Use S-hooks or zip ties. The open weave makes it easy to weave lights through the links.
- Metal fences: Magnetic hooks work great. Avoid staples, which can damage the finish.
Check for damage—like loose boards or rust spots—before you start. A sturdy fence means your lights will stay put, even in windy weather.
Choose the Right String Lights
Not all string lights are the same. Here’s what to consider:
- Bulb type: LED bulbs last longer (up to 25,000 hours) and use less energy than incandescent. They’re also cooler, reducing fire risk.
- Length: Measure your fence’s perimeter, then add 10-15% extra for draping or loops. Most string lights come in 24- to 48-foot lengths.
- Power source: Plug-in lights are easy but need access to an outdoor outlet. Solar lights are eco-friendly but may not shine as brightly on cloudy days. Battery-operated lights offer flexibility but require frequent battery changes.
- Weatherproofing: Look for lights rated IP44 or higher for outdoor use. They’ll handle rain, snow, and humidity.
Pro tip: For a cozy, warm glow, choose lights with a color temperature of 2700K-3000K (measured in Kelvin). Cooler lights (5000K+) feel clinical, not inviting.
Sketch a Layout
Grab a piece of paper or use a free design app (like SketchUp Free) to sketch your fence and plan where the lights will go. Consider:
- Even spacing: Aim for 12-18 inches between bulbs for balanced light.
- Focal points: Highlight a garden arch, seating area, or pathway.
- Power access: Plan where the plug will reach. If outlets are scarce, use an outdoor-rated extension cord or solar lights.
Example: A 30-foot wooden fence might need two 24-foot light strands, staggered slightly for full coverage. Add a third strand if you want to drape lights from the fence to a nearby tree.
Tools and Materials You’ll Need
You don’t need a toolbox full of gadgets—just a few basics. Here’s a checklist to get you started:
Essential Tools
- Measuring tape: For precise spacing and length.
- Drill and drill bits: If your fence needs pilot holes for screws (for wooden or metal fences).
- Hammer: For driving in hooks or nails.
- Pliers: To tighten S-hooks or zip ties.
- Level: Optional, but helpful for keeping lines straight.
Note: If you’re using vinyl or a delicate fence, skip the drill and hammer. Adhesive clips or zip ties are your best friends.
Mounting Options (Pick What Works for Your Fence)
- Cup hooks or eye screws: Great for wooden or metal fences. Drill a pilot hole first to prevent splitting.
- Adhesive light clips: Perfect for vinyl or smooth surfaces. Look for outdoor-rated options.
- Zip ties or S-hooks: Ideal for chain-link fences. They’re cheap and easy to adjust.
- Staple gun (for temporary setups): Use outdoor-rated staples on wooden fences. Avoid over-stapling, as it can damage the lights’ wiring.
Safety gear: Wear gloves to protect your hands, and safety goggles if drilling. If you’re using a ladder, have a friend spot you.
Optional Extras
- Extension cords: Outdoor-rated, with a built-in ground fault circuit interrupter (GFCI) for safety.
- Timer or smart plug: Automate your lights to turn on at dusk and off at dawn.
- Light dimmer: Adjust brightness to match the mood (great for parties vs. quiet nights).
Pro tip: Buy a few extra clips or hooks—they’re cheap, and you’ll likely lose a couple during installation.
Step-by-Step Installation Guide
Now for the fun part: putting it all together. Let’s walk through the process, step by step. Don’t rush—take your time to get it right.
Step 1: Prepare the Fence
Clean the fence with a damp cloth or mild soap to remove dust and debris. This helps adhesive clips stick better. If you’re using hooks, mark their positions with a pencil or masking tape. Space them evenly (every 12-18 inches) along the fence line.
Example: For a 20-foot fence, you’ll need about 10-12 hooks. Mark every 18 inches, starting 6 inches from each corner.
Step 2: Install Mounting Hardware
- For hooks/screws: Drill pilot holes (slightly smaller than the screw) to prevent splitting. Screw in the hooks by hand, then tighten gently with pliers.
- For adhesive clips: Press firmly for 30 seconds per clip. Let them cure for 24 hours before hanging lights (check the package instructions).
- For zip ties/S-hooks: Thread zip ties through chain-link links or attach S-hooks to metal fences.
Pro tip: Use a level to ensure hooks are aligned horizontally. Crooked lights look sloppy!
Step 3: Hang the String Lights
Start at the power source and work outward. This prevents tangling and ensures the plug end is accessible. Here’s how:
- For hooks: Loop the light strand’s built-in hooks (or use S-hooks) over each mounting point.
- For adhesive clips: Clip the lights into the mounts. Gently tug to confirm they’re secure.
- For zip ties: Weave the lights through the links, securing with ties at 2-foot intervals.
Example: If using LED string lights with 4-inch bulb spacing, hang them in a straight line along the fence’s top rail. For a draped effect, create gentle “S” curves between hooks.
Step 4: Test and Adjust
Plug in the lights and check for:
- Even brightness: No dark spots or overly bright areas.
- Secure mounting: Lights shouldn’t sag or swing in the wind.
- Power access: The plug should reach an outlet without stretching the cord.
If something’s off, adjust the clips or hooks. It’s easier to fix now than after everything’s set!
Step 5: Secure Loose Cords
Use zip ties or cord clips to bundle excess wire. This prevents tripping hazards and keeps the setup tidy. For long runs, consider a cord cover (like a plastic raceway) to hide wires along the ground.
Pro tip: If you’re using multiple strands, connect them with a waterproof connector (not just twist ties). This prevents moisture from causing shorts.
Creative Design Ideas for Maximum Ambiance
String lights aren’t just for straight lines. With a little creativity, you can turn your fence into a work of art. Here are some ideas to spark inspiration:
Classic Straight Line
The simplest option, but still effective. Hang lights along the top rail or middle of the fence. Use warm white or soft yellow bulbs for a timeless look. Best for: Traditional gardens or minimalist patios.
Draped or “Swoop” Style
Create gentle curves between mounting points. Use extra-long strands (like 48 feet) and space hooks 2-3 feet apart. The result? A romantic, starry-night effect. Pro tip: Drape lights from the fence to a tree or pergola for a 3D look.
Geometric Patterns
Use clips or hooks to form shapes—like diamonds, waves, or zigzags. For example, hang lights in a zigzag pattern along a wooden fence. Best for: Modern homes or contemporary spaces.
Layered Lighting
Combine string lights with other fixtures. Try:
- Fence + path lights: Hang string lights on the fence, then add solar path lights along the ground.
- Fence + lanterns: Place LED lanterns on fence posts or hooks between light strands.
- Fence + fairy lights: Weave tiny fairy lights through the string lights for extra sparkle.
Themed Installations
Match your lights to the season or occasion:
- Summer: White or blue lights with seashell clips.
- Fall: Amber or orange lights with leaf-shaped clips.
- Winter: Icicle-style lights or cool white bulbs.
- Holidays: Red/green for Christmas, purple/orange for Halloween.
Example: A coastal-themed backyard could use nautical rope clips and blue LED lights.
Maintaining Your String Lights for Long-Term Use
Great news: Once installed, string lights need minimal upkeep. But a little care goes a long way in extending their life.
Seasonal Care
- Spring: Clean the fence and lights with a damp cloth. Check for loose hooks or frayed wires.
- Summer: Trim overgrown plants that might rub against the lights.
- Fall: Remove leaves and debris from the fence to prevent moisture buildup.
- Winter: In snowy climates, brush off heavy snow from the lights. Consider taking them down if storms are frequent.
Troubleshooting Common Issues
- Flickering lights: Often caused by loose bulbs. Unplug, then gently tighten each bulb.
- Partial outages: One bad bulb can break the circuit. Use a voltage tester to find the culprit.
- Water damage: If lights get wet, unplug immediately and dry thoroughly before reuse. Store in a sealed plastic bag with silica gel packs.
Pro tip: Replace incandescent bulbs with LEDs if you’re still using old strings. LEDs last 5-10x longer and are safer.
Storage Tips
If you take lights down seasonally:
- Wrap strands around a cardboard tube or plastic reel to prevent tangling.
- Store in a cool, dry place (like a garage or shed).
- Label the container with the year and bulb type for easy reference.
Data Table: String Light Comparison
| Type | Lifespan (Hours) | Energy Use | Best For | Weatherproof Rating |
|---|---|---|---|---|
| LED String Lights | 25,000 | Low (5-10W per 24ft strand) | Year-round use, eco-conscious | IP44 or higher |
| Incandescent String Lights | 1,000-2,000 | High (25-50W per 24ft strand) | Short-term events, budget-friendly | IP44 |
| Solar String Lights | 10,000 (battery lifespan) | Zero (sun-powered) | Areas without outlets, eco-friendly | IP65 |
| Battery-Operated Lights | 100-200 (per battery set) | Medium (depends on battery type) | Temporary setups, renters | IP44 |
Note: IP ratings measure dust/water resistance (e.g., IP44 = splash-proof, IP65 = dust-tight and low-pressure water jets).
Final Thoughts: Light Up Your Life (Literally)
Installing string lights on a fence isn’t just a DIY project—it’s a way to create memories. Imagine your kids laughing under a canopy of stars, or friends gathered around a fire pit with the soft glow of lights above. That’s the power of good outdoor lighting.
The best part? You don’t need to be an electrician or a design expert. With the right planning, tools, and a little patience, you can achieve stunning results. And if something doesn’t work perfectly the first time? That’s okay. The goal isn’t perfection—it’s enjoyment. So go ahead, string up those lights, pour yourself a drink, and savor the magic of your transformed outdoor space. After all, the best moments happen in the glow of a well-lit backyard.
Frequently Asked Questions
How do I install string lights on a fence without damaging it?
Use removable adhesive hooks, zip ties, or plastic clips to secure the lights without drilling or nailing. These methods protect your fence while keeping the lights stable and easy to remove later.
What type of string lights work best for a fence installation?
Weather-resistant LED string lights with shatterproof bulbs are ideal for fence installations, as they’re durable and energy-efficient. Look for UL-rated outdoor lights to ensure safety in all conditions.
Can I install string lights on a wooden vs. metal fence differently?
Yes—wooden fences allow for discreet staples or hooks, while metal fences often require magnetic clips or zip ties. Always check the fence material to choose the least invasive, secure method for your string lights on fence setup.
How do I power my string lights if the fence is far from an outlet?
Use an outdoor-rated extension cord or solar-powered string lights for flexibility. For a permanent solution, consider hiring an electrician to install a nearby outdoor GFCI outlet.
How many string lights do I need to cover my fence?
Measure your fence’s length and add 10-20% extra for draping or overlapping. For a balanced look, space lights 6-12 inches apart, depending on the bulb size and desired brightness.
Are there safety tips I should follow when installing string lights on a fence?
Always use outdoor-rated lights and cords, and avoid overloading circuits. Keep connections off the ground (use waterproof covers) and inspect lights annually for wear and tear.

