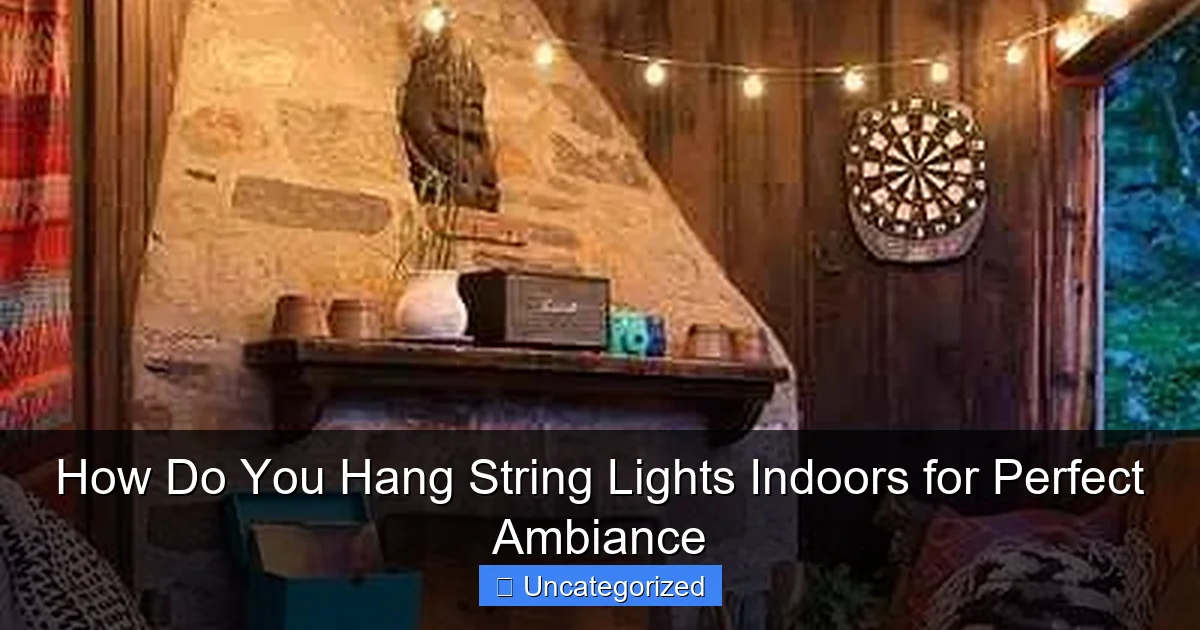
Featured image for how do you hang string lights indoors
Image source: i.pinimg.com
Hang string lights indoors by choosing the right mounting method—adhesive hooks, nails, or tension rods—based on your wall type and desired layout. For perfect ambiance, drape lights along walls, ceilings, or furniture in soft, layered patterns that enhance the room’s mood without overwhelming it. Keep spacing even and test placement before securing for a polished, inviting glow.
Key Takeaways
- Plan your layout first: Sketch light placement to avoid over- or under-lighting.
- Use removable hooks: Secure lights without damaging walls or ceilings.
- Layer lights for depth: Combine overhead and accent lighting for richer ambiance.
- Hide cords creatively: Tuck wires behind shelves or moldings for a clean look.
- Choose dimmable LEDs: Adjust brightness to match mood and save energy.
- Test before finalizing: Check placement and brightness early to make easy adjustments.
📑 Table of Contents
- How Do You Hang String Lights Indoors for Perfect Ambiance
- Choosing the Right String Lights for Your Space
- Planning Your Layout and Design
- Hanging Methods for Every Surface and Situation
- Power Management and Safety Tips
- Creative Ideas and Inspirations for Every Room
- Maintenance, Troubleshooting, and Long-Term Care
How Do You Hang String Lights Indoors for Perfect Ambiance
There’s something undeniably magical about string lights. Whether you’re creating a cozy reading nook, setting the mood for a dinner party, or simply adding a touch of warmth to your living space, indoor string lights have the power to transform any room into a haven of comfort and style. Their gentle, twinkling glow can evoke nostalgia, romance, or even a sense of celebration—all without requiring a major renovation or a hefty budget. But the real challenge isn’t just buying the lights; it’s knowing how to hang string lights indoors in a way that looks intentional, safe, and visually stunning.
From choosing the right type of lights to selecting the best hanging method for your space, there’s more to it than just draping them across a wall. The key lies in thoughtful placement, understanding your room’s layout, and using the right tools and techniques. Whether you live in a rental with strict rules about drilling holes or you’re a homeowner ready to customize your space, this guide will walk you through every step of the process. You’ll learn how to create the perfect ambiance with string lights—no matter your decor style, room size, or DIY experience. So, let’s dive into the art and science of hanging indoor string lights to achieve that dreamy, Instagram-worthy glow.
Choosing the Right String Lights for Your Space
Before you even think about hanging your lights, it’s essential to select the right type for your indoor environment. Not all string lights are created equal, and the wrong choice can lead to frustration, poor lighting, or even safety hazards. The first step is to consider your lighting goals: Are you aiming for ambient glow, task lighting, or decorative flair? Your answer will guide your selection.
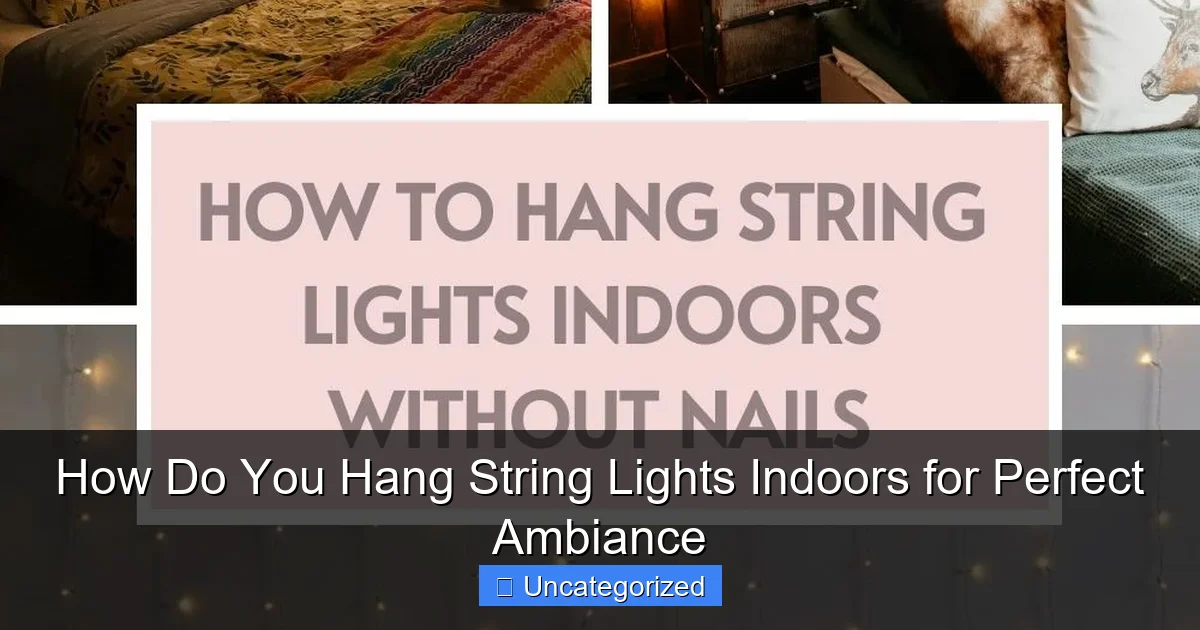
Visual guide about how do you hang string lights indoors
Image source: i.pinimg.com
Types of Indoor String Lights
- LED String Lights: Energy-efficient, long-lasting, and cool to the touch, LED lights are the go-to choice for indoor use. They come in various color temperatures—warm white for a cozy feel, cool white for a modern look, and multicolor for festive occasions. LEDs are also dimmable and often compatible with smart home systems.
- Incandescent String Lights: These offer a classic, warm glow but consume more energy and generate heat. Use them sparingly and never leave them unattended. They’re best for temporary setups or special events.
- Fairy Lights: Delicate and often battery-operated, fairy lights are perfect for small spaces, shelves, or headboards. They’re lightweight and ideal for renters who want a temporary setup.
- Edison Bulb String Lights: With exposed vintage-style bulbs, these add industrial charm and work well in lofts, kitchens, or dining areas. They’re slightly heavier, so ensure your hanging method supports the weight.
- Smart String Lights: Controlled via apps or voice assistants, these allow color changes, scheduling, and brightness adjustments. Great for tech-savvy users who want dynamic lighting.
Key Features to Consider
When shopping for indoor string lights, pay attention to these features:
- Length and Spacing: Measure your space to determine how many feet of lights you need. Standard lengths range from 10 to 100 feet. Bulb spacing (usually 4–6 inches) affects brightness and coverage.
- Power Source: Plug-in lights offer consistent brightness but require an outlet. Battery-powered options offer flexibility but may need frequent battery changes. Solar-powered lights are rare indoors but can be used near sunny windows.
- Water Resistance Rating: Even indoors, look for lights rated for damp locations (e.g., IP44) if you plan to use them in bathrooms or kitchens.
- Flexibility and Shape: Some lights come on bendable wire, making them easier to wrap around furniture or mold into shapes.
- Color and Bulb Style: Choose warm white for living rooms and bedrooms, cool white for kitchens, and multicolor for kids’ rooms or parties.
Example: Creating a Bedroom Oasis
Imagine a master bedroom with a king-sized bed and a sloped ceiling. You want soft, ambient lighting that doesn’t feel harsh. A 30-foot strand of warm white LED fairy lights (battery-powered) wrapped around the headboard and draped across the ceiling’s peak creates a starry-night effect. The low heat output and remote control make it safe and convenient. This setup avoids the need for electrical outlets near the bed and adds instant romance.
Planning Your Layout and Design
Once you’ve chosen your lights, it’s time to plan where and how they’ll go. A well-thought-out layout ensures even lighting, avoids clutter, and enhances your room’s architecture. Poor planning can result in dark spots, tangled wires, or lights that look haphazard instead of intentional.
Assess Your Room’s Layout
Start by sketching a rough floor plan or mentally mapping key areas:
- Focal Points: Highlight architectural features (fireplaces, archways), furniture (beds, bookshelves), or artwork.
- Traffic Flow: Avoid placing lights where they might obstruct movement or get bumped.
- Power Access: Identify nearby outlets or plan for extension cords (use indoor-rated cords and avoid overloading circuits).
- Ceiling and Wall Conditions: Note ceiling height, wall texture (drywall, brick), and whether you can drill holes or need adhesive solutions.
Popular Hanging Patterns
Different patterns create different moods. Here are five popular designs:
- Canopy Style: Drape lights from the ceiling to a central point (e.g., a bedpost or ceiling hook). Ideal for bedrooms and nurseries.
- Grid or Lattice: Create a geometric pattern on walls or ceilings using adhesive clips. Great for living rooms and home offices.
- Curtain or Draping: Hang lights vertically from a curtain rod or ceiling to mimic a light curtain. Perfect for windows or room dividers.
- Wrapped or Coiled: Wrap lights around stair railings, banisters, or furniture legs. Adds whimsy to entryways and dining rooms.
- Floating Shelves: String lights behind or under shelves to illuminate decor items. Works in kitchens, bathrooms, and libraries.
Pro Tip: Use Painter’s Tape for Testing
Before committing to a permanent setup, use painter’s tape to outline your design. Turn the lights on and step back to evaluate the effect. Adjust the pattern, spacing, or height as needed. This saves time and prevents mistakes.
Example: Dining Room Ambiance
For a modern dining room with a long table and high ceiling, a grid pattern works beautifully. Install adhesive clips along the ceiling’s perimeter and crisscross the lights in a 2×2 ft grid. The even spacing ensures uniform lighting, while the geometric design complements a minimalist aesthetic. Use a dimmer switch to transition from bright dinner lighting to soft evening ambiance.
Hanging Methods for Every Surface and Situation
The method you choose to hang your lights depends on your wall type, decor, and whether you’re a renter or homeowner. The goal is to achieve a secure, damage-free (or minimal-damage) installation that holds the lights in place without sagging or falling.
Adhesive Solutions (No Drilling Required)
Ideal for renters or temporary setups:
- Adhesive Hooks or Clips: Use 3M Command™ hooks or adhesive clips designed for lights. They hold up to 1–3 lbs and remove cleanly. Place every 6–12 inches for even support.
- Removable Mounting Tape: For lightweight fairy lights, apply double-sided mounting tape to the back of the wire. Press firmly for 30 seconds to ensure adhesion.
- Washi Tape: Decorative and removable, washi tape works for short-term displays or small lights. Not recommended for long-term use.
Mechanical Fasteners (Permanent or Semi-Permanent)
Best for homeowners or long-term installations:
- Small Nails or Picture Hangers: Use 1-inch brad nails or picture hangers for drywall. Space every 12 inches. For plaster, pre-drill holes to avoid cracking.
- Push Pins or Thumbtacks: Quick and easy for lightweight lights. Use colored pins to blend with decor. Avoid on delicate surfaces like wallpaper.
- Ceiling Hooks: Screw-in hooks work well for canopy-style setups. Use a stud finder to anchor into ceiling joists for heavier lights (e.g., Edison bulbs).
- Track Systems: Install a light track (e.g., IKEA’s SKUBB) on the ceiling for a professional, adjustable grid. Requires drilling but offers maximum flexibility.
Furniture and Decor Integration
Use existing structures to avoid wall damage:
- Headboards and Bed Frames: Wrap lights around wooden or metal headboards. Use zip ties for secure attachment.
- Curtain Rods or Tension Rods: Hang lights from rods using S-hooks or clips. Tension rods work well for room dividers.
- Shelves and Ledges: Drape lights along the front edge of floating shelves or use adhesive clips behind them.
- Stair Railings and Banisters: Coil lights around spindles or run them along the top rail. Secure with zip ties or clips.
Pro Tip: Prevent Sagging
Long runs of lights can sag over time. To prevent this, install extra support points every 2–3 feet, especially for heavier bulbs. Use fishing line or clear nylon thread to create “invisible” anchor points if needed.
Example: Renter-Friendly Living Room
A studio apartment with white walls and a large window. The renter wants to avoid drilling but create a cozy vibe. They use 3M Command™ clips to hang a 25-foot strand of warm white LEDs in a cascading “S” pattern from the ceiling to the window frame. The lights connect to a smart plug, allowing voice control via Alexa. No damage, no fuss—just instant ambiance.
Power Management and Safety Tips
Indoor string lights are generally safe, but poor power management can lead to overheating, tripped breakers, or even fire hazards. Safety should always be a top priority, especially when combining multiple light strands or using extension cords.
Electrical Safety Best Practices
- Check the Label: Ensure lights are rated for indoor use (look for “UL Listed” or “ETL Certified”).
- Don’t Overload Circuits: Most indoor circuits handle 15–20 amps. A single string of LED lights uses about 0.1–0.5 amps. Use a power calculator to avoid overloading.
- Use Indoor-Rated Extension Cords: Never use outdoor cords indoors. Choose cords with a gauge (e.g., 16-gauge) that matches the load.
- Limit Strand Connections: Most manufacturers recommend connecting no more than 3–5 strands end-to-end. Exceeding this can overheat connectors.
- Inspect Regularly: Check for frayed wires, loose bulbs, or discoloration. Replace damaged strands immediately.
Smart Power Solutions
- Timer Plugs: Automate lights to turn on/off at specific times. Great for security and energy savings.
- Smart Plugs: Control lights remotely via apps. Some integrate with voice assistants (Alexa, Google Home).
- Dimmer Switches: Adjust brightness to match the mood. Ensure your lights are dimmable before purchasing.
- Power Strips with Surge Protection: Use for multiple light strands or electronics. Choose one with an on/off switch.
Fire Prevention Tips
- Never cover lights with flammable materials (e.g., fabric, paper).
- Keep lights away from heaters, radiators, and direct sunlight.
- Turn off lights when leaving the room or going to sleep.
- Use battery-powered lights in high-risk areas (e.g., near curtains).
Example: Home Office Setup
A home office with a desk, bookshelves, and a window. The user wants task lighting without glare. They install a 20-foot LED strip (with adhesive backing) under the shelves, powered by a smart plug. A timer turns the lights on at 6 PM and off at 10 PM. The setup uses 0.3 amps—well within circuit limits—and avoids clutter with a cord management sleeve.
Creative Ideas and Inspirations for Every Room
String lights aren’t just for holidays. With creativity, they can enhance every room in your home. Here are room-specific ideas to spark your imagination.
Bedroom: Romantic and Cozy
- Drape lights along the ceiling’s perimeter for a “halo” effect.
- Create a canopy above the bed using sheer fabric and lights.
- Hang lights around a mirror for a vanity glow.
Living Room: Social and Inviting
- Outline a gallery wall with lights to highlight artwork.
- Use lights to frame a TV or fireplace for a focal point.
- Hang lights in a zigzag pattern across the ceiling for dynamic energy.
Kitchen: Functional and Stylish
- Install lights under upper cabinets to illuminate countertops.
- String lights along a breakfast bar for evening dining.
- Use waterproof LED strips inside glass-front cabinets to showcase dishes.
Bathroom: Spa-Like Serenity
- Hang lights around a mirror for soft, even lighting.
- Drape lights along a freestanding tub for a romantic bath.
- Use battery-powered fairy lights in a glass vase as a nightlight.
Kids’ Room: Fun and Playful
- Create a “starry sky” on the ceiling with glow-in-the-dark tape and lights.
- Hang lights around a canopy bed for a fairy-tale vibe.
- Use multicolor lights with a remote for themed parties.
Example: Nursery Magic
A baby’s nursery with a crib, rocking chair, and bookshelf. The parents install a 15-foot strand of warm white fairy lights (battery-powered) in a gentle arc above the crib. A remote control allows them to turn the lights on during night feedings without disturbing the baby. The soft glow creates a calming environment for sleep.
Maintenance, Troubleshooting, and Long-Term Care
Proper maintenance ensures your string lights last for years and continue to look their best. Even the highest-quality lights require occasional care.
Routine Cleaning
- Wipe bulbs and wires with a dry microfiber cloth every 2–3 months.
- For stubborn dust, use a soft brush or compressed air.
- Never use water or cleaning sprays on electrical components.
Troubleshooting Common Issues
- Flickering Lights: Check for loose bulbs, frayed wires, or a faulty plug. Replace the strand if the issue persists.
- Dim Lights: Ensure the power source is adequate. Test with a different outlet or battery.
- Adhesive Failure: Reapply adhesive hooks in warmer months (humidity can weaken glue).
- Sagging Lights: Add extra support points or shorten the run.
Storage Tips
- Coil lights loosely and store in a breathable bag (not plastic).
- Label cords to avoid tangles.
- Store in a cool, dry place away from sunlight.
Data Table: Estimated Lifespan and Maintenance Schedule
| Light Type | Average Lifespan | Recommended Cleaning | Inspection Frequency |
|---|---|---|---|
| LED String Lights | 25,000–50,000 hours | Every 3 months | Every 6 months |
| Incandescent Lights | 1,000–2,000 hours | Every 2 months | Every 3 months |
| Fairy Lights (Battery) | 10,000–20,000 hours | Every 2 months | Every 4 months |
| Smart LED Lights | 25,000–30,000 hours | Every 3 months | Every 6 months |
Hanging string lights indoors is more than a decor choice—it’s an art form that blends functionality, safety, and creativity. By choosing the right lights, planning your layout, using appropriate hanging methods, and prioritizing safety, you can create a space that feels warm, inviting, and uniquely yours. Whether you’re a renter using adhesive clips or a homeowner installing a permanent grid, the possibilities are endless. Remember, the perfect ambiance isn’t about perfection; it’s about creating a space where light enhances life. So, grab your lights, follow these tips, and let your home shine.
Frequently Asked Questions
How do you hang string lights indoors without damaging walls?
Use damage-free solutions like adhesive hooks, removable mounting strips, or tension rods. These methods securely hold string lights while protecting your walls from nails or screws.
What’s the best way to hang string lights indoors for a cozy ambiance?
Drape them along walls, windows, or ceilings in soft curves or geometric patterns. Combine with sheer curtains or plants to enhance the warm, inviting glow.
Can you hang string lights indoors without nails or drilling?
Yes! Adhesive clips, command hooks, or twist ties around existing fixtures (like curtain rods) work well. Ensure the adhesive is rated for the lights’ weight and surface type.
How do you hang string lights on indoor ceilings?
Use ceiling-mounted hooks, adhesive clips, or run them along ceiling beams. For vaulted ceilings, attach lights to removable adhesive hooks or a lightweight wire grid.
What tools do you need to hang string lights indoors?
Basic tools include adhesive hooks, zip ties, a ladder, and a measuring tape. For heavier lights, consider small nails or screw-in hooks for extra support.
How do you hide the cords when hanging string lights indoors?
Route cords behind furniture, along baseboards, or use cord covers. Tucking them under rugs or using matching-colored tape can also keep the look clean.

