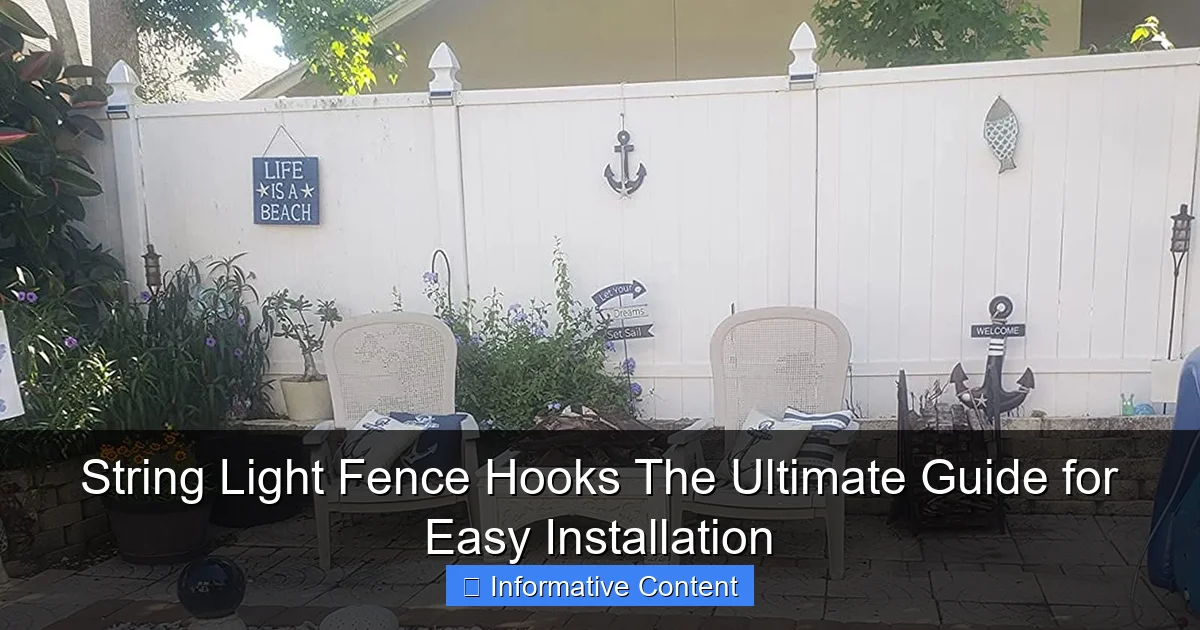
Featured image for string light fence hooks
Image source: m.media-amazon.com
String light fence hooks are the ultimate solution for effortlessly hanging outdoor lights without damaging your fence—offering a secure, adjustable, and weather-resistant mounting option. Designed for quick installation and versatile placement, these hooks save time and enhance ambiance for patios, gardens, and events with minimal effort. Perfect for renters and homeowners alike, they combine durability with a clean, tool-free setup.
Key Takeaways
- Choose durable materials: Opt for rust-resistant metal or UV-protected plastic hooks.
- Measure spacing accurately: Place hooks 12-16 inches apart for optimal light distribution.
- Install without damage: Use no-drill hooks to preserve fence integrity.
- Secure lights properly: Wrap strings twice around hooks to prevent sagging.
- Check weight limits: Ensure hooks support your lights’ total weight safely.
- Weatherproof connections: Seal plug joints to avoid moisture damage outdoors.
📑 Table of Contents
- Why String Light Fence Hooks Are a Game-Changer
- Understanding String Light Fence Hooks: What They Are and How They Work
- Types of String Light Fence Hooks and Their Best Uses
- How to Choose the Right String Light Fence Hooks for Your Setup
- Step-by-Step Guide to Installing String Light Fence Hooks
- Common Mistakes to Avoid and Pro Tips for Success
- Comparison Table: Top String Light Fence Hooks on the Market
- Final Thoughts: Make Your Outdoor Space Shine
Why String Light Fence Hooks Are a Game-Changer
Picture this: it’s a warm summer evening, and you’re hosting a backyard barbecue. The sun has just dipped below the horizon, and you flick a switch to reveal a soft, twinkling glow along your fence line. String lights stretch from post to post, creating an enchanting ambiance that instantly elevates the mood. But behind that magic is a simple, often overlooked hero: string light fence hooks.
These small but mighty accessories make all the difference between a smooth, frustration-free installation and a tangled, time-consuming nightmare. Whether you’re decorating for a special event or simply want to enjoy your outdoor space after dark, the right fence hooks can save you time, effort, and even prevent damage to your property. In this guide, I’ll walk you through everything you need to know about string light fence hooks—from choosing the best type for your setup to avoiding common pitfalls. Think of it as your go-to friend who’s already been through the trial and error, ready to share what works (and what doesn’t).
Understanding String Light Fence Hooks: What They Are and How They Work
At first glance, string light fence hooks might seem like just another hardware item. But once you understand their purpose and variety, you’ll see why they’re essential for a clean, durable lighting setup. Let’s break down what these hooks are and how they function in real-world scenarios.
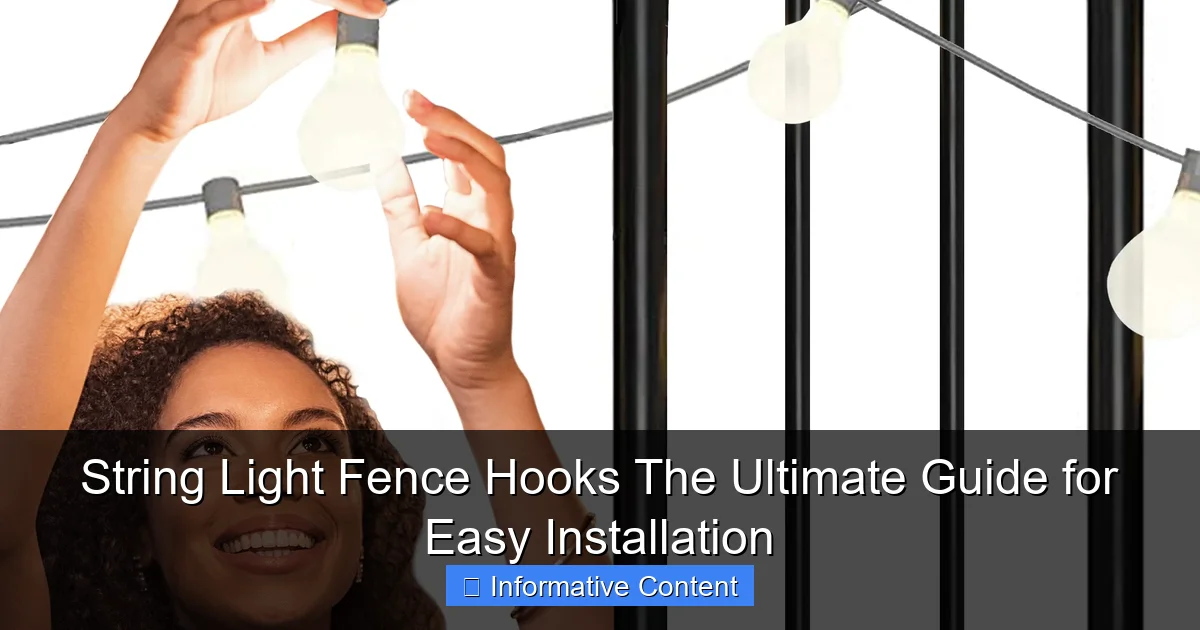
Visual guide about string light fence hooks
Image source: m.media-amazon.com
What Exactly Are String Light Fence Hooks?
Simply put, string light fence hooks are small fasteners designed specifically to hold up string lights along fences, railings, or other outdoor structures. Unlike nails or screws, which can damage wood or metal, these hooks are built to grip securely without causing harm. They come in various shapes, materials, and attachment methods—each suited to different fence types and lighting needs.
For example, I once tried using regular cup hooks on my cedar fence to hang lights. Big mistake. After a few weeks, the wood started splitting, and the lights sagged in places. That’s when I discovered purpose-made string light fence hooks—they distribute weight better, resist rust, and are easier to install and remove. No wonder they’re so popular among DIYers and professional decorators alike.
How Do They Work?
Most string light fence hooks work by creating a secure anchor point where you can loop or clip your lights. Here’s how the process typically goes:
- Step 1: Attach the hook to the top rail or post of your fence using its built-in mechanism (clamp, screw, adhesive, etc.).
- Step 2: Run your string lights along the fence, hooking each bulb socket or wire segment into the hook.
- Step 3: Adjust tension so the lights are taut but not stretched too tight—this prevents sagging and prolongs bulb life.
The beauty? You don’t need tools, expertise, or permanent modifications. Most hooks are reusable and adjustable, making them perfect for seasonal decorations or permanent installations. Plus, they keep your lights off the ground and away from moisture, reducing the risk of electrical hazards.
Why Regular Hooks Don’t Cut It
You might be thinking, “Can’t I just use regular picture-hanging hooks or zip ties?” Technically, yes—but it’s not ideal. Regular hooks often:
- Damage fence materials (especially wood and vinyl)
- Can’t support the weight of long light strands
- Corrode quickly in outdoor conditions
- Don’t allow for easy reconfiguration or removal
String light fence hooks, on the other hand, are engineered for outdoor use. They’re weather-resistant, UV-stable, and designed to hold the unique shape and weight of string lights. Some even have rubberized grips to prevent slipping—something you won’t find in standard hardware store hooks.
Types of String Light Fence Hooks and Their Best Uses
Not all string light fence hooks are created equal. The right choice depends on your fence material, how long you plan to keep the lights up, and your aesthetic preferences. Let’s explore the most common types and when to use them.
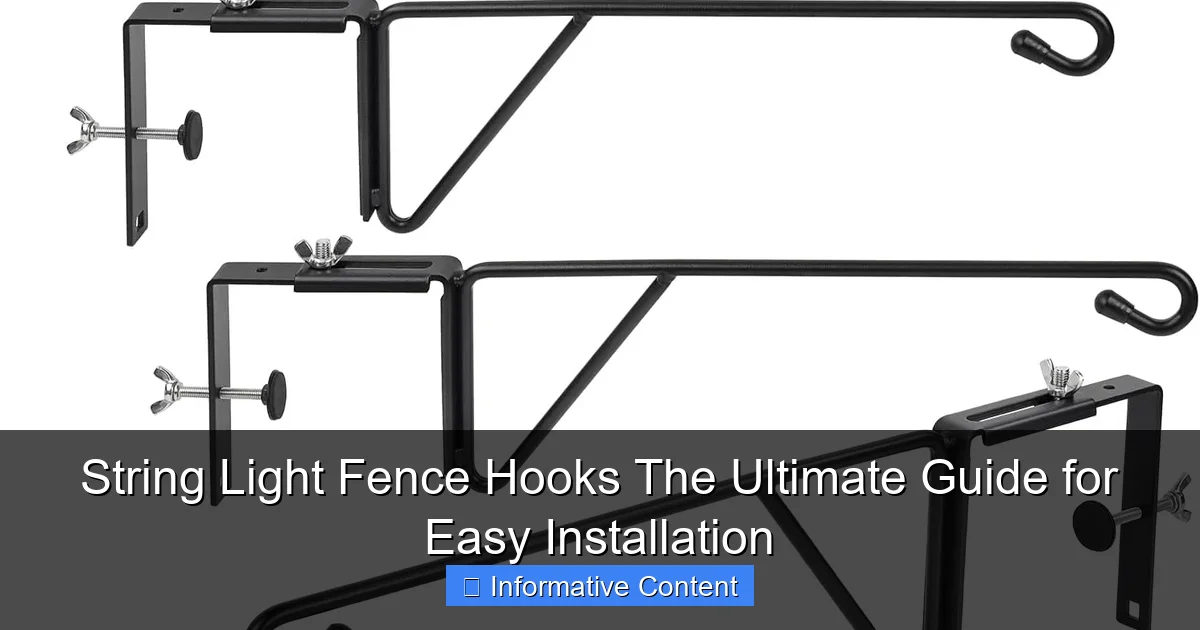
Visual guide about string light fence hooks
Image source: m.media-amazon.com
Clip-On or Clamp Hooks (Best for Vinyl, Aluminum, and Metal Fences)
If you have a vinyl or aluminum fence, clip-on hooks are your best friend. These hooks have spring-loaded clamps that grip the top rail without drilling or screwing. I used them last year on my vinyl privacy fence, and they held up perfectly through rain, wind, and even a minor storm.
Pros:
- No tools required
- No damage to fence
- Quick to install and remove
- Ideal for temporary setups (e.g., holiday lights)
Cons:
- May not work on very thin or thick rails
- Less secure in high winds if not spaced properly
Tip: Look for models with rubberized jaws to prevent scratching and improve grip. Brands like Command and VELCRO make excellent outdoor-rated versions.
Screw-In Hooks (Best for Wooden Fences)
For wooden fences, screw-in hooks are the gold standard. They screw directly into the top rail or post, providing a sturdy, permanent anchor. I’ve used these for year-round lighting, and they’ve never failed—even during heavy winter snow.
Pros:
- Extremely durable and stable
- Can support heavier light strands (e.g., LED net lights)
- Great for long-term installations
Cons:
- Requires a screwdriver or drill
- Leaves small holes (though these are easy to patch if you remove the hooks)
Tip: Pre-drill pilot holes to avoid splitting the wood, especially in older or dry fences. Use stainless steel or coated screws to prevent rust.
Adhesive Hooks (Best for Smooth Surfaces and Renters)
If you’re renting or have a smooth surface like glass, metal, or painted wood, adhesive hooks are a lifesaver. They use strong outdoor-grade adhesive strips (think 3M VHB tape) to stick securely without nails or screws.
Pros:
- No tools or damage
- Clean, modern look
- Ideal for apartments, balconies, or glass railings
Cons:
- Not as strong as mechanical hooks
- May fail in extreme heat or cold
- Adhesive can leave residue if removed improperly
Tip: Clean the surface thoroughly with rubbing alcohol before applying. Wait 24 hours before hanging lights to ensure full adhesion.
Staple or Nail Hooks (Budget-Friendly Option)
For quick, low-cost setups on wooden fences, you can use small U-shaped staple hooks or even finish nails. These are common in hardware stores and work well for lightweight lights.
Pros:
- Very inexpensive
- Easy to find
Cons:
- Prone to rust and corrosion
- Can damage wood over time
- Hard to remove without leaving marks
Tip: If you use these, opt for galvanized or stainless steel staples to resist rust. Space them every 12–18 inches for even support.
Multi-Function or Adjustable Hooks (Best for Custom Setups)
Some string light fence hooks come with extra features—like adjustable arms, multiple attachment points, or built-in wire guides. These are great for creative lighting designs, such as zigzags, waves, or layered strands.
Example: I once used adjustable hooks to create a “light canopy” over my patio by running lights diagonally across the fence. The hooks allowed me to change the angle and tension without re-drilling.
Tip: Check the weight capacity before buying—some multi-function hooks aren’t rated for heavy commercial-grade lights.
How to Choose the Right String Light Fence Hooks for Your Setup
Now that you know the types, how do you pick the perfect string light fence hooks for your space? It’s not just about looks—it’s about compatibility, durability, and ease of use. Here’s a step-by-step guide to help you decide.
Step 1: Assess Your Fence Material
This is the most important factor. Different fences require different hooks:
- Vinyl or aluminum: Use clip-on or adhesive hooks.
- Wood: Screw-in or staple hooks work best.
- Metal (e.g., chain-link): Clip-on or magnetic hooks (yes, they exist!).
- Glass or smooth surfaces: Adhesive hooks are your only option.
I learned this the hard way when I tried screw-in hooks on my aluminum fence. The screws wouldn’t bite, and I ended up with a wobbly, unstable mess. Always match the hook to the fence!
Step 2: Consider the Length and Weight of Your Lights
Not all string lights are equal. Some are lightweight (e.g., 25-ft LED fairy lights), while others are heavy (e.g., 50-ft commercial-grade strands with large bulbs). The longer and heavier the lights, the more support you need.
- Short/light lights (under 25 ft): Most hooks will work.
- Long/heavy lights (over 50 ft): Use screw-in or heavy-duty clip hooks, spaced no more than 12 inches apart.
Tip: Check the manufacturer’s weight rating for both the lights and the hooks. If your lights weigh 2 lbs, don’t use a hook rated for only 1 lb.
Step 3: Think About Weather and Durability
Outdoor conditions can be tough. Rain, wind, UV rays, and temperature swings all affect hook performance. Look for:
- Weather-resistant materials: Stainless steel, aluminum, or UV-stabilized plastic.
- Rust-proof coatings: Especially important for screw-in or staple hooks.
- Flexible grips: Rubberized or silicone-coated hooks handle temperature changes better.
I once used cheap plastic hooks that cracked after one summer in the sun. Now I only buy hooks labeled “outdoor-rated” or “all-weather.”
Step 4: Decide on Permanent vs. Temporary Use
- Permanent setup (year-round): Screw-in or heavy-duty clip hooks are best. They won’t budge, even in storms.
- Temporary setup (seasonal): Clip-on or adhesive hooks save time and avoid damage.
Tip: If you’re unsure, go with clip-on hooks. You can always upgrade later if needed.
Step 5: Aesthetic and Visibility
Some hooks are nearly invisible, while others are more noticeable. If you want a clean, seamless look:
- Choose low-profile hooks in a color that matches your fence.
- Use clear adhesive hooks for glass or white vinyl.
- Avoid bulky or shiny hooks that distract from the lights.
I prefer matte black screw-in hooks on my cedar fence—they blend in perfectly and look intentional.
Step-by-Step Guide to Installing String Light Fence Hooks
Now that you’ve chosen your hooks, it’s time to install them. Don’t worry—this is easier than it sounds. Follow these steps for a professional-looking setup.
Step 1: Gather Your Tools and Materials
You’ll need:
- String light fence hooks (based on your fence type)
- String lights (fully tested and untangled)
- Measuring tape
- Level (optional, for straight lines)
- Drill/screwdriver (for screw-in hooks)
- Rubbing alcohol and cloth (for adhesive hooks)
Tip: Lay out all your materials before starting. It saves time and frustration.
Step 2: Measure and Mark Hook Placement
Spacing is key. Too far apart, and your lights will sag. Too close, and you’ll waste hooks and time. General guidelines:
- Lightweight lights: 18–24 inches apart
- Medium-weight lights: 12–18 inches apart
- Heavy lights: 10–12 inches apart
Use a measuring tape to mark spots along the fence. For straight lines, snap a chalk line or use a level. For curved or decorative patterns, sketch a rough plan first.
Step 3: Install the Hooks
For clip-on hooks:
- Open the clamp and slide it onto the fence rail.
- Press firmly until it clicks or grips securely.
- Adjust so the hook is upright and aligned.
For screw-in hooks:
- Pre-drill a pilot hole (if needed).
- Screw in the hook by hand or with a screwdriver.
- Don’t over-tighten—this can strip the wood or crack vinyl.
For adhesive hooks:
- Clean the surface with rubbing alcohol and let it dry.
- Peel off the backing and press the hook firmly for 30 seconds.
- Wait 24 hours before hanging lights.
Step 4: Hang the Lights
Start at one end and work your way along the fence. Hook each bulb socket or wire segment into the hook. Keep the lights taut but not stretched. Avoid sharp bends or kinks in the wire.
Tip: If your lights have a plug, start from the plug end and work backward. This keeps the plug accessible for outlets or timers.
Step 5: Adjust and Test
Once all hooks are in place, step back and check the alignment. Use a level if needed. Turn on the lights and look for:
- Sagging sections (add more hooks)
- Twisted or tangled wires (re-hook carefully)
- Uneven brightness (check for loose connections)
I always do a “test run” at night to see how the lights look in real conditions. It’s amazing how a small adjustment can make a big difference.
Common Mistakes to Avoid and Pro Tips for Success
Even with the best tools, things can go wrong. Here are the most common mistakes I’ve seen (and made!)—and how to avoid them.
Mistake 1: Using the Wrong Hook for the Fence
As mentioned earlier, this is a classic error. Screw-in hooks on vinyl? Adhesive hooks on rough wood? They won’t work. Always match the hook to the material.
Pro Tip: If you’re unsure, buy a few sample hooks from different brands and test them on a small section of your fence.
Mistake 2: Overloading the Hooks
Too many lights on too few hooks = sagging, broken hooks, or even fence damage. Follow the spacing guidelines, and don’t exceed the weight limit.
Pro Tip: Use a fish scale to weigh your light strand if you’re unsure. Most kitchen scales can handle it too.
Mistake 3: Ignoring Weatherproofing
Indoor-rated hooks will rust, crack, or fall off in outdoor conditions. Always buy outdoor-specific hooks.
Pro Tip: Seal screw-in hooks with a dab of outdoor caulk to prevent water entry.
Mistake 4: Poor Wire Management
Letting wires dangle or bunch up creates tripping hazards and looks messy. Use zip ties or clips to keep wires neat and off the ground.
Pro Tip: Run wires behind the hooks or under the top rail to hide them.
Mistake 5: Not Testing Before Full Installation
Always test your lights on a small section before committing to the whole fence. This helps catch issues with spacing, brightness, or hook strength.
Pro Tip: Use a timer or smart plug to automate your lights—no more forgetting to turn them off!
Comparison Table: Top String Light Fence Hooks on the Market
| Brand/Model | Type | Best For | Weight Capacity | Weather Resistance | Price Range |
|---|---|---|---|---|---|
| Command Outdoor Light Clips | Clip-on | Vinyl, metal, smooth wood | 1.5 lbs | High (UV-resistant) | $8–$12 per 12 clips |
| VELCRO Outdoor Hooks | Adhesive | Glass, painted surfaces | 2 lbs | Medium (best in mild climates) | $10–$15 per 10 hooks |
| Hillman Screw Hooks | Screw-in | Wooden fences | 5 lbs | High (stainless steel) | $5–$8 per 20 hooks |
| FencePro Heavy-Duty Clips | Clip-on | Thick vinyl, aluminum | 3 lbs | Very High (rubberized grip) | $12–$18 per 25 clips |
| 3M Outdoor Adhesive Hooks | Adhesive | Smooth, non-porous surfaces | 2.5 lbs | High (VHB tape) | $15–$20 per 12 hooks |
Final Thoughts: Make Your Outdoor Space Shine
String light fence hooks might seem like a minor detail, but they’re the unsung heroes of outdoor lighting. The right hooks ensure your lights stay bright, safe, and beautiful—whether you’re lighting up a cozy patio or a sprawling backyard.
From clip-on convenience to screw-in durability, there’s a perfect string light fence hook for every fence, every budget, and every aesthetic. By choosing wisely, spacing properly, and avoiding common mistakes, you’ll create a lighting setup that’s not just functional but magical.
So next time you’re planning an outdoor gathering—or just want to enjoy a peaceful evening under the stars—don’t overlook the power of a simple hook. With the right tools and a little know-how, you can turn any fence into a glowing work of art. Happy lighting!
Frequently Asked Questions
What are the best string light fence hooks for outdoor use?
The best string light fence hooks are weather-resistant, durable, and easy to install. Look for stainless steel or coated metal hooks to prevent rust and ensure longevity in outdoor conditions.
How do I install string light fence hooks without damaging my fence?
Use non-invasive hooks with soft rubber or silicone padding to grip the fence securely without nails or screws. Simply slide or clip the hooks onto the fence top or rails for a tool-free setup.
Can I use string light fence hooks for other decorations?
Yes! These hooks work well for hanging garlands, wind chimes, or even small potted plants. Their versatile design supports lightweight to medium-weight decorations beyond just string lights.
Are string light fence hooks reusable?
Absolutely. Most string light fence hooks are designed for repeated use—just remove them carefully after each season and store them for future installations.
What weight can string light fence hooks hold?
Standard hooks support 5–10 lbs, depending on the material. Always check the product description to ensure they’re rated for your lights’ weight, especially for heavy-duty LED or commercial-grade strings.
Do I need tools to install string light fence hooks?
No tools are needed for most models. Simply snap or slide the hooks onto your fence, making installation quick and hassle-free. Some heavy-duty versions may require a screwdriver for added stability.

