Featured image for how to attach solar string lights to fence
Image source: i2.wp.com
Attaching solar string lights to your fence in 2026 is easier than ever with modern, damage-free mounting solutions like adhesive clips, zip ties, or magnetic hooks. Simply space the lights evenly along the fence, secure them at anchor points, and position the solar panel in direct sunlight for maximum efficiency. This quick, tool-free method ensures a stunning, energy-efficient glow all season long.
“`html
How to Attach Solar String Lights to Fence in 2026 Easy Guide
Key Takeaways
- Choose solar lights with strong batteries for all-night brightness.
- Measure your fence first to buy the right string length.
- Use weatherproof clips or hooks to secure lights safely.
- Place panels in sun for optimal charging and performance.
- Test lights before final installation to avoid rework.
- Space bulbs evenly using built-in markers or measuring tape.
- Maintain regularly by cleaning panels and checking connections.
Why This Matters / Understanding the Problem
Picture this: It’s a warm summer evening. You’re sipping tea, the sun’s just set, and you’re ready to unwind in your backyard. But instead of a cozy glow, you’re met with darkness. You bought solar string lights months ago—still in the box. Why? Because you’re not sure how to attach solar string lights to fence without ruining it or spending a fortune.
You’re not alone. Many homeowners struggle with this. Fences come in all shapes—wood, vinyl, metal, chain-link—and each needs a slightly different approach. Plus, solar lights rely on sunlight, so placement matters. If you don’t install them right, they won’t charge, won’t shine, and your dreamy outdoor vibe stays just that—a dream.
This How to Attach Solar String Lights to Fence in 2026 Easy Guide is your no-fuss, step-by-step solution. Whether you’re a DIY newbie or a weekend warrior, I’ll walk you through it—like we’re chatting over coffee. No jargon. No fluff. Just real, tested methods that work in 2026.
What You Need
Before we dive in, let’s make sure you’ve got everything. Don’t worry—most of this is probably already in your garage or toolbox.
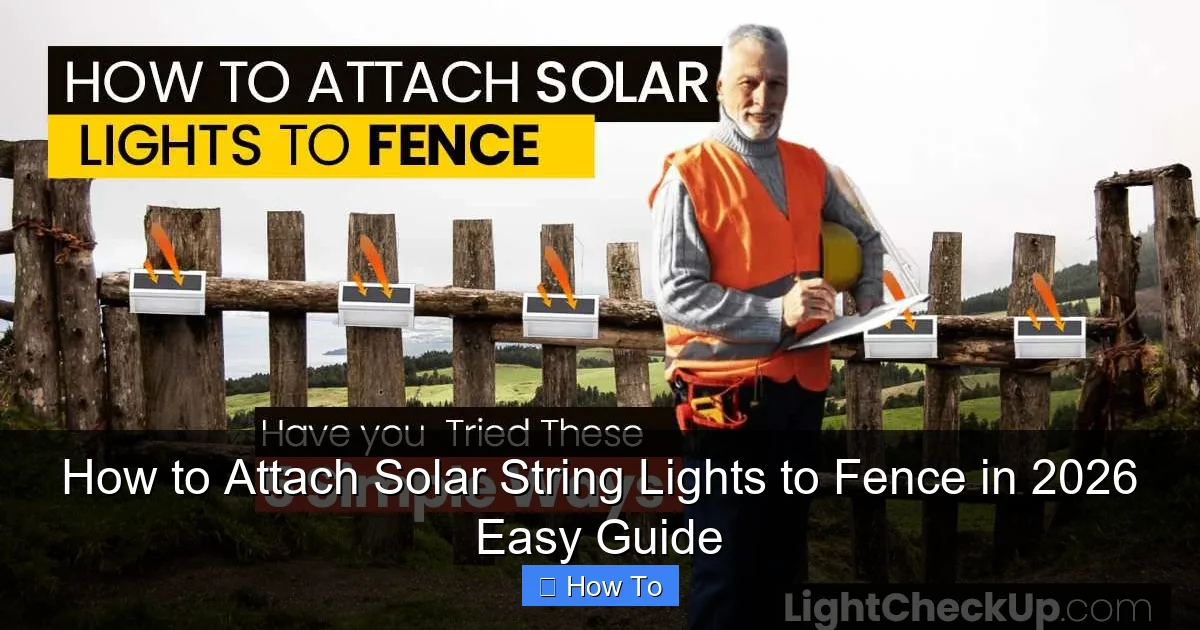
Visual guide about how to attach solar string lights to fence
Image source: lightcheckup.com
- Solar string lights (with built-in solar panel)
- Measuring tape (or a long ruler)
- Scissors or wire cutters (for trimming zip ties or cords)
- Zip ties (nylon, UV-resistant) – 10–20, depending on fence length
- Fence clips or S-hooks (optional, but great for metal or chain-link)
- Adhesive hooks (for vinyl or smooth wood) – look for outdoor-rated, removable ones
- Drill & small drill bit (optional) – only if you’re okay with minor holes
- Level (optional) – to keep things straight and tidy
- Marker or chalk – for marking spots
Pro tip: If your fence is tall, grab a step ladder. And wear gloves—especially if you’ve got a rough wood or chain-link fence. I learned that the hard way after scraping my hand last summer.
Why UV-resistant zip ties? Regular zip ties turn brittle and snap in sunlight. I once used cheap ones—two weeks later, half my lights were dangling. Spend a buck more for UV-rated ones. Trust me.
Step-by-Step Guide to How to Attach Solar String Lights to Fence in 2026 Easy Guide
Step 1: Choose the Right Time and Test Your Lights
Don’t start in the dark. Wait for a sunny day. Why? You need to test your solar lights before you install them.
Plug them in (if they have a switch), place the solar panel in direct sunlight, and wait 6–8 hours. Most solar lights have a test mode—turn it on at dusk to see if they glow.
If they don’t light up? Check the battery (some come with a pull tab) or charge for a full day. A dead battery won’t work, no matter how perfect your setup is.
This step saves so much frustration. I skipped it once and spent an hour installing dead lights. Never again.
Step 2: Map Your Layout (and Think About the Solar Panel)
Here’s the key: the solar panel must get full sun for 6+ hours a day. That’s non-negotiable.
Walk along your fence. Look for spots with:
- No shade from trees, roofs, or tall plants
- Direct morning or midday sun (east or south-facing is ideal)
- Easy access to the fence line (so the lights can run from panel to fence)
Now, plan your light path. Do you want:
- A straight line along the top rail?
- A zigzag across pickets?
- A curtain effect (hanging vertically)?
Use a measuring tape to mark every 12–18 inches. This keeps spacing even and prevents sagging.
Real talk: I once installed lights on a north-facing fence. They barely glowed. Moved the panel to the south side—boom, full brightness. Sunlight is everything.
Step 3: Install the Solar Panel First
The panel is the brain of your setup. If it’s not in sun, nothing works.
For wood or vinyl fences:
- Use an adhesive hook (rated for outdoor use) on a smooth, clean spot.
- Or, drill a tiny pilot hole and use a small screw (1–1.5 inches). Don’t over-tighten—you don’t want to crack the panel.
For metal or chain-link fences:
- Use an S-hook to hang the panel from the top rail.
- Or, attach a small metal clip with a zip tie.
Position the panel so the solar cells face the sun. Angle it slightly (15–30 degrees) for maximum exposure. Use a level to keep it straight.
Pro tip: If your fence is tall, hang the panel higher. But make sure the cord can reach the lights without stretching.
Step 4: Attach the Lights to the Fence (Method by Fence Type)
Now, the fun part: hanging the lights. The method depends on your fence material.
For Wood Fences
Wood is forgiving. You can use:
- Zip ties: Wrap them around pickets or rails. Tighten just enough to hold—don’t crush the wire.
- Small nails or screws: Use 1-inch finishing nails. Hammer them into the top edge of pickets. Hang the lights’ loops or clips on them.
- Adhesive hooks: Great for smooth, painted wood. Stick them every 16 inches. Works best if the surface is clean and dry.
Start at the solar panel end. Work your way down the fence. Keep the cord taut but not stretched. Sagging lights look sloppy and can pull loose.
For Vinyl Fences
Vinyl is smooth and can’t handle nails or screws without cracking. So:
- UV-resistant zip ties: Wrap them around the top rail or pickets. Trim the excess with scissors.
- Adhesive hooks: Look for “no-drill” outdoor hooks. Clean the surface with rubbing alcohol first. Press firmly for 30 seconds.
- Magnetic clips (if metal core): Some vinyl fences have a metal frame inside. Test with a magnet. If it sticks, use magnetic hooks.
Warning: Don’t use glue. It damages vinyl and is a pain to remove.
For Metal Fences (Wrought Iron or Aluminum)
Metal is easy—if you use the right tools.
- S-hooks: Clip them to the top rail or vertical bars. Hang the lights’ loops on them.
- Magnetic clips: Perfect for flat surfaces. Stick them every 12–16 inches.
- Zip ties: Wrap around bars. Use black or silver ones to blend in.
Tip: If the metal is powder-coated, avoid sharp tools that might scratch it.
For Chain-Link Fences
Chain-link is a grid—perfect for lights.
- Zip ties: Thread them through the mesh. Attach every 12 inches. Use a crisscross pattern for a “curtain” effect.
- Fence clips: These hook onto the wire mesh. Slide them on and hang the lights.
- S-hooks: Hang them on the top rail or vertical wires.
Bonus: You can weave the lights through the mesh for a unique look. Just don’t pull too tight—the wires can bend.
Step 5: Secure the Cord and Manage Slack
The cord from the solar panel to the lights is often long. If it’s dragging, it can get caught or damaged.
Here’s how to tame it:
- Coil excess cord: Wind it loosely and secure with a zip tie.
- Route it along the fence: Use zip ties or clips to run it parallel to the lights. This looks cleaner.
- Hide it behind the fence: If your fence has a back rail, run the cord behind it.
Never tie a knot in the cord. It can damage the wires inside and cause shorts.
Step 6: Test and Adjust
Once everything’s up, wait for dusk. Turn on the lights (if they have a switch) or wait for them to auto-activate.
Check for:
- Brightness: Are they glowing evenly? If some are dim, the battery might need more charge.
- Alignment: Are they straight? Use a level to tweak any sagging spots.
- Secureness: Gently tug on the lights. They shouldn’t wiggle or come loose.
If the lights flicker or don’t turn on:
- Check the solar panel—is it in shade?
- Ensure the cord is fully connected.
- Charge the battery for 24 hours.
Adjust as needed. It’s okay to redo a few clips. Better now than in the dark.
Pro Tips & Common Mistakes to Avoid
“I wish I’d known this sooner”: Don’t install lights on a rainy day. Wet wood or metal can cause zip ties to slip or adhesive to fail. Wait for dry, sunny weather.
- Don’t overcrowd: Too many lights on one panel overload the circuit. Stick to 1–2 strands per panel unless the manual says otherwise.
- Mind the weather: High winds can knock down lights. Use extra zip ties on stormy days. I lost half my lights in a windstorm—learned to double-up.
- Check for obstructions: Trim overhanging branches or vines. They block sunlight and can damage the cord.
- Clean the solar panel: Dust and dirt reduce efficiency. Wipe it with a damp cloth once a month.
- Label your lights: If you have multiple sets, label the solar panels (e.g., “Back Fence,” “Patio”). Saves time when troubleshooting.
One big mistake? Ignoring the battery life. Solar batteries last 2–3 years. If your lights dim after a few seasons, replace the battery (if removable) or upgrade the panel.
Real-life fix: My neighbor’s lights were fading. Turned out the panel was covered in bird droppings. A quick rinse brought them back to life. Keep it clean!
FAQs About How to Attach Solar String Lights to Fence in 2026 Easy Guide
Q: Can I leave solar lights on my fence year-round?
A: Yes—if they’re weatherproof. Look for an IP65 or higher rating. But in harsh climates (snow, salt air), take them down in winter. I leave mine up in my mild California climate, but I’ve seen friends in Minnesota store theirs.
Q: What if my fence is too tall for the solar panel cord?
A: Use an extension cord (solar-rated, outdoor-safe). Or, install the panel lower and run the lights up the fence. Just ensure the cord can handle the extra length—check the manual for max distance.
Q: Are adhesive hooks strong enough for heavy lights?
A: Depends on the hook. Most hold 5–10 lbs. For heavy strands (like Edison bulbs), use 2 hooks per light or switch to zip ties. I once used a cheap hook—it fell off with a light. Not a good look.
Q: Can I connect multiple solar panels to one set of lights?
A: No. Each panel powers its own lights. But you can install multiple sets side by side. Just space the panels so they don’t shade each other.
Q: How do I remove the lights without damaging the fence?
A: For zip ties—cut them with scissors. For adhesive hooks—heat them with a hairdryer to loosen. For nails—gently pry them out. Avoid pulling—it can crack wood or vinyl.
Q: Do I need to charge the lights before first use?
A: Yes! Most need 6–8 hours of direct sun. Even if they’re “ready to use,” a full charge ensures optimal performance.
Q: What if my fence is curved?
A: Use shorter zip ties or clips (every 6–8 inches). Or, install the lights on stakes or shepherd’s hooks along the curve. Flexibility is key!
Final Thoughts
Attaching solar string lights to your fence isn’t rocket science. But it does take planning, the right tools, and a little patience. This How to Attach Solar String Lights to Fence in 2026 Easy Guide gives you a roadmap—no guesswork, no wasted time.
Remember: Start with the solar panel. Test before you install. Choose the right method for your fence type. And don’t skip the cleanup—tidy cords and clean panels make all the difference.
Your backyard isn’t just a space. It’s your sanctuary. With a few hours of work, you’ll have a glowing, inviting oasis—perfect for quiet nights, parties, or just unwinding after work.
So grab your lights, pick a sunny day, and get started. And when you see that first glow? You’ll smile. I promise.
“`

