Featured image for how to attach string lights to 6 foot privacy fence
Image source: assets.fixr.com
Secure string lights to your 6-foot privacy fence in 2026 using heavy-duty, weather-resistant mounting clips designed for outdoor durability. Space clips every 12–18 inches along the top rail and weave lights through the slats for a seamless glow that enhances both safety and ambiance. For a no-damage, long-lasting install, avoid nails and opt for UV-stable zip ties or adhesive-backed hooks rated for year-round use.
How to Attach String Lights to 6 Foot Privacy Fence in 2026
Key Takeaways
- Plan spacing first: Map light intervals to avoid gaps or overcrowding.
- Use outdoor-rated clips: Secure with UV-resistant, waterproof fasteners.
- Test lights before mounting: Check functionality to prevent mid-installation failures.
- Anchor at top rail: Attach to the sturdiest part of the fence.
- Weatherproof connections: Seal plugs with silicone to block moisture damage.
- Keep cords tidy: Use zip ties to hide and organize excess wiring.
- Check local codes: Ensure compliance with outdoor electrical regulations.
Why This Matters / Understanding the Problem
Picture this: you’re sipping lemonade on your back patio, the sun’s dipping behind the trees, and you flick a switch. Warm, golden lights bloom along your 6-foot privacy fence, turning your backyard into a cozy, magical retreat. It’s not just about looks—it’s about feeling at home. But if you’ve ever tried to hang string lights on a tall, flat fence, you know it’s not as simple as tossing them over a branch.
The challenge? A 6-foot privacy fence is just high enough to make DIY feel like a mission. Nails won’t hold. Zip ties snap. And if you’re not careful, you’ll end up with a lopsided, tangled mess—or worse, a safety hazard. That’s why knowing how to attach string lights to a 6 foot privacy fence in 2026 isn’t just handy. It’s essential for anyone who wants ambiance without the headache.
Whether you’re prepping for summer barbecues, holiday gatherings, or just want to enjoy your yard after dark, this guide will help you do it safely, neatly, and with a little style. No prior experience needed. Just a ladder, a few tools, and the right plan.
What You Need
Before you start, gather your gear. Here’s what you’ll need to attach string lights to a 6 foot privacy fence in 2026 without breaking a sweat (or a light strand):
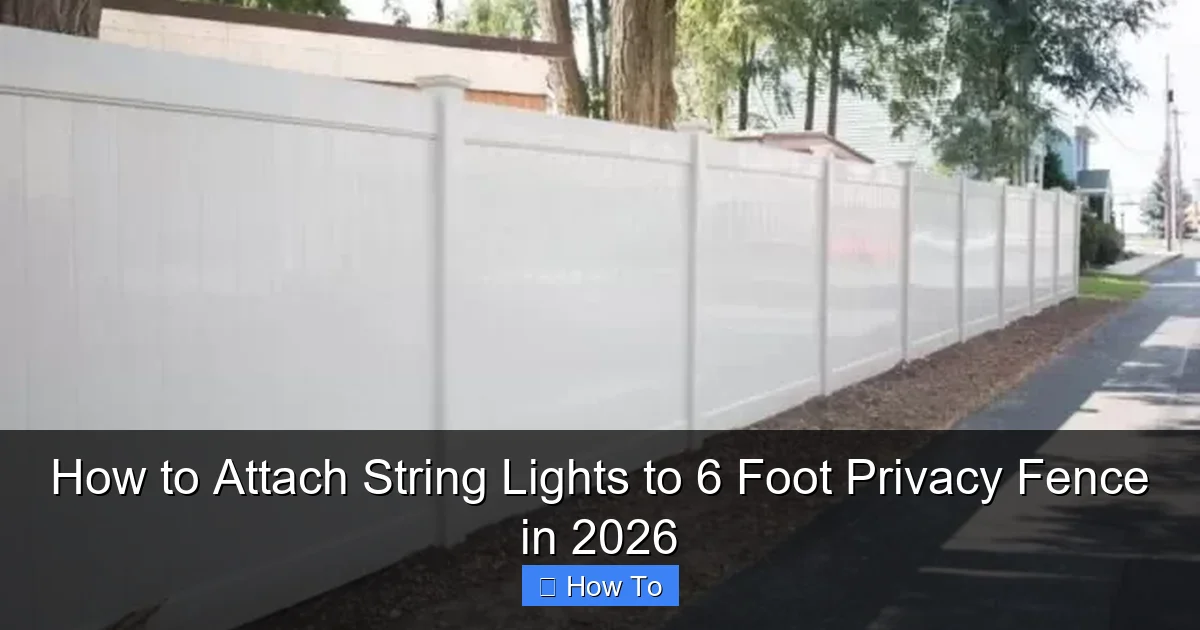
Visual guide about how to attach string lights to 6 foot privacy fence
Image source: freedomfenceandrailing.com
- String lights (LED, weather-resistant, preferably with a plug-in end for easier setup)
- Outdoor-rated mounting hardware (fence clips, screw-in hooks, or adhesive-backed hooks rated for exterior use)
- Measuring tape (to space lights evenly)
- Ladder (a 6–8 foot step ladder or extension ladder, depending on your fence height and reach)
- Drill or screwdriver (if using screw-in hooks or clips)
- Zip ties (optional) (for securing loose ends or reinforcing connections)
- Extension cord (outdoor-rated) (to reach your power source)
- Timer or smart plug (optional) (for automatic on/off)
- Gloves (to protect your hands while working at height)
- Helper (recommended) (someone to hold the ladder or hand you clips)
Pro tip: Buy lights with replaceable bulbs and end-to-end connectors so you can expand later. And always check the IP rating—look for at least IP44 for outdoor use. This ensures your lights can handle rain, wind, and humidity.
Step-by-Step Guide to How to Attach String Lights to 6 Foot Privacy Fence in 2026
Step 1: Choose the Right String Lights for Your Fence
Not all string lights are created equal. For a 6-foot privacy fence, you’ll want lights that are durable, flexible, and designed for outdoor use. I learned this the hard way after buying cheap “weather-resistant” lights that fizzled out after one spring storm.
Look for:
- LED bulbs (they last longer, use less energy, and stay cool)
- Copper or rubber-coated wires (better for outdoor conditions)
- Spacing of 6–12 inches between bulbs (closer spacing = more sparkle)
- Plug-in end (not battery) (easier to power from a nearby outlet)
If you’re going for a modern vibe, consider smart RGB lights you can control via app. But for classic charm, warm white Edison-style bulbs are timeless. Just make sure the strand is long enough to cover your fence—measure the total linear feet first. Most 6-foot fences run 10–20 feet long, so a 25–50 ft strand should work.
When choosing how to attach string lights to a 6 foot privacy fence in 2026, start with the right product. It makes every step easier.
Step 2: Plan Your Layout (Before You Climb!)
Before you even touch the ladder, sketch a quick layout. This saves time, prevents mistakes, and keeps your lights looking balanced.
Ask yourself:
- Do I want lights along the top edge, middle rail, or both?
- Will I run them straight, in a zigzag, or in a crisscross pattern?
- Where’s the nearest outdoor outlet? Can I reach it without tripping hazards?
I once skipped this step and ended up with lights that started at one end but had to dangle awkwardly to reach the plug—looked messy and was a tripping risk. Now, I always plan the power source first.
Use painter’s tape or chalk to mark key points on the fence. For straight runs, mark the start, middle, and end. For zigzags, mark every 2–3 feet. This helps you space clips evenly later.
Also, consider accessibility. If you want to change bulbs or take lights down, make sure you can reach them without a ladder. A 6-foot fence is tall, but not impossible—just plan ahead.
Step 3: Install Mounting Hardware (The Right Way)
This is where most people go wrong. They use flimsy clips, over-tighten screws, or skip securing the power end. Don’t be that person.
For a 6-foot privacy fence, you have three solid options:
- Fence clips (screw-in): Best for long-term use. They grip the wood and hold tight in wind.
- Adhesive-backed hooks (rated for outdoor use): Great for temporary or renter-friendly setups. Look for 3M VHB tape or similar.
- Zip tie mounts with adhesive base: A hybrid option—stronger than glue, easier than screws.
Here’s how to install them:
- Start at the end closest to your power source. This reduces strain on the plug.
- Space clips every 12–18 inches along your marked line. For zigzags, use more clips at the turns.
- If using screw-in clips, pre-drill a small pilot hole to avoid splitting the wood. Then screw in gently—don’t crank it.
- If using adhesive hooks, clean the fence surface with rubbing alcohol first. Press firmly for 30 seconds and let cure for 1–2 hours before hanging lights.
Pro tip: Install clips on the inside of the fence (facing your yard), not the outside. It looks cleaner and protects the lights from prying hands or weather.
Step 4: Hang the Lights (Start at the Plug, Not the End)
Now the fun part—hanging the lights. But here’s the golden rule: start at the plug end, not the far end.
Why? Because if you start at the far end, you’ll have to stretch the cord back, which can pull on the clips and create tension. Starting at the plug lets you work outward with slack.
Here’s how:
- Plug in the lights (but don’t turn them on yet).
- Attach the first clip to the fence, then hook the plug into it. This anchors the start.
- Walk the strand along the fence, hooking each bulb or socket into the clips. Don’t stretch it tight—leave a slight sag for wind and expansion.
- At turns (like for zigzags), use two clips close together to secure the bend.
- When you reach the end, leave 6–12 inches of slack. You can tuck it behind a clip or use a zip tie to secure it.
If your lights have end connectors, you can link multiple strands. But don’t exceed the manufacturer’s recommended max (usually 2–3 strands). Overloading can blow a fuse or start a fire.
And please—don’t use nails or staples. They can pierce the wire, cause shorts, and void warranties. I learned that after a squirrel chewed through a staple-pierced cord. Not fun.
Step 5: Secure Loose Ends and Reinforce Connections
Once the lights are up, do a final pass to tidy everything. Loose wires are not only ugly—they’re a tripping hazard.
- Use zip ties to bundle extra cord at the start and end.
- If the plug dangles, attach it to a clip or use a zip tie to secure it to the fence.
- For long runs, add an extra clip every 20 feet to support the weight.
- Check all connections—make sure bulbs are seated and clips aren’t loose.
I like to use clear zip ties so they blend in. Or, tuck wires behind the fence slats if possible. Just don’t block drainage or airflow.
If you’re using an extension cord, run it along the ground or fence base, and secure it with outdoor-rated cord clips. Never let it dangle or cross a walkway.
Step 6: Test, Adjust, and Automate
Now, the moment of truth. Turn on the lights. If they glow, great! If not, don’t panic.
Common issues and fixes:
- No power: Check the outlet, extension cord, and fuse in the plug. Try a different outlet.
- Half the strand is out: A bulb is loose or burned out. Replace it or reseat it.
- Flickering: Could be a loose connection or a failing bulb. Inspect and fix.
Once they’re on, step back and look. Do they look even? Are there any sags or gaps? Adjust clips as needed. I usually make small tweaks—moving a clip up or down by an inch—to get the perfect flow.
For the ultimate upgrade, add a timer or smart plug. Set it to turn on at sunset and off at 10 PM. No more running outside to flip a switch. And it saves energy.
Pro Tips & Common Mistakes to Avoid
Pro Tip: Use lightweight aluminum ladder hooks to hang your lights from above. They clip onto the ladder rungs and hold the strand while you work. Saves your arms!
Warning: Never hang lights on a wet or snowy fence. Moisture can seep into clips and cause corrosion or electrical issues. Wait for dry weather.
Common Mistake: Overloading the circuit. If you’re adding lights to a GFCI outlet, make sure the total load (lights + other devices) doesn’t exceed 80% of the circuit’s capacity. Otherwise, it’ll trip.
Here are a few more hard-won insights:
- Don’t rush the adhesive. If you use glue-based hooks, let them cure 24 hours before hanging heavy strands. I once hung lights after 30 minutes—half the clips fell off overnight.
- Use a level if you want a perfectly straight line. A small bubble level on the ladder helps.
- Label your strands with tape if you have multiple. Makes troubleshooting easier.
- Check local codes. Some areas require outdoor lights to be on GFCI-protected circuits. If yours trips often, it might be a code issue.
- Store lights properly. When the season ends, remove them and store in a cool, dry place. Wrap in paper, not plastic, to prevent condensation.
And one last thing: don’t overdo it. More lights aren’t always better. A few well-placed strands can be more elegant than a glowing wall. I learned that after my first attempt looked like a carnival.
FAQs About How to Attach String Lights to 6 Foot Privacy Fence in 2026
Q: Can I use regular indoor string lights on my fence?
A: Technically, yes—but I wouldn’t. Indoor lights aren’t made for UV rays, rain, or wind. They’ll fade, crack, or short out. Spend the extra $10–$20 on outdoor-rated ones. It’s worth it.
Q: What if my fence is made of vinyl or composite?
A: Great question! Vinyl and composite fences are slippery, so adhesive hooks may not stick. Use screw-in clips with rubber pads or zip tie mounts. Avoid drilling into vinyl—it can crack. Instead, use a low-torque drill setting.
Q: How do I keep the lights from sagging in the middle?
A: Sagging happens when clips are too far apart or the strand is too long. Space clips every 12 inches for heavy strands, and add a support clip in the middle of long runs. Or, use a center anchor point—like a post or hook—to lift the middle.
Q: Can I leave the lights up all year?
A: You can, but I recommend removing them in winter. Snow, ice, and freezing temps can damage wires and bulbs. If you must leave them, use heavy-duty outdoor lights with cold-weather ratings (look for “-20°F” or similar).
Q: What’s the best way to power the lights if I don’t have an outlet nearby?
A: Use a solar-powered string light set with a separate panel. Or, run an outdoor-rated extension cord from your house. Just bury it under mulch or use a cord cover to prevent tripping. Never run cords across driveways.
Q: How do I take the lights down without breaking them?
A: Unplug first, then remove clips one by one. Don’t yank the strand. For adhesive hooks, use a hair dryer to warm the glue, then gently peel. Store lights coiled in a figure-eight to prevent tangles.
Q: Can I use these methods for a chain-link or metal fence?
A: Yes! For chain-link, use zip ties or magnetic clips. For metal, adhesive hooks work well—just clean the surface first. The principles are the same: secure, even, and safe.
Final Thoughts
Hanging string lights on a 6-foot privacy fence might seem tricky, but with the right tools and a little patience, it’s totally doable. Whether you’re lighting up a quiet evening or hosting a backyard party, knowing how to attach string lights to a 6 foot privacy fence in 2026 means you’re not just adding light—you’re adding feeling.
Remember: plan your layout, use the right hardware, start at the plug, and test before you commit. And don’t forget the little touches—like a timer or a smart plug—that make it effortless.
Your backyard deserves to shine. So grab your ladder, pick your favorite lights, and make it happen. And when the sun goes down and your fence glows like a constellation? You’ll know it was worth every step.
Now go enjoy your lighted oasis. You’ve earned it.

