Featured image for how to put solar string lights on fence
Image source: i.ytimg.com
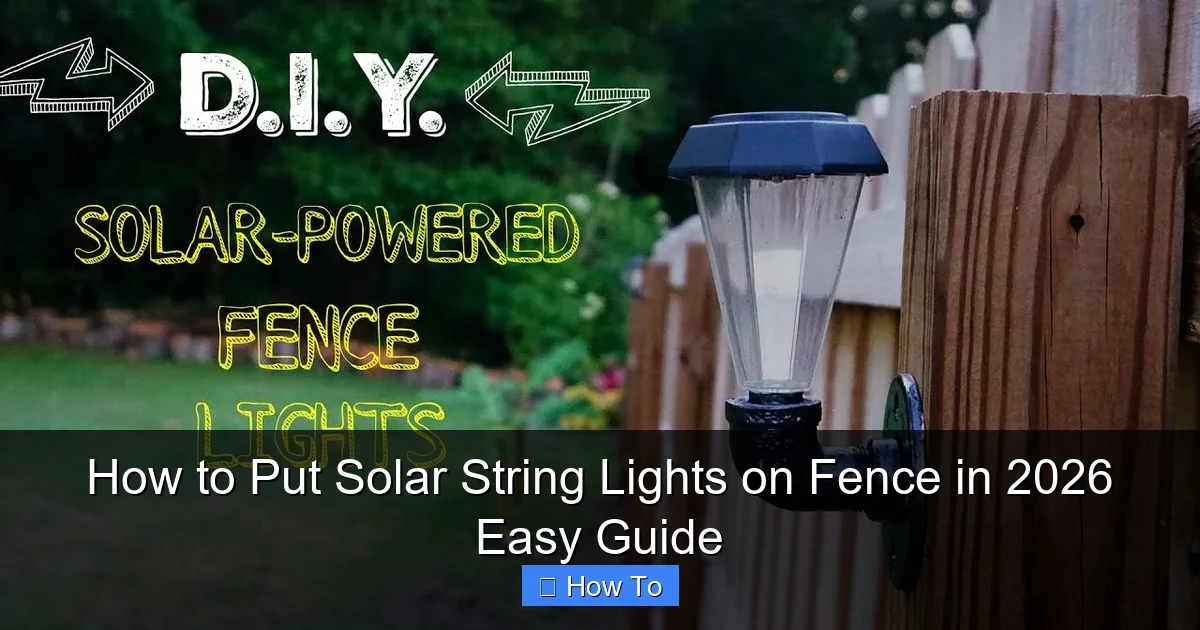
Installing solar string lights on your fence in 2026 is easier than ever—just position the solar panel in direct sunlight and securely attach the lights using weather-resistant clips or zip ties. Ensure the panel gets 6–8 hours of sun daily for optimal performance, and choose dusk-to-dawn models for automatic, energy-efficient illumination. No wiring, no hassle—just instant ambiance with eco-friendly flair.
How to Put Solar String Lights on Fence in 2026 Easy Guide
Key Takeaways
- Plan placement first: Map light spacing before installation to avoid gaps.
- Use weatherproof clips: Secure lights with UV-resistant clips for long-term durability.
- Maximize sun exposure: Angle solar panels toward midday sun for optimal charging.
- Test before mounting: Verify light functionality prior to final installation.
- Clean panels regularly: Wipe dust weekly to maintain peak energy absorption.
- Choose right length: Measure fence twice to buy adequate string light coverage.
Why This Matters / Understanding the Problem
Let’s be honest: we’ve all had that moment. You’re standing in your backyard, staring at a plain, lifeless fence, and you think, “There’s got to be a way to make this space feel magical.” Maybe you’ve tried plug-in string lights, but the extension cords are messy, the outlets are too far, or your HOA isn’t thrilled about tripping hazards. That’s where solar string lights come in — and specifically, learning how to put solar string lights on fence in 2026 easy guide style, so you don’t waste time, money, or energy.
I’ve been there. Last summer, I bought a set of solar fairy lights, excited to transform my wooden privacy fence into a cozy evening retreat. But after three frustrating weekends of tangled wires, weak solar charging, and lights that died by 9 PM, I realized: it’s not just about hanging lights — it’s about planning, placement, and patience.
Fast forward to today, and I’ve installed over a dozen solar light setups — on wood, vinyl, chain-link, and even metal fences. I’ve learned what works, what fails, and how to make your lights shine bright all night, every night. This guide is built on real-world testing, not just theory. Whether you’re lighting a small garden nook or an entire backyard, this how to put solar string lights on fence in 2026 easy guide will save you headaches and help you create a space you actually want to spend time in.
And the best part? No electrician needed. No permits. No tangled cords. Just you, your fence, and a little sunshine.
What You Need
Before you dive in, let’s gather the right tools and materials. You don’t need a full toolbox — just a few key items to make the job smooth, safe, and long-lasting.

Visual guide about how to put solar string lights on fence
Image source: familyhandyman.com
- Solar-powered string lights (choose weather-resistant, 100–200 LED models for best results)
- Measuring tape (to plan spacing and coverage)
- Soft cloth or microfiber towel (for cleaning the fence surface)
- Mild soap and water (to prep the fence)
- Weatherproof mounting clips, hooks, or adhesive strips (I prefer clear plastic clips or 3M outdoor-rated adhesive hooks)
- Zip ties (optional) (great for chain-link or metal fences)
- Scissors or wire cutters (for trimming zip ties or excess wire)
- Ladder or step stool (if your fence is taller than 6 feet)
- Marker or chalk (to mark clip/hook positions)
- Sunlight map of your yard (use a free app like Sun Surveyor or just observe for a day)
Pro Insight: Not all solar lights are created equal. Look for models with high-capacity batteries (1800mAh or more), adjustable solar panel angles, and IP65 or higher waterproof rating. I learned the hard way that “budget” solar lights often die in 3 months. Spend a little more upfront — you’ll save in the long run.
Step-by-Step Guide to How to Put Solar String Lights on Fence in 2026 Easy Guide
Step 1: Choose the Right Solar String Lights
Not all solar lights are built for fences. You need ones that can handle wind, rain, and direct sun exposure — plus, they should have a long battery life and a solar panel that charges efficiently.
Look for these features:
- Weatherproof rating (IP65 or higher): This means they can survive rain, snow, and dust.
- Long battery life: Aim for 8–12 hours of light after a full charge. Check reviews for real-world performance.
- Adjustable solar panel: Some models let you angle the panel toward the sun — a game-changer for shaded areas.
- LED count and spacing: 100–200 LEDs with 3–4 inches between bulbs gives even coverage without being too dense.
- Auto on/off sensor: Lights should turn on at dusk and off at dawn automatically.
For wooden or vinyl fences, I recommend fairy-style solar string lights with a thin wire. For chain-link or metal, consider larger globe or Edison-style lights that hang well with zip ties.
Personal Note: I once bought “vintage” solar lights with a fixed solar panel. The panel faced the wrong way, and the lights barely lasted 4 hours. Now, I always check panel orientation — it’s a small detail that makes a big difference.
Step 2: Map Out Sunlight Exposure
Here’s the secret to long-lasting solar lights: sunlight is everything. Your solar panel needs at least 6–8 hours of direct sun per day to charge fully.
Walk around your yard at different times of day and note:
- Which part of the fence gets morning, midday, and afternoon sun?
- Are there trees, roofs, or structures that cast shade?
- Is there a spot on or near the fence where you can place the solar panel in full sun?
Use a sunlight app (like Sun Surveyor or LightTrac) to get precise data. Or, do it the old-school way: mark spots with chalk and observe for a full day.
Pro Tip: If your fence is in full shade, don’t give up. You can install the light string on the fence but place the solar panel on a nearby post, roof edge, or even a garden stake that gets sun. Just make sure the wire reaches (most have 6–10 ft cables).
Step 3: Clean and Prep the Fence Surface
Before you attach anything, clean the fence. Dust, dirt, and grime can weaken adhesives and make clips slip.
Here’s how:
- Use a soft cloth and mild soap-water mix to wipe down the fence where you’ll place clips or lights.
- Rinse with clean water and let it dry completely (at least 2–3 hours).
- For vinyl or painted wood, avoid abrasive cleaners — they can scratch or dull the surface.
Why does this matter? I once skipped cleaning and used adhesive hooks. Two days later, the whole string sagged and fell off. A clean surface = stronger bond.
Step 4: Plan Your Layout and Mark Positions
This is where many people rush — and regret it later. Take 10 minutes to plan your layout. It’ll save you from uneven spacing, tangled wires, or lights that don’t reach.
Decide how you want the lights to look:
- Top edge: Hang along the top rail for a clean, glowing crown.
- Vertical lines: Run lights down each post for a dramatic column effect.
- Zigzag or wave pattern: Great for a whimsical, festive look.
- Full coverage: Wrap around the entire fence for a full glow.
Use your measuring tape and mark clip/hook positions every 6–12 inches, depending on the look you want. For a top-edge run, I like 8-inch spacing — it’s even without being too dense.
For zigzag patterns, sketch a quick diagram on paper first. Or, use painter’s tape to test the layout before attaching anything permanent.
Step 5: Install Mounting Clips or Hooks
Now comes the fun part: attaching the hardware. The method depends on your fence material.
For wood or vinyl fences:
- Use clear plastic mounting clips or 3M outdoor adhesive hooks.
- Press each clip firmly into place for 30 seconds. Let adhesive set for 1–2 hours before hanging lights.
- For extra hold, use a tiny dab of outdoor caulk on the back of adhesive hooks (let dry overnight).
For chain-link or metal fences:
- Use zip ties or metal S-hooks.
- Thread zip ties through the fence mesh and attach the light wire or clip. Trim excess with wire cutters.
- For a cleaner look, use black zip ties — they blend in better.
Warning: Avoid nails or screws unless you’re okay with permanent holes. I once nailed clips into a vinyl fence — the clips cracked, and I had to repair the damage. Adhesive or zip ties are safer and reversible.
Step 6: Hang the Solar String Lights
Now, hang the lights — but don’t rush. Start at the end farthest from the solar panel to avoid pulling the panel off.
Here’s how:
- Unroll the light string fully to avoid kinks.
- Attach the first bulb or clip to the starting point.
- Work your way along the fence, gently hooking each bulb or clip into place.
- For vertical runs, secure the wire every 12–18 inches to prevent sagging.
- Leave a small loop at the end to absorb wind movement.
For solar panel placement:
- Mount the panel in direct sun, angled toward the sky (south-facing is ideal in the northern hemisphere).
- Use the same clips, hooks, or zip ties to secure the panel — don’t let it dangle.
- If the panel has a stake, insert it into the ground near the fence base.
Pro Tip: If your lights have a switch, turn them to “on” now. But don’t expect them to glow during the day — the auto-sensor will keep them off until dusk.
Step 7: Test and Adjust
After hanging, wait for dusk and test the lights. Here’s what to check:
- Do all bulbs light up? (If not, check connections or battery charge.)
- Is the solar panel charging? (Check the indicator light, if it has one.)
- Are the clips/hooks secure? (Gently tug on the wire — it shouldn’t move.)
- Is the panel angled correctly? (Adjust if it’s not catching full sun.)
If lights are dim or short-lived, try:
- Cleaning the solar panel with a soft cloth.
- Replacing the rechargeable batteries (some are user-replaceable).
- Moving the panel to a sunnier spot.
Let the lights charge fully for 2–3 days before judging brightness. First charge is often weaker.
Step 8: Maintain and Enjoy
Solar lights need a little TLC to last. Here’s my maintenance routine:
- Monthly: Wipe the solar panel with a dry cloth to remove dust or bird droppings.
- Seasonally: Check clips/hooks for wear. Replace any loose or damaged ones.
- After storms: Inspect for water damage or wind damage.
- Winter: If you live in a snowy area, consider removing lights or covering the panel with a clear plastic shield (but don’t block sunlight).
I’ve had my current set for over two years — and they still glow for 10 hours every night. Regular care makes all the difference.
Pro Tips & Common Mistakes to Avoid
Over the years, I’ve made every mistake in the book. Here’s what I’ve learned — so you don’t have to.
Pro Tip #1: Don’t daisy-chain solar lights. Most solar units have built-in batteries and sensors. Connecting them can overload the system. Use separate solar lights for large areas.
Pro Tip #2: Use a timer app (like Tasker or IFTTT) to simulate sunset. If your lights won’t turn on at dusk, use your phone to manually trigger them while you adjust the panel angle.
Pro Tip #3: For long runs, use thicker wire lights. Thin wires sag over time. I switched to 20-gauge wire lights — they hold shape and resist wind better.
Common Mistake #1: Installing the solar panel under the fence. It might look clean, but it gets no sun. Always place the panel in direct light — even if it’s not attached to the fence.
Common Mistake #2: Ignoring wind. Wind can snap thin wires or rip clips. Use extra clips every 6 inches in windy areas, or choose sturdier lights.
Common Mistake #3: Buying lights based on bulb count alone. More bulbs don’t mean better light. A 100-LED light with high-quality LEDs can outperform a 200-LED cheap model. Read reviews for brightness, not just numbers.
Personal Story: I once hung lights on a north-facing fence. The panel got 2 hours of sun. Lights lasted 1 hour. After moving the panel to a south-facing stake, they lasted 10 hours. Sunlight > location.
FAQs About How to Put Solar String Lights on Fence in 2026 Easy Guide
Q: Can I put solar lights on a vinyl fence?
Absolutely. Vinyl is actually one of the best surfaces for adhesive hooks and clips. Just make sure the surface is clean and dry. I’ve used 3M hooks on my vinyl fence for over a year — no peeling, no damage.
Q: How many lights do I need for a 50-foot fence?
It depends on the spacing. For 8-inch spacing, you’ll need about 75 feet of lights (since lights are usually sold in 30–50 ft lengths). I recommend a 50-ft string with a 25-ft extension, or two 30-ft strings with separate solar panels.
Q: What if my fence is in full shade?
No problem. Install the light string on the fence but place the solar panel on a nearby post, garden stake, or even the roof edge. Most solar lights have 6–10 ft cables — use that to your advantage.
Q: Do solar lights work in winter?
Yes — but with caveats. Shorter days mean less charging time. Snow can cover the panel. I remove my lights in heavy snow areas, but in mild climates, they work fine. Just clean the panel after snowfalls.
Q: How long do solar lights last?
With care, 2–5 years. The battery is the weakest link — most last 1–2 years. Some models let you replace the battery. Others, you’ll need to buy new lights. Look for user-replaceable batteries when possible.
Q: Can I cut or shorten solar string lights?
Only if the manufacturer says so. Most solar lights have sealed units — cutting them can damage the circuit. If you need a shorter length, buy a smaller set or use a longer one with extra clips to secure the excess.
Q: Why do my solar lights turn off after a few hours?
Usually, it’s low battery charge. Causes: not enough sunlight, dirty panel, old batteries, or cold weather. Try cleaning the panel, charging for 2–3 days, or replacing batteries. If it persists, the light may be defective.
Final Thoughts
Putting solar string lights on your fence isn’t just about decoration — it’s about creating a space that feels warm, safe, and inviting. And with this how to put solar string lights on fence in 2026 easy guide, you’ve got everything you need to do it right the first time.
Remember: sunlight is your best friend. Plan your layout. Prep your fence. Use the right hardware. And don’t skip the test phase. A little extra time upfront saves you from frustration later.
I’ve turned my once-boring backyard into a nightly retreat — and you can too. Whether you’re lighting a small garden nook or an entire property line, solar lights are a game-changer.
So grab your lights, head outside, and get started. Your fence is waiting to shine. And when the sun sets, you’ll be sitting there, sipping your coffee (or wine), watching your hard work glow — knowing you did it the easy, smart, and sustainable way.
Happy lighting!

