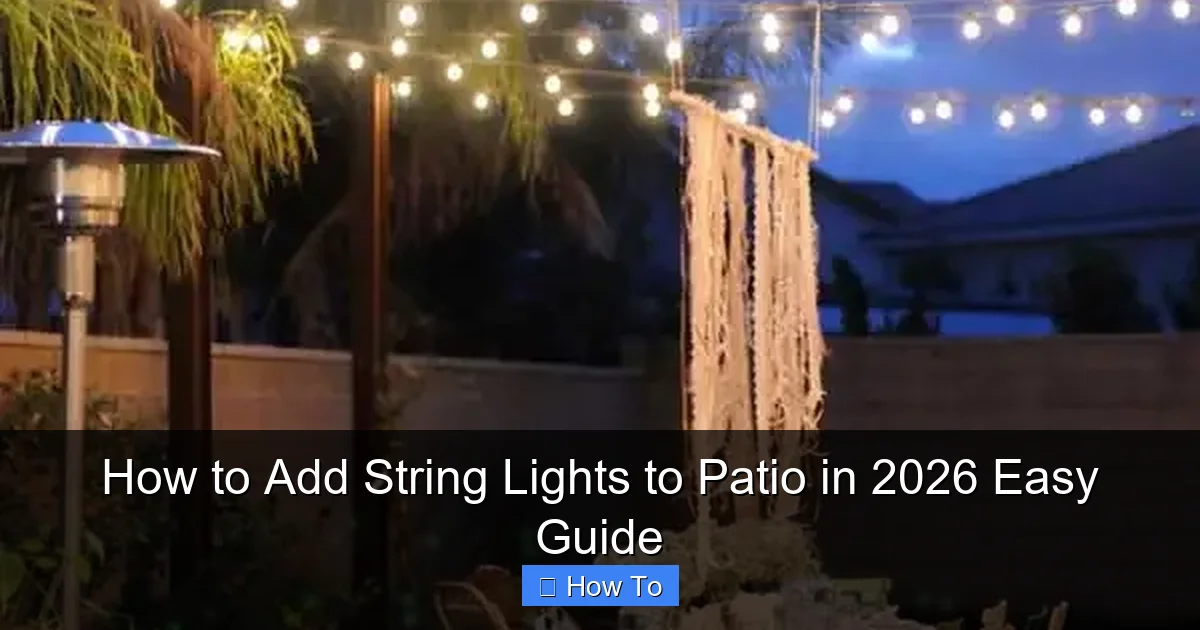
Featured image for how to add string lights to patio
Image source: woohome.com
Transform your patio into a magical retreat in 2026 by effortlessly installing string lights with our simple, step-by-step guide. Whether you’re mounting lights on pergolas, fences, or open spaces, use weatherproof fixtures, smart spacing, and adjustable hooks for a secure, professional look that shines all year. Perfect for ambiance, entertaining, or everyday relaxation—lighting has never been this easy.
“`html
How to Add String Lights to Patio in 2026 Easy Guide
Key Takeaways
- Plan your layout first: Measure patio space to determine light length and spacing.
- Choose weatherproof lights: Opt for durable, outdoor-rated string lights for safety and longevity.
- Use secure mounting: Install hooks or clips every 12–18 inches for even, safe support.
- Hide cords strategically: Tuck wires under furniture or use cord covers for a tidy look.
- Add dimmers or timers: Enhance ambiance and save energy with smart controls.
- Layer lighting sources: Combine string lights with lanterns or sconces for depth.
Why This Matters / Understanding the Problem
Let’s face it: a bare patio is like a sandwich without the filling—just not satisfying. You’ve got the grill, the furniture, maybe even a fire pit, but when the sun goes down, the vibe fades. That’s where string lights come in. They’re not just for Christmas anymore. In 2026, outdoor lighting is all about ambiance, safety, and smart integration—and string lights are the easiest, most affordable way to get there.
But here’s the catch: most people either overcomplicate it or end up with a tangled mess that looks like a spider’s web. I’ve been there. I once spent three hours untangling a 20-foot strand only to realize it didn’t reach the outlet. Oops.
This How to Add String Lights to Patio in 2026 Easy Guide is your no-nonsense, real-talk roadmap. Whether you’re lighting up a tiny balcony or a sprawling backyard, we’ll walk through every step—no electrician required.
And don’t worry: we’re focusing on durability, weather resistance, and modern tech—because in 2026, your patio lights should last more than one season and maybe even talk to your phone.
What You Need
Before you start, let’s gather your gear. Think of this like prepping for a picnic—everything should be ready so you don’t have to run back and forth. Here’s your checklist:
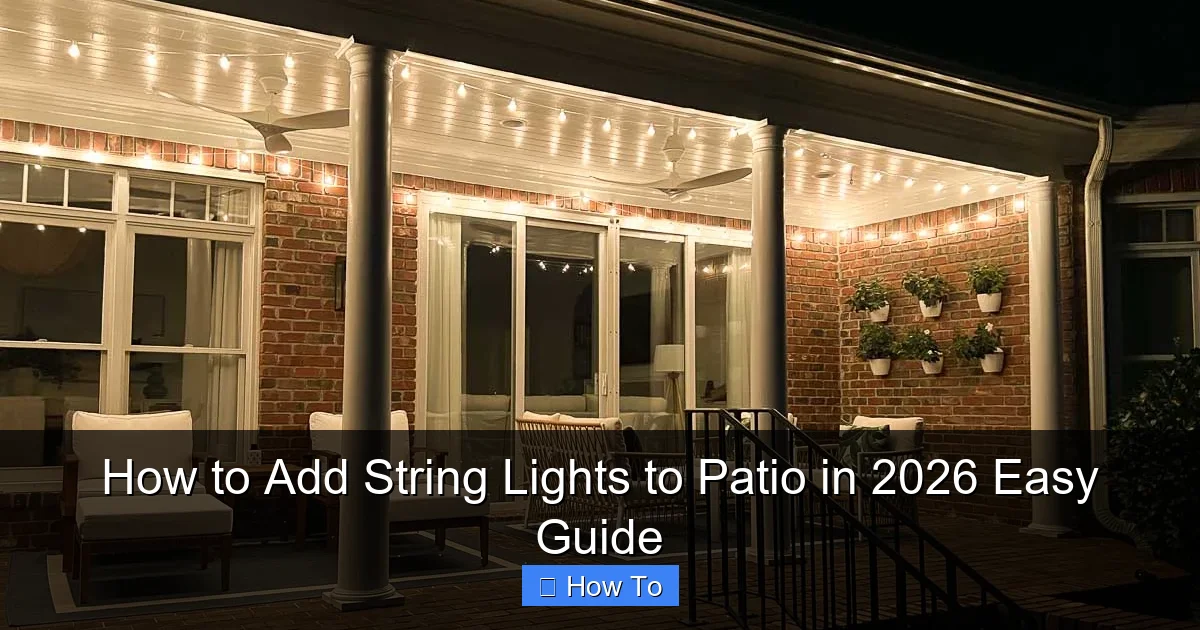
Visual guide about how to add string lights to patio
Image source: drivenbydecor.com
- String lights (outdoor-rated): Look for IP65 or higher waterproof rating. LED is best—longer life, less heat.
- Extension cords (outdoor-rated): At least 25 feet. GFCI-protected if near water.
- Mounting hardware: Zip ties, adhesive clips, eye hooks, or tension cables. No nails? Use removable hooks or adhesive strips.
- Measuring tape: Measure your patio’s perimeter and ceiling height. You’ll thank me later.
- Ladder (if needed): A step ladder or extension ladder for high spots. Safety first!
- Timer or smart plug (optional but smart): Automate on/off times. Bonus: use an app to control lights from your couch.
- Weatherproof sealant (for permanent setups): Silicone caulk to seal wire entry points.
Pro insight: Skip the cheap dollar-store lights. I tried that once—half the bulbs died after one rainstorm. Spend a little more on quality, and you’ll save time, money, and headaches.
Bonus: If your patio has a pergola, awning, or fence, you’re already halfway there. No structure? No problem—we’ll show you how to improvise.
Step-by-Step Guide to How to Add String Lights to Patio in 2026 Easy Guide
Step 1: Plan Your Layout Like a Pro
Before you touch a single bulb, map out your design. This is where most people skip ahead and regret it.
- Sketch a rough layout: Will the lights go in a zigzag? Straight lines? A canopy?
- Measure distances between anchor points. For a zigzag, aim for 3–5 feet between lines.
- Check outlet locations. You don’t want the cord dangling 10 feet to the socket.
For a classic “canopy” look (my favorite), run parallel lines across your patio. For a cozy bistro feel, go diagonal or crisscross.
Real-life example: My friend Sarah wanted a “romantic glow” for date nights. She ran two parallel lines 4 feet apart, then added a third line above the dining table. Instant magic—like a rooftop restaurant.
Use painter’s tape to mark anchor points. This lets you “test” the layout before committing.
Step 2: Choose the Right Mounting Method
Your mounting style depends on your patio’s structure. Here’s the breakdown:
- Fence or railing: Use zip ties or adhesive clips. Zip ties are strong but leave a tiny hole. Clips are removable and great for renters.
- Pergola or beams: Screw in eye hooks or cup hooks. Space them 3–4 feet apart. Pre-drill holes to avoid splitting wood.
- Walls (brick, stucco, siding): Use adhesive hooks (like Command Outdoor Hooks) or masonry screws with anchors. Avoid nails—they loosen over time.
- No structure? Try a tension cable between two poles or use freestanding light poles (like shepherd’s hooks).
For renters or temporary setups, adhesive clips are a game-changer. I used them on my apartment balcony—no damage, no landlord drama.
Warning: Don’t hang lights from gutters or eaves unless they’re rated for it. Water + electricity = bad news.
Step 3: Install the Mounting Hardware
Now it’s time to put the “bones” in place. Take your time here—this is the foundation.
- For hooks: Screw them in at a slight upward angle to keep lights from slipping.
- For adhesive clips: Clean the surface with rubbing alcohol first. Press firmly for 30 seconds. Wait 1 hour before hanging lights.
- For zip ties: Tighten snugly but don’t over-tighten—you don’t want to cut the wire.
Pro tip: Label your clips/hooks with tape (“A,” “B,” etc.) so you know which light connects where.
Use a level to keep lines straight. A crooked line is like a lopsided sandwich—unappealing.
Step 4: String the Lights (Without the Tangle)
This is where the magic happens—but also where things go sideways if you’re not careful.
- Start at the power source. Unplug the lights and lay them out in the direction you’ll hang them.
- Attach the first bulb or socket to the starting hook. Then, work outward, connecting each section.
- For long runs, use connectable strands (check max wattage—usually 200–250W per outlet).
- For zigzag or canopy patterns, run a support wire (like paracord) between hooks first, then clip lights to it.
Here’s a game-changer: hang the lights loosely at first. Once all are up, tighten them to your desired tension. This prevents sagging.
Personal fail: I once tightened the lights too much and snapped a socket. Now I leave a little slack—like a hammock, not a drumhead.
Step 5: Connect and Test the Circuit
Now for the moment of truth: plug it in.
- Plug the first strand into the outlet (or timer/smart plug).
- Test each section as you connect it. If a section doesn’t light, unplug and check connections.
- Use weatherproof cord covers for exposed wires. Or, run cords under rugs or along baseboards.
For smart setups, pair your smart plug with an app (like Kasa or Alexa). Set schedules—e.g., “Turn on at sunset, off at 11 PM.”
Safety note: Never overload outlets. If you’re using more than 3–4 strands, run a separate circuit or use a power strip with surge protection.
Step 6: Weatherproof and Protect (For Long-Term Use)
You want these lights to last through 2026—and beyond. Here’s how:
- Seal wire entry points with silicone caulk (if running through walls or eaves).
- Use zip ties or clips to keep cords off the ground and away from foot traffic.
- Store bulbs in a dry place during extreme weather (hurricanes, blizzards). Most outdoor lights are tough, but not indestructible.
- Trim nearby branches that might scratch or snag wires.
For permanent installations, consider conduit tubing for exposed wires. It looks clean and adds protection.
Real talk: I left my lights up all winter in Chicago. By March, the plastic sockets were brittle and cracked. Lesson: even “all-weather” lights have limits.
Step 7: Add the Finishing Touches
Now for the fun part—making it your space.
- Layer lighting: Add lanterns, candles, or path lights for depth.
- Use dimmers: Many LED strands work with dimmer switches. Lower light = cozier vibe.
- Change bulbs seasonally: Warm white in winter, soft white in summer. Some bulbs even change color.
- Add greenery: Weave in faux vines or hang small plants for a boho look.
My favorite trick? Wrap lights around a tree trunk or pillar. It looks organic, not “installed.”
Pro Tips & Common Mistakes to Avoid
After 10+ years of patio lighting (and a few disasters), here’s what I’ve learned:
- Don’t skip the layout: Measure twice, hang once. A 5-minute sketch saves hours of redoing.
- Use smart tech: A $20 smart plug lets you control lights from bed. No more “Did I turn them off?” anxiety.
- Buy extra bulbs: Keep a pack of replacements on hand. One dead bulb can ruin the whole strand’s look.
- Check local codes: Some HOAs or cities restrict permanent outdoor lighting. Ask first.
- Test in daylight: Hang lights in the morning, then check at night. Shadows and glare look different in daylight.
Common mistake: Hanging lights too high. If you’re 6 feet tall and the lights are 8 feet up, you’ll see the bulbs—not the glow. Aim for 6.5–7 feet for best ambiance.
Another fail: Using indoor lights outside. I did this once. After one storm, the wires shorted and tripped the breaker. Not fun.
And one more: don’t rush the unboxing. I’ve seen people cut zip ties on new lights and lose half the bulbs. Unpack slowly.
FAQs About How to Add String Lights to Patio in 2026 Easy Guide
Can I leave string lights up all year?
Yes—if they’re outdoor-rated. Look for IP65 or higher. But I recommend taking them down during extreme weather (hurricanes, heavy snow). Store in a dry, cool place to extend life.
How many strands can I connect together?
Check the manufacturer’s label. Most LED strands allow 4–6 per outlet. Never exceed the max wattage (usually 200–250W). When in doubt, use a separate outlet.
What’s the best way to hang lights on a concrete wall?
Use adhesive hooks (like Command Outdoor) or masonry screws with anchors. For temporary setups, try freestanding poles or tension cables.
Do I need an electrician?
Not for basic setups. But if you’re running wires through walls or installing permanent fixtures, hire a pro. Safety first—electricity isn’t a DIY for everyone.
How do I hide the cords?
Use cord covers, baseboard clips, or run cords under rugs. For a clean look, paint cords to match the wall or use conduit tubing.
Can I use solar-powered string lights?
Yes! Great for areas without outlets. But they need 6+ hours of direct sun. For shaded patios, stick with plug-in.
How do I fix a dead section of lights?
First, unplug. Then, check connections. If one section is out, it might be a bad bulb or socket. Replace the bulb or use a light tester pen to find the fault. Most outdoor strands have replaceable parts.
Final Thoughts
Adding string lights to your patio isn’t just about looks—it’s about creating a space where memories happen. I still remember my first lit patio dinner: grilled veggies, a cold drink, and that golden glow. It felt like a vacation in my own backyard.
This How to Add String Lights to Patio in 2026 Easy Guide is your roadmap to that magic. You don’t need a fancy pergola or a big budget. Just a little planning, the right tools, and a willingness to try.
Start small. Maybe just one line above your table. Once you see how it transforms your space, you’ll want more. And that’s okay. Lighting is addictive—in the best way.
So grab your lights, sketch your layout, and get to work. Your perfect patio glow-up is just a few hours away. And when you’re done? Pour a drink, turn on the lights, and enjoy your handiwork. You’ve earned it.
And hey—if you hit a snag, don’t stress. We’ve all been there. Just take a breath, unplug, and start again. The best patios are built one light at a time.
“`

